
AirWire 12x20 Ft
Airwire 12x20 Louvered Pergola Instruction Manual
Model: 12x20 Ft | Brand: AirWire
1. Introduction
Thank you for choosing the Airwire 12x20 Louvered Pergola. This manual provides essential information for the safe assembly, operation, and maintenance of your new outdoor structure. Please read all instructions carefully before beginning assembly and retain this manual for future reference.

Figure 1: Airwire 12x20 Louvered Pergola in a modern patio setting.
2. Safety Information
Always prioritize safety during assembly and use. Failure to follow these instructions may result in injury or damage to the product.
- Two or more people are required for assembly. Do not attempt to assemble alone.
- Do not fully tighten screws prior to complete assembly. This allows for proper alignment.
- Use a spirit level to ensure the device or component is perfectly level before proceeding.
- Use a square to check that the assembly is square before tightening bolts.
- Do not overtighten mounting bolts. Overtightening can cause material damage.
- Ensure the pergola is securely anchored to a stable surface to prevent tipping in high winds.
- Clear snow accumulation from the louvered roof to prevent structural damage.
3. Package Contents
The Airwire 12x20 Louvered Pergola is delivered in multiple boxes. Please ensure all packages have arrived before beginning assembly. Verify all parts against the parts list provided in your physical manual. Key components include:
- Heavy-duty aluminum alloy frame components
- Adjustable louvered roof panels
- Integrated drainage system components
- Zippered privacy curtains
- Mesh screens
- All necessary hardware (screws, bolts, washers)
- Crank handle for louver adjustment

Figure 2: Product dimensions overview.
4. Required Tools
The following tools are required for assembly (not included):
- Phillips head screwdriver
- Allen keys (M6, M8)
- Wrench
- Gloves
- Level
- Rubber mallet
- Drill
- Stepladder
- Safety hat and safety goggles
5. Setup and Assembly
Follow the step-by-step instructions provided in your physical manual. For a visual guide, please refer to the official installation video below. It is highly recommended to have at least two people for assembly.
Video 1: Airwire 12x20 Louvered Pergola Installation Method. This video provides a detailed visual guide for assembling your pergola.
Key Assembly Steps:
- Unpacking and Inspection: Carefully unpack all components and inspect for any damage or missing parts.
- Base Assembly: Attach the base plates to the main support posts using the provided hardware. Ensure a stable and level foundation.
- Frame Construction: Assemble the horizontal beams and connect them to the vertical posts. Do not fully tighten bolts until the entire frame is aligned.
- Louver Mechanism Installation: Install the louver control mechanisms onto the frame.
- Louver Panel Placement: Carefully place each louver panel into its designated position.
- Drainage System Setup: Ensure the integrated drainage channels are correctly aligned to direct rainwater away from the seating area.
- Curtain and Netting Attachment: Install the zippered curtains and mesh screens as desired for privacy and insect protection.
- Final Tightening and Anchoring: Once the entire structure is assembled and aligned, fully tighten all bolts. Securely anchor the pergola to your patio, deck, or garden surface using appropriate anchors (not always included, depending on surface type).

Figure 3: Stable base stand with anchoring points for secure installation.
6. Operating Instructions
Adjustable Louvered Roof:
The pergola features an adjustable louvered roof with a durable crank handle. This allows you to regulate sunlight and airflow. Simply rotate the handle to adjust the louvers from 0° (fully open) to 90° (fully closed).
- Fully Open: Enjoy full sunshine or stargazing.
- Partially Open: Create partial shade and allow for air circulation.
- Fully Closed: Provides complete shade and rain protection. The louvered roof has a subtle slope and integrated drainage to prevent water pooling.
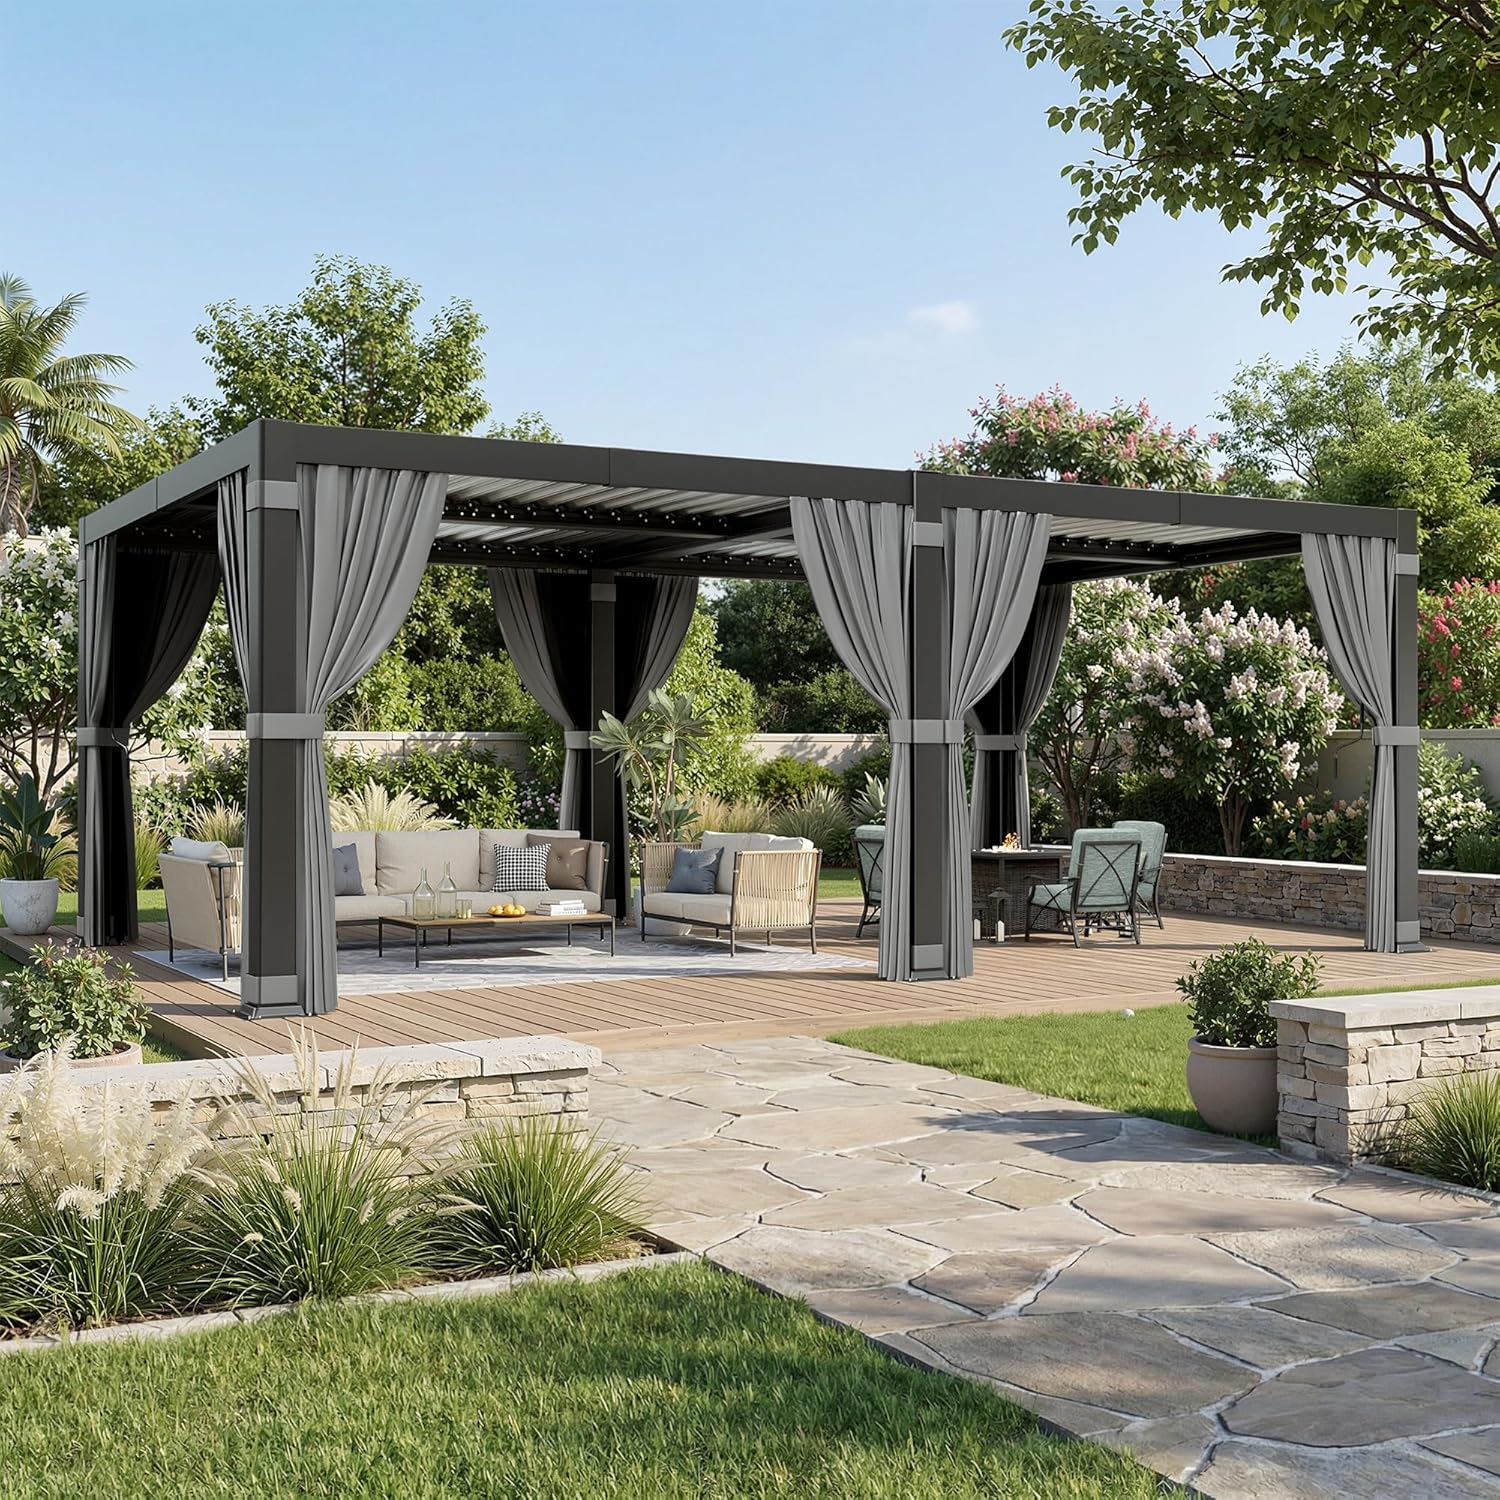
Figure 4: Multi-zone independent louver control for sun and rain protection.
Curtains and Netting:
The pergola includes detachable zippered curtains for privacy and UV protection, as well as mesh screens for airflow and insect protection. These can be adjusted independently.
- Privacy: Close the curtains for enhanced privacy.
- Insect Protection: Utilize the mesh screens to keep insects out while maintaining airflow.
- Storage: Use the integrated Velcro tie straps to secure curtains when rolled up, preventing flapping and maintaining a tidy appearance.
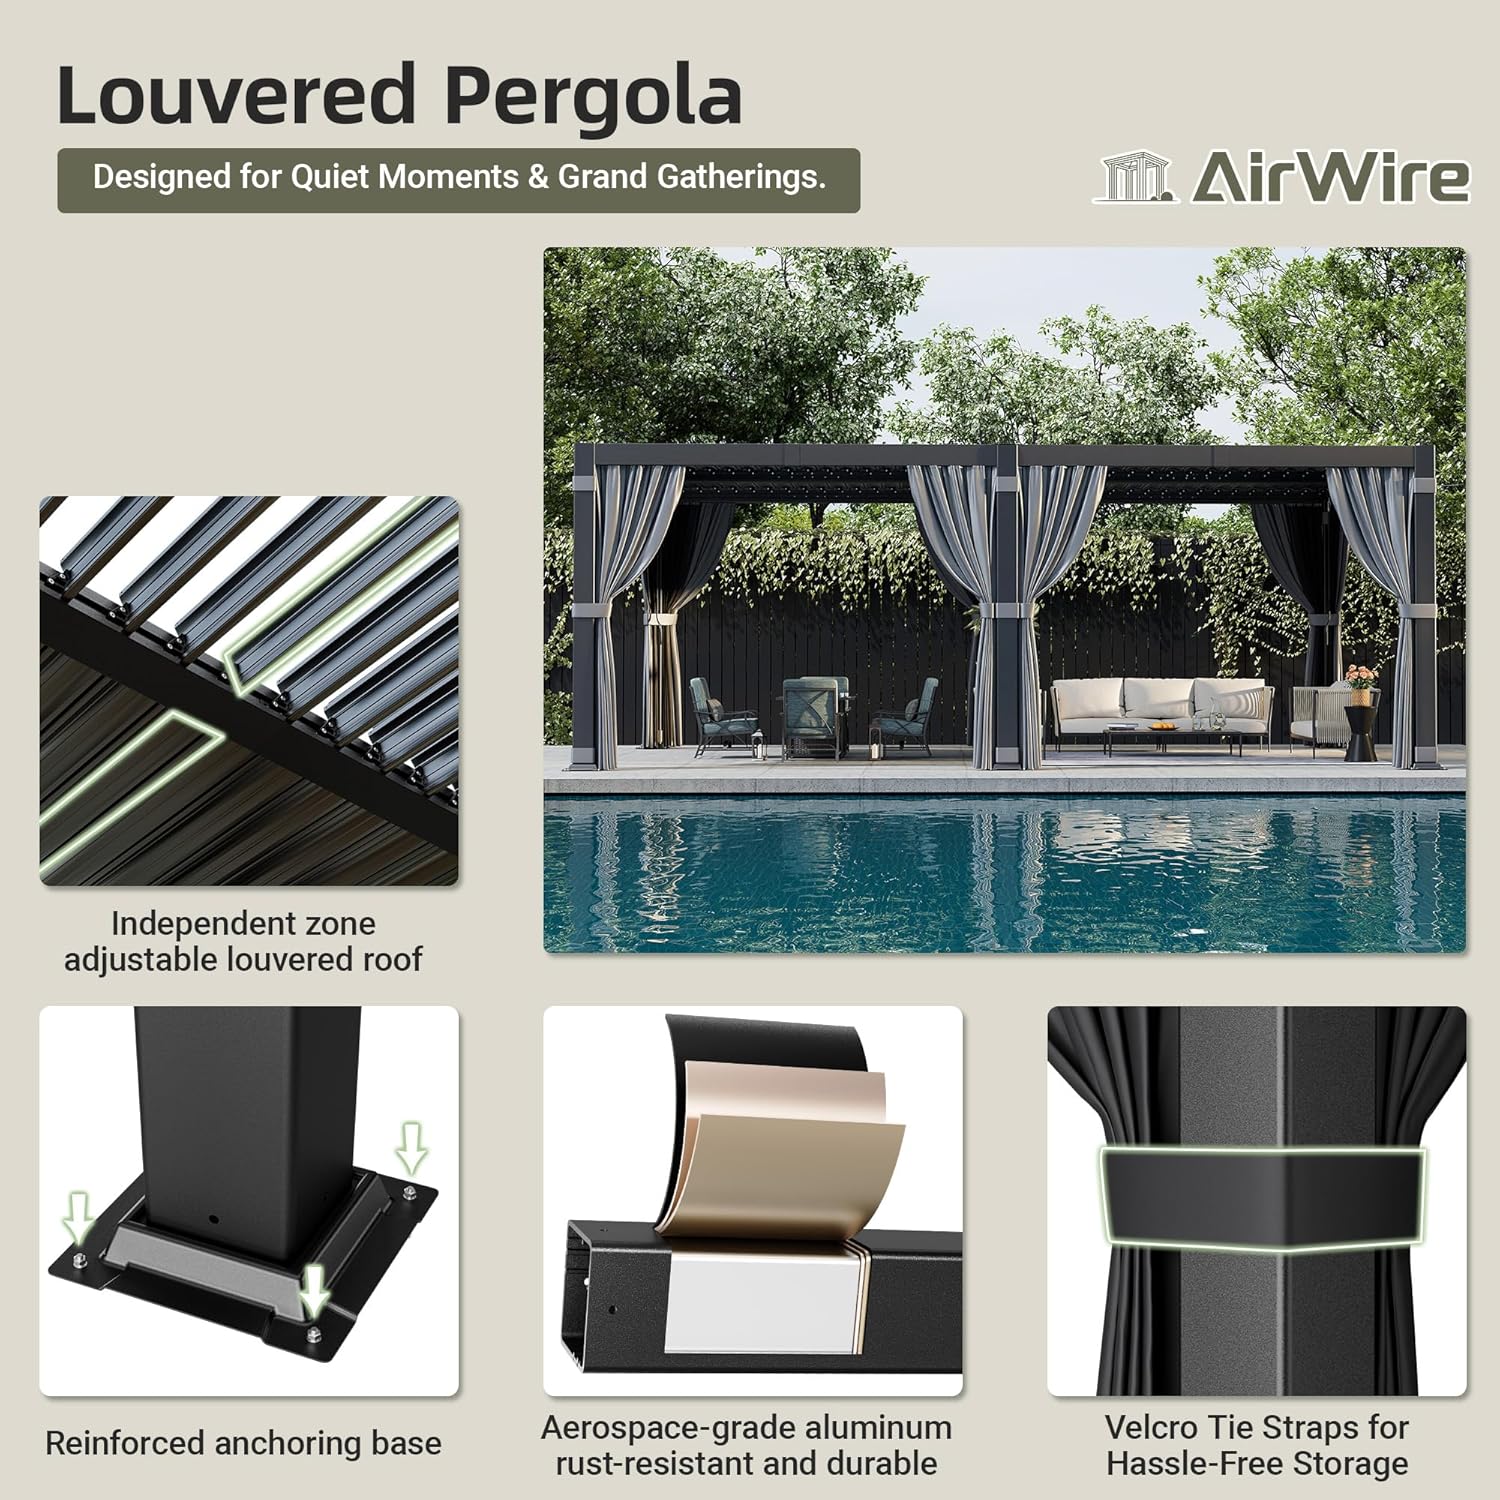
Figure 5: Detachable curtains and netting provide privacy, airflow, and insect resistance.
Video 2: Backyard Tour showcasing the Airwire Louvered Pergola's features and functionality.
7. Maintenance
Regular maintenance will ensure the longevity and optimal performance of your Airwire Louvered Pergola.
- Cleaning the Frame: Clean the aluminum frame with mild soap and water. Avoid abrasive cleaners or harsh chemicals that could damage the powder coating.
- Louver Cleaning: Periodically clean the louver panels to ensure smooth operation and efficient drainage.
- Drainage System: Regularly check and clear the integrated drainage channels and columns of any debris (leaves, dirt) to prevent blockages and ensure proper water runoff.
- Curtains & Netting: The curtains and mesh screens are detachable and easy to clean. Follow fabric care instructions for washing. Ensure they are completely dry before storing to prevent mildew.
- Hardware Check: Periodically inspect all bolts and screws to ensure they are tight. Retighten if necessary.
- Winter Care: In areas with heavy snowfall, it is recommended to keep the louvers open to prevent snow accumulation and potential damage to the roof structure.

Figure 6: Built-in drainage system redirects rainwater efficiently.
8. Troubleshooting
If you encounter any issues with your pergola, refer to the following common solutions:
- Louvers not adjusting smoothly: Check for any obstructions in the louver mechanism or tracks. Ensure the crank handle is properly engaged. Clean any dirt or debris from the tracks.
- Water pooling on roof: Verify that the drainage channels are clear of debris. Ensure the pergola is installed on a level surface or that the slight slope for drainage is maintained.
- Pergola feels unstable: Recheck all connection points and ensure all bolts are securely tightened. Confirm that the base is properly anchored to the ground.
- Curtains/Netting not moving freely: Check for any snags or obstructions in the curtain tracks. Ensure zippers are not jammed.
- Missing parts during assembly: Contact AirWire customer support with your purchase details and the specific part numbers needed.
9. Specifications
| Feature | Detail |
|---|---|
| Brand | AirWire |
| Model | 12x20 Ft Louvered Pergola |
| Material | Aluminum |
| Style | Modern |
| Product Dimensions (L x W x H) | 232"L x 141.1"W x 86.8"H |
| Item Weight | 585.99 Pounds |
| Water Resistance Level | Waterproof |
| Ultraviolet Light Protection | UPF 50 |
| Assembly Required | Yes |
| Color | Gray |
10. Warranty and Support
For warranty information, please refer to the documentation included with your purchase or contact AirWire customer support. Our customer support team is available to assist with any questions or concerns regarding your pergola.
Contact Information: Please refer to your purchase receipt or the official AirWire website for the most up-to-date customer support contact details.
Related documents12x20 Ft

Ask a question about this manual
Ask about setup, troubleshooting, compatibility, parts, safety, or missing instructions. Manuals+ will review the question and use this page’s manual context to help answer it.