
Introduction
This manual provides detailed instructions for the assembly, operation, and maintenance of your Merax Queen Size Murphy Bed with integrated sofa, storage shelves, cabinets, and dual lights. Please read all instructions carefully before beginning assembly or use to ensure safe and proper functionality. Keep this manual for future reference.
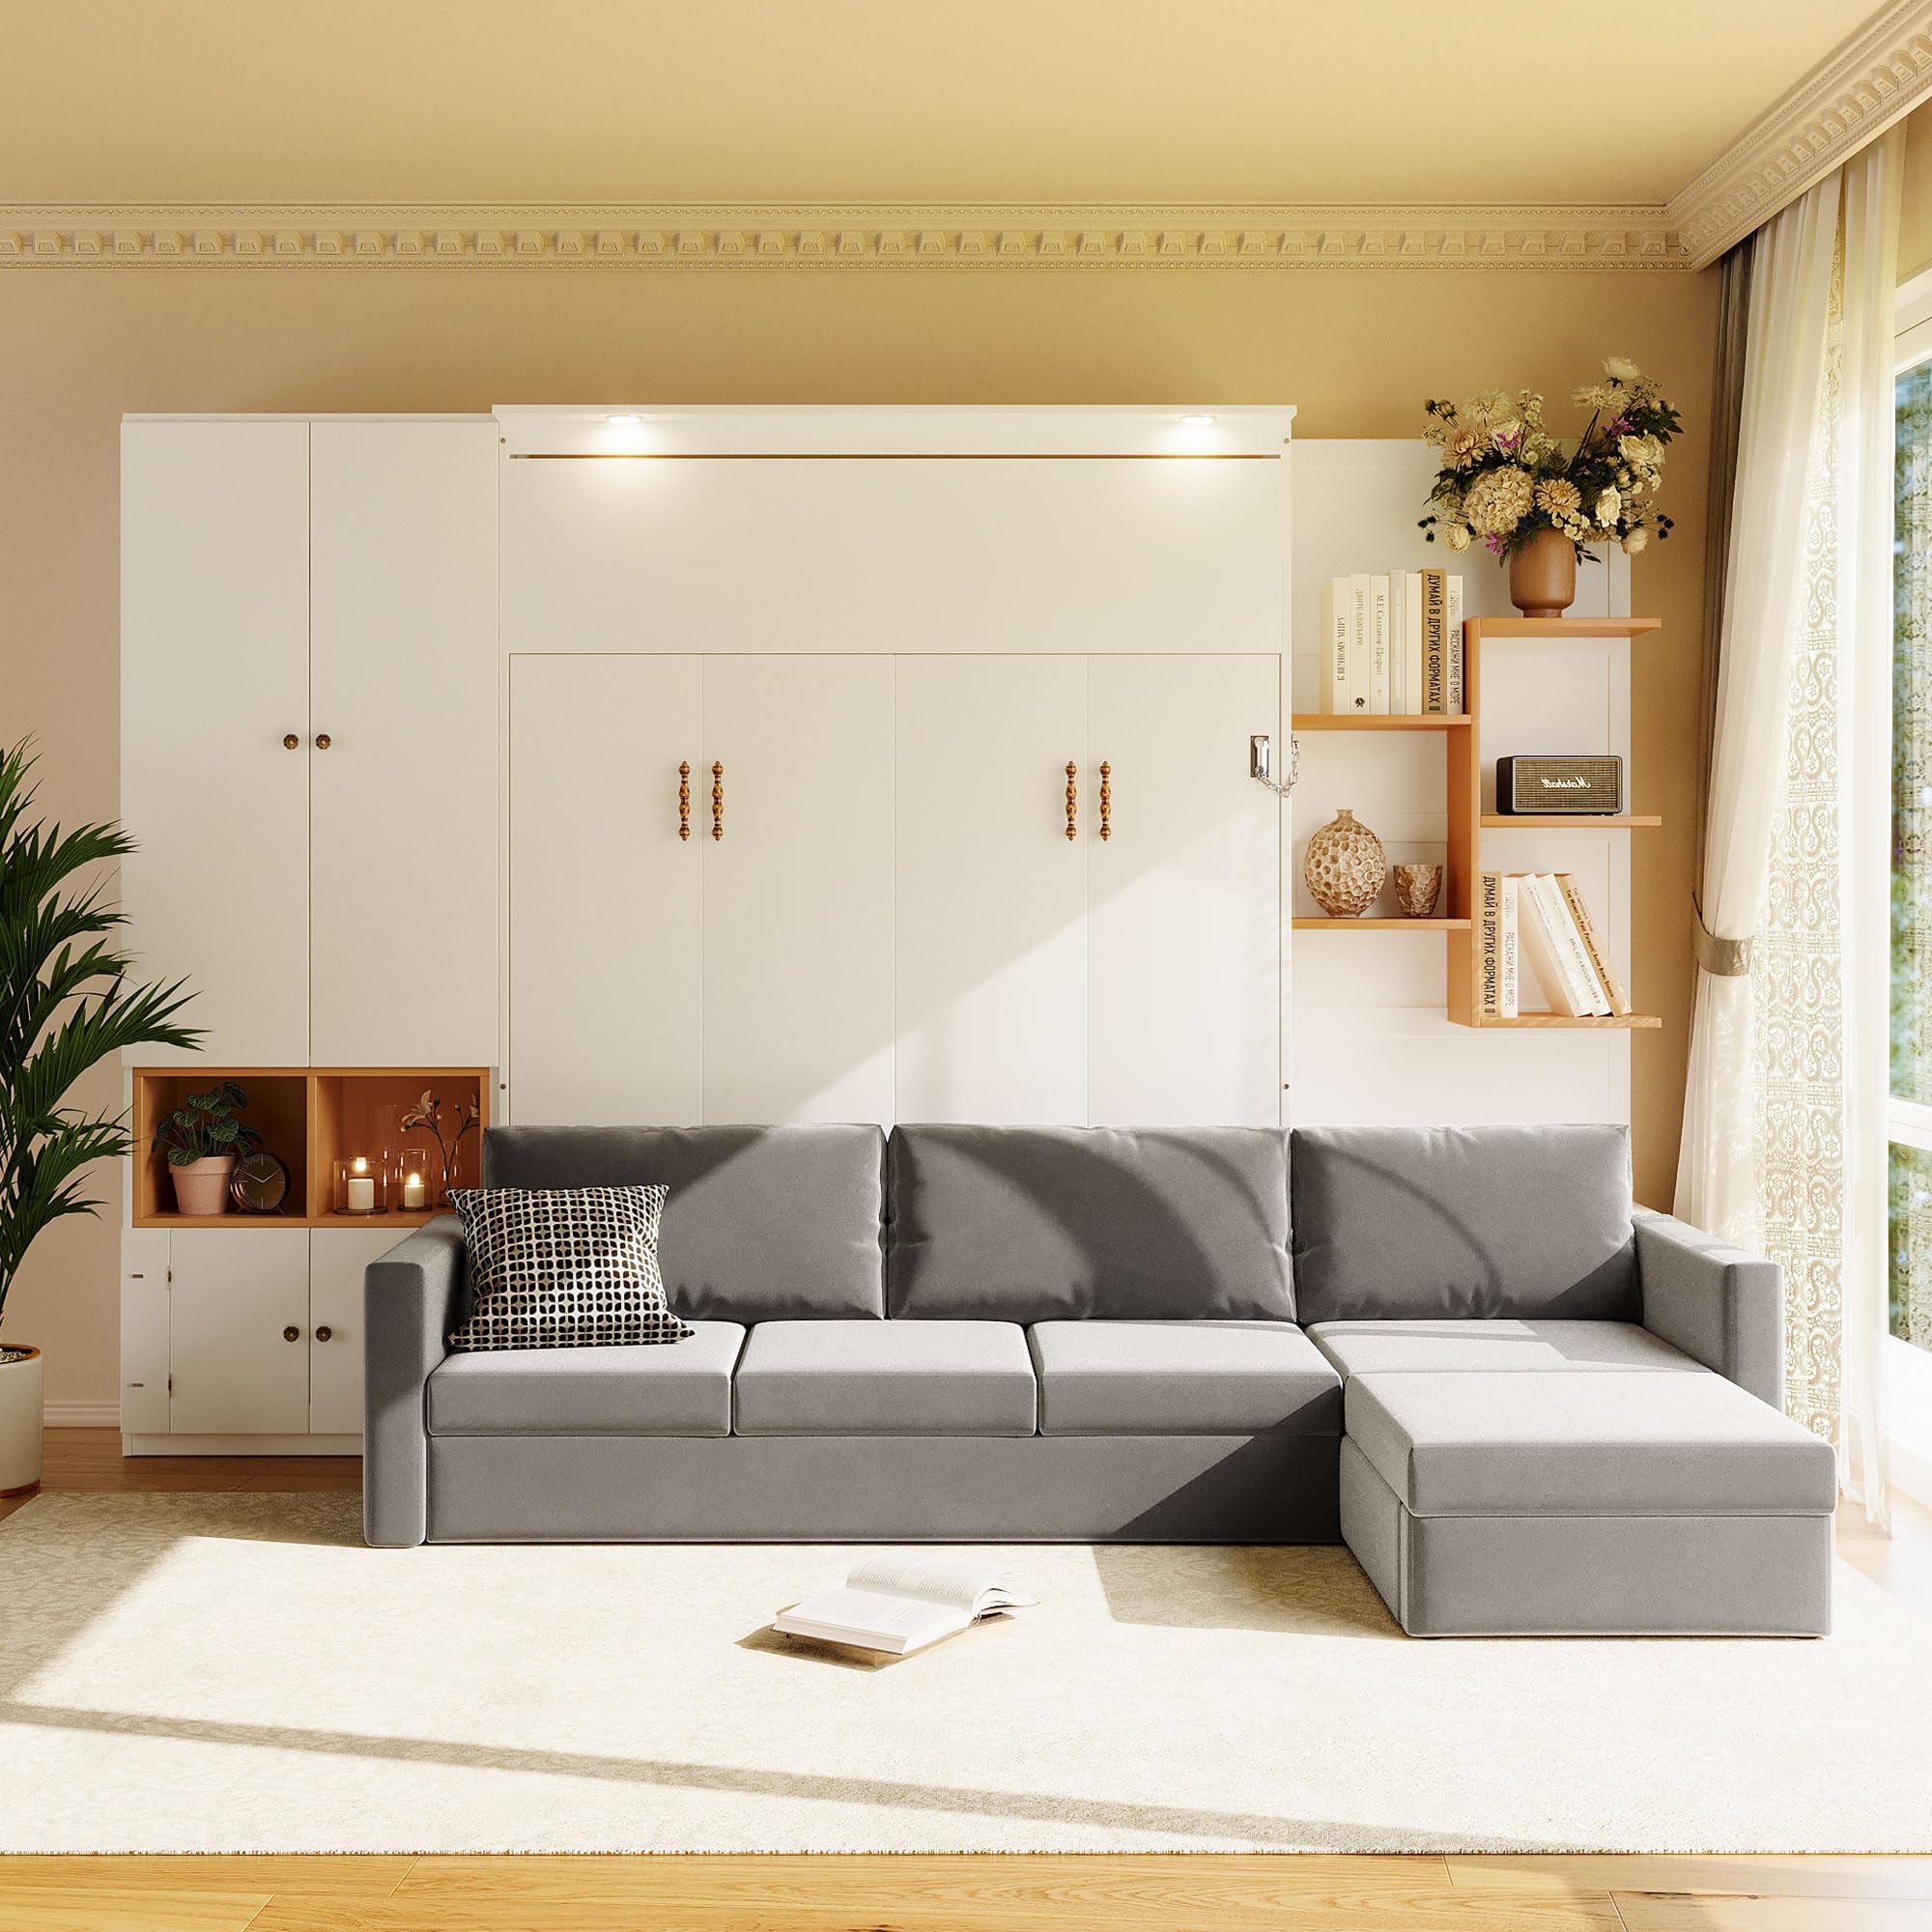
Overall view of the Merax Queen Size Murphy Bed with integrated sofa and storage units.
Safety Information
WARNING: Failure to follow these safety instructions could result in serious injury or property damage.
- Professional Installation Recommended: Due to the complexity and weight of this unit, professional installation is highly recommended. If self-assembling, ensure at least two adults are present.
- Wall Mounting is Mandatory: This Murphy bed unit MUST be securely anchored to a structural wall stud using the provided hardware. Failure to properly anchor the unit can result in severe injury or death.
- Weight Capacity: Do not exceed the recommended weight capacity for the bed frame. Refer to the specifications section for details.
- Clearance: Ensure adequate clearance around the unit for safe operation of the bed mechanism and sofa.
- Children and Pets: Keep children and pets away from the unit during operation (opening and closing the bed).
- Inspect Regularly: Periodically check all fasteners and connections to ensure they remain tight and secure.
- Electrical Safety: The dual lights require an electrical connection. Ensure all electrical work is performed by a qualified individual if not pre-wired. Do not overload electrical outlets.
- Mattress Requirements: Use only a mattress that meets the specified dimensions and weight requirements for a Queen size Murphy bed.
Package Contents
Verify that all components are present before beginning assembly. If any parts are missing or damaged, contact customer support immediately.
- Murphy Bed Frame (Queen Size)
- Integrated Sofa Unit
- Storage Cabinet Modules (Left and Right)
- Adjustable Storage Shelves
- Dual LED Reading Lights
- Assembly Hardware Kit
- Wall Anchoring Hardware
- Instruction Manual (this document)
Setup and Assembly Instructions
Assembly requires careful attention to detail and adherence to all safety warnings. It is recommended to have at least two adults for assembly. Tools required (not included): Phillips head screwdriver, flathead screwdriver, hammer, drill, stud finder, level, measuring tape.
Step 1: Prepare the Area
Clear a spacious area for assembly. Ensure the floor is level and protected. Locate wall studs where the unit will be anchored.

Image showing the overall dimensions of the Murphy bed unit: 129.8" width, 87.8" height, and 12.2" depth when closed.
Step 2: Assemble Base Cabinets and Frame
Follow the step-by-step diagrams provided in the separate assembly guide (if applicable) to construct the main cabinet structures and the bed frame. Ensure all cam locks and screws are tightened securely.

The Murphy bed unit in its retracted position, showcasing the integrated sofa and closed bed cabinet.
Step 3: Install Storage Modules
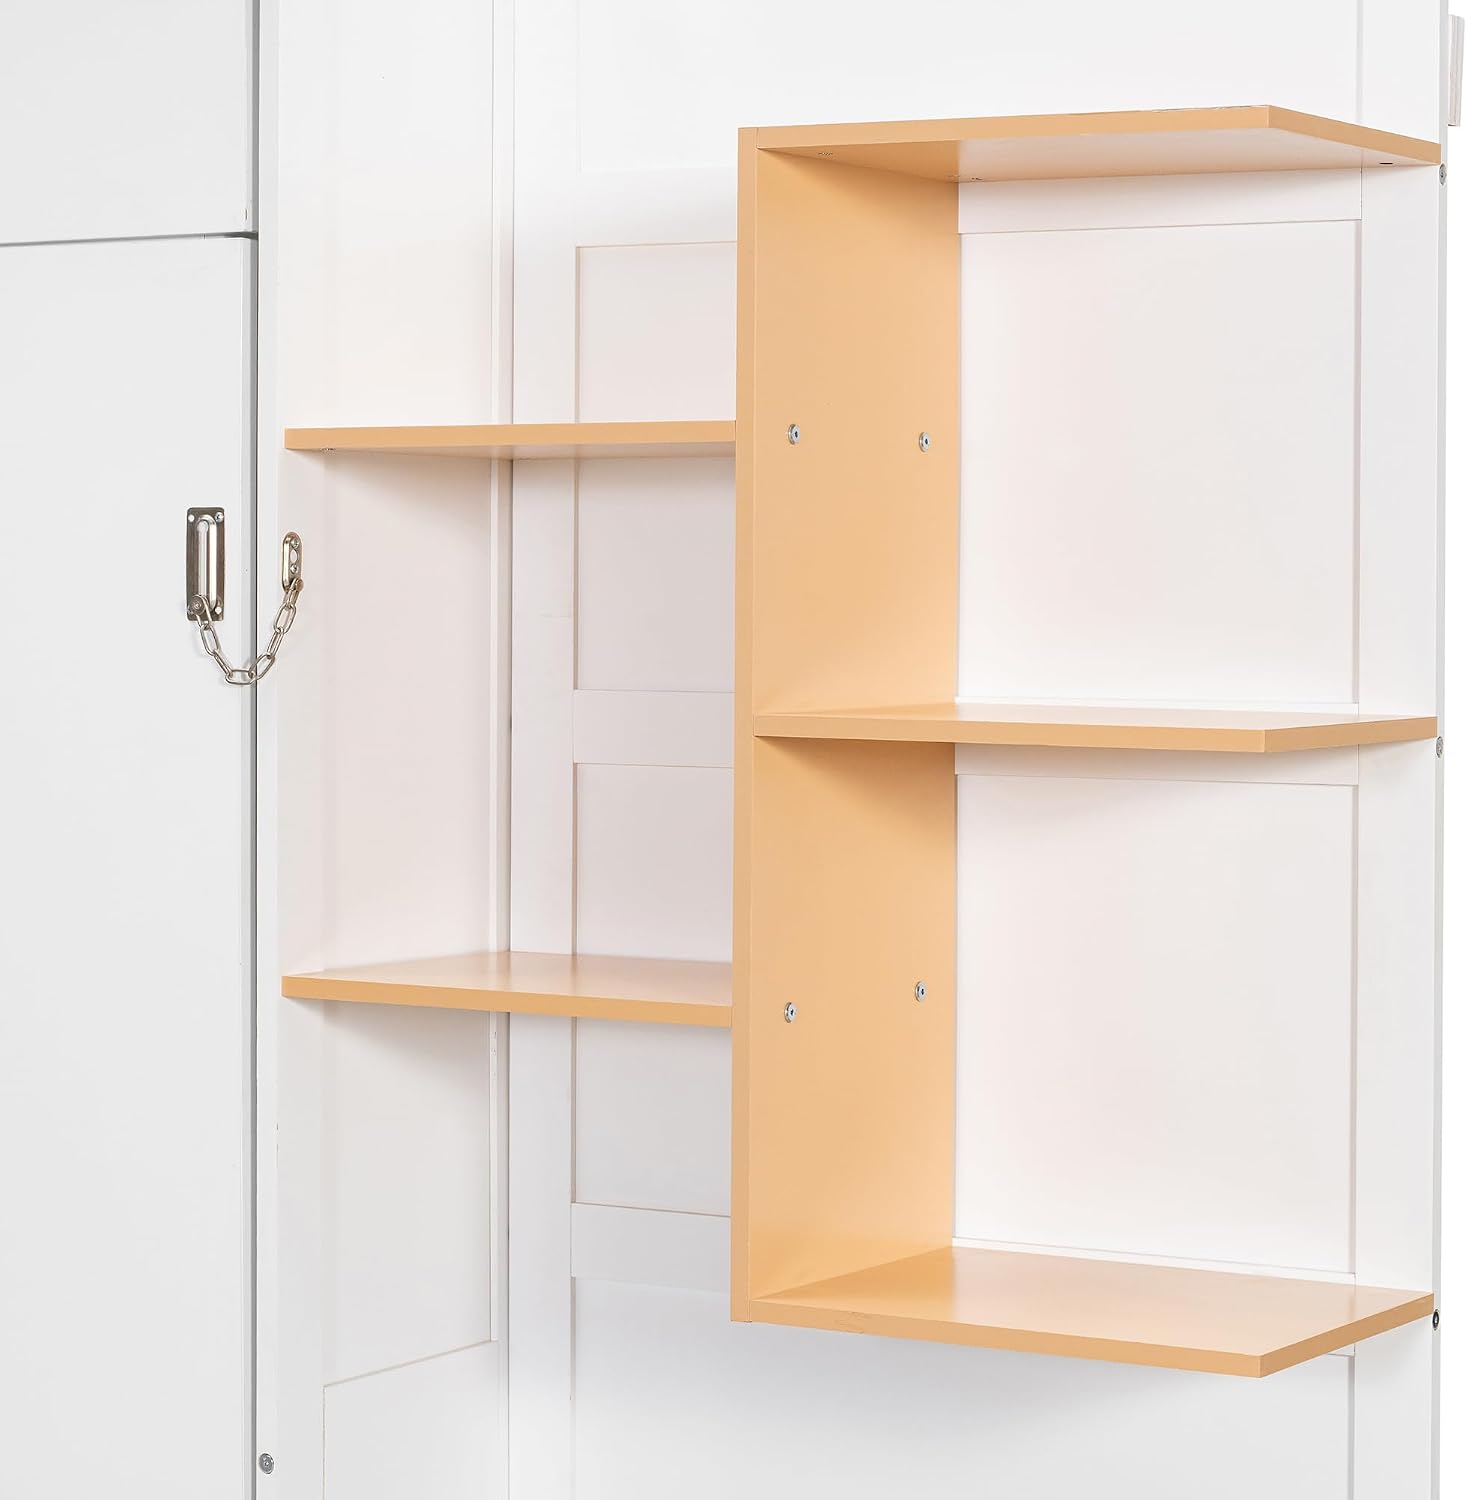
Attach the side storage cabinets and shelves to the main bed unit. Ensure they are aligned and securely fastened. Adjust shelves to desired heights.

Detailed view of the open storage shelves, designed for books or decorative items.

Detailed view of the lower storage cabinets, providing enclosed storage space.
Step 4: Wall Anchoring
This is a critical safety step. Using a stud finder, locate at least two wall studs behind the unit. Mark and drill pilot holes. Securely attach the unit to the wall studs using the provided anti-tip hardware. Double-check that the unit is firmly anchored and cannot tip forward.
Step 5: Install Sofa and Lights
Position the sofa unit in front of the Murphy bed. Connect any necessary electrical wiring for the dual lights, ensuring proper installation and safety. Test the lights.
The Murphy bed frame in its deployed position, ready for a mattress. Note the sofa pushed forward.

Close-up view of one of the integrated dual LED reading lights located above the bed.
Step 6: Mattress Placement
Carefully place your Queen size mattress onto the bed frame. Ensure it fits within the frame and does not interfere with the closing mechanism.

The Merax Murphy bed fully deployed with a mattress and bedding, ready for use.

Image detailing the dimensions of the Murphy bed when fully deployed, showing a maximum length of 87.5" from the wall and a bed frame height of 13" from the floor.
Operating Instructions
Deploying the Bed
- Ensure the area in front of the Murphy bed is clear of obstructions.
- Gently pull the sofa forward to create space for the bed to descend.
- Locate the bed release mechanism (usually a handle or latch). Engage the mechanism to unlock the bed.
- Slowly and carefully pull the bed frame downwards until it is fully extended and resting on its support legs.
- Ensure the support legs are locked into place for stability.
Retracting the Bed
- Remove all bedding and pillows that might obstruct the closing mechanism.
- Lift the bed frame from the foot end, guiding it upwards. The hydraulic mechanism will assist in lifting.
- Push the bed frame firmly into the cabinet until it locks securely into place. You should hear a click or feel it engage.
- Gently push the sofa back into its original position against the cabinet.
Using the Dual Lights
The integrated dual lights are typically operated by a switch located on the unit or a pull chain. Refer to the specific light fixture instructions for detailed operation. Ensure the unit is plugged into a power source for the lights to function.
Maintenance
- Cleaning:
- For wood/MDF surfaces, wipe with a soft, damp cloth. Avoid harsh chemicals or abrasive cleaners.
- For the velvet sofa, vacuum regularly with an upholstery attachment. Spot clean with a mild fabric cleaner as needed, testing on an inconspicuous area first.
- Hardware Check: Periodically inspect all screws, bolts, and wall anchors. Tighten any loose fasteners to maintain stability and safety.
- Mechanism Lubrication: If the bed mechanism becomes stiff or noisy, apply a silicone-based lubricant to moving parts as recommended by the manufacturer (consult customer support if unsure).
- Light Bulbs: Replace LED light bulbs with the same type and wattage if they burn out. Disconnect power before replacing.
Troubleshooting
| Problem | Possible Cause | Solution |
|---|---|---|
| Bed does not deploy/retract smoothly. | Obstruction, loose hardware, mechanism needs lubrication. | Check for obstructions. Inspect and tighten all hardware. Apply silicone lubricant to moving parts. |
| Lights are not working. | Not plugged in, loose connection, faulty bulb, tripped circuit breaker. | Ensure unit is plugged in. Check all electrical connections. Replace bulb. Check household circuit breaker. |
| Unit feels unstable or wobbly. | Improper wall anchoring, loose fasteners. | Immediately re-check wall anchoring. Ensure unit is securely fastened to wall studs. Tighten all assembly fasteners. |
| Sofa does not move easily. | Obstruction, debris in tracks. | Check for anything blocking the sofa's movement. Clean tracks if necessary. |
Specifications
- Model Number: 393
- Size: Queen (U.S. Standard)
- Overall Dimensions (Closed): 129.8" (Width) x 87.8" (Height) x 12.2" (Depth from wall)
- Overall Dimensions (Bed Deployed): 129.8" (Width) x 87.8" (Height) x 87.5" (Max Depth from wall, including deployed bed)
- Bed Frame Dimensions (Deployed): 60.2" (Width) x 87.5" (Length) x 13" (Height from floor)
- Material: Plywood + MDF + Velvet (Sofa)
- Color: White & Gray Sofa
- Special Features: Integrated Sofa, Storage Shelves & Cabinets, Dual Lights, No Box Spring Needed
- Assembly Required: Yes
- Item Weight: 480 Pounds
- Manufacturer: THINK 30
Warranty and Support
For warranty information, please refer to the documentation provided at the time of purchase or contact Merax customer support directly. If you encounter any issues or require assistance with your product, please contact Merax customer service. Have your model number (393) and purchase date ready when contacting support.
Merax Customer Support: Please visit the official Merax website or refer to your purchase receipt for contact details.


