
Fanbulous CN42
Fanbulous 42-Inch Outdoor Ceiling Fan with Lights
Model: CN42 - Instruction Manual
1. Introduction
Thank you for choosing the Fanbulous 42-inch Outdoor Ceiling Fan with Lights. This manual provides essential information for the safe installation, operation, and maintenance of your new ceiling fan. Please read these instructions thoroughly before beginning installation and retain them for future reference.
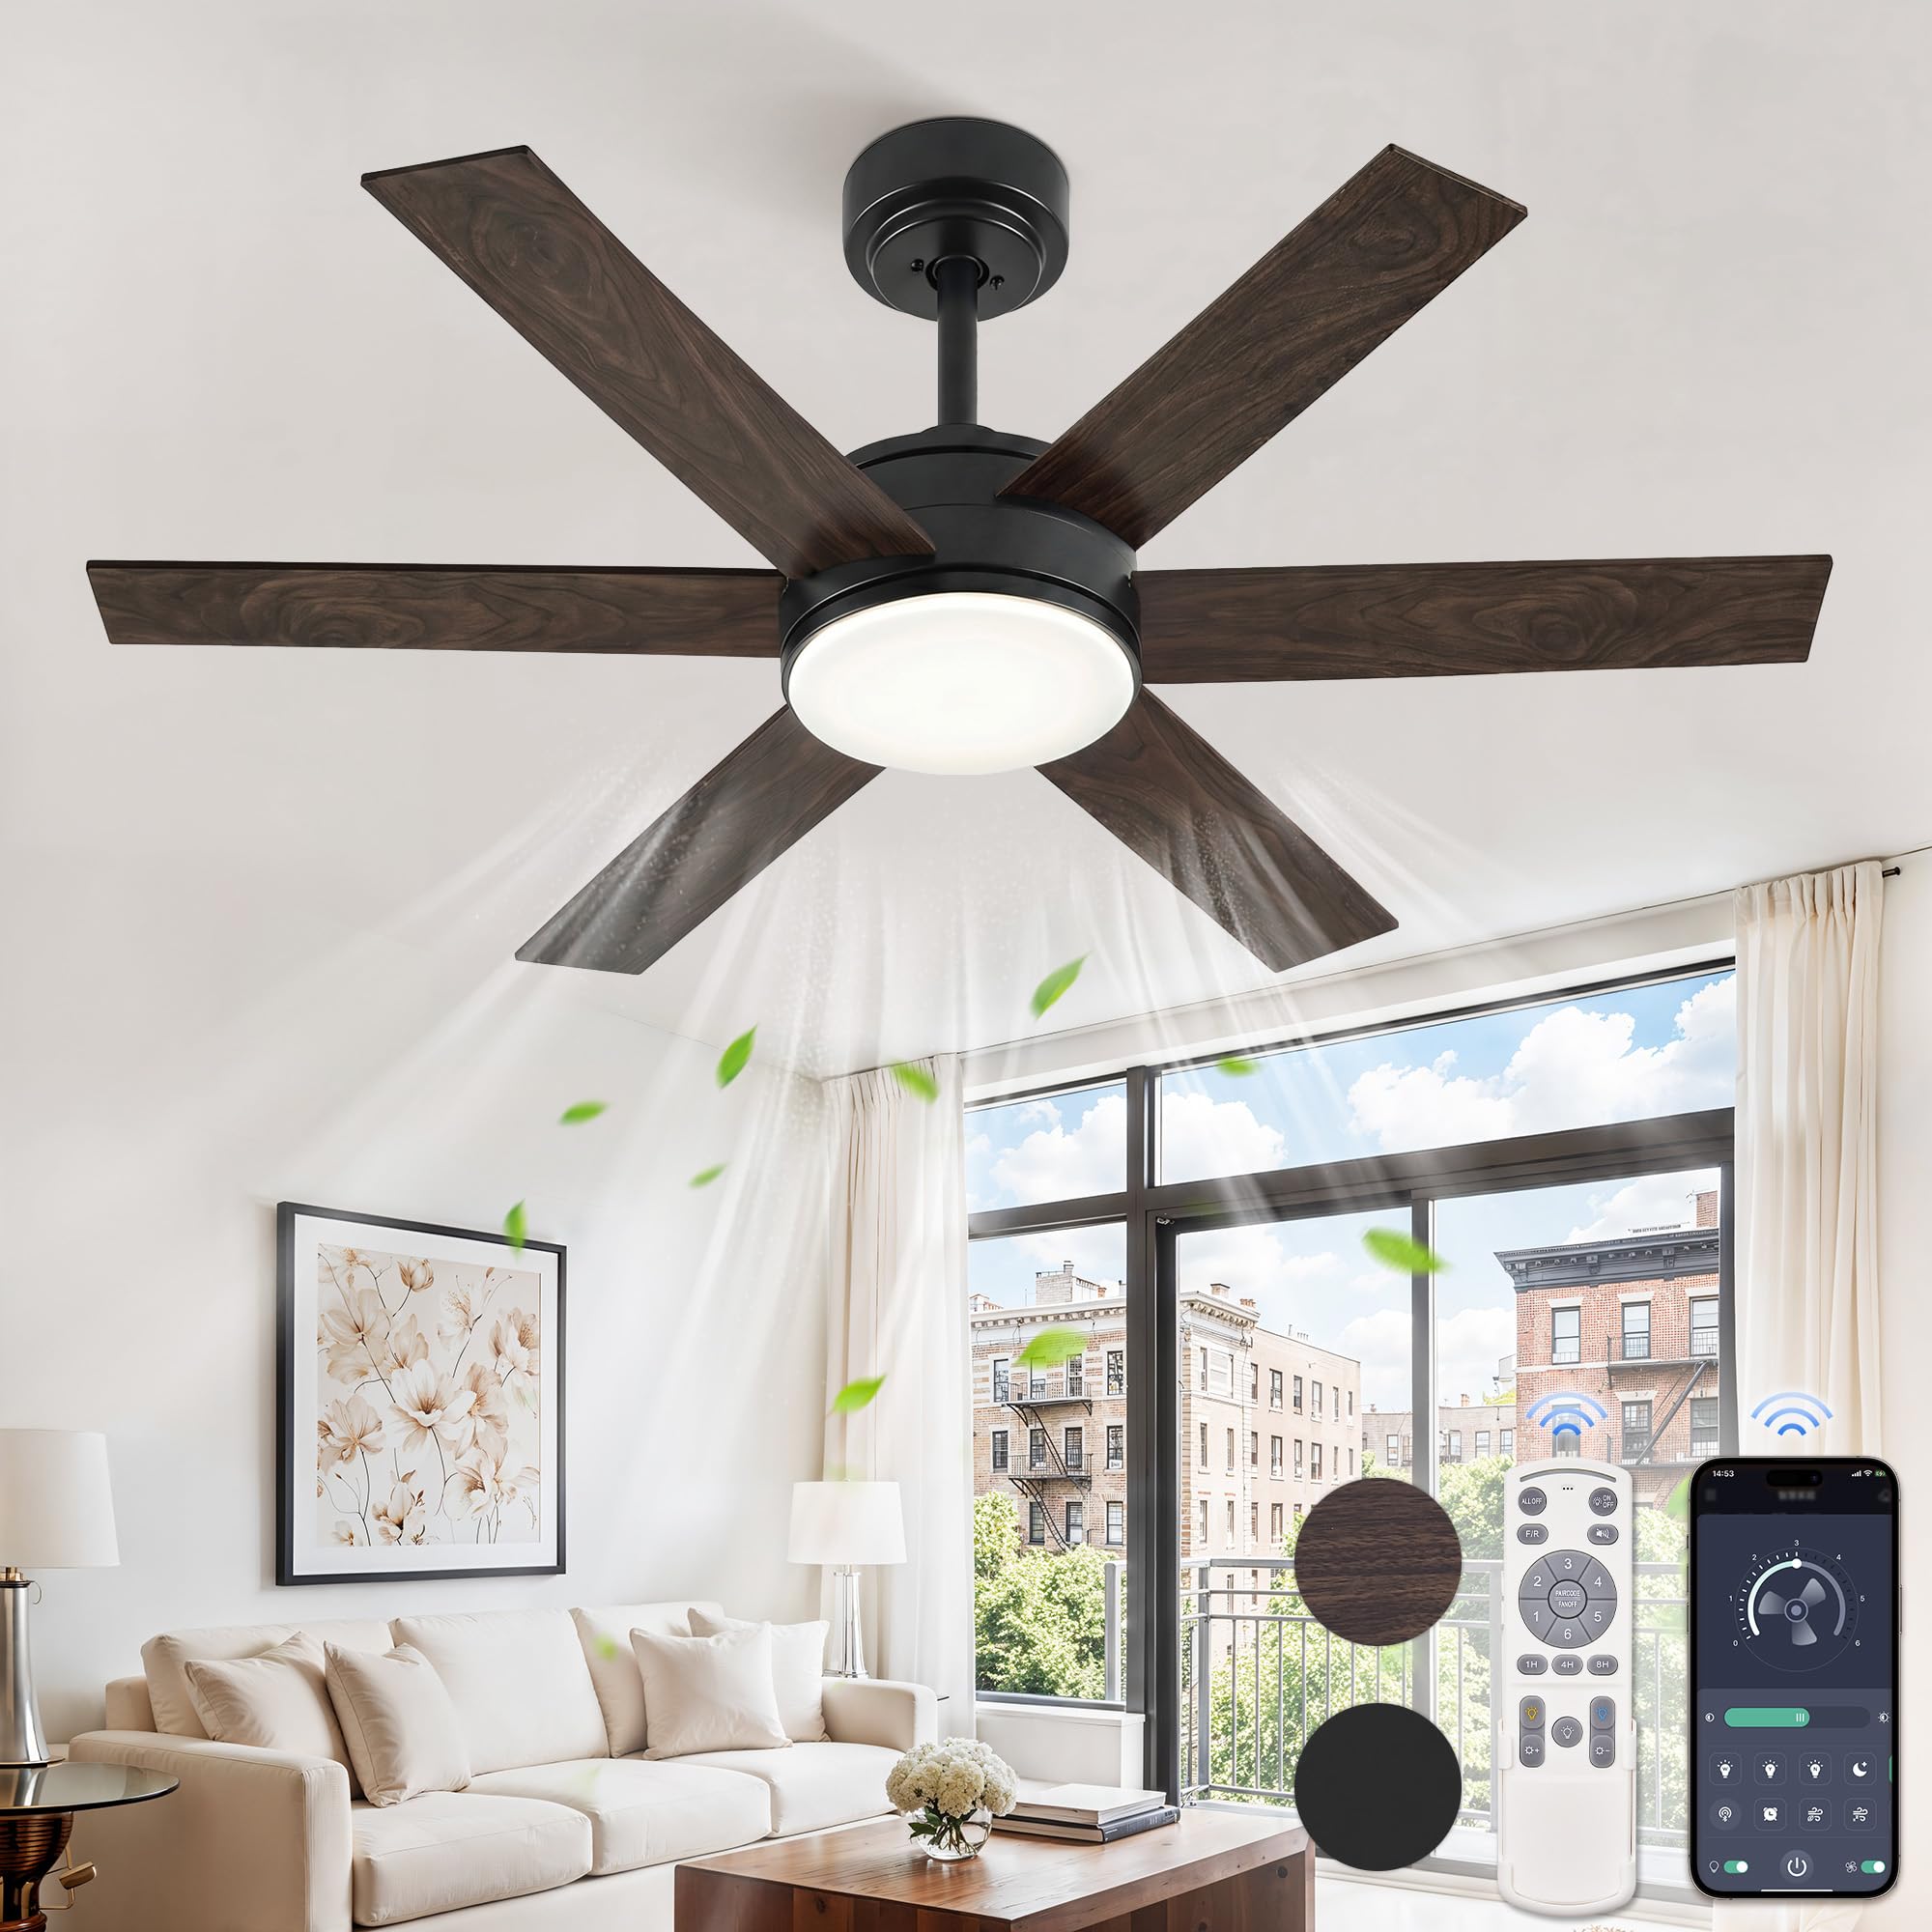
Image: The Fanbulous 42-inch outdoor ceiling fan with integrated light, shown installed in a modern living room setting.
2. Safety Information
WARNING: To reduce the risk of fire, electric shock, or personal injury, always follow these safety guidelines:
- Ensure the power is turned off at the circuit breaker before installation or servicing.
- All wiring must be in accordance with national and local electrical codes. Consult a qualified electrician if you are unsure.
- The mounting structure must be capable of supporting the weight of the fan (minimum 35 lbs).
- Do not operate the fan with damaged blades or housing.
- Keep hands, tools, and other objects clear of the fan blades when in operation.
- This fan is suitable for indoor and covered outdoor use (e.g., living room, patio, hall, porch). Do not expose to direct water spray.
3. Package Contents
Verify that all components are present before beginning installation:

Image: Exploded view of the Fanbulous ceiling fan components, including the mounting bracket, receiver, canopy cover, magnetic deco cover, downrods, coupling cover, lampshade, LED board, fan blades, and fan motor host.
- 1 x Mounting Bracket
- 1 x Receiver
- 1 x Canopy Cover
- 1 x Magnetic Deco Cover
- 2 x Downrods (5-inch and 10-inch options)
- 1 x Coupling Cover
- 1 x Lampshade
- 1 x LED Board
- 6 x Fan Blades (reversible two-color)
- 1 x Fan Motor Host
- 1 x Remote Control
- Hardware Pack (screws, washers, wire nuts)
4. Installation
Professional installation is recommended. Ensure power is disconnected at the circuit breaker before proceeding.
4.1. Prepare for Installation
- Turn off power at the main circuit breaker.
- Secure the mounting bracket to the ceiling junction box. Ensure the bracket is firmly attached and can support the fan's weight.
4.2. Assemble the Downrod and Fan Motor
- Select the appropriate downrod length (5-inch or 10-inch) for your ceiling height.
- Thread the fan wires through the chosen downrod.
- Install the canopy cover, magnetic deco cover, and coupling cover onto the downrod.
- Attach the downrod to the fan motor host, securing it with the provided pin and screws.
Video: A detailed guide demonstrating the installation process for a Fanbulous ceiling fan. While this video features a 60-inch model, the general installation steps for the 42-inch model are similar.
4.3. Mount the Fan and Connect Wiring
- Carefully lift the fan assembly and hang it from the mounting bracket.
- Connect the electrical wires (live, neutral, ground) from the fan to the house wiring, ensuring proper polarity and using wire nuts.
- Connect the receiver wires according to the wiring diagram in the full manual.
- Tuck all wires neatly into the junction box and secure the canopy cover to the mounting bracket.
4.4. Attach Fan Blades and Light Kit
- Attach each fan blade to the motor housing using the provided screws. Note that blades are reversible with two color options (Oil Bronze and Walnut); choose the side that matches your decor.
- Connect the LED board to the fan motor's light wires.
- Secure the lampshade to the light kit assembly.

Image: The fan blades feature two distinct finishes, Oil Bronze (Side A) and Walnut (Side B), allowing for customization to match different interior styles. The image also illustrates installation on both flat and sloped ceilings.
5. Operating Instructions
Your Fanbulous ceiling fan can be operated using the included remote control or a compatible smartphone application.
5.1. Remote Control Operation
The remote control allows you to adjust fan speed, light settings, and fan direction.

Image: The remote control layout with buttons for fan speed (1-6), light on/off, light dimming, color temperature change, fan direction (F/R), and timer settings (1H/4H/8H). Also shown is the 'Tanlamp Pro' app interface for smartphone control.
- Fan ON/OFF: Press the fan icon button to turn the fan on or off.
- Fan Speed: Use buttons 1-6 to select desired fan speed. (1-2: Soft Wind, 3-4: Natural Wind, 5-6: Cool Wind).
- Reversible Motor (F/R): Press the 'F/R' button to change the fan's rotation direction for summer (downward airflow) or winter (upward airflow).
- Light ON/OFF: Press the light bulb icon button to turn the light on or off.
- Light Color Temperature (3CCT): Press the 'CCT' button to cycle through 3000K (Warm White), 4500K (Natural White), and 6000K (Cool White).
- Dimmable Light: Press and hold the dimming buttons to adjust light brightness from 10% to 100%.
- Timer Function: Set the fan to turn off automatically after 1, 4, or 8 hours using the respective buttons.

Image: The fan's integrated light can be adjusted to three color temperatures (3000K, 4500K, 6000K) and dimmed from 10% to 100% brightness, adapting to various lighting needs and moods.

Image: The fan features a reversible DC motor with 6 speeds. In summer, it provides forward cool airflow; in winter, it reverses to circulate warm air, optimizing comfort year-round.
5.2. Smartphone App Control
Download the "Tanlamp Pro" app from Google Play Store or Apple App Store. Follow the in-app instructions to pair your fan for smartphone control. The app offers similar functionalities to the remote control.
6. Maintenance
Regular maintenance ensures optimal performance and longevity of your fan.
- Cleaning: Periodically wipe the fan blades and motor housing with a soft, damp cloth. Do not use abrasive cleaners or solvents. Ensure power is off before cleaning.
- Tighten Fasteners: Check all screws and fasteners annually to ensure they are secure.
- Lubrication: The DC motor is permanently lubricated and does not require additional oiling.
7. Troubleshooting
If you experience issues with your fan, refer to the following common problems and solutions:
| Problem | Possible Cause | Solution |
|---|---|---|
| Fan does not start | No power; Loose wire connections; Remote not paired. | Check circuit breaker. Ensure all wires are securely connected. Re-pair remote control (refer to full manual for pairing instructions). |
| Light does not work | Loose wire connection; Faulty LED board. | Check light kit wiring. Contact customer support if LED board is suspected faulty. |
| Fan wobbles | Loose blades; Uneven blade balance; Loose mounting bracket. | Ensure all blade screws are tight. Use a balancing kit (not included) if necessary. Verify mounting bracket is secure. |
| Noisy operation | Loose screws; Motor issue. | Check all screws for tightness. If noise persists, contact customer support. |
8. Specifications

Image: Dimensional drawing of the 42-inch ceiling fan, indicating a 42-inch diameter and a height of 14.7 inches (with 4-inch downrod) or 18.7 inches (with 8-inch downrod). Blade length is 17.5 inches.
| Feature | Detail |
|---|---|
| Brand | Fanbulous |
| Model Name | CN42 |
| Size | 42 Inch Diameter |
| Color | Brown (Reversible blades: Oil Bronze / Walnut) |
| Motor Type | DC Motor (Brushless, Reversible) |
| Number of Speeds | 6 |
| Light Type | Integrated LED, Dimmable |
| Color Temperature (CCT) | 3000K / 4500K / 6000K |
| Control Method | Remote Control, Smartphone App (Tanlamp Pro) |
| Timer Function | 1H / 4H / 8H |
| Downrod Lengths | 5 inches, 10 inches |
| Indoor/Outdoor Usage | Indoor, Covered Outdoor |
| Noise Level | Less than 35dB |
9. Warranty and Support
Fanbulous provides a 2-year after-sales support for this product. If you encounter any problems during installation, operation, or with the product's performance, please contact our customer support team for assistance. We are committed to working with you to resolve any issues.
For support, please refer to the contact information provided with your purchase or visit the Fanbulous official website.
Related documentsCN42


Ask a question about this manual
Ask about setup, troubleshooting, compatibility, parts, safety, or missing instructions. Manuals+ will review the question and use this page’s manual context to help answer it.