
GMKtec G3S
GMKtec Mini PC N95 G3S Instruction Manual
Model: G3S | Brand: GMKtec
1. Introduction
The GMKtec Mini PC N95 G3S is a compact and versatile desktop computer designed for various applications including office work, home entertainment, and business use. Powered by the 12th Gen Intel N95 processor, it offers efficient performance in a small form factor. This manual provides essential information for setting up, operating, and maintaining your device.
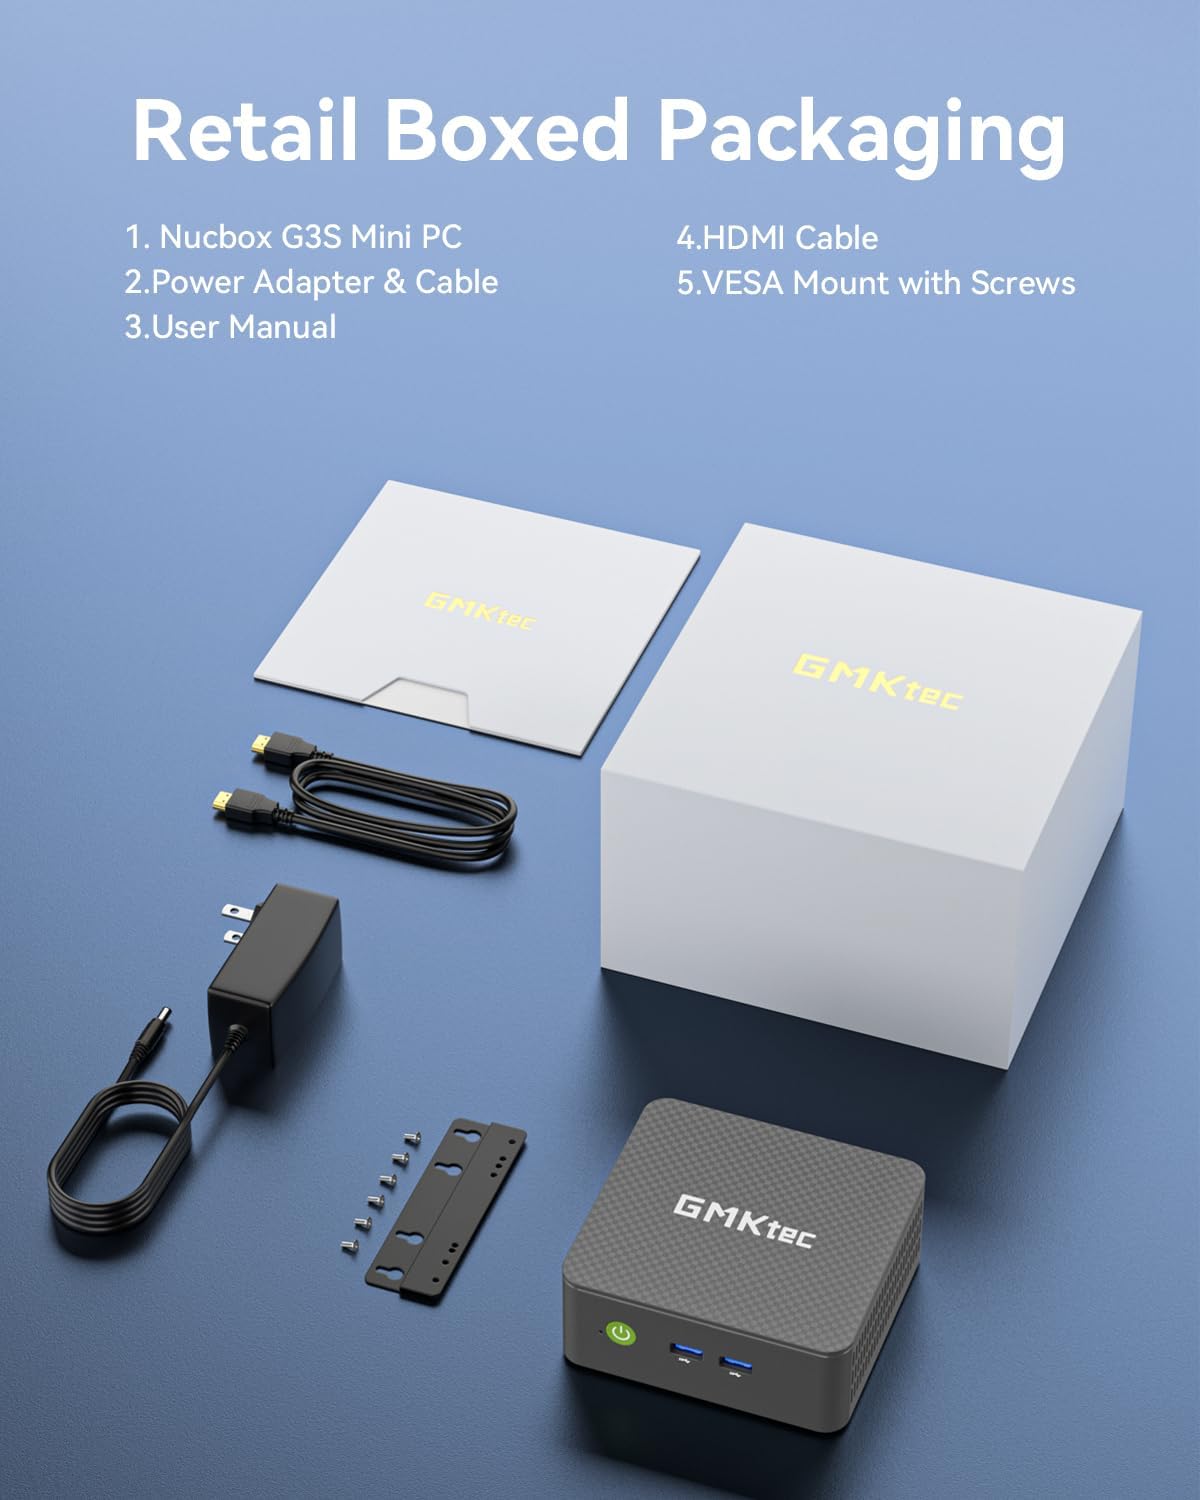
2. What's in the Box
- GMKtec Nucbox G3 S Mini PC
- VESA Mount with Screws
- HDMI Cable
- Power Adapter
- User Manual
3. Setup
3.1 Initial Connection
- Connect Power: Plug the power adapter into the DC 12V 3A port on the Mini PC and then into a power outlet.
- Connect Display: Use the provided HDMI cable to connect the Mini PC to your monitor or TV. The device supports dual 4K@60Hz displays via its two HDMI 2.0 ports.
- Connect Peripherals: Plug in your keyboard, mouse, and other USB devices into the available USB 3.2 ports. For wired network access, connect an Ethernet cable to the Gigabit Ethernet (RJ45 1000MbE) port.
- Power On: Press the power button located on the front of the Mini PC.

3.2 Operating System Setup
The GMKtec Mini PC comes pre-installed with Windows 11 Pro. Follow the on-screen instructions to complete the initial setup, including language selection, network configuration, and user account creation.
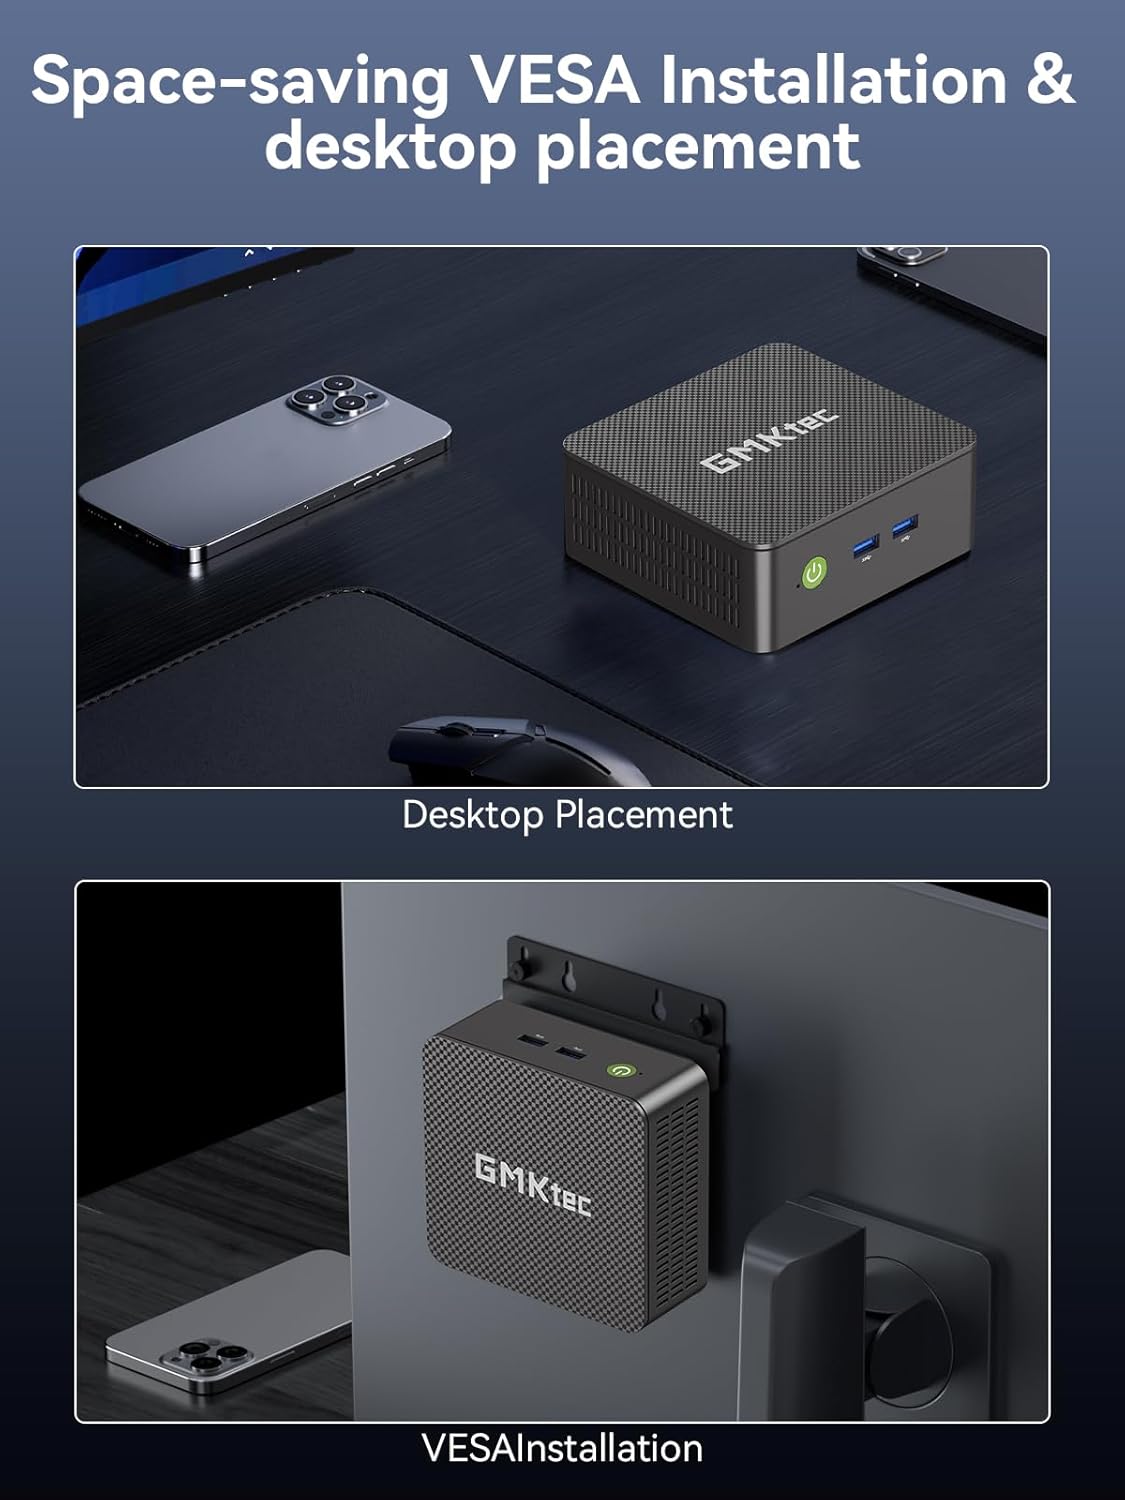
3.3 VESA Mount Installation
The Mini PC includes a VESA mount and screws for convenient installation behind a compatible monitor or TV, allowing for a clutter-free desktop setup.
- Attach the VESA mount bracket to the back of your monitor using the provided screws.
- Slide the Mini PC onto the mounted bracket until it securely locks into place.
4. Operating
4.1 Dual 4K Display Support
Leverage the upgraded Intel UHD Graphics (up to 1000MHz) to connect two 4K@60Hz displays simultaneously via the dual HDMI outputs. This feature enhances multitasking capabilities for both work and entertainment.

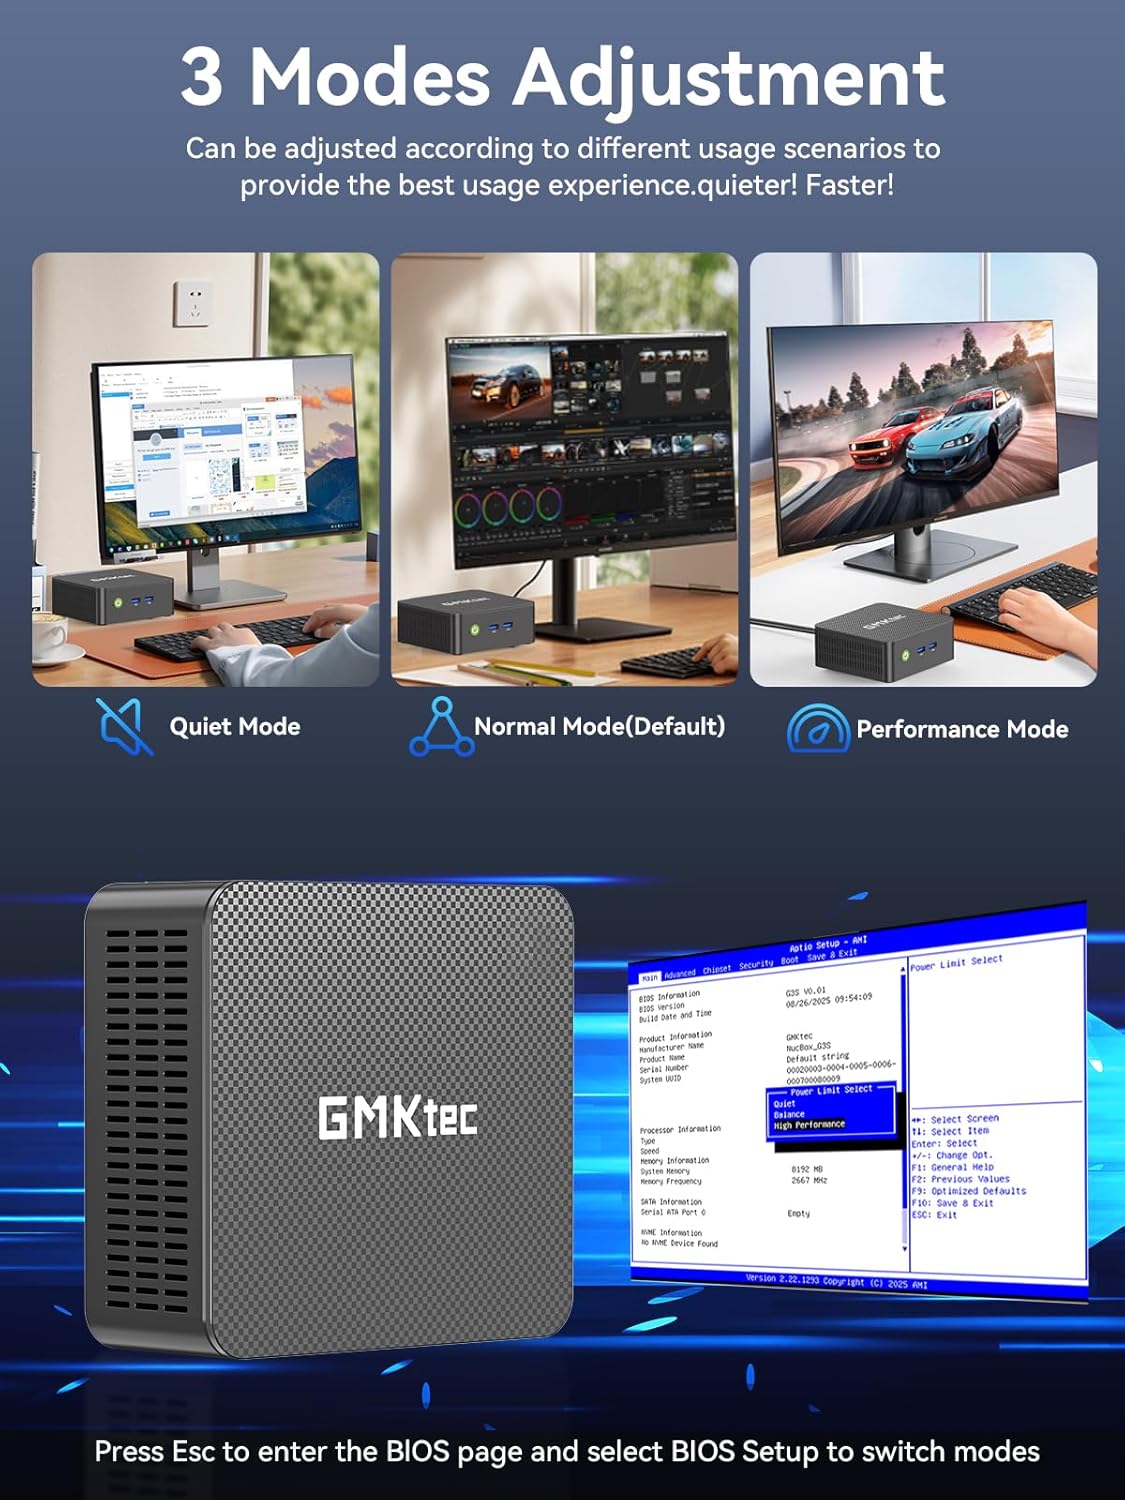
4.2 Performance Modes
The Mini PC offers three adjustable performance modes to optimize your user experience based on your needs:
- Quiet Mode: For silent operation during light tasks.
- Normal Mode (Default): Provides a balanced performance for everyday use.
- Performance Mode: Maximizes CPU and GPU power for demanding applications.
To switch between modes, press the 'Esc' key to enter the BIOS page during startup and select 'BIOS Setup'.
4.3 Wireless Connectivity
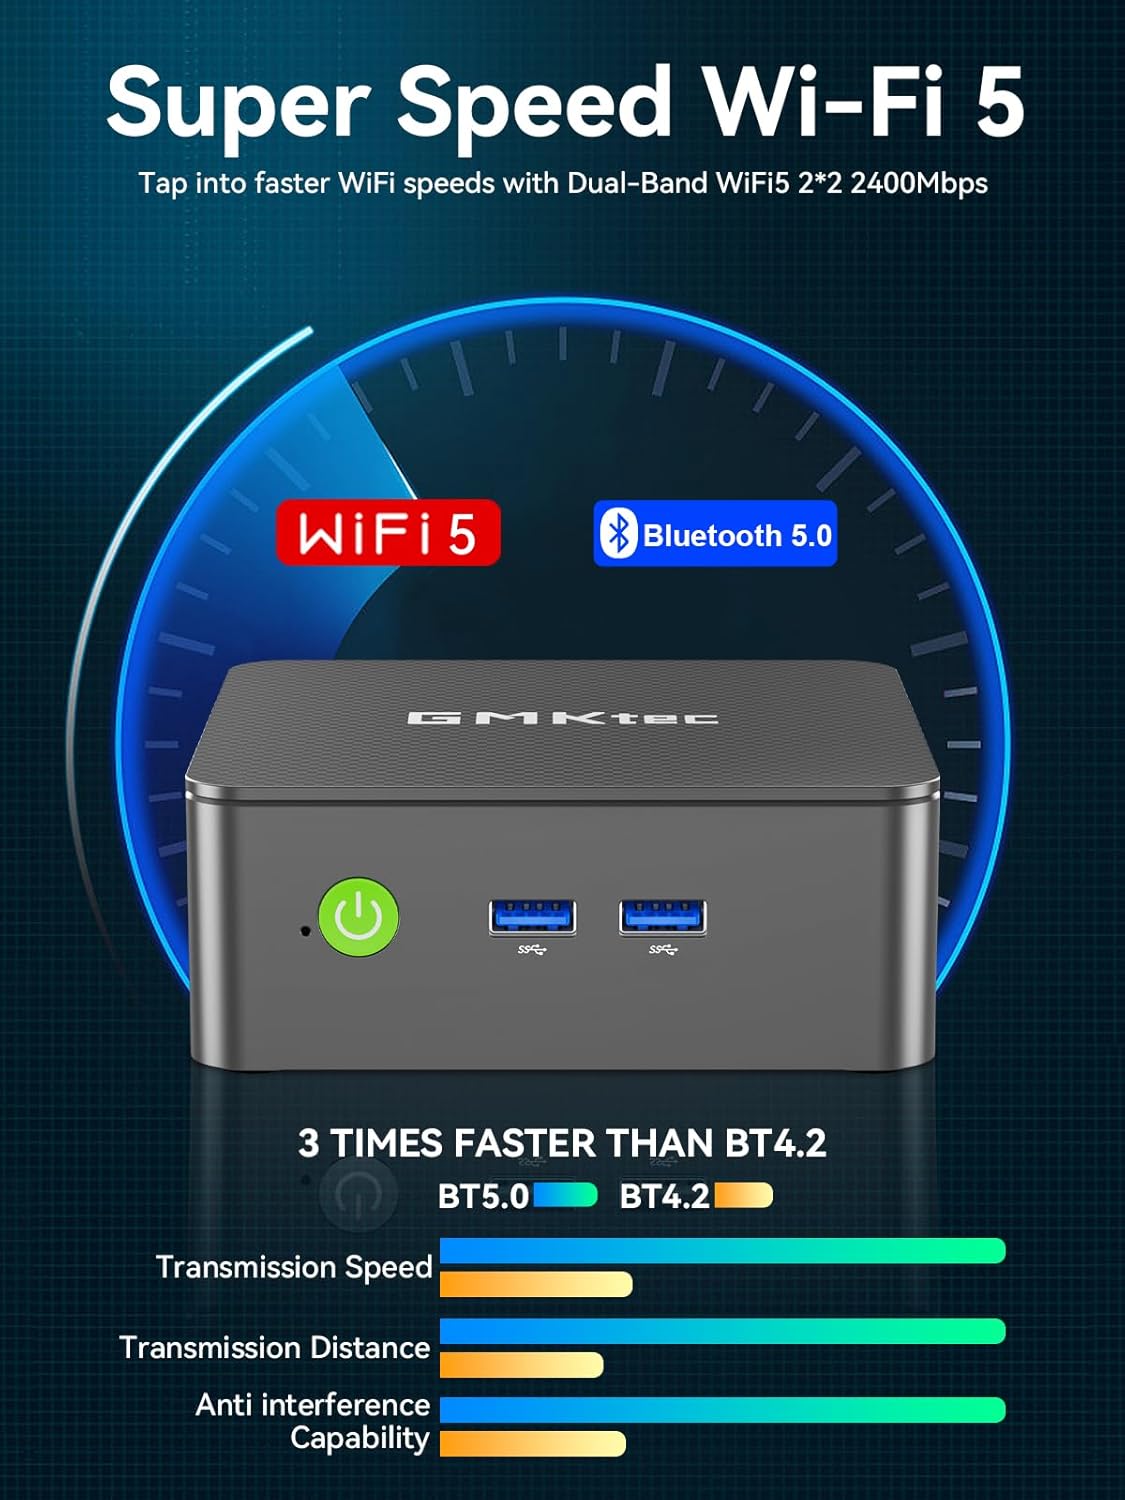
The Mini PC supports WiFi 5 and Bluetooth 5.0 for wireless connections to networks and peripherals.
5. Maintenance
To ensure optimal performance and longevity of your GMKtec Mini PC, consider the following:
- Ventilation: Ensure the Mini PC is placed in a well-ventilated area to prevent overheating. Avoid blocking the ventilation grilles.
- Cleaning: Regularly clean the exterior of the device with a soft, dry cloth. Avoid using liquid cleaners directly on the ports.
- Software Updates: Keep your Windows 11 Pro operating system and drivers updated to benefit from the latest security patches and performance improvements.
6. Troubleshooting
- Non-functional USB Port: If a USB port is not recognizing devices, try connecting the device to a different USB port. Ensure the device drivers are up to date. If the issue persists with a specific port, it may indicate a hardware fault.
- No Display Output: Verify that the HDMI cable is securely connected to both the Mini PC and the monitor. Ensure the monitor is set to the correct input source. Try a different HDMI cable or monitor if possible.
- System Unresponsive: If the system becomes unresponsive, perform a hard reboot by pressing and holding the power button until the device turns off, then power it back on.
- Overheating: If the device feels excessively hot, check that the ventilation is not obstructed. Consider placing the Mini PC in a cooler environment or using a stand to improve airflow.
7. Specifications
| Processor | 12th Gen Intel N95 (4 Cores, 4 Threads, up to 3.4GHz, 6MB Cache) |
| RAM | 8GB DDR4 (upgradeable to 16GB) |
| Storage | 256GB M.2 2242 SSD (upgradeable to 512GB or 1TB) |
| Graphics | Intel UHD Graphics (up to 1000MHz) |
| Display Output | Dual HDMI 2.0 (4K@60Hz) |
| Connectivity | WiFi 5, Bluetooth 5.0, Gigabit Ethernet (RJ45 1000MbE) |
| USB Ports | USB 3.2 (x2 front), USB 3.2 (x2 rear) |
| Audio | 3.5mm Audio Jack |
| Operating System | Windows 11 Pro |

8. Warranty and Support
GMKtec offers a 1-year limited warranty for each Mini PC, starting from the date of purchase. All defects due to design and workmanship are covered. For support, please contact the professional after-sales team.
Related documentsG3S


Ask a question about this manual
Ask about setup, troubleshooting, compatibility, parts, safety, or missing instructions. Manuals+ will review the question and use this page’s manual context to help answer it.