
1. Introduction
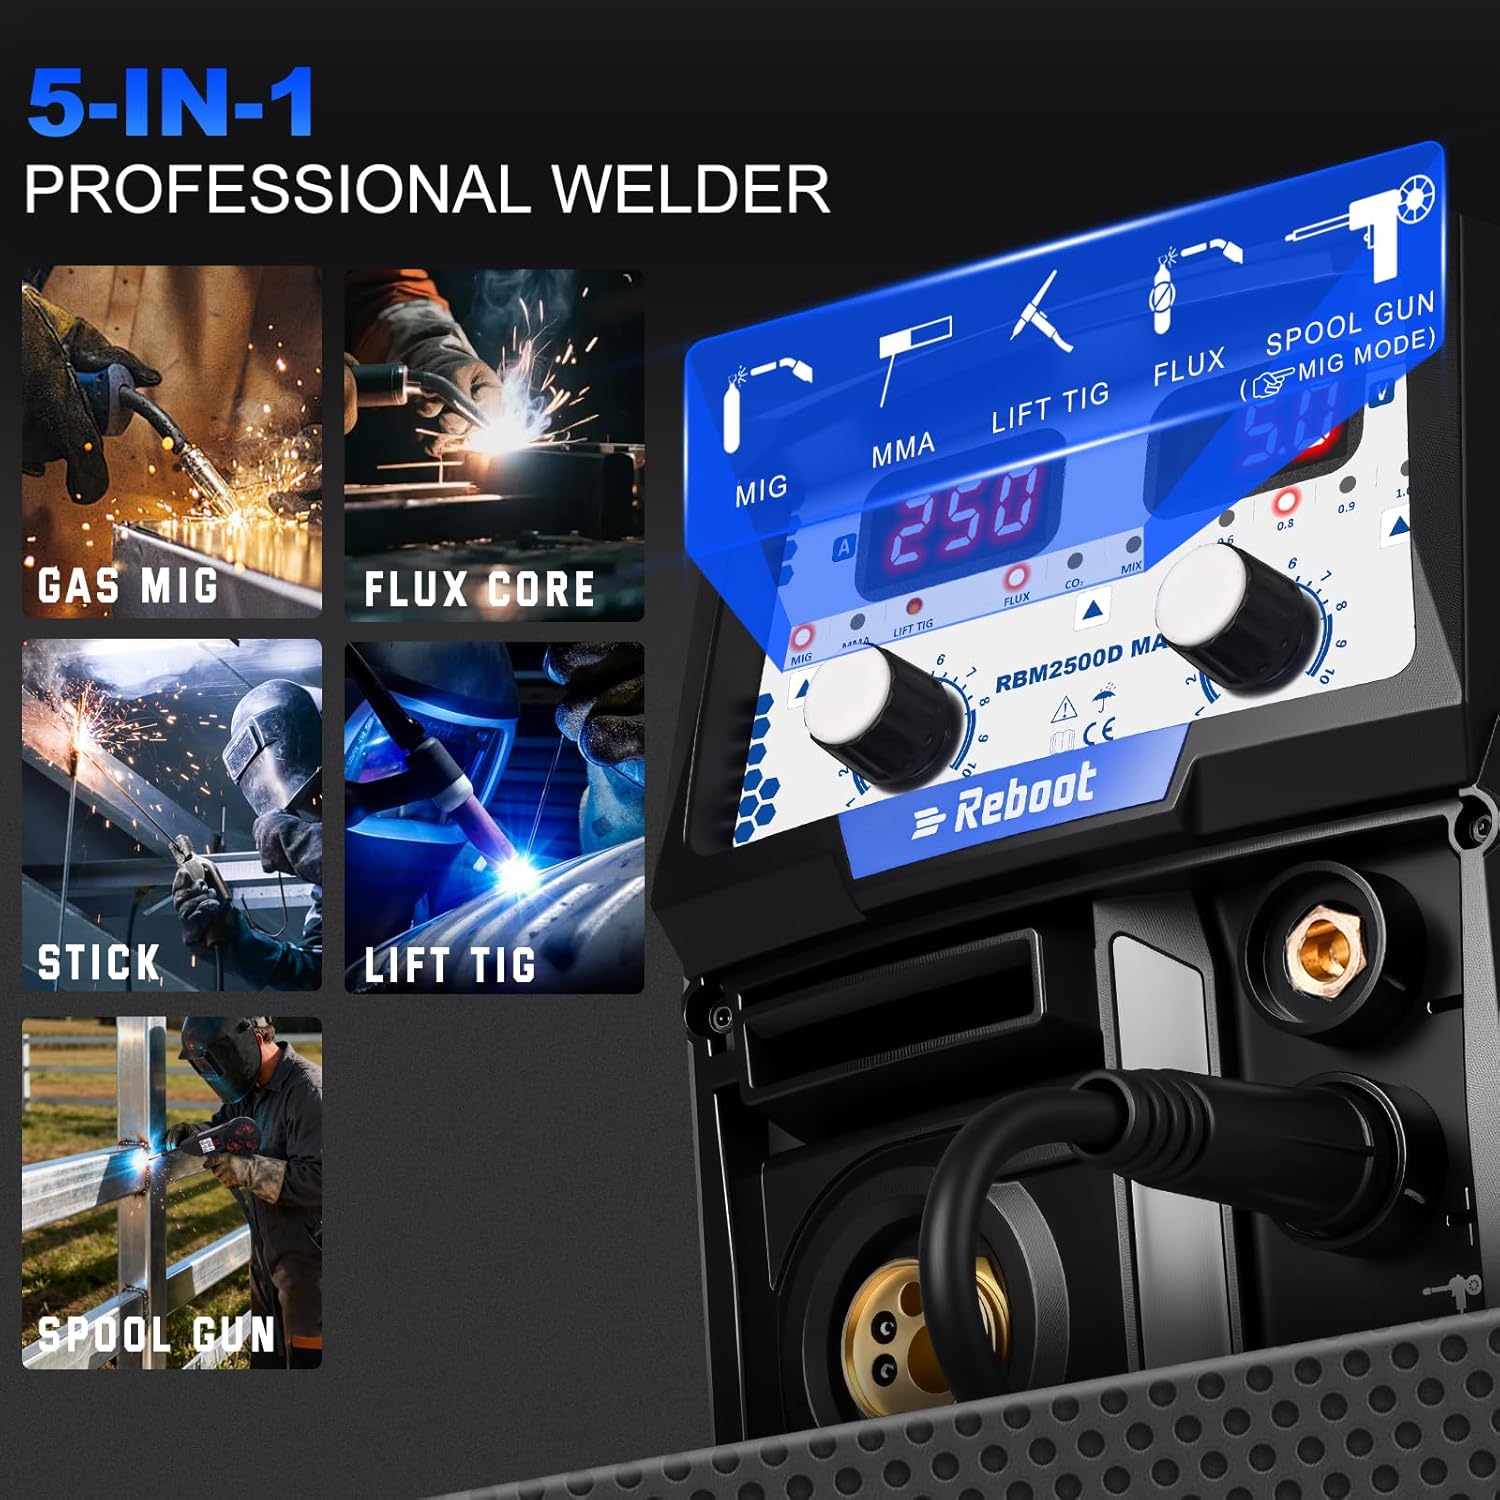
This manual provides essential information for the safe and effective operation of your Reboot RBM2500D MAX 180A 5-in-1 Multiprocess Welder. This versatile machine supports MIG (Gas), Flux-Cored (Gasless), Stick (MMA), Lift TIG, and Spool Gun welding processes, making it suitable for various materials including steel, stainless steel, and aluminum. Please read this manual thoroughly before use and retain it for future reference.
2. Safety Information
Welding operations involve significant risks. Always adhere to the following safety precautions to prevent injury or damage.
- Electric Shock: Can kill. Ensure proper grounding. Do not touch live electrical parts. Wear dry insulating gloves and protective clothing.
- Fumes and Gases: Can be hazardous. Work in a well-ventilated area. Use fume extractors if necessary.
- Arc Rays: Can burn eyes and skin. Wear a welding helmet with appropriate shade filter. Protect exposed skin with flame-resistant clothing.
- Fire and Explosion: Welding sparks and hot metal can cause fires. Keep flammable materials away from the welding area. Have a fire extinguisher readily available.
- Hot Parts: Can cause severe burns. Allow welded materials and equipment to cool before handling.
- Moving Parts: Can cause injury. Keep hands clear of moving parts like wire feed rollers.
Always consult local safety regulations and standards before operating welding equipment.
3. Product Overview and Panel Introduction
The Reboot RBM2500D MAX features a user-friendly control panel with dual displays for clear settings and monitoring.

Control Panel Features:
- Current Display: Shows the welding current (Amps).
- Voltage/Thrust/Post Time Display: Shows welding voltage, thrust for Stick welding, or post-flow time for TIG.
- Welding Modes: Indicators for MIG, MMA (Stick), and Lift TIG.
- Gas Selector Button: For selecting gas type (CO2, MIX) or gasless operation.
- Wire Diameter Button: For selecting the appropriate wire diameter for MIG/Flux-Cored welding.
- Left Value Knob: Adjusts the left display value (e.g., current).
- Right Value Knob: Adjusts the right display value (e.g., voltage, wire speed).
4. Setup
4.1 Unpacking and Inspection
Carefully unpack the welder and all accessories. Inspect for any shipping damage. Report any damage to your supplier immediately.

4.2 Power Connection
The RBM2500D MAX supports dual voltage input (120V/240V). Ensure the power source matches the machine's requirements and is properly grounded. Use appropriate circuit breakers for the selected voltage.
4.3 Ground Clamp Connection
Connect the ground clamp cable to the appropriate terminal on the welder. Securely attach the ground clamp to the workpiece or work table, ensuring good electrical contact.
4.4 Welding Process Specific Setup
4.4.1 MIG (Gas/Gasless) Setup
- Wire Installation: Open the wire feed compartment. Install the appropriate welding wire spool (solid wire for gas MIG, flux-cored wire for gasless). Thread the wire through the feed rollers and into the liner.
- Gas Connection (for Gas MIG): Connect the gas hose from your shielding gas cylinder (e.g., CO2, Argon/CO2 mix) to the gas inlet on the rear of the welder. Ensure the gas regulator is properly installed and set to the recommended flow rate.
- MIG Torch Connection: Connect the MIG torch to the front panel connector.
4.4.2 Stick (MMA) Setup
- Electrode Holder Connection: Connect the electrode holder cable to the appropriate terminal on the welder.
- Electrode Insertion: Insert the desired stick electrode into the electrode holder.
4.4.3 Lift TIG Setup
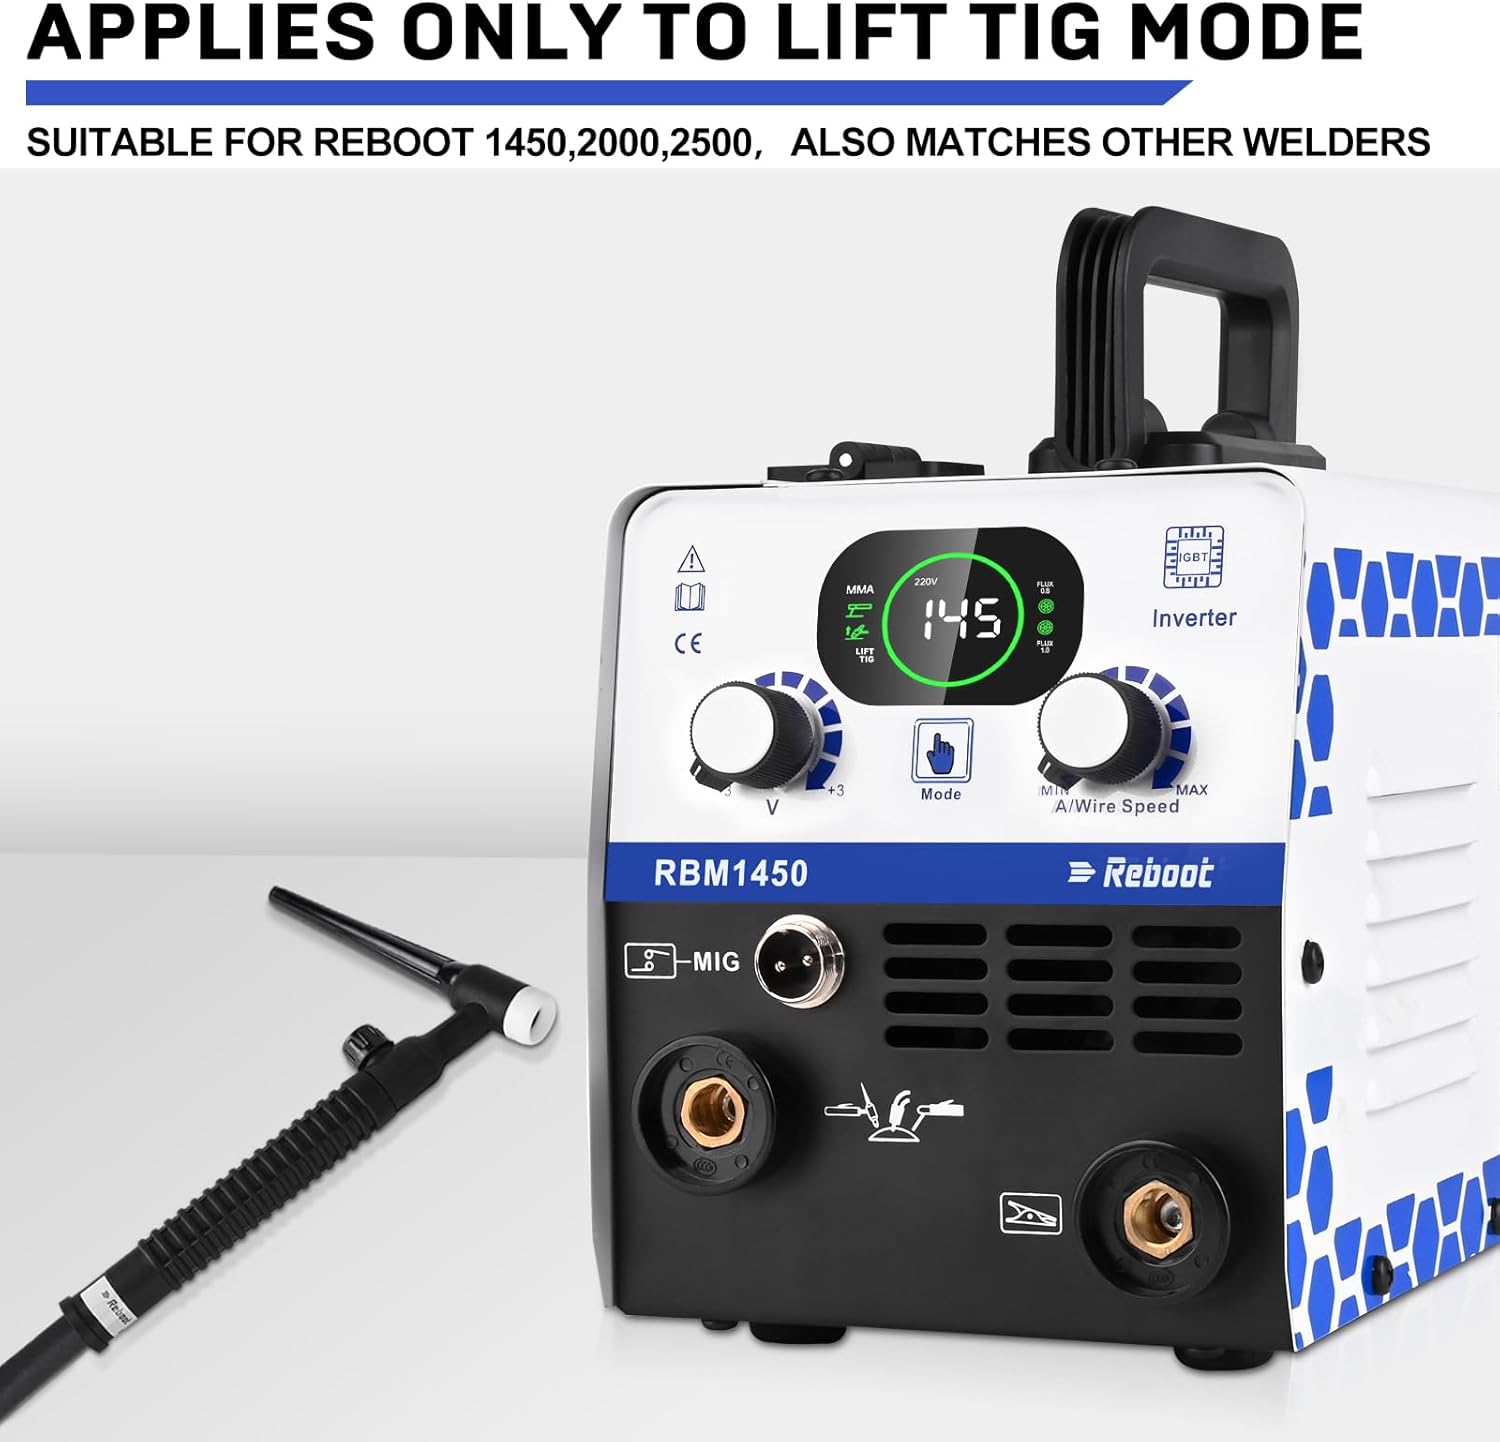
- TIG Torch Connection: Connect the TIG torch to the designated connector on the front panel.
- Gas Connection: Connect an Argon gas cylinder to the gas inlet on the rear of the welder.
- Tungsten Electrode: Install a sharpened tungsten electrode into the TIG torch collet and cap.

4.4.4 Spool Gun Setup (Optional)
The RBM2500D MAX is compatible with a spool gun for aluminum welding. Connect the spool gun to the designated port on the welder. Refer to the spool gun's specific manual for wire loading and operation.
5. Operation
5.1 Selecting Welding Mode
Turn on the welder. Use the control panel buttons to select the desired welding process (MIG, MMA, or Lift TIG).
5.2 Adjusting Parameters
Based on the selected mode and material, adjust the current (Amps) using the Left Value Knob and voltage/wire speed using the Right Value Knob. For MIG, also select the correct wire diameter and gas type (if applicable).
5.3 Welding Process Details
5.3.1 MIG Welding (Gas/Gasless)
Ensure proper wire feed tension. For gas MIG, confirm gas flow. Position the MIG torch and initiate the arc by pressing the trigger. Maintain a consistent travel speed and torch angle.
5.3.2 Stick (MMA) Welding
Strike the electrode against the workpiece to initiate the arc. Maintain a consistent arc length and travel speed. The machine's arc stability features will assist in smooth welding.
5.3.3 Lift TIG Welding
With Lift TIG, the arc is initiated by gently touching the tungsten electrode to the workpiece and then lifting it slightly. This prevents tungsten contamination. Ensure Argon gas is flowing. The flexible TIG torch head allows for adjustment to various angles, reducing operator fatigue and improving access to difficult areas.

5.3.4 Spool Gun Operation
When using a spool gun, ensure it is properly connected and the wire is loaded. Select the appropriate settings for aluminum welding. The spool gun provides direct wire feed for softer aluminum wires.
6. Maintenance
Regular maintenance ensures the longevity and optimal performance of your welder.
- Cleaning: Periodically clean the internal components with compressed air to remove dust and metal particles. Ensure the machine is unplugged before cleaning.
- Cable Inspection: Regularly inspect all welding cables, power cords, and gas hoses for damage, cuts, or fraying. Replace damaged components immediately.
- Wire Feed System (MIG): Clean the wire feed rollers and liner regularly to prevent wire feeding issues. Check for wear on the rollers and replace if necessary.
- TIG Torch: Inspect the tungsten electrode for proper sharpening and contamination. Clean or replace collets and ceramic nozzles as needed.
- Ground Clamp: Ensure the ground clamp is clean and makes good contact with the workpiece.
7. Troubleshooting
This section addresses common issues you might encounter during operation.
| Problem | Possible Cause | Solution |
|---|---|---|
| No power to the machine | Power cord unplugged, circuit breaker tripped, faulty power switch | Check power cord connection, reset circuit breaker, contact service if switch is faulty |
| No arc / Weak arc | Poor ground connection, incorrect settings, worn consumables, power supply issue | Ensure good ground, verify settings, replace consumables, check power input |
| Poor wire feed (MIG) | Incorrect wire tension, clogged liner, wrong drive rollers, tangled wire spool | Adjust tension, clean/replace liner, use correct rollers, untangle wire |
| Excessive spatter | Incorrect voltage/wire speed, insufficient shielding gas, dirty workpiece | Adjust settings, check gas flow, clean workpiece thoroughly |
| Overheating indicator on | Exceeded duty cycle, blocked ventilation | Allow machine to cool down, ensure clear ventilation paths |
If problems persist after attempting these solutions, please contact customer support.
8. Specifications
| Feature | Detail |
|---|---|
| Model | Reboot RBM2500D MAX |
| Welding Processes | MIG (Gas), Flux-Cored (Gasless), Stick (MMA), Lift TIG, Spool Gun Compatible |
| Output Current | 180A (True-to-spec) |
| Input Voltage | 120V/240V Dual Voltage |
| Construction | Rugged design with reinforced wrap-around corners |
| TIG Torch Head | Flexible, multi-angle rotation |
| ASIN | B0G4M4KTN6 |
| Date First Available | September 10, 2025 |
9. Warranty and Support
For warranty information, technical support, or service inquiries, please refer to the official Reboot website or contact the seller directly. Keep your purchase receipt as proof of purchase.


