
Introduction
This manual provides essential information for the safe assembly, operation, and maintenance of your GYMAX 10x8FT Rectangle Outdoor Trampoline. Please read all instructions carefully before assembly and use. Retain this manual for future reference.
Important Safety Warnings
Failure to follow these warnings and instructions may result in serious injury or death.
- Adult supervision is required at all times.
- Only one person should use the trampoline at a time.
- Do not attempt or allow somersaults. Landing on the head or neck can cause serious injury, paralysis, or death.
- Inspect the trampoline before each use for worn or damaged parts. Do not use if any parts are damaged.
- Ensure the enclosure net is securely fastened and free from tears or holes.
- Keep the area around the trampoline clear of obstacles.
- Do not use the trampoline in wet or windy conditions.
- Remove shoes, jewelry, and sharp objects before using the trampoline.
- Always enter and exit the trampoline using the provided ladder.
- The trampoline is designed for outdoor use only.
- Maximum user weight: 500 lbs (dynamic), 1000 lbs (static).
- Suitable for ages 3 and up.

Image: Enhanced safety features including the spring cover with 20mm foam padding and the no-gap design between the mat and net.
What's in the Box
Verify that all components are present before beginning assembly:
- 1 x Trampoline (Frame components, jumping mat, springs, spring cover)
- 1 x Ladder
- 1 x Storage Bag
- 1 x Soccer Goal
- 1 x User Guide (This document)
- All necessary hardware (bolts, nuts, tools)
Assembly Instructions
Assembly requires at least two adults. Follow the steps carefully. Refer to the assembly video for visual guidance.
Video: Detailed assembly guide for the GYMAX Rectangle Trampoline.
Step 1: Assemble the Base Frame
- Connect the curved frame sections with the straight connectors to form the rectangular base.
- Insert the vertical support tubes into the designated slots on the frame.
- Ensure all connections are secure.
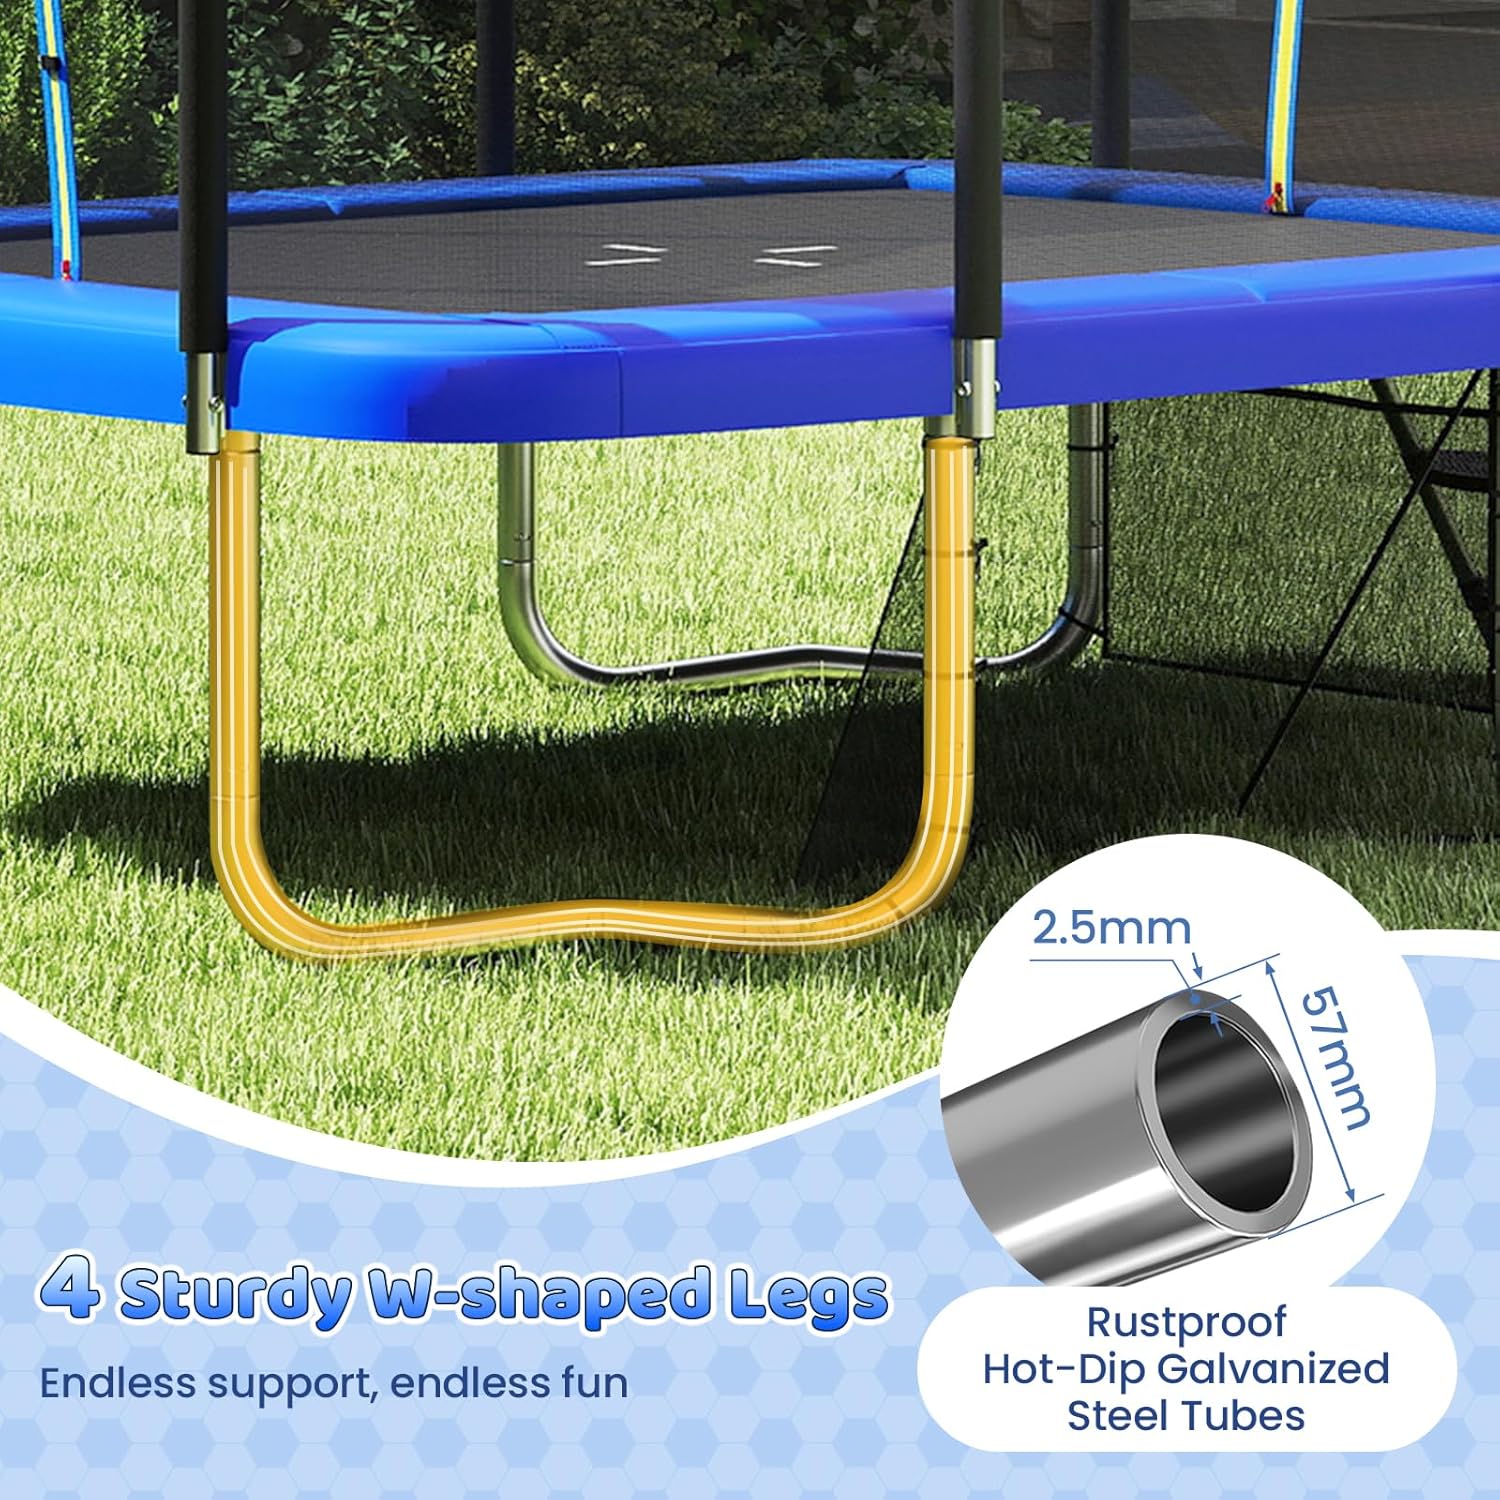
Image: Assembly of the trampoline's galvanized steel frame and W-shaped legs.
Step 2: Attach the Legs
- Attach the W-shaped legs to the vertical support tubes using the provided bolts.
- Ensure all bolts are tightened securely.
Step 3: Install the Jumping Mat and Springs
- Lay the jumping mat evenly across the frame.
- Using the spring tool, attach the springs diagonally across the mat to the frame. This ensures even tension.
- Continue attaching springs in a criss-cross pattern until all springs are in place.
- Cover the springs with the spring cover, securing it with the hook and loop fasteners.

Image: The high-elastic jumping mat and 68 high-tensile springs, designed for excellent bouncing.
Step 4: Erect the Enclosure Net Poles
- Assemble the enclosure net poles by connecting the upper and lower sections.
- Slide the foam sleeves over the poles.
- Attach the pole caps to the top of each pole.
- Secure the assembled poles to the trampoline frame using the provided bolts.
Step 5: Install the Enclosure Net
- Drape the enclosure net over the poles, ensuring the opening aligns with the ladder position.
- Secure the top of the net to the pole caps.
- Use the provided rope to tie the bottom of the enclosure net to the jumping mat's V-rings, creating a no-gap design.
Step 6: Assemble and Attach the Ladder
- Assemble the ladder steps to the ladder rails using the provided screws.
- Attach the ladder handle to the top of the ladder rails.
- Hook the assembled ladder onto the trampoline frame.

Image: The 3-step non-slip ladder for safe and easy access to the trampoline.
Step 7: Install Basketball Hoop and Storage Bag
- Assemble the basketball hoop and attach it to the enclosure net poles using the straps.
- Attach the shoe storage bag to the side of the trampoline frame using its ties.
- Attach the soccer goal to the side of the trampoline frame using its ties.

Image: The GYMAX trampoline featuring a basketball hoop and soccer goal for varied play.
Operating Instructions
General Use
- Always use the trampoline under direct adult supervision.
- Ensure the enclosure net zipper is closed during use.
- Jump in the center of the mat for optimal balance and safety.
- Avoid jumping too high or attempting dangerous maneuvers.
- Do not use the trampoline as a springboard to other objects.
Basketball Hoop & Soccer Goal
- Use soft, lightweight balls with the basketball hoop and soccer goal to prevent damage to the net or injury.
- Do not hang on the basketball hoop or net poles.
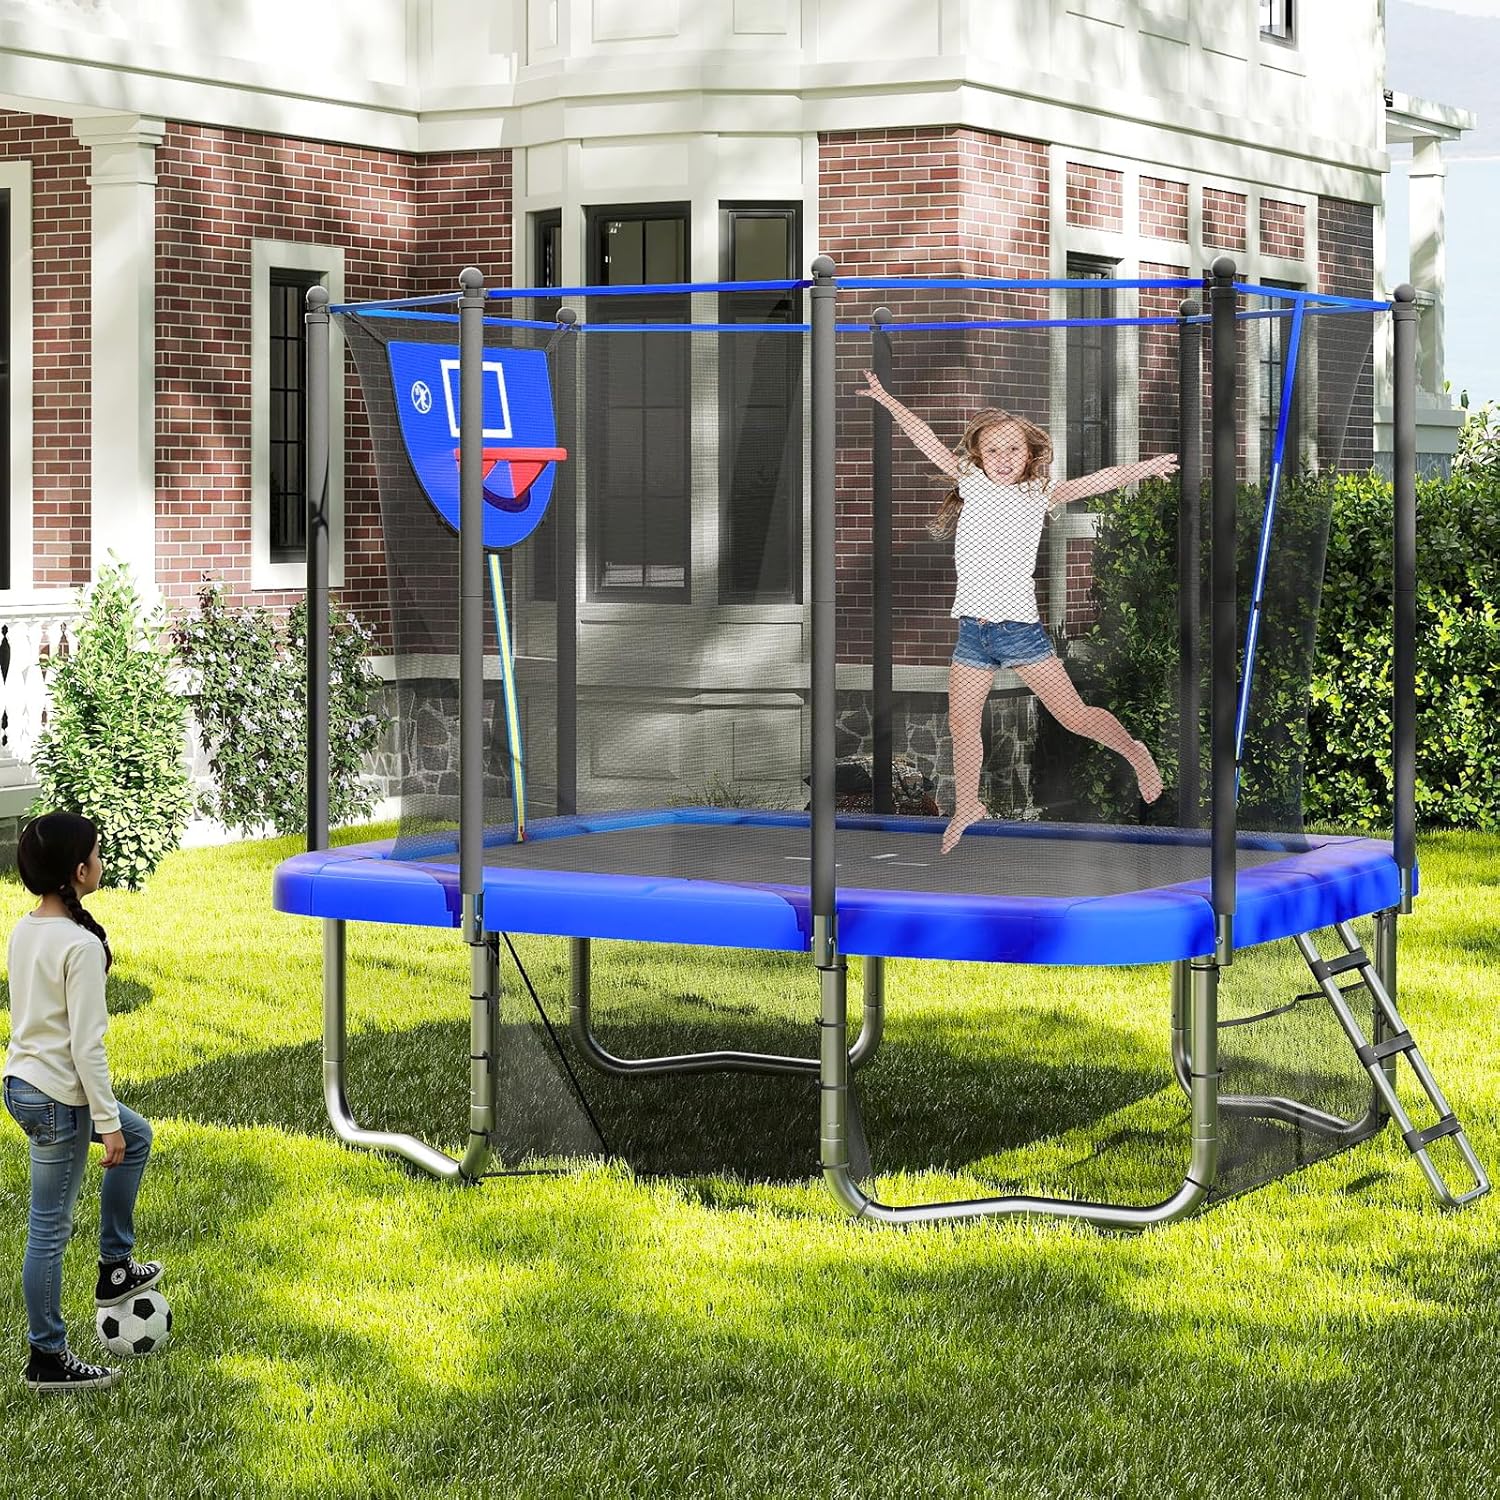
Image: Children enjoying the GYMAX trampoline, showcasing its multi-functional design with basketball hoop and soccer goal.
Maintenance
- Regular Inspection: Periodically check all nuts and bolts for tightness and tighten as necessary. Inspect all coverings and sharp edges.
- Springs: Ensure all springs are securely attached and not stretched or damaged. Replace any damaged springs immediately.
- Jumping Mat: Check the jumping mat for tears, holes, or excessive wear. A damaged mat should be replaced.
- Enclosure Net: Inspect the enclosure net for tears, holes, or loose attachments. Repair or replace as needed to maintain safety.
- Frame: Check the frame for any signs of rust or structural damage. Clean with a damp cloth and mild soap.
- Cleaning: Clean the trampoline components with a damp cloth and mild, non-abrasive cleaner. Do not use harsh chemicals.
- Weather Protection: In severe weather conditions (heavy snow, strong winds), it is recommended to disassemble the trampoline or secure it properly to prevent damage.
Troubleshooting
- Squeaking Noise: Apply a small amount of lubricant to the spring hooks or frame joints if squeaking occurs during use.
- Uneven Bounce: Check that all springs are correctly installed and evenly tensioned. Ensure the trampoline is on a level surface.
- Loose Net: Re-tie or re-fasten any loose sections of the enclosure net. Inspect for damage if it frequently becomes loose.
- Missing Parts: If any parts are missing upon arrival, contact customer support immediately.
Specifications
| Feature | Detail |
|---|---|
| Brand | GYMAX |
| Model Name | Rectangle Trampoline (GM2399/GM2400) |
| Color | Blue |
| Material | Galvanized Steel, PE, EPE, PVC |
| Overall Dimensions | 10 ft x 8 ft x 8.9 ft (L x W x H) |
| Jumping Area Dimensions | 8.5 ft x 6.5 ft (L x W) |
| Leg Height | 36 inches |
| Static Weight Capacity | 1000 lbs |
| Dynamic Weight Capacity | 500 lbs |
| Number of Springs | 68 |
| Suitable Age | 3+ Years Old |
| Certifications | ASTM, CPSIA Compliant |
Warranty Information
This product comes with a 90-day warranty from the date of purchase. This warranty covers manufacturing defects under normal use. It does not cover damage caused by misuse, accidents, improper assembly, or normal wear and tear. Please retain your proof of purchase for warranty claims.
Customer Support
For any questions, missing parts, or support needs, please contact GYMAX customer service. Refer to your purchase documentation for specific contact details or visit the official GYMAX website.


