
1. Important Safety Information
Please read all instructions carefully before using this monitor. Keep this manual for future reference.
- Do not expose the monitor to rain, moisture, or extreme temperatures.
- Ensure proper ventilation around the monitor to prevent overheating.
- Use only the power adapter provided with the monitor.
- Avoid placing heavy objects on the power cord or monitor.
- Disconnect the power plug from the outlet if the monitor will not be used for an extended period.
- Do not attempt to service the monitor yourself. Refer all servicing to qualified personnel.
2. Package Contents
Verify that all items are present in your package:
- 27-inch QHD 210Hz Monitor (1 unit)
- Monitor Stand (1 unit)
- Quick Start Guide (QSG) (1 unit)
- DP Cable (1 unit)
- Power Adaptor (1 unit)
- Power Cord (1 unit)
- Shielding Hood (2 units)

Video: KTC 27M1 27 Inch 210Hz Gaming Monitor. This video provides a visual overview of the monitor and its features.
3. Setup Instructions
3.1 Assembling the Monitor Stand
- Carefully remove the monitor and stand components from the packaging.
- Attach the stand base to the stand arm using the provided screw.
- Align the stand arm with the mounting slot on the back of the monitor and push until it clicks into place.
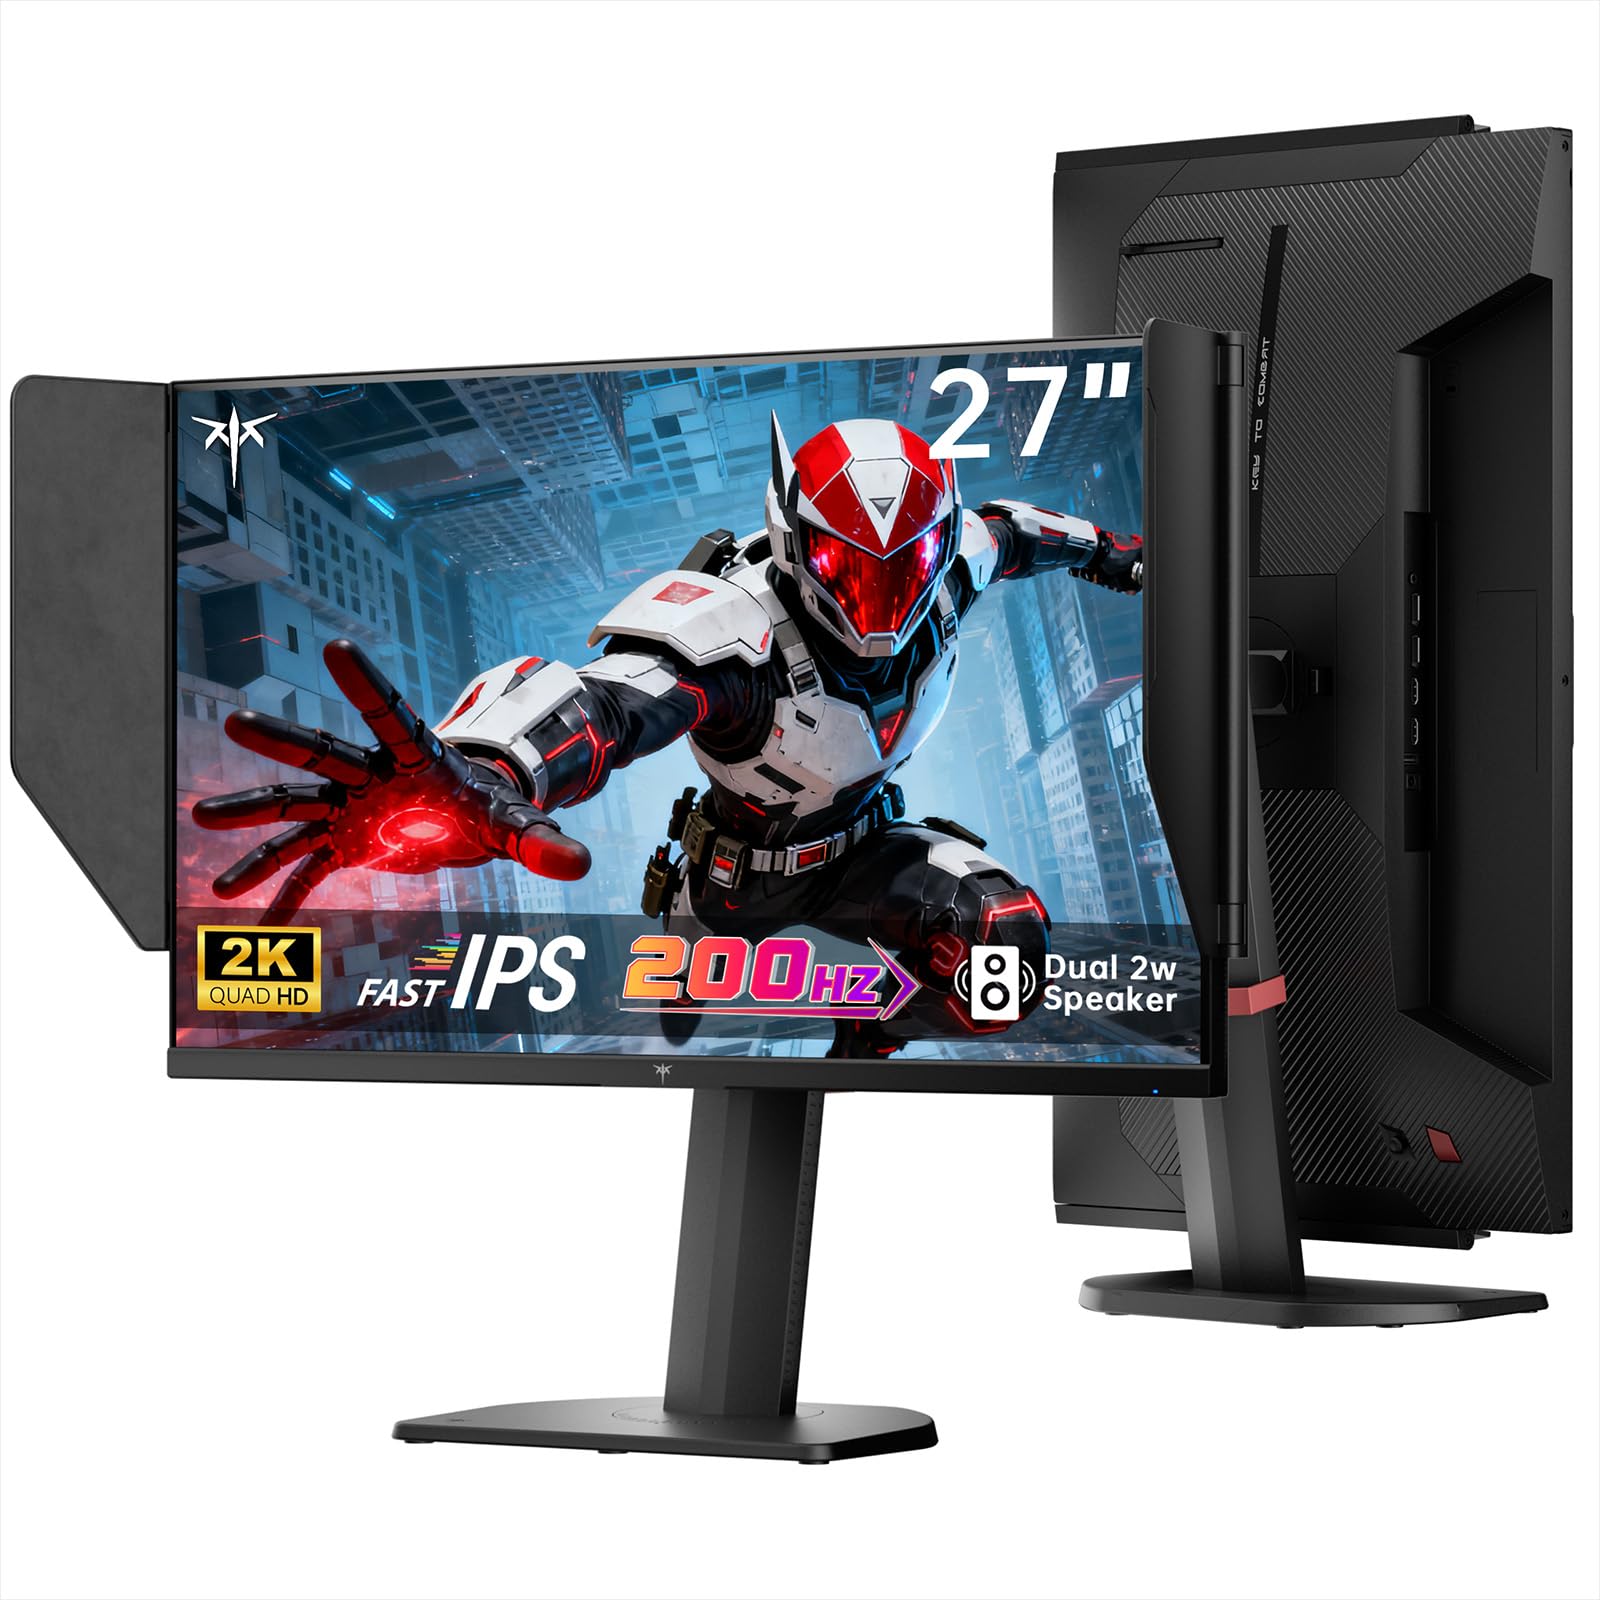
Image: The KTC 27M1 monitor with its stand fully assembled, ready for use.
3.2 Attaching the Shielding Hood
The shielding hood helps reduce glare and reflections for an optimal viewing experience.
- Locate the two shielding hood pieces.
- Align each piece with the designated slots on the sides of the monitor and gently slide them into place until secure.

Image: The KTC 27M1 monitor shown with the shielding hood attached, designed to block reflected light.
3.3 Connecting Cables
Connect the monitor to your computer or other devices using the appropriate cables:
- DisplayPort (DP): For 200Hz (overclockable to 210Hz) refresh rates, connect the DP cable from your graphics card to the monitor's DP 1.4 port.
- HDMI: For 144Hz refresh rates, connect an HDMI 2.0 cable from your device to one of the monitor's HDMI ports.
- Power: Connect the power adapter to the DC input on the monitor, then plug the power cord into a wall outlet.
- Audio: Connect headphones or external speakers to the 3.5mm earphone jack if desired.

Image: Close-up view of the KTC 27M1 monitor's rear ports, including HDMI, DisplayPort, USB, and earphone jack.
4. Operating Instructions
4.1 Power On/Off
Press the 5-way navigation joystick located on the back of the monitor to power it on or off.
4.2 OSD Menu Navigation
The 5-way navigation joystick is used to access and navigate the On-Screen Display (OSD) menu:
- Press the joystick to open the OSD menu.
- Move the joystick Up/Down/Left/Right to navigate through menu options.
- Press the joystick again to select an option or confirm a setting.
- Move the joystick Left to go back to the previous menu or exit the OSD.
4.3 Adjusting Display Settings
Within the OSD menu, you can adjust various display settings:
- Brightness/Contrast: Adjust the overall luminance and contrast levels.
- Color Settings: Modify color temperature (Warm, Cool, User), gamma, hue, and saturation. The monitor offers 130% sRGB color gamut and ΔE<2 for accurate color reproduction.
- Gaming Setup: Enable/disable Adaptive Sync (FreeSync/G-Sync Compatible), adjust Overdrive (Ultra Fast recommended for gaming), and activate Game Assist features.
- Advanced Settings: Toggle HDR (Auto/Off) and OverClock (to achieve 210Hz refresh rate).
- Input: Manually select the input source (DP, HDMI1, HDMI2).
- System Set: Change OSD language, LED indicator, audio volume, and other system preferences.
4.4 Ergonomic Adjustments
The monitor stand supports multiple ergonomic adjustments for comfortable viewing:
- Height Adjustment: Adjust the monitor height by 150±5mm.
- Tilt: Tilt the screen from -5° to 35°.
- Swivel: Swivel the monitor ±60°.
- Pivot: Pivot the screen from -5° to 90° for vertical orientation.

Image: Visual representation of the KTC 27M1 monitor's tilt, swivel, elevate, and pivot adjustments.
5. Features
- Display: 27-inch QHD (2560x1440) Fast IPS panel.
- Refresh Rate: 200Hz, overclockable to 210Hz.
- Response Time: 1ms (MPRT) for sharp visuals.
- Color Accuracy: 130% sRGB color gamut, 99% DCI-P3 coverage, ΔE<2, 450 cd/m² brightness, 1.07 Billion Colors, 1000:1 Contrast Ratio.
- Adaptive Sync: FreeSync and G-Sync Compatible to eliminate screen tearing.
- Eye Care: Flicker-free and low blue light modes for extended comfortable viewing.
- Audio: Built-in dual 2W speakers.
- Connectivity: 2x HDMI 2.0 ports, 1x DisplayPort 1.4 port, 1x USB 2.0 port, 1x Earphone jack.
- Mounting: 100x100mm VESA mount compatible.
- Design: Includes a detachable shielding hood to block reflected light.

Image: The KTC 27M1 monitor displaying vibrant colors, highlighting its color accuracy and brightness features.
6. Specifications
| Feature | Specification |
|---|---|
| Brand | KTC |
| Model Number | H27T8 (Marketed as 27M1) |
| Screen Size | 27 Inches |
| Native Resolution | 2560x1440 (QHD) |
| Display Technology | Fast IPS |
| Refresh Rate | 200 Hz (Overclockable to 210 Hz) |
| Response Time | 1 Millisecond (MPRT) |
| Brightness | 450 Candela (cd/m²) |
| Contrast Ratio | 1000:1 |
| Color Gamut | 130% sRGB, 99% DCI-P3 |
| Viewing Angle | 178 Degrees |
| HDR Support | Yes |
| Adaptive Sync | FreeSync, G-Sync Compatible |
| Built-In Speakers | 2x 2W Speakers |
| Connectivity | 2x HDMI 2.0, 1x DisplayPort 1.4, 1x USB 2.0, 1x Earphone |
| VESA Mount | 100x100mm |
| Ergonomics | Height, Tilt, Swivel, Pivot Adjustment |
| Power Consumption | 48 Watts |
7. Maintenance and Care
- Cleaning the Screen: Gently wipe the screen with a soft, lint-free cloth. For stubborn marks, dampen the cloth with a mild, non-abrasive screen cleaner.
- Cleaning the Casing: Use a soft, dry cloth to clean the monitor casing. Avoid using strong detergents or abrasive cleaners.
- Ventilation: Ensure the ventilation openings on the monitor are clear and unobstructed to prevent overheating.
- Storage: If storing the monitor for an extended period, disconnect it from power and store it in a cool, dry place.
8. Troubleshooting
8.1 No Power
- Check if the power cord is securely connected to the monitor and the power outlet.
- Verify that the power outlet is functioning correctly by plugging in another device.
- Ensure the power adapter is properly connected.
8.2 No Signal/Blank Screen
- Confirm that the video cable (DP or HDMI) is securely connected to both the monitor and your computer/device.
- Press the OSD joystick to open the menu and manually select the correct input source.
- Ensure your computer/device is powered on and not in sleep mode.
- Try using a different video cable or port to rule out cable/port issues.
8.3 Flickering/Distorted Image
- Check the video cable for any damage or loose connections.
- Adjust the refresh rate in your computer's display settings to match the monitor's native refresh rate (200Hz or 210Hz if overclocked).
- Enable Adaptive Sync (FreeSync/G-Sync Compatible) in the monitor's OSD menu and your graphics card settings.
- Ensure your graphics card drivers are up to date.
8.4 No Sound from Built-in Speakers/Earphone Jack
- Check the volume settings in the monitor's OSD menu and your computer's operating system.
- Ensure the correct audio output device is selected in your computer's sound settings.
- Verify that the audio cable (if using external speakers) or headphones are properly connected.
9. Warranty and Support
KTC is committed to providing quality service and support for your monitor.
- Warranty: This product comes with a 3-year quality guarantee.
- Technical Support: Lifetime technical support is available for all KTC products.
- Contact Us: If you have any questions or encounter issues, please contact KTC customer support. Solutions will be provided within 24 hours.


