1. Product Overview
The Garvee 20'X20'X10' Metal Carport is designed to provide robust protection for your vehicles and equipment. Constructed with heavy-duty materials, it offers an all-weather shelter suitable for full-size pickup trucks, bass boats, and tractors.
Key Features:
- Heavy-Duty Material: Features 1.6'' / 19 gauge high-strength steel poles and 27 gauge sheet metal. All parts are coated with a triple coating for extended lifespan.
- Built to Last: A 140° roof angle design increases top load-bearing capacity by 30% compared to other carports. Multiple roof and side reinforced bars improve anti-high wind performance up to Beaufort 12.
- Ample Space: With dimensions of 230''L x 230''W x 114''H, it can easily accommodate a full-sized pickup truck. A side height of 6'4'' allows for compact trailers or RVs.
- 360° Protection: Includes a 220 g PE tarp to protect against elements, along with front and back roll-up doors for easy access.
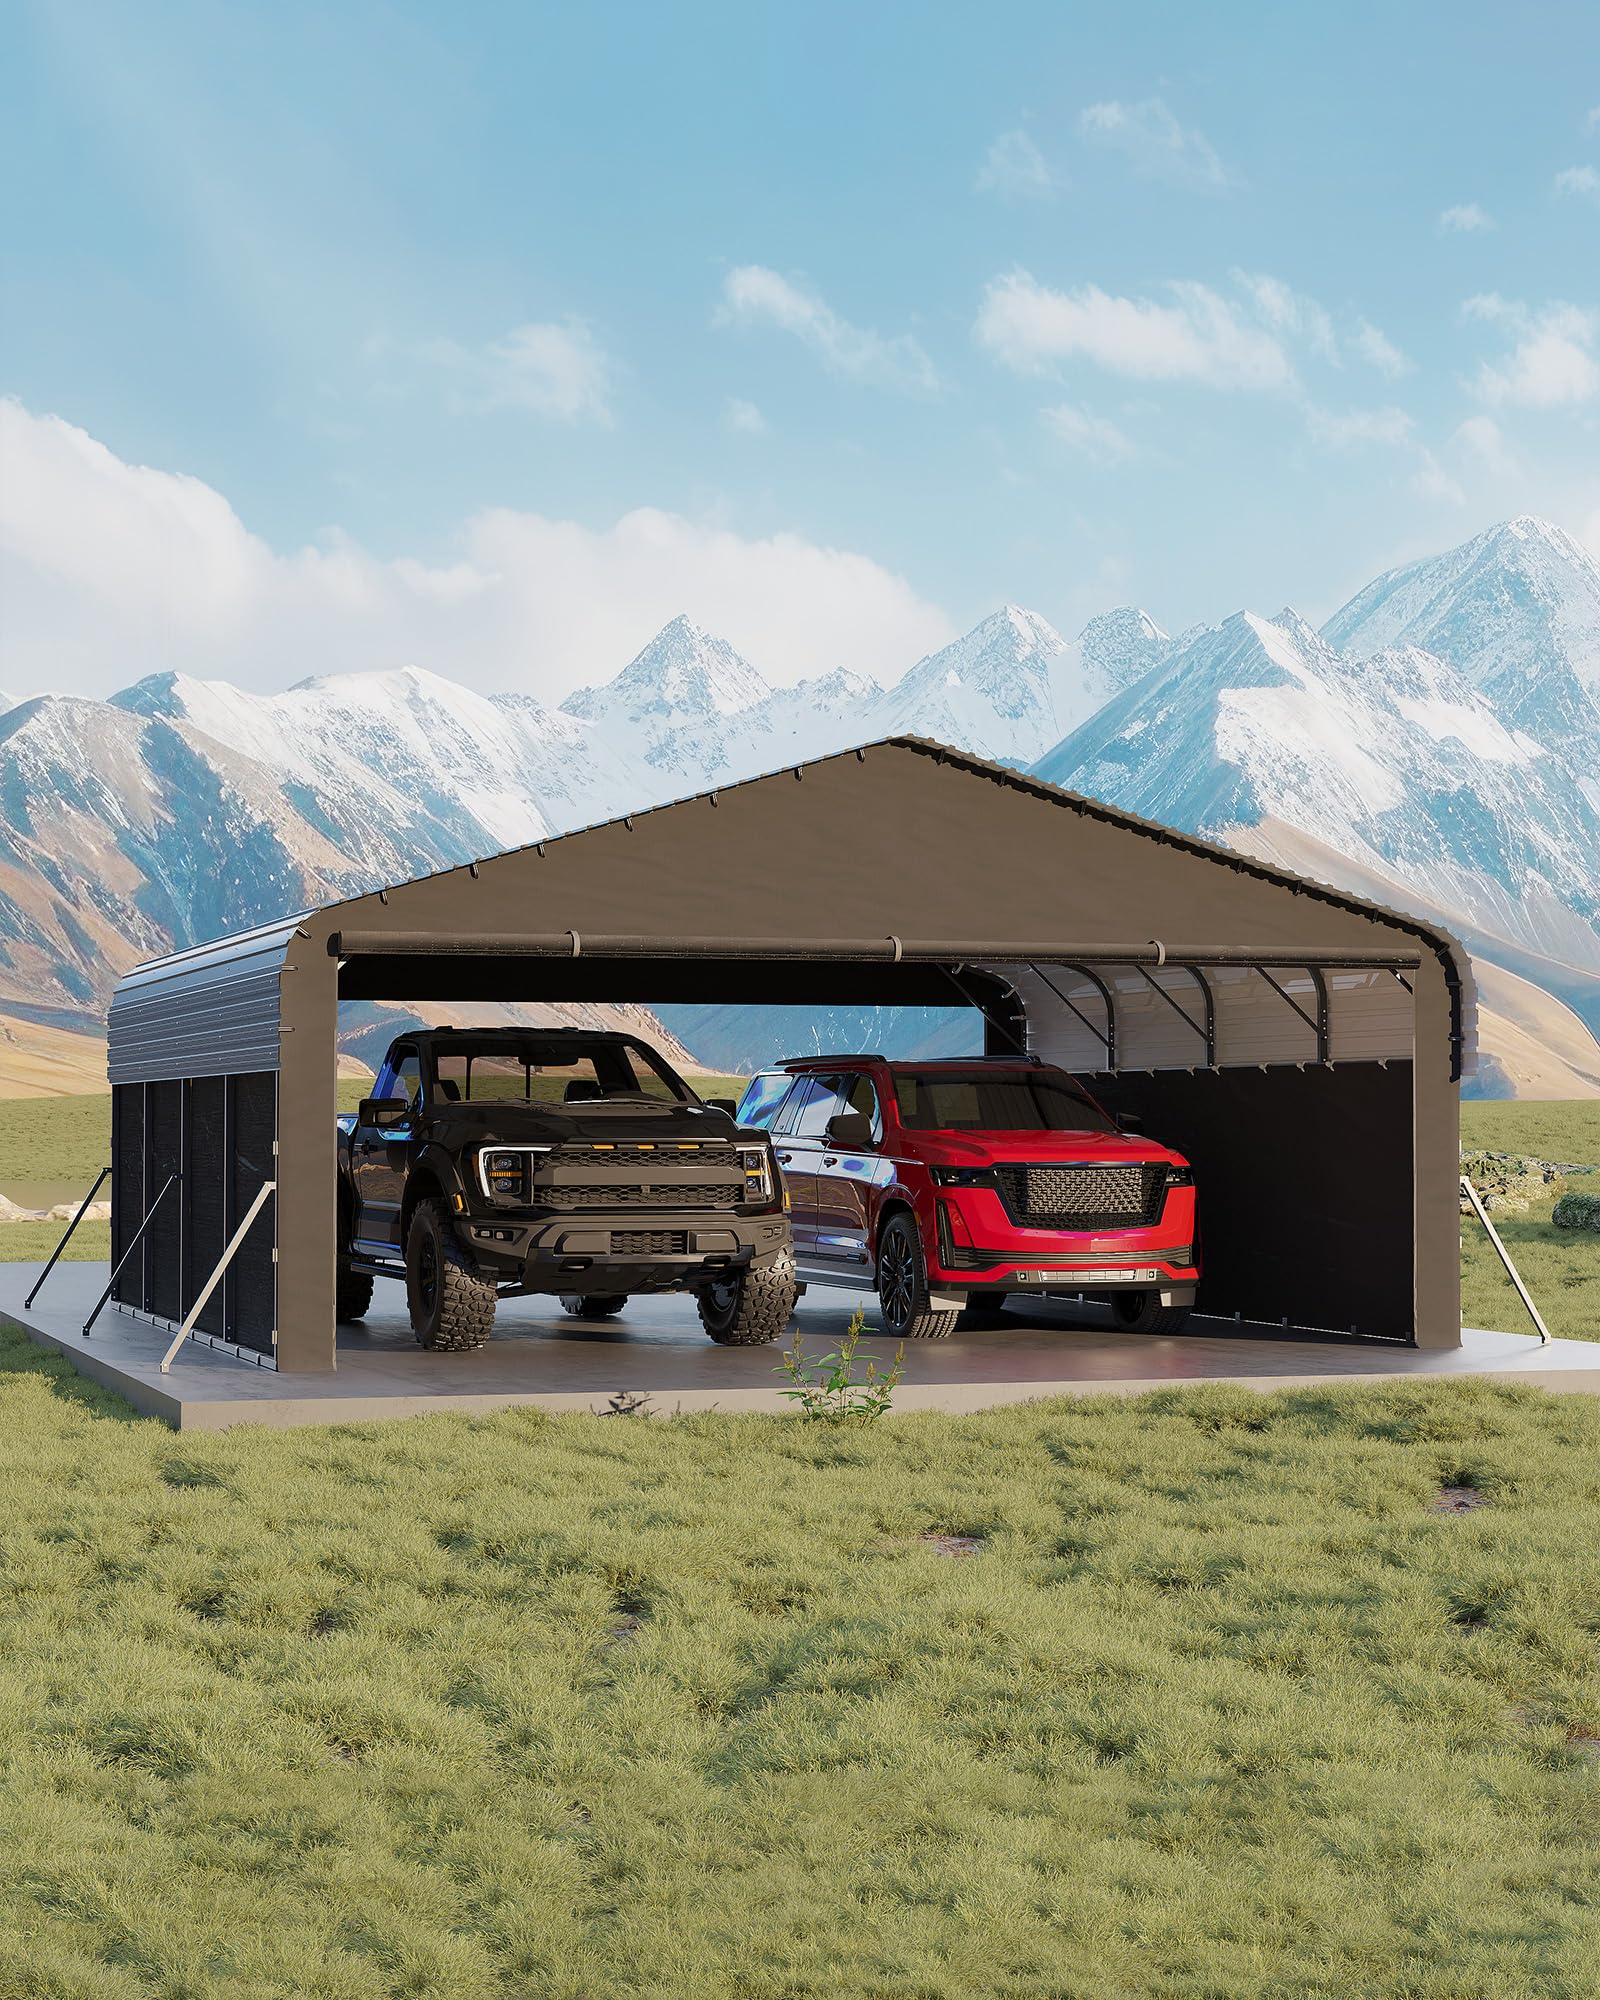
This image displays the complete Garvee 20'X20'X10' Metal Carport, highlighting its robust structure and spacious design, capable of sheltering multiple vehicles.
2. Safety Information
To ensure safety and optimal performance, adhere to the following instructions:
- When installing the roof, apply the included waterproof tape along the edges of the metal sheets to prevent water leakage.
- In windy areas, use appropriate fixing methods to secure the carport to the ground. For grass or gravel, use heavy-duty ground pegs, stakes, and guylines with ratchets. For concrete surfaces, use the provided expansion screws. Additionally, placing sandbags on the base is recommended for extra downforce against high winds.
- Regularly clear snow from the roof (no more than 5 inches) to prevent excessive load-bearing that could cause damage.
- Always read the entire manual and prepare necessary tools like electric drills and ladders before assembly.
- Assembly requires a minimum of 2 people; the estimated time is 3 x 8 hours.
3. Components and Parts List
Before beginning assembly, ensure all components are present and undamaged. Refer to the detailed parts list included in your product packaging for specific part numbers and quantities. Lay out all parts in an organized manner to facilitate the assembly process.

This image shows various metal components of the carport laid out, indicating the need for organization before assembly.
4. Setup and Assembly Instructions
Follow these steps carefully for proper assembly. It is recommended to have at least two people for this process.
4.1. Base Frame Assembly
Begin by assembling the base frame. Ensure the ground is level before starting. Connect the base pieces using the provided fasteners, paying close attention to the orientation of bolt holes.

This image illustrates the base frame components being laid out on the ground, ready for initial assembly.
4.2. Vertical Support Installation
Attach the vertical support poles to the assembled base frame. Secure them firmly with the designated bolts and nuts. Ensure all connections are tight for structural integrity.

This image shows the vertical support poles being attached to the base frame, forming the initial upright structure of the carport.
4.3. Roof Frame Assembly
Assemble the roof frame sections on the ground before lifting them into place. Connect the curved and straight pieces as indicated in the manual, ensuring all bolt holes align correctly. It is critical to ensure the correct orientation of the bolt holes for the cross members.
This video provides a detailed step-by-step guide on assembling the 20x20ft metal carport, focusing on the frame construction.
This video demonstrates the assembly process of the carport, offering visual instructions for each stage of construction.
A 3D animated guide illustrating the assembly of the 20x20 FT car garage, providing a clear visual sequence of steps.
4.4. Roof Panel Installation
Once the main frame is erected, carefully install the metal roof panels. Overlap the panels correctly and secure them using self-tapping screws. Use clamps to hold panels in place during installation to prevent sliding.

This image demonstrates the process of securing the metal roof panels onto the carport frame, ensuring proper overlap and fastening.
4.5. Side Panel and Door Installation
Install the side panels and roll-up doors. Ensure the doors are properly aligned and can operate smoothly. Secure all panels to the frame using the appropriate fasteners.
This video illustrates the installation of the sidewalls for the 20x20ft metal carport, showing how to attach them securely to the frame.

This image shows the carport with its side panels and roll-up doors installed, providing full enclosure.
5. Operating Instructions
The Garvee Metal Carport is designed for straightforward operation.
- Roll-Up Doors: The front and back doors are designed to roll up for easy access. Ensure the tracks are clear of debris for smooth operation.
- Vehicle Parking: Drive vehicles in and out carefully, ensuring adequate clearance to avoid damaging the carport structure.
- Security: For added security, consider locking the roll-up doors when the carport is unattended.
6. Maintenance
Regular maintenance will prolong the life of your carport.
- Cleaning: Periodically clean the metal panels and tarp with mild soap and water to remove dirt and debris. Avoid abrasive cleaners.
- Snow Removal: As mentioned in safety, regularly clear snow from the roof, especially after heavy snowfall, to prevent structural strain. Do not allow snow accumulation to exceed 5 inches.
- Fastener Check: Annually inspect all bolts, nuts, and screws to ensure they remain tight. Tighten any loose fasteners to maintain structural integrity.
- Tarp Inspection: Check the 220 g PE tarp for any tears or damage. Repair or replace as necessary to maintain weather protection.
- Ground Anchors: Verify that ground anchors remain secure, especially after strong winds or heavy rain. Re-secure if any loosening is observed.
7. Troubleshooting
Here are some common issues and their solutions:
- Water Leakage: If water leaks from the roof, check the waterproof tape application on the metal sheet edges. Apply additional waterproof sealant along overlaps if needed.
- Structural Instability: If the carport feels unstable, ensure all fasteners are tightened and ground anchors are properly secured. Verify that the carport is installed on a level surface.
- Difficulty with Roll-Up Doors: Check door tracks for obstructions or damage. Lubricate moving parts if necessary.
8. Specifications
| Attribute | Detail |
|---|---|
| Brand | Garvee |
| Model Number | 20x20 FT |
| Material | Alloy Steel |
| Color | Gray |
| Product Dimensions | 230"L x 230"W x 114"H |
| Item Weight | 100 Pounds |
| Ultraviolet Light Protection | YES |
| Water Resistance Level | Water Repellent |
| Assembly Required | Yes |
9. Warranty and Support
For warranty information or technical support, please refer to the contact details provided in your product packaging or visit the official Garvee website. Keep your purchase receipt for warranty claims.


