
1. Introduction
Thank you for choosing the FLEXISPOT Electric Standing Desk. This manual provides detailed instructions for the assembly, operation, and maintenance of your new adjustable height desk. Designed to promote a healthier work environment, this desk allows you to easily switch between sitting and standing positions, reducing the negative effects of prolonged sitting. Please read this manual thoroughly before assembly and use to ensure proper function and safety.
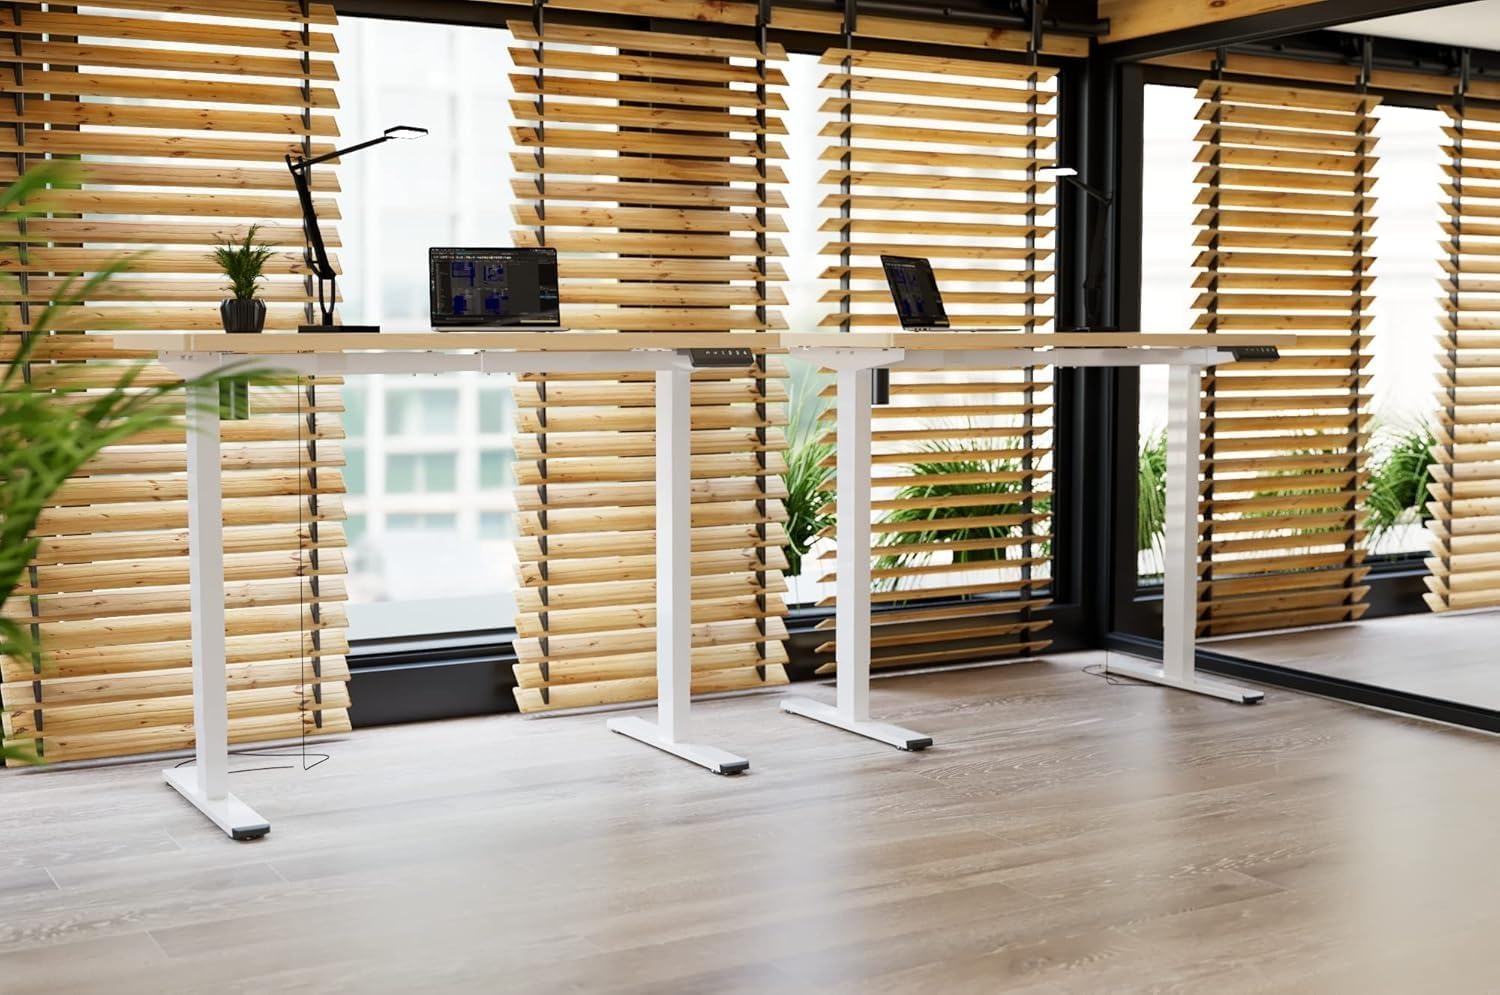
Image: Two FLEXISPOT electric standing desks with maple tops and white frames, set up in an office environment.
2. Safety Information
- Ensure all components are present and undamaged before assembly.
- Keep children and pets away from the desk during operation.
- Do not place hands or other body parts near moving parts of the desk frame.
- Avoid overloading the desk beyond its specified weight capacity.
- Only use the provided power adapter and ensure it is connected to a grounded outlet.
- Do not disassemble or modify the desk's motor or control system.
- If any unusual noise or movement occurs, immediately stop operation and unplug the desk.
- This desk is designed for indoor use only.
3. Package Contents
Please verify that all the following components are included in your package:
- Desktop (Maple, 140x60cm)
- Electric Lifting Columns (2x)
- Desk Feet (2x)
- Crossbar/Frame Components
- Control Box
- Multi-Function Keypad
- Power Adapter and Cable
- Backpack Hook (2x)
- Assembly Hardware (screws, Allen wrenches)
- Instruction Manual
4. Setup and Assembly
Follow these steps to assemble your FLEXISPOT Electric Standing Desk. It is recommended to have two people for assembly.
- Unpack Components: Carefully remove all parts from the packaging and lay them out on a clean, soft surface to prevent scratches.
- Assemble Desk Feet: Attach the desk feet to the bottom of the lifting columns using the provided screws.
- Connect Crossbar: Secure the crossbar components between the two lifting columns.
- Attach Desktop: Place the desktop upside down on a soft surface. Carefully position the assembled frame onto the desktop, aligning the pre-drilled holes. Secure the frame to the desktop with the appropriate screws.
- Install Control Box and Keypad: Mount the control box and multi-function keypad to the underside of the desktop using the provided hardware.
- Connect Cables: Connect the motor cables from the lifting columns to the control box. Connect the keypad cable to the control box. Finally, connect the power adapter to the control box and then to a power outlet.
- Install Accessories: Attach the backpack hooks to the desired location on the desk frame or desktop edge.
- Cable Management: Organize all cables using cable ties or management trays (not included) to prevent tangles and ensure safe operation.
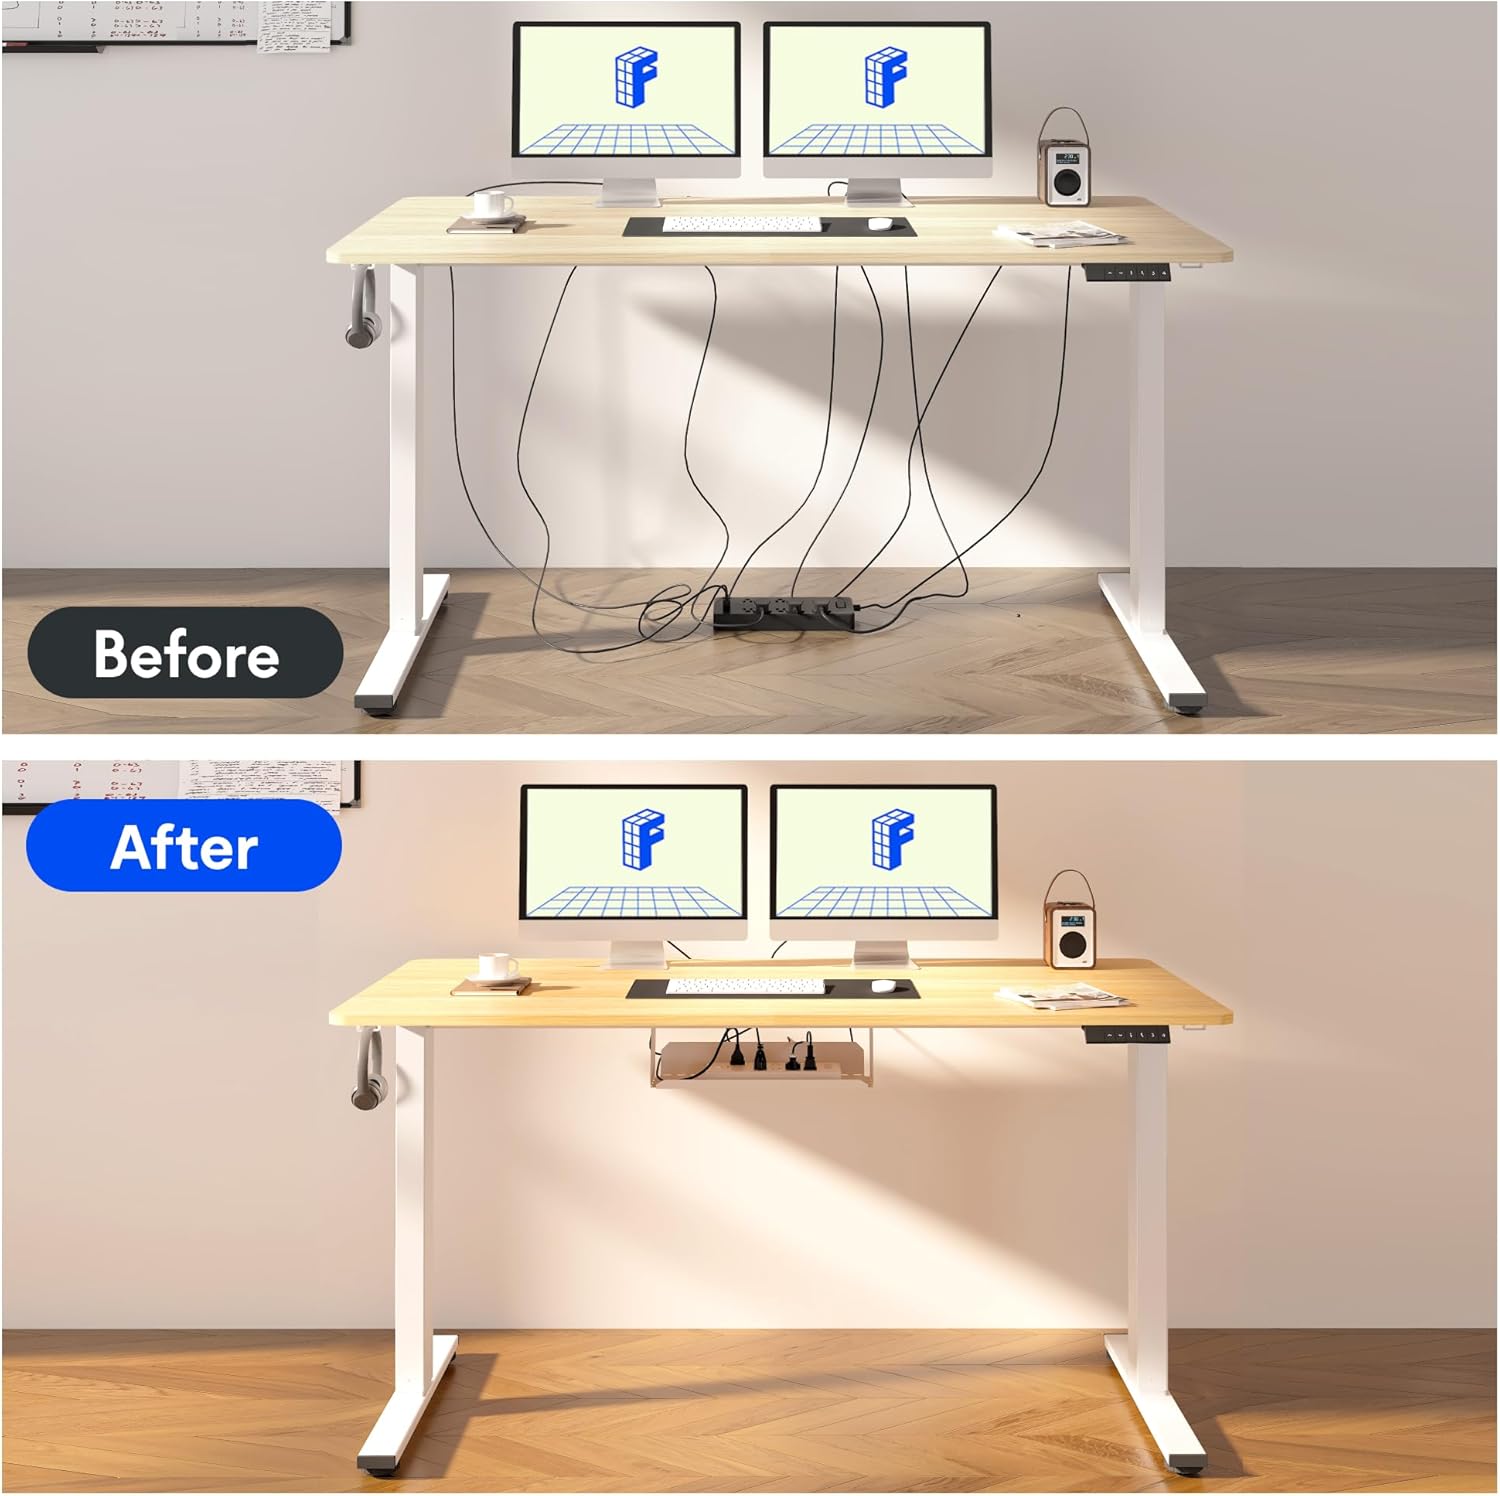
Image: Illustration of effective cable management for the desk, showing a 'before' state with loose cables and an 'after' state with cables neatly secured.

Image: Close-up view of the optional cup holder and backpack hooks, demonstrating their attachment to the desk.
5. Operating Instructions
Your FLEXISPOT desk features an intuitive multi-function keypad for easy height adjustment and memory presets.

Image: Detailed view of the multi-function keypad, highlighting the LED display, up and down adjustment keys, and four memory preset buttons.
- Adjusting Height: Use the Up (▲) and Down (▼) keys to raise or lower the desk to your desired height. The current height will be displayed on the LED screen.
- Setting Memory Presets:
- Adjust the desk to your preferred sitting or standing height using the Up/Down keys.
- Press the "M" button (or similar memory set button, if present, otherwise directly press a number).
- Immediately press one of the numbered memory buttons (1, 2, 3, or 4) to save the current height to that preset. The LED display will confirm the setting.
- Recalling Memory Presets: Press any of the numbered memory buttons (1, 2, 3, or 4) to automatically move the desk to the saved height.
- Reset Function: If the desk encounters an error or needs to be reset, press and hold the Down (▼) button until the desk reaches its lowest position and then slightly rises, indicating a successful reset.
6. Maintenance
- Cleaning: Wipe the desk surface and frame with a soft, damp cloth. Avoid harsh chemicals or abrasive cleaners.
- Cable Management: Regularly check and organize cables to prevent damage and ensure smooth operation.
- Lubrication: The lifting mechanism is designed to be maintenance-free. Do not apply lubricants to the columns.
- Inspection: Periodically check all screws and connections to ensure they are tight. Retighten if necessary.
7. Troubleshooting
| Problem | Possible Cause | Solution |
|---|---|---|
| Desk does not move. | Power cable disconnected, control box cable loose, overload. | Check all cable connections. Reduce weight on the desk. Perform a reset (see Operating Instructions). |
| Desk moves unevenly or makes unusual noise. | Loose screws, obstruction, uneven load. | Check all assembly screws. Ensure no obstructions are in the path of the lifting columns. Distribute weight evenly. |
| Memory presets not working. | Presets not saved correctly. | Re-save the memory presets following the steps in the Operating Instructions. |
| LED display shows an error code. | System error. | Perform a reset. If the error persists, contact customer support. |
8. Specifications
- Desktop Dimensions: 140 cm (Length) x 60 cm (Width)
- Adjustable Height Range: 73.5 cm to 118 cm
- Material: Maple wood desktop, Metal frame (White)
- Motor: Single motor, quiet operation (below 50 dB)
- Special Features: Electric height adjustment, Smart memory panel (4 presets), Backpack hook (2x)
- Stability: Enhanced frame design with wider feet and thicker columns for improved stability.

Image: Technical drawing illustrating the desktop dimensions (140x60cm) and the adjustable height range of the desk frame (73.5-118cm).

Image: Internal view of the desk's powerful and quiet motor, emphasizing its smooth and stable operation.
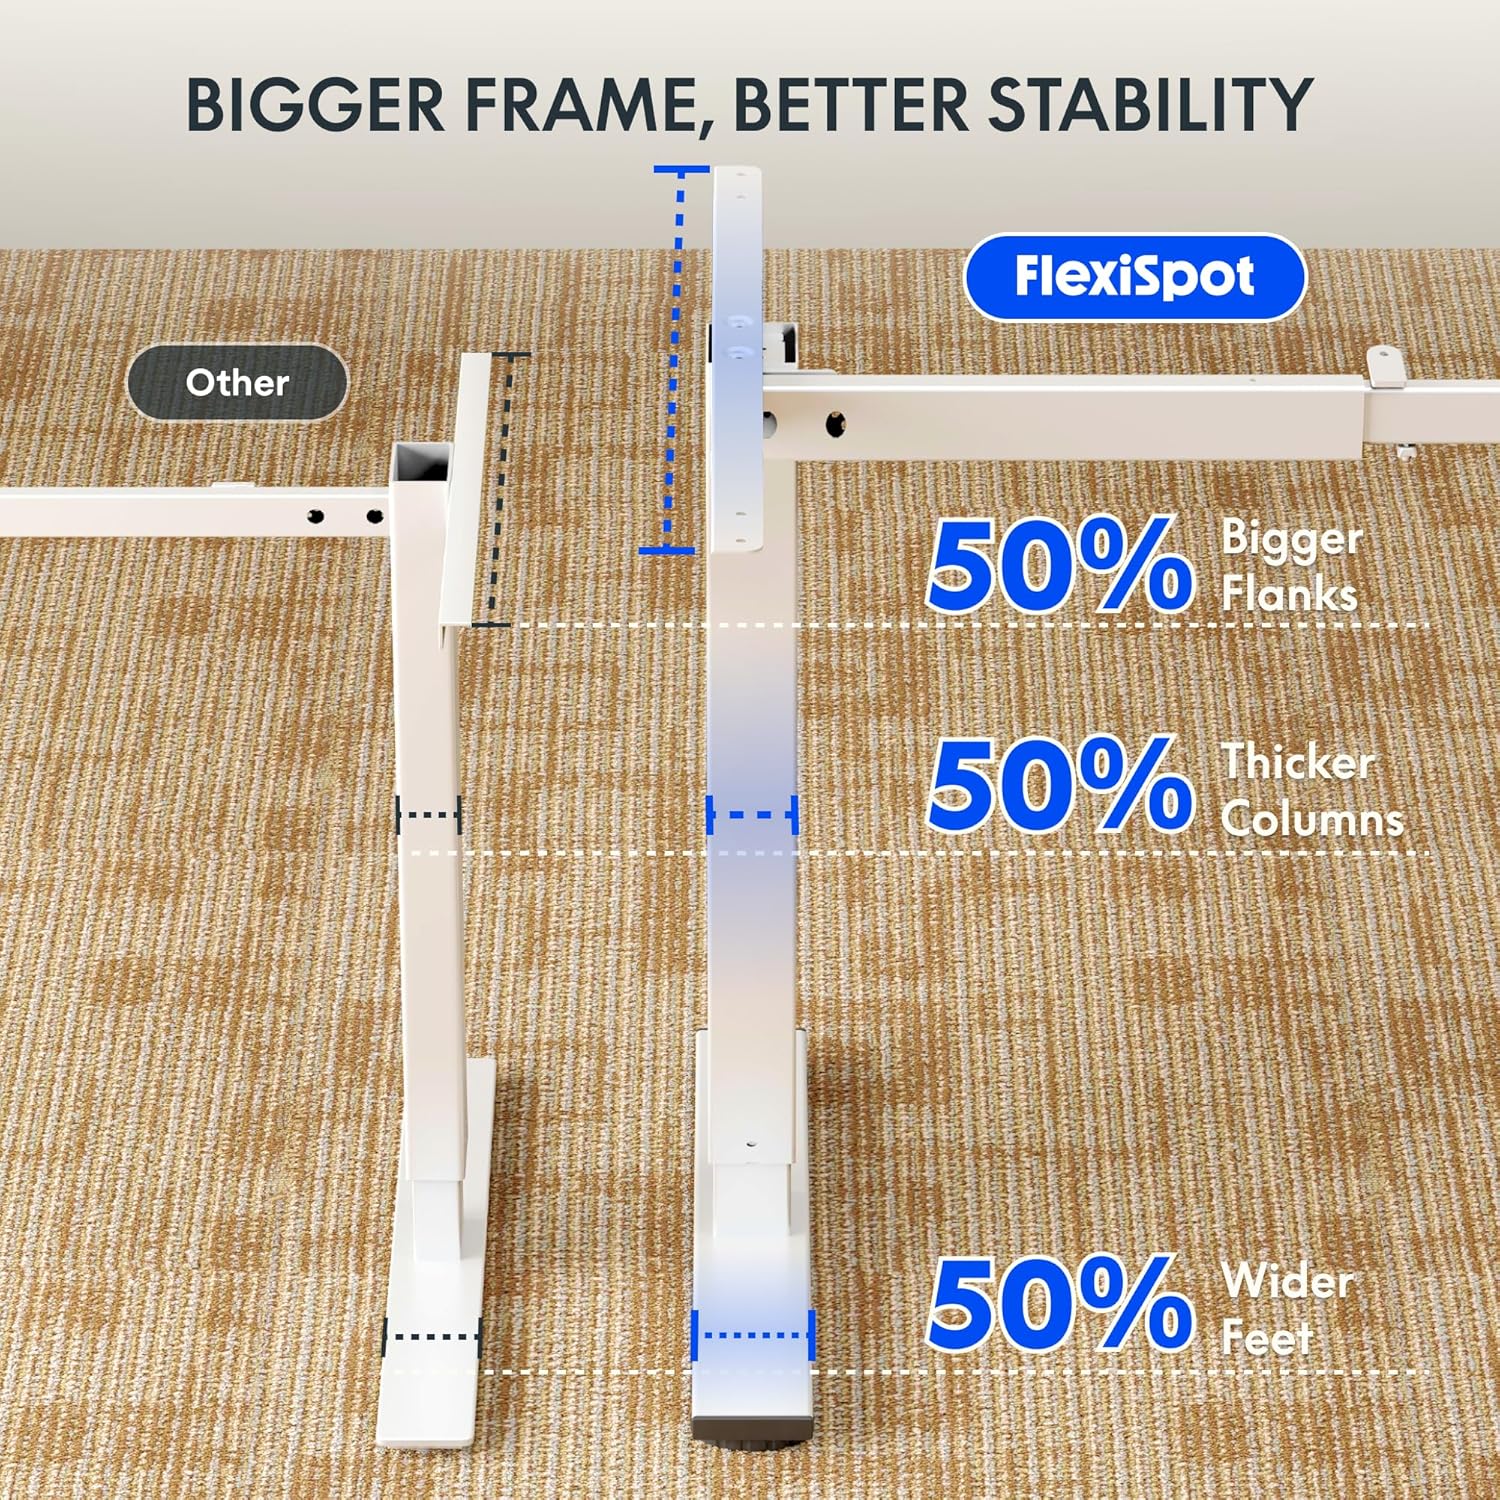
Image: Comparative diagram illustrating the superior stability of the FlexiSpot desk frame, featuring 50% bigger flanks, thicker columns, and wider feet compared to standard designs.
9. Warranty Information
This FLEXISPOT Electric Standing Desk is covered by a limited manufacturer's warranty. Please refer to the warranty card included in your package or visit the official FLEXISPOT website for detailed terms and conditions regarding coverage, duration, and claims process. Keep your proof of purchase for warranty service.
10. Customer Support
If you have any questions, require assistance with assembly, or encounter issues not covered in this manual, please contact FLEXISPOT customer support. You can find contact information on the official FLEXISPOT website or through your retailer.
For more information, visit: www.flexispot.com


