1. Introduction
Thank you for choosing the HUANUO Gas Spring Monitor Arm, model HNSS31B. This monitor arm is designed to enhance your workspace by providing flexible and ergonomic positioning for your monitor. Please read this manual carefully before installation and use to ensure proper setup and safe operation. Keep this manual for future reference.
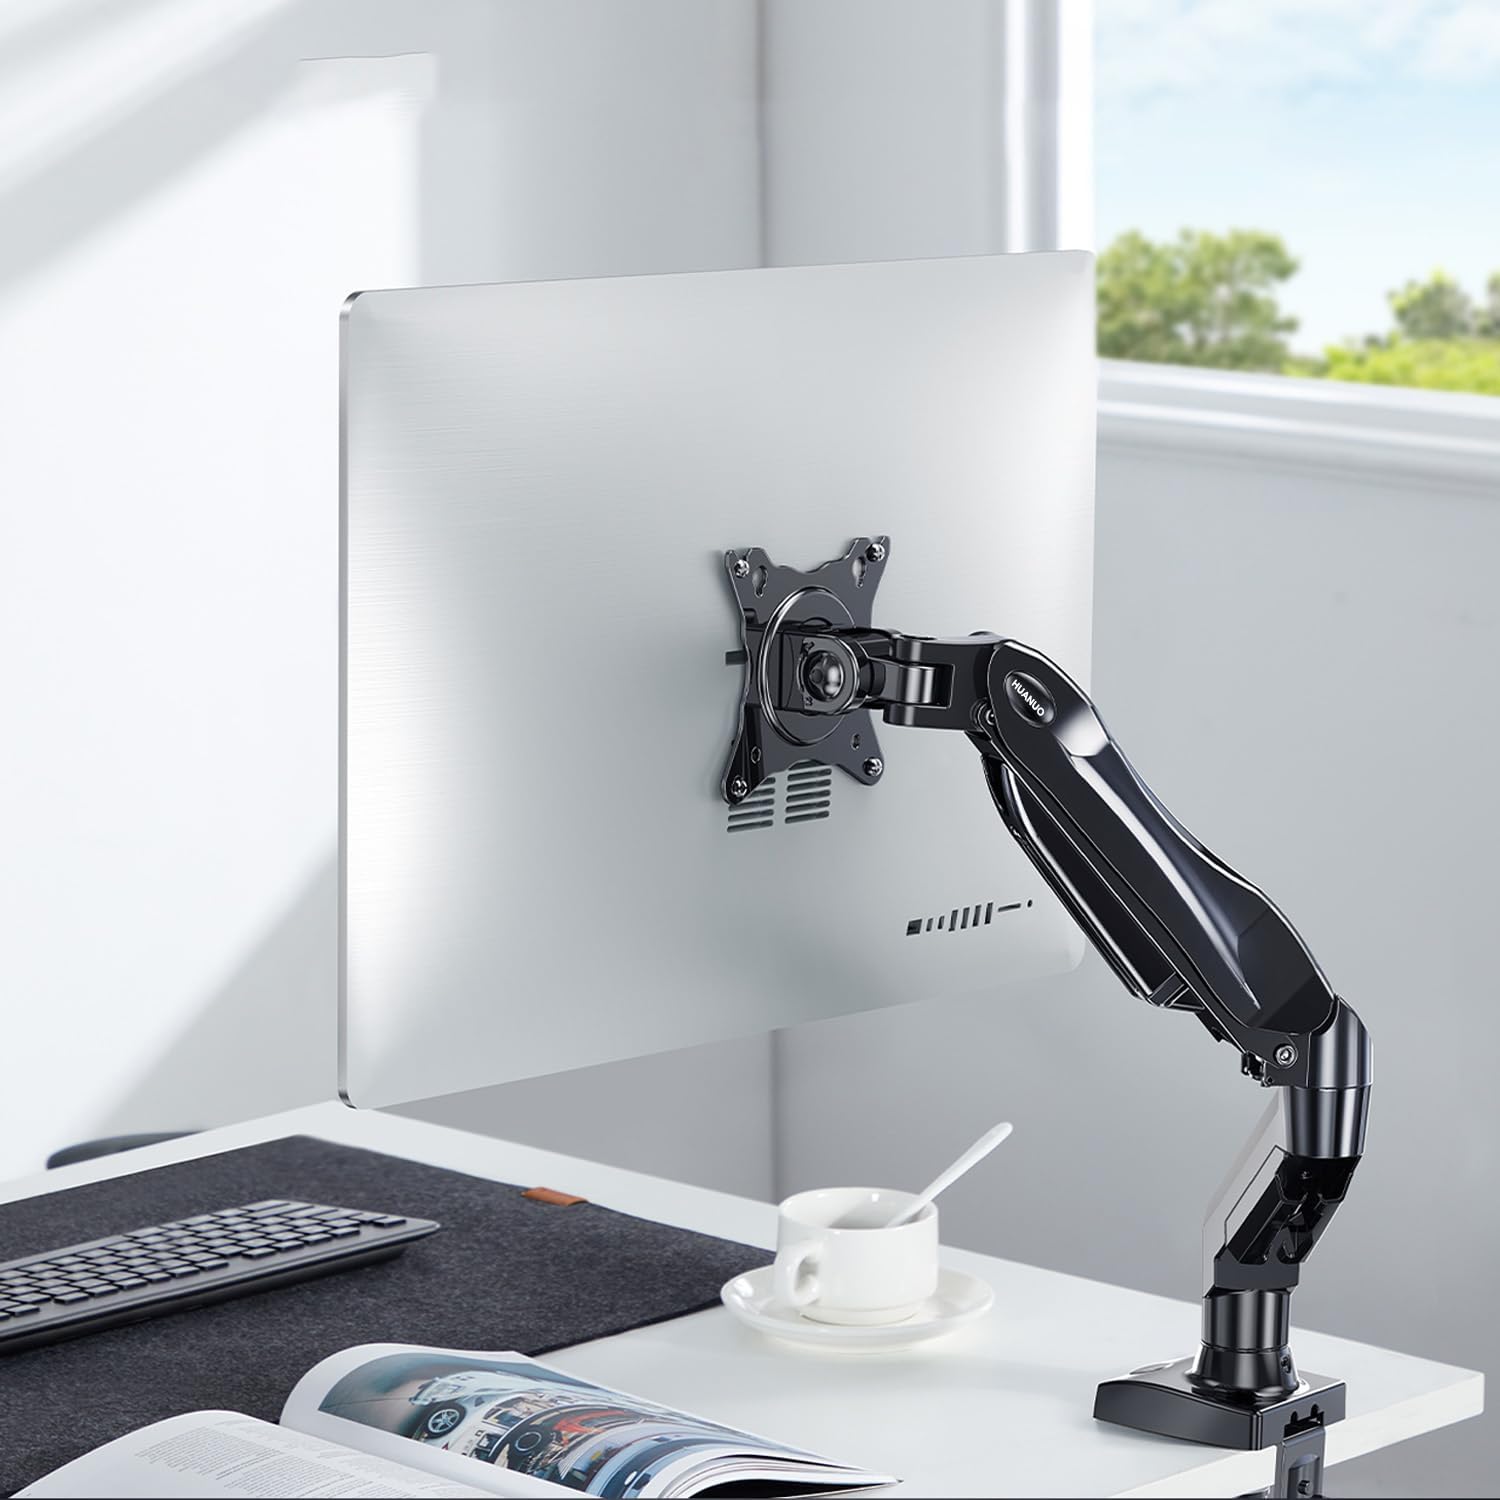
Image 1.1: HUANUO Gas Spring Monitor Arm supporting a monitor on a desk.
2. Safety Information
WARNING: Failure to read and follow these instructions may result in serious personal injury, property damage, or voiding of your warranty. If you do not understand these instructions or have doubts about the safety of the installation, please contact customer support.
- Do not exceed the maximum weight capacity of 9 kg (19.8 lbs).
- This product is intended for indoor use only.
- Ensure the mounting surface (desk) can safely support the combined weight of the monitor arm and your monitor.
- Do not overtighten screws. Overtightening can cause damage to the product or your desk.
- Keep small parts away from children.
- Always use an assistant for heavy lifting or during installation steps that require extra support.
3. Package Contents
Please verify that all parts are present and undamaged before installation. Refer to the packaging for a detailed list of components and hardware included with your monitor arm.
4. Specifications
| Feature | Specification |
|---|---|
| Model Number | HNSS31B |
| Compatible Monitor Size | 13 - 32 inches |
| Weight Capacity | 2 - 9 kg (4.4 - 19.8 lbs) |
| VESA Compatibility | 75x75mm, 100x100mm |
| Maximum Height Adjustment | 410 mm (16.1 inches) |
| Maximum Extension | 530 mm (20.9 inches) |
| Tilt Range | +85° / -30° |
| Swivel Range | ±90° |
| Rotation | 360° (Portrait to Landscape) |
| Mounting Options | C-Clamp, Grommet Base |
| Compatible Desk Thickness (C-Clamp) | 10 - 90 mm (0.4 - 3.5 inches) |
| Product Weight | 2.4 kg (5.3 lbs) |
| Color | Black |

Image 4.1: Monitor size and weight compatibility.
5. Setup Instructions
5.1. Choose Your Mounting Method
The monitor arm supports two installation methods: C-Clamp and Grommet Base. Select the method suitable for your desk.

Image 5.1: C-Clamp and Grommet mounting options.
5.2. Install the Desk Mount
C-Clamp Installation:
- Attach the C-clamp to the base of the monitor arm.
- Position the C-clamp on the edge of your desk. Ensure the desk thickness is between 10-90mm.
- Tighten the clamp screw until the base is securely fastened to the desk. Do not overtighten.
Grommet Base Installation:
- If your desk has a grommet hole, insert the grommet base through the hole.
- Secure the base from underneath the desk using the provided plate and nut.
- Tighten the nut until the base is stable.
5.3. Attach the Monitor to the VESA Plate
This monitor arm supports VESA patterns of 75x75mm and 100x100mm.

Image 5.2: VESA compatibility for monitor mounting.
- Carefully attach the VESA plate from the monitor arm to the back of your monitor using the appropriate screws. Ensure the screws are tightened securely.
- If your monitor does not have VESA holes, a VESA adapter (sold separately) may be used.

Image 5.3: Using a VESA adapter for non-VESA monitors.
5.4. Mount the Monitor to the Arm
- With the VESA plate attached to your monitor, slide the monitor onto the arm's mounting head.
- Secure the monitor by tightening any quick-release screws or clips on the mounting head.
5.5. Adjust Gas Spring Tension
The gas spring tension needs to be adjusted to match the weight of your monitor. This ensures the arm holds the monitor securely at any height.
- If the monitor drops after being mounted, turn the adjustment screw (usually located on the arm joint) clockwise to increase tension.
- If the monitor floats up or is difficult to push down, turn the adjustment screw counter-clockwise to decrease tension.
- Adjust until the monitor stays in place when moved to different heights.
6. Operating Instructions
The HUANUO Gas Spring Monitor Arm offers a wide range of adjustments to achieve an ergonomic viewing experience.

Image 6.1: Full range of motion and adjustment capabilities.
- Height Adjustment: Gently push or pull the monitor up or down to your desired height. The gas spring mechanism will hold it in place once released. The maximum height is 410mm.
- Tilt Adjustment: Tilt the monitor screen up or down to reduce glare and find your optimal viewing angle. The tilt range is +85° to -30°.
- Swivel Adjustment: Swivel the monitor left or right to share your screen with colleagues or adjust your viewing position. The swivel range is ±90°.
- Rotation: Rotate the monitor 360° to switch between landscape and portrait orientations.
- Extension/Retraction: Extend or retract the arm to adjust the distance of the monitor from your eyes. The maximum extension is 530mm.
6.1. Ergonomic Benefits
Proper monitor positioning can significantly reduce neck and eye strain, promoting a more comfortable and productive work environment. Adjust your monitor so that the top of the screen is at or slightly below eye level, and your eyes are approximately 50-100 cm (20-40 inches) from the screen. Maintain a slight downward gaze (15-20 degrees) for optimal comfort.

Image 6.2: Achieving an ergonomic viewing angle.
7. Maintenance
- Cleaning: Wipe the monitor arm with a soft, damp cloth. Avoid using abrasive cleaners or solvents that could damage the finish.
- Periodic Checks: Periodically check all screws and connections to ensure they remain tight. Re-tighten if necessary.
- Gas Spring Adjustment: If the monitor arm's movement becomes too loose or too stiff over time, re-adjust the gas spring tension as described in Section 5.5.
8. Troubleshooting
| Problem | Possible Cause | Solution |
|---|---|---|
| Monitor arm sags or won't stay up. | Gas spring tension is too low for the monitor's weight. | Increase gas spring tension by turning the adjustment screw clockwise (refer to Section 5.5). |
| Monitor arm floats up or is difficult to push down. | Gas spring tension is too high for the monitor's weight. | Decrease gas spring tension by turning the adjustment screw counter-clockwise (refer to Section 5.5). |
| Monitor is wobbly or unstable. | Mounting screws are loose or desk clamp/grommet is not secure. | Check and tighten all screws, including those attaching the monitor to the VESA plate and the arm to the desk. |
| Arm joints are too stiff or too loose. | Joint screws need adjustment. | Use the provided Allen key to adjust the tightness of the joint screws as needed. |
9. Warranty and Support
The HUANUO Gas Spring Monitor Arm HNSS31B comes with a 5-year warranty, demonstrating our commitment to quality and durability. This product has undergone rigorous testing, clearing 20,000 operation cycles to ensure long-lasting performance.

Image 9.1: Durability testing of the monitor arm.
For warranty claims, technical assistance, or any questions regarding your product, please contact HUANUO customer support through the retailer where you purchased the product or visit the official HUANUO website for contact information.


