
1. Introduction
This manual provides essential information for setting up, operating, maintaining, and troubleshooting your Auusda 16-inch FHD Laptop T161N. Please read this manual thoroughly before using your device to ensure proper function and longevity.
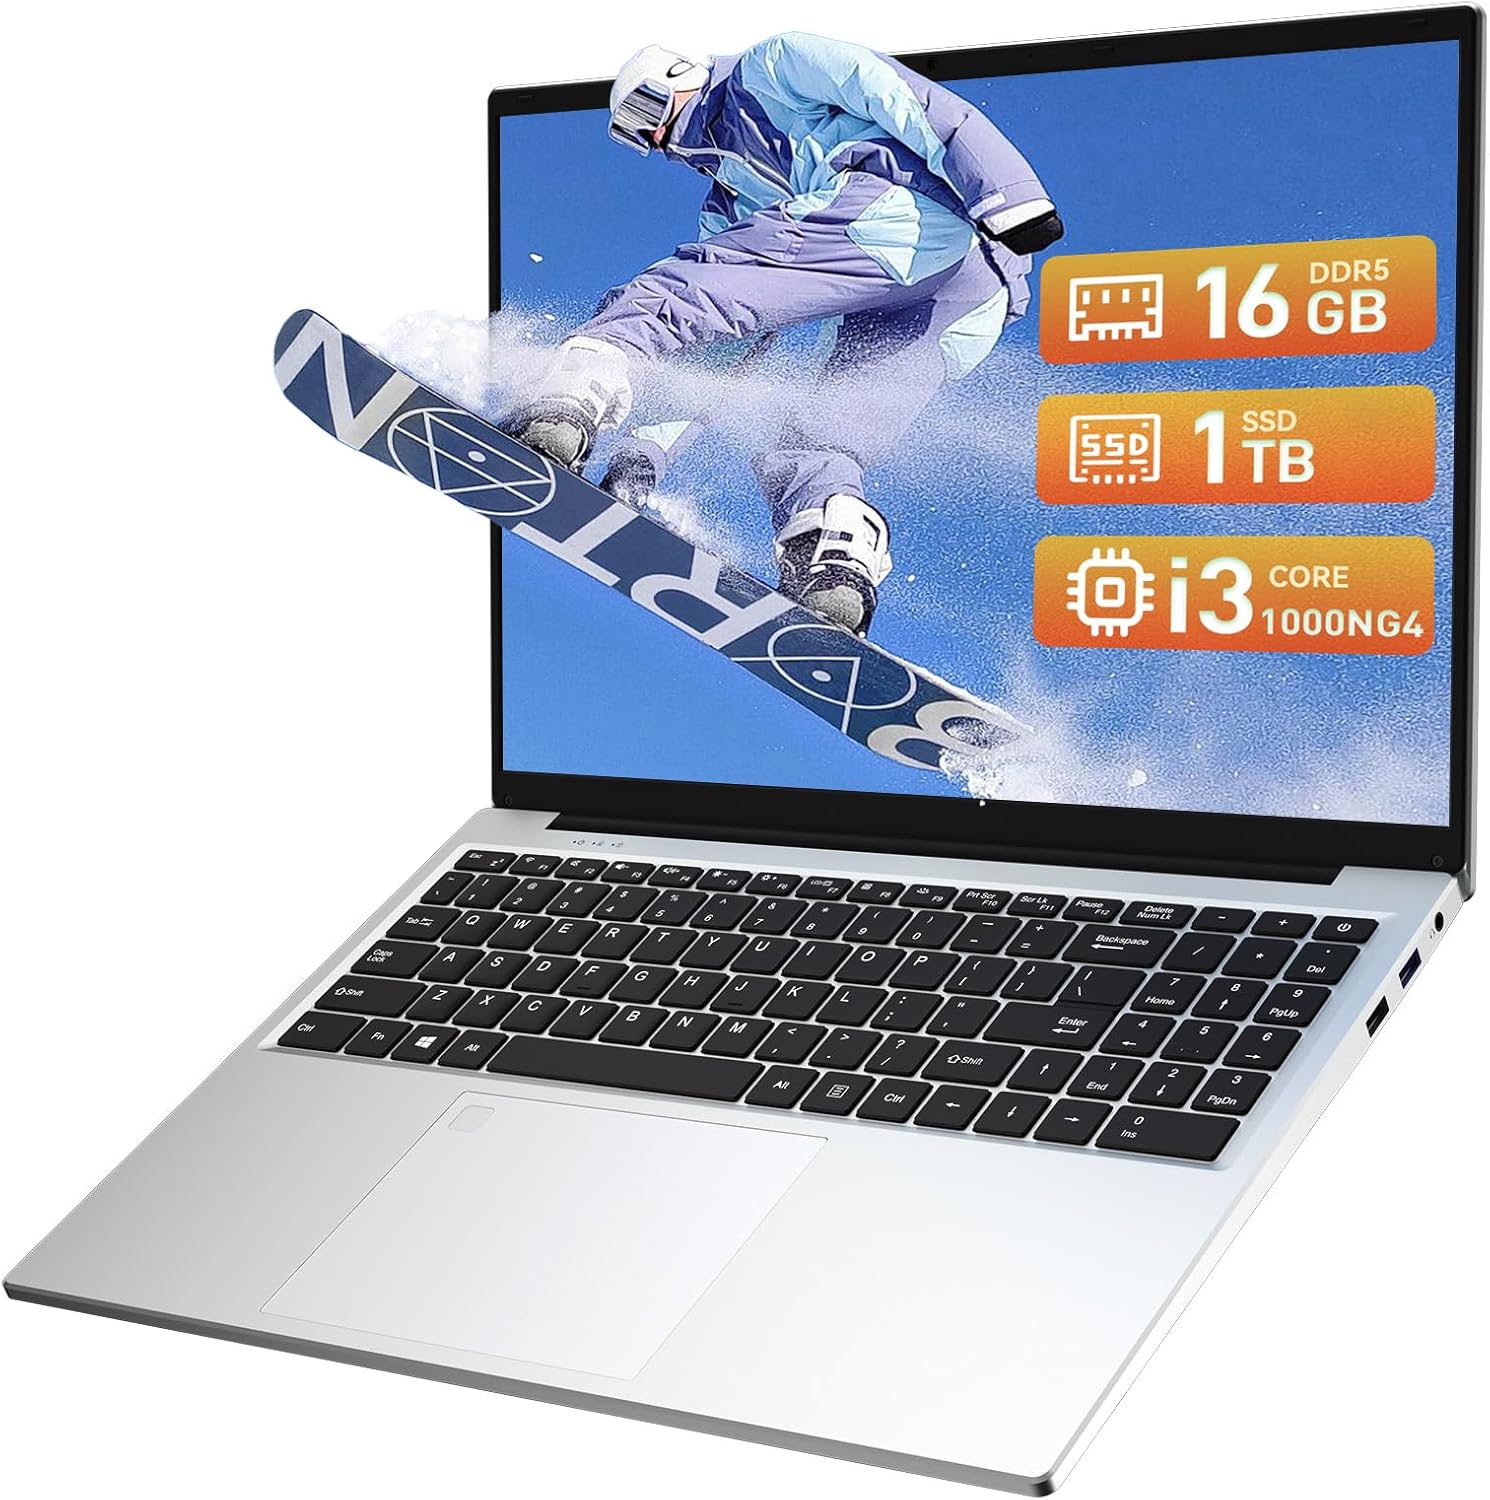
Image: The Auusda 16-inch FHD Laptop T161N, showcasing its sleek design and screen.
2. What's in the Box
Upon opening your Auusda T161N laptop package, verify that all the following items are included:
- Auusda 16-inch FHD Laptop T161N
- Power Adapter/Charger
- Instruction Manual (this document)
- Keyboard Cover

Image: A visual representation of the items included in the Auusda T161N laptop packaging.
3. Product Overview
3.1 Key Features
- Display: 16-inch Full HD (1920x1080) IPS screen with 180° viewing angle.
- Processor: Intel Core i3-1000NG4 (up to 3.2GHz).
- Memory: 16GB DDR4 RAM.
- Storage: 1TB PCIe SSD.
- Connectivity: Wi-Fi 6, Bluetooth 5.3.
- Security: Fingerprint Reader.
- Input: Backlit Keyboard.
- Operating System: Windows 11 Pro.
3.2 Ports and Connectors
The Auusda T161N laptop is equipped with various ports for versatile connectivity:
- USB 3.0 Ports (x2)
- Full-Function Type-C Port (x1) - Supports data transfer, screen mirroring, and charging.
- USB 2.0 Port (x1)
- Mini HDMI Port (x1)
- 3.5mm Standard Headphone Jack (x1)
- Microphone Input (shared with headphone jack)
- Charging Port

Image: A detailed diagram illustrating the location and type of ports on the Auusda T161N laptop.
3.3 Visual Overview
Video: An overview of the Auusda 16-inch FHD Laptop T161N, demonstrating its design and key features.
4. Setup
4.1 Initial Charging
- Connect the power adapter to the charging port on the laptop.
- Plug the power adapter into a wall outlet.
- Allow the laptop to charge for at least 30 minutes before initial use, or until the battery indicator shows sufficient charge.
4.2 Powering On and Initial Windows Setup
- Press the power button located on the keyboard to turn on the laptop.
- Follow the on-screen instructions to complete the Windows 11 Pro setup process. This includes selecting your region, language, connecting to a Wi-Fi network, and creating a user account.
- Ensure you have an active internet connection for Windows updates and driver installations during the setup.
5. Operating Instructions
5.1 Keyboard Functions (Fn + Function Keys)
The laptop features a full-size keyboard with dedicated function keys that can be accessed by pressing the Fn key in combination with the corresponding function key (F1-F12).
- Backlit Keyboard: Press Fn + F9 to cycle through 2 brightness levels. Pressing it a third time turns the backlight off.
- Num Lock: Press Fn + Num Lk to toggle the numeric keypad on or off.
- Volume Control: Use Fn + Speaker keys (F1-F3) to mute, decrease, or increase volume.
- Brightness Control: Use Fn + Sun keys (F4-F5) to decrease or increase screen brightness.

Image: A visual guide to using the Fn (Function) keys on the Auusda T161N keyboard for various controls.
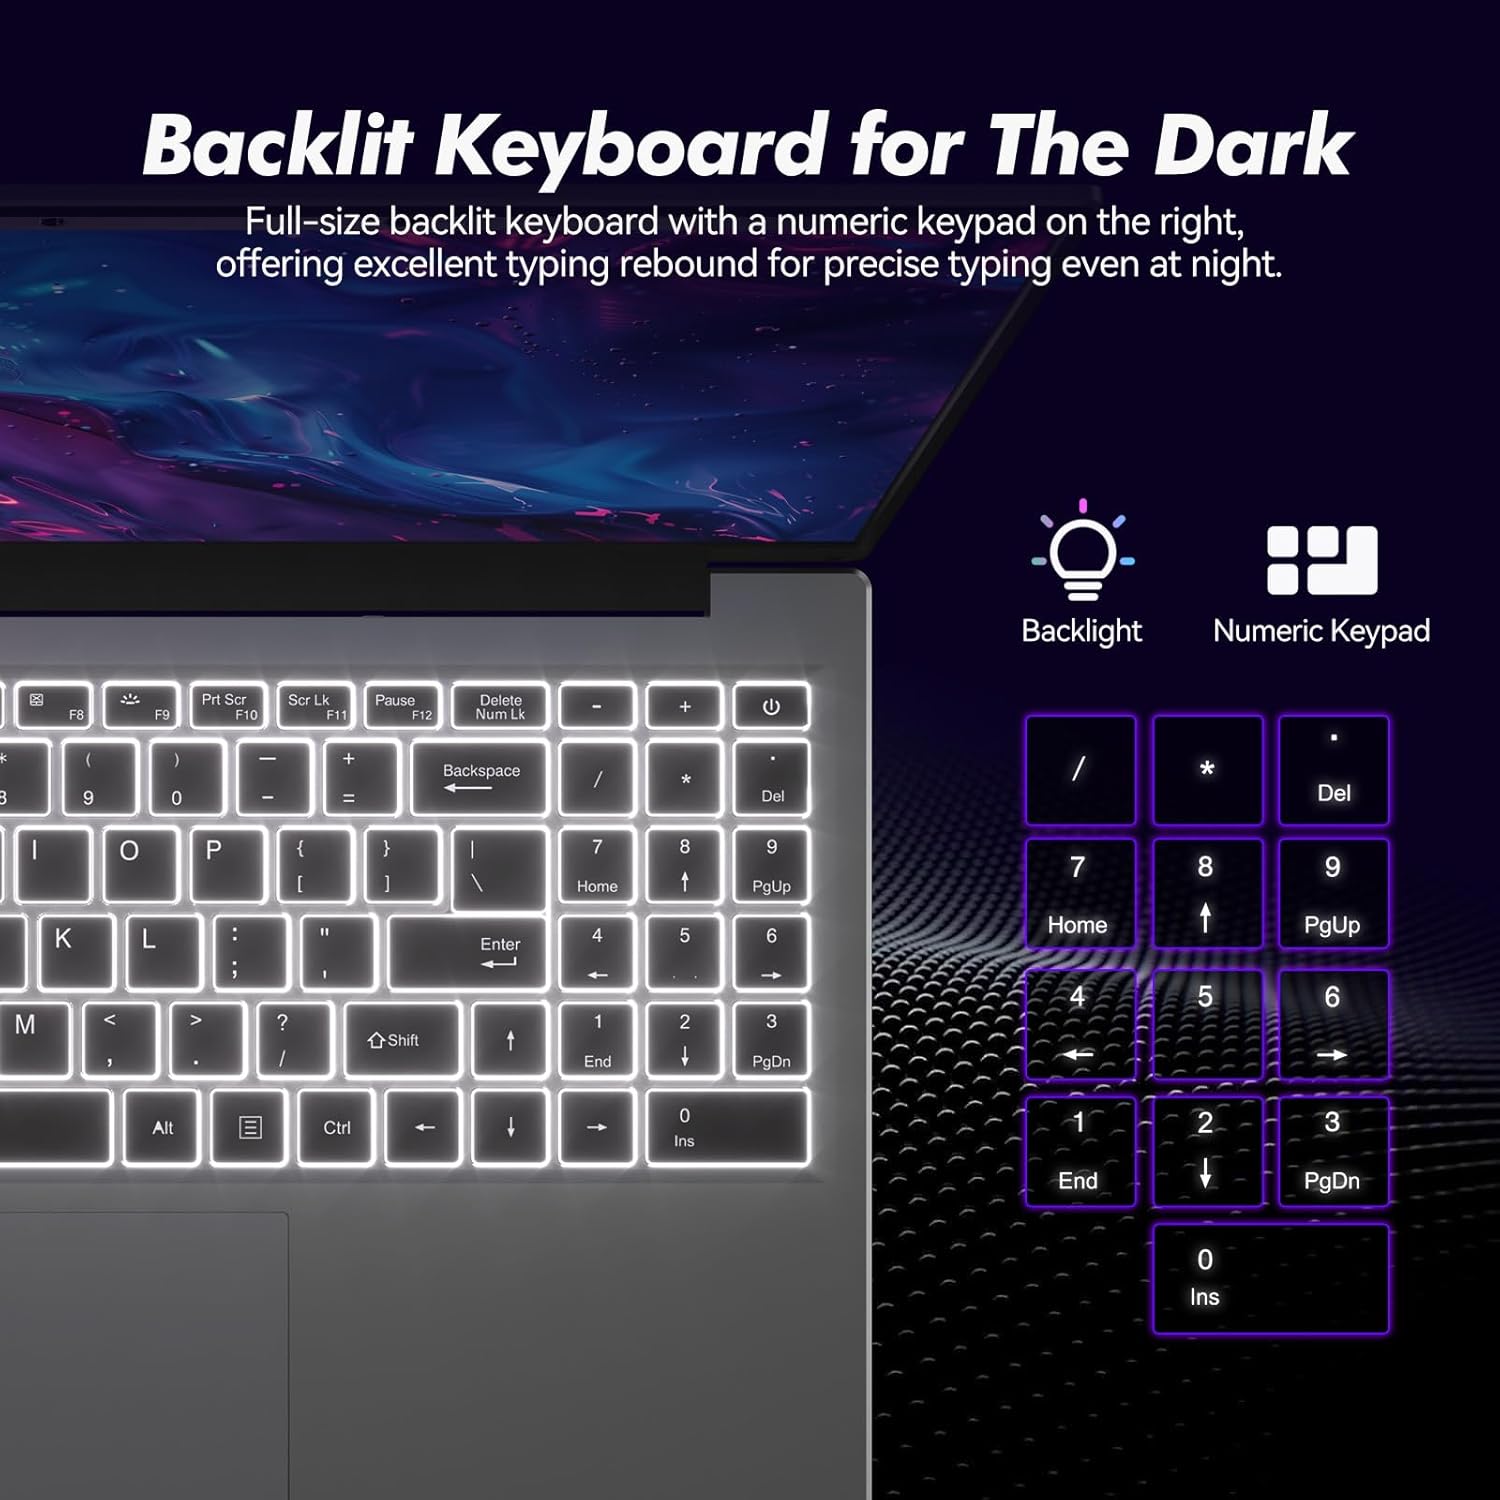
Image: Close-up view of the backlit keyboard and numeric keypad, highlighting their functionality.
5.2 Fingerprint Reader
The integrated fingerprint reader provides a secure and fast way to unlock your laptop. To set up fingerprint recognition:
- Navigate to Windows Settings > Accounts > Sign-in options.
- Under 'Windows Hello Fingerprint', click 'Set up'.
- Follow the on-screen prompts to register your fingerprint.
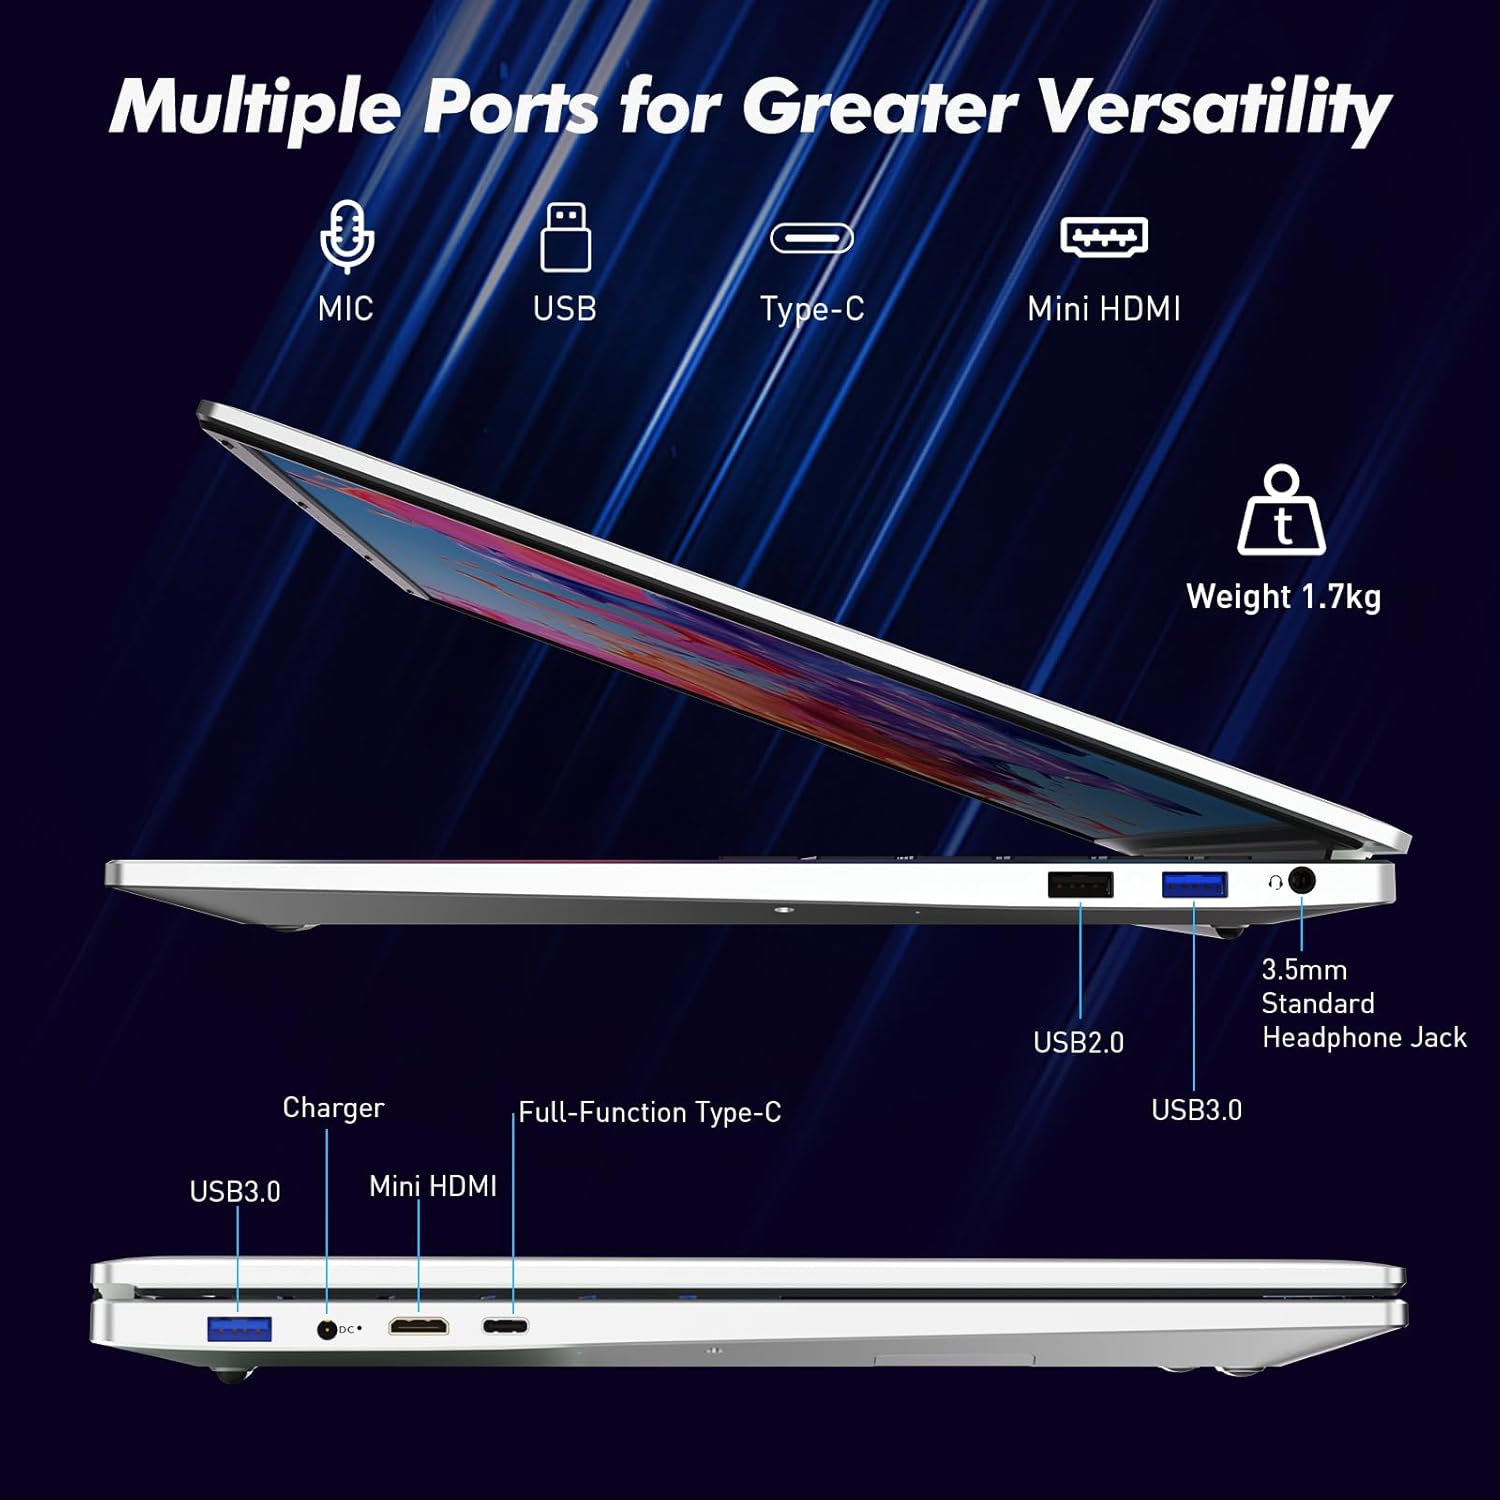
Image: A visual representation of the fingerprint reader location and its quick unlock capability.
5.3 Type-C Connectivity
The full-function Type-C port offers versatile connectivity options:
- Data Transfer: Connect compatible devices for high-speed data exchange.
- Screen Mirroring: Output video to an external display using a compatible Type-C to HDMI/DisplayPort adapter (sold separately).
- Charging: Charge the laptop using a compatible Type-C power delivery charger.
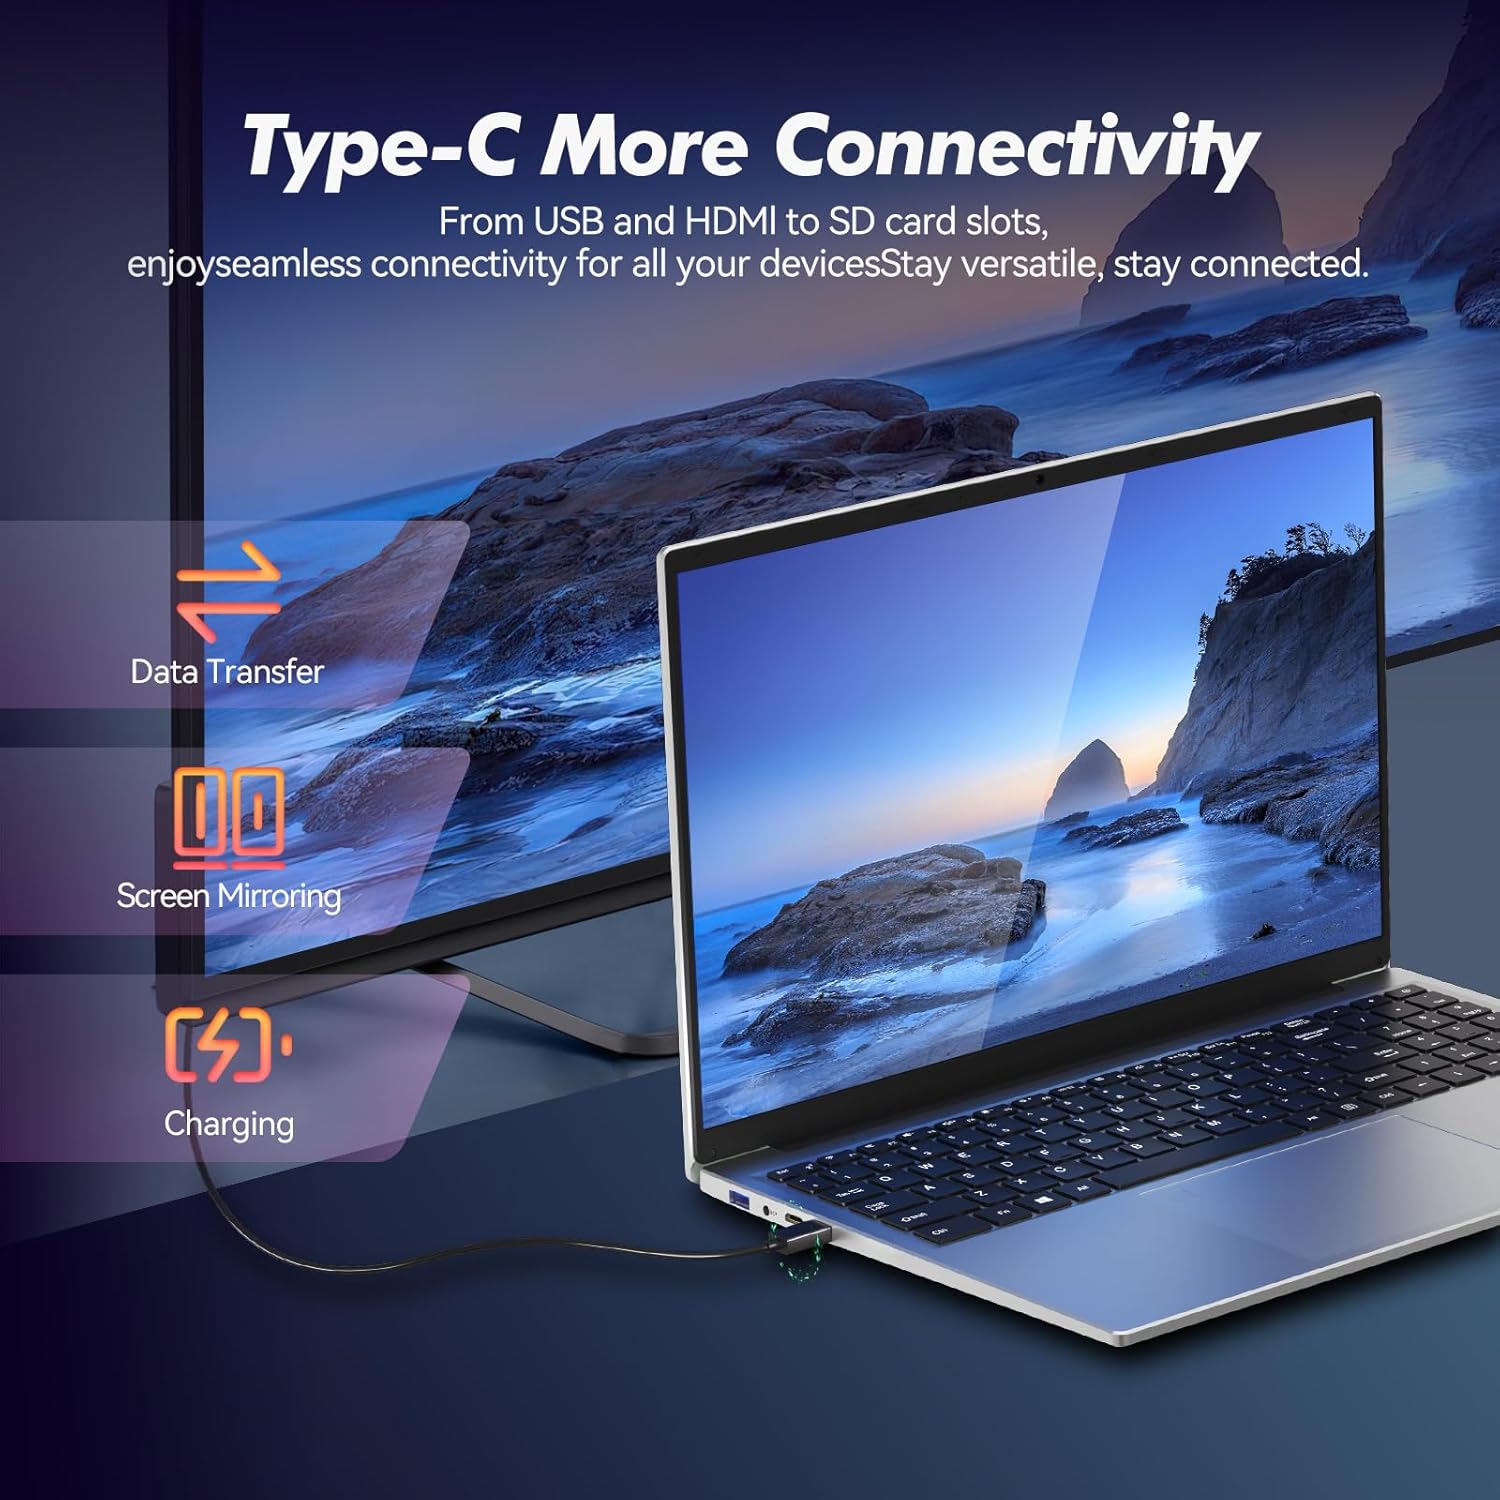
Image: Illustrates the multi-functional capabilities of the Type-C port, including data transfer, screen mirroring, and charging.
5.4 Wi-Fi 6 and Bluetooth 5.3
The laptop supports Wi-Fi 6 for faster and more stable wireless internet connections and Bluetooth 5.3 for connecting wireless peripherals.
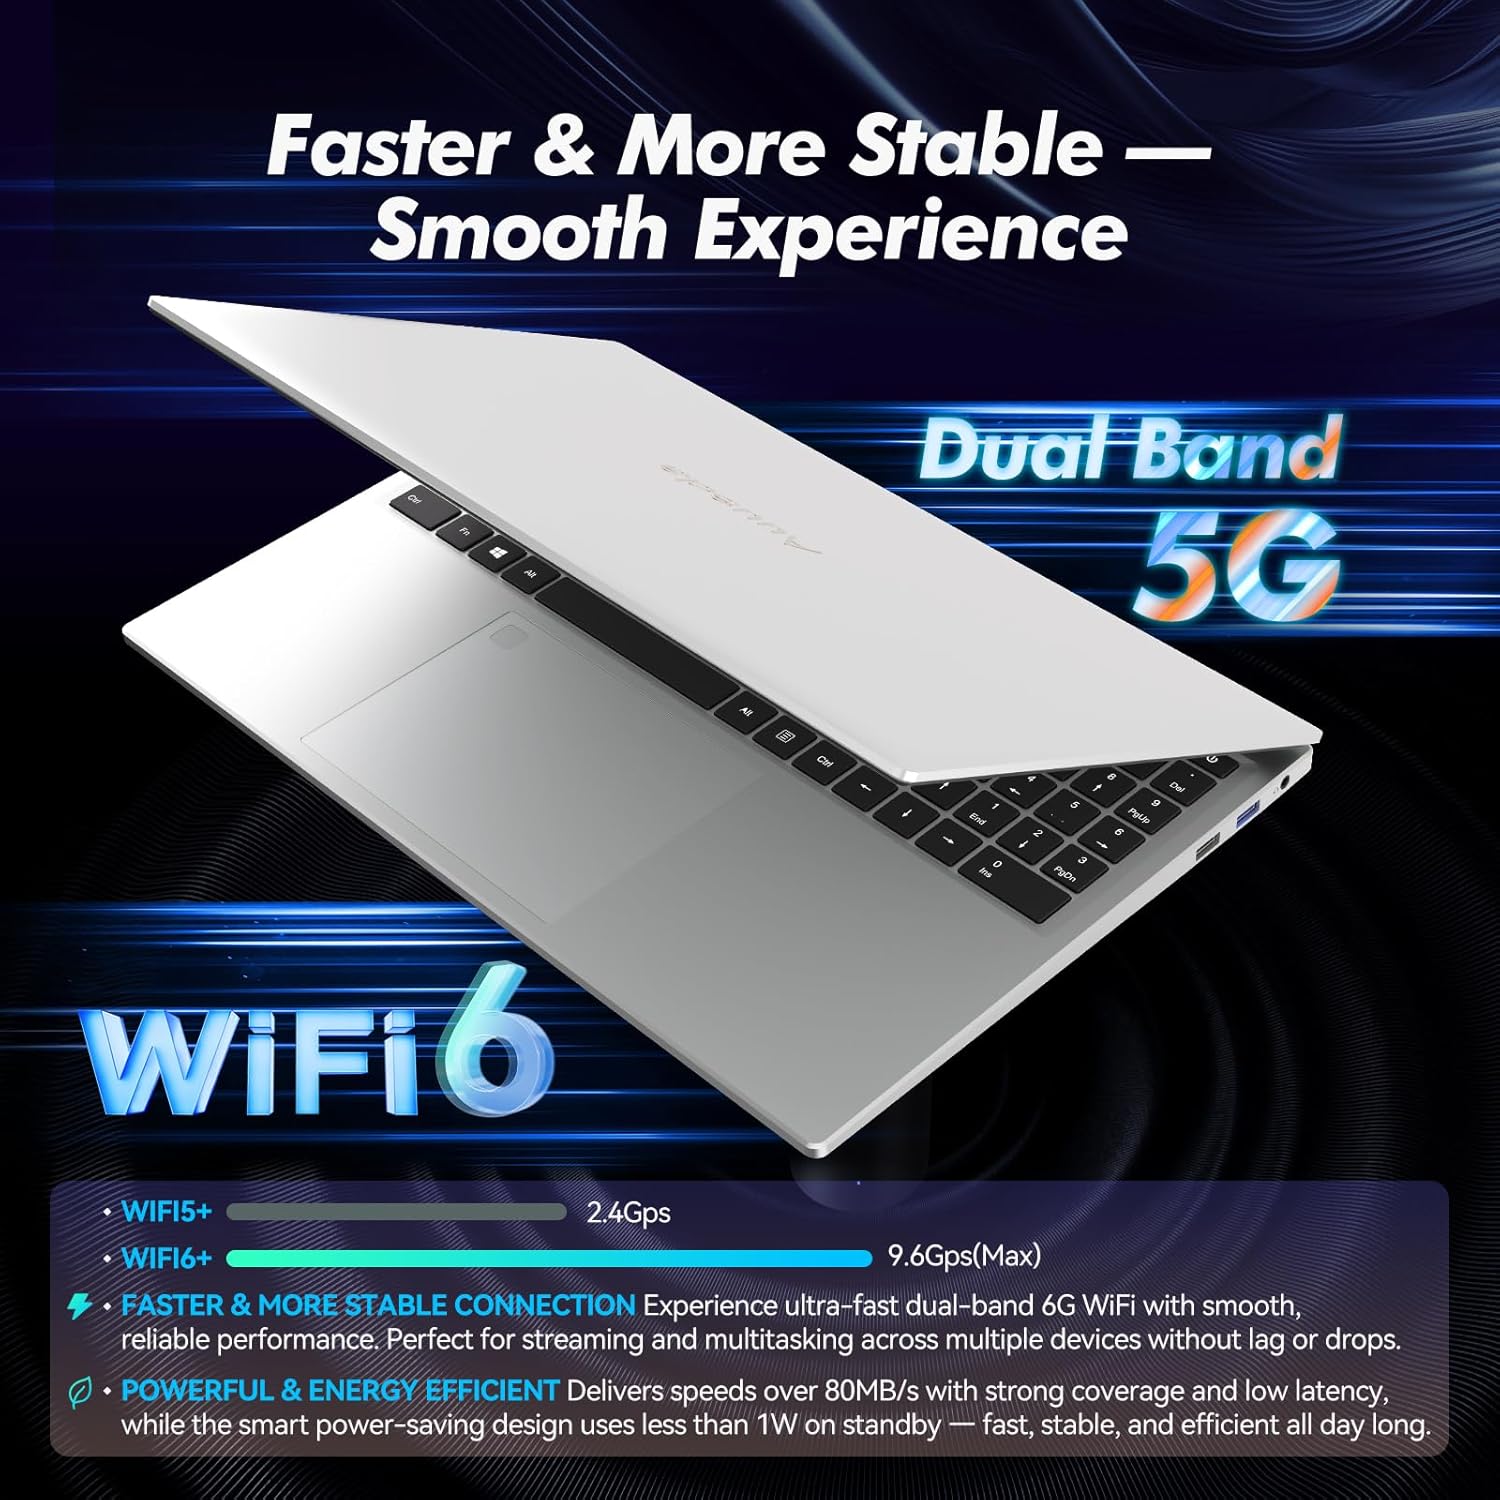
Image: Highlights the advanced wireless connectivity of the laptop, including Wi-Fi 6 and Dual Band 5G support.
6. Specifications
Below are the detailed technical specifications for the Auusda 16-inch FHD Laptop T161N:
| Feature | Specification |
|---|---|
| Model Number | T161N |
| Screen Size | 16 Inches |
| Screen Resolution | 1920 x 1080 pixels (FHD) |
| Processor | Intel Core i3-1000NG4 (1.09 GHz, up to 3.2 GHz) |
| RAM | 16 GB DDR4 SDRAM |
| Hard Drive | 1 TB SSD (PCIe) |
| Graphics Coprocessor | Iris Plus Graphics G4 48EUs (Integrated) |
| Operating System | Windows 11 Pro |
| Wireless Type | 802.11ax (Wi-Fi 6), Bluetooth 5.3 |
| USB 3.0 Ports | 2 |
| USB 2.0 Ports | 1 |
| Item Weight | 5.21 pounds |
| Product Dimensions | 14.17 x 10.83 x 0.71 inches |
| Color | Silver |
| Batteries | 1 12V battery (included) |
7. Maintenance
Regular maintenance helps ensure the optimal performance and longevity of your laptop.
7.1 Cleaning
- Use a soft, lint-free cloth to clean the screen and exterior surfaces. For stubborn marks, slightly dampen the cloth with water or a screen-safe cleaner.
- Avoid spraying liquids directly onto the laptop.
- Use compressed air to clear dust from keyboard keys and ventilation grilles.
7.2 Software Updates
- Regularly check for and install Windows updates to ensure system stability and security. Go to Settings > Windows Update.
- Keep your drivers updated. Windows Update typically handles this, but you may occasionally need to check the Auusda support website for specific driver updates.
7.3 Battery Care
- Avoid fully discharging the battery frequently.
- Store the laptop in a cool, dry place if not used for extended periods.
8. Troubleshooting
This section addresses common issues you might encounter with your laptop.
8.1 Laptop Does Not Power On
- Ensure the power adapter is securely connected to both the laptop and a working power outlet.
- Verify the power outlet is functional by plugging in another device.
- If the battery is completely drained, allow it to charge for at least 15-30 minutes before attempting to power on again.
8.2 Wi-Fi Connectivity Issues
- Check if Wi-Fi is enabled in Windows settings (Settings > Network & internet > Wi-Fi).
- Restart your router and modem.
- Ensure you are within range of your Wi-Fi network.
- Update your Wi-Fi drivers if necessary.
8.3 Keyboard or Touchpad Not Responding
- Restart the laptop.
- Check for any physical obstructions or debris under the keys or on the touchpad.
- Ensure the touchpad has not been accidentally disabled (some laptops have a function key or a setting to toggle the touchpad).
For further assistance, refer to the support section below.
9. Warranty and Support
Auusda provides customer support and warranty services for its products.
9.1 Warranty Information
Auusda laptops typically come with a two-year after-sales service period. Please retain your proof of purchase for warranty claims.
9.2 Customer Support
If you encounter issues or require technical assistance, please contact Auusda customer support:
- Email Support: Send your order number and a video demonstrating the problem to Auusda.ltd@gmail.com.
- Amazon Buyer Account: Log in to your Amazon buyer account, find your order, and click "Get Help" or "Ask questions" for direct support.


