
1. Product Overview
The RALGEND TV Stand with Mount and Power Outlet (Model 4501DSUDWB) is a modern entertainment center designed to accommodate televisions ranging from 32 to 75 inches. It features a swivel TV mount, integrated LED lighting, and convenient power outlets. The stand offers ample storage with glass-front cabinets and shelves, making it a functional and stylish addition to any living space.

Image 1.1: The RALGEND TV Stand with Mount and Power Outlet, showcasing its design and integrated TV mount.
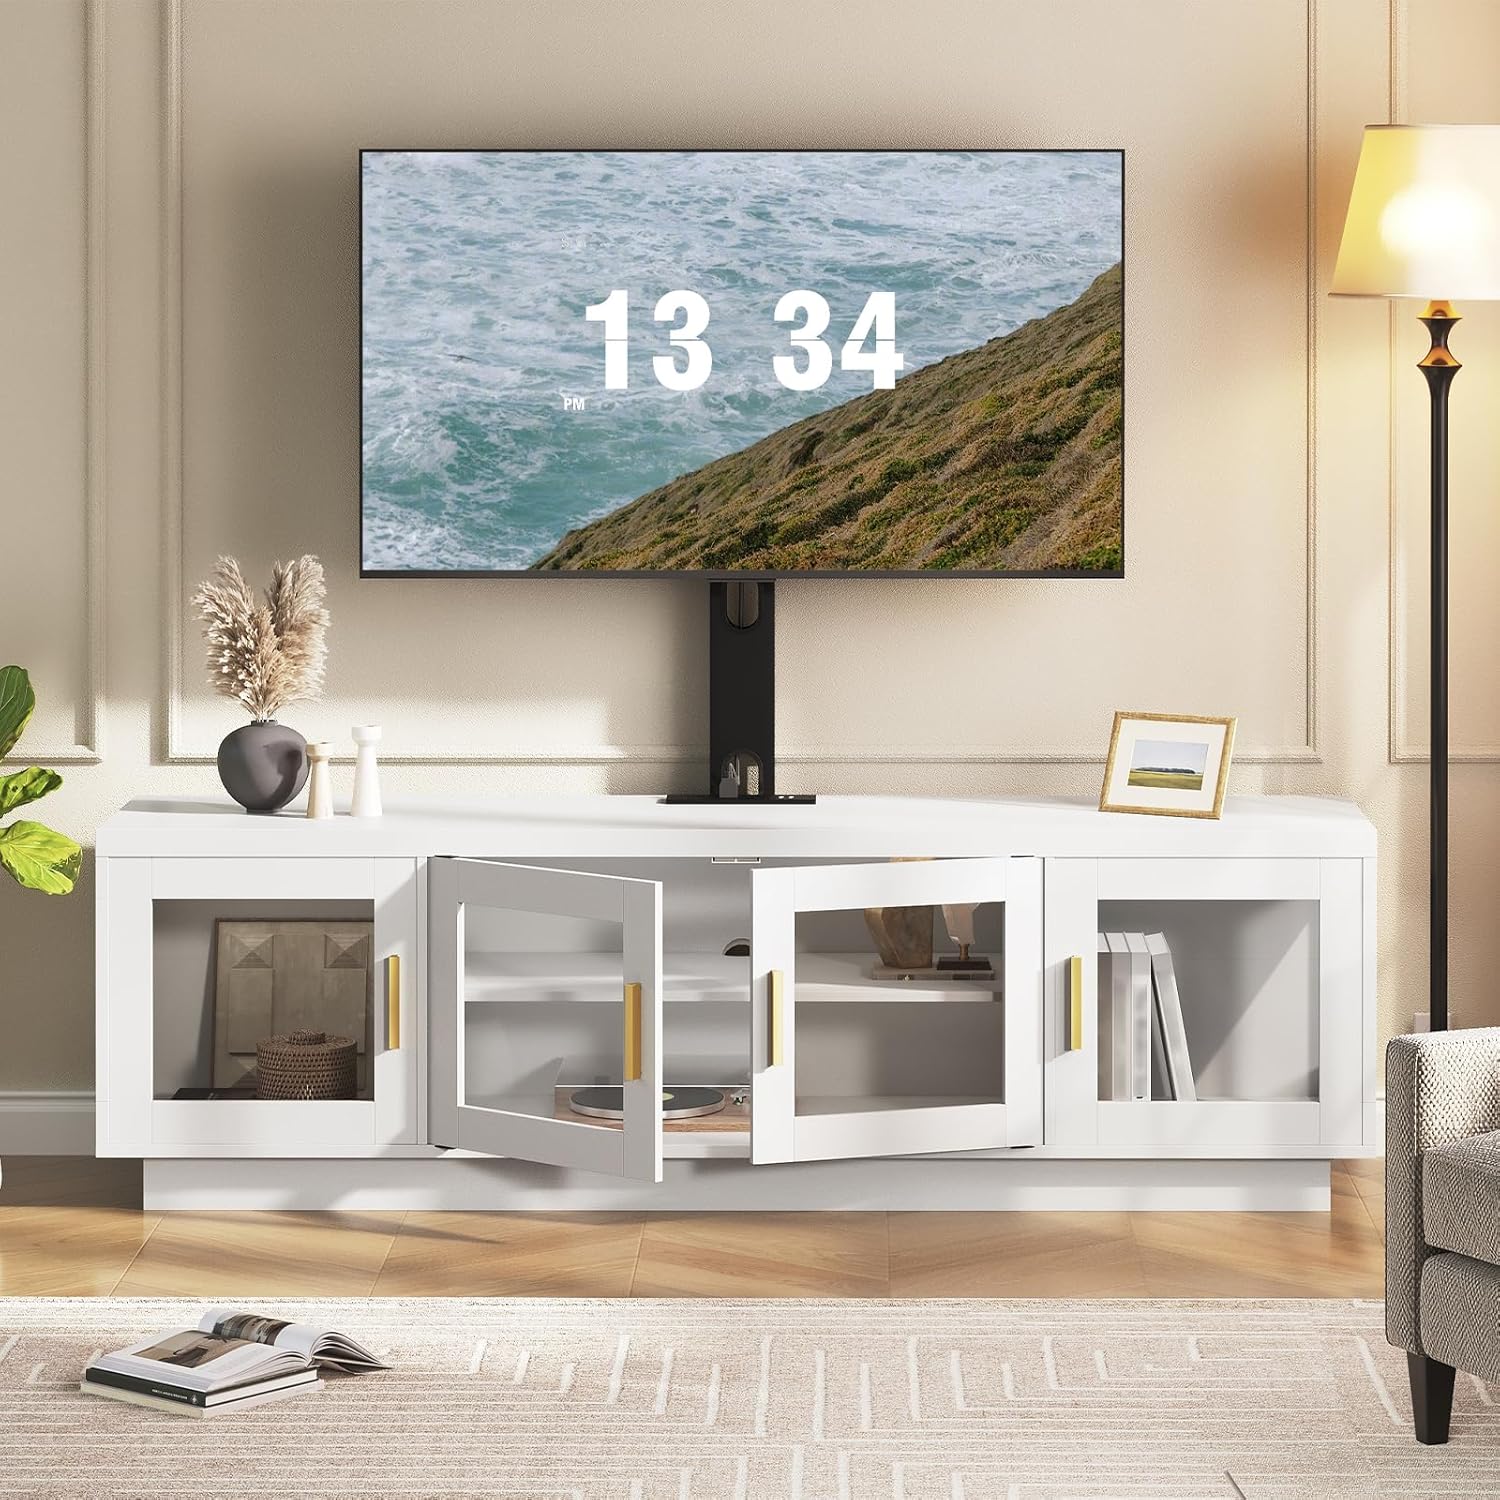
Image 1.2: The TV stand integrated into a living room, demonstrating its aesthetic appeal and functionality.
2. Safety Information
- Always secure the TV to the mount to prevent wobbling.
- Keep children away from small parts and power sources during assembly and operation.
- Assemble and use the product carefully to prevent tip-over risks.
- Follow all instructions provided in the detailed assembly manual for safe assembly and usage.
- Ensure all electrical connections are secure and meet local safety standards.
3. Package Contents
Please verify that all components listed in the included parts list are present before beginning assembly. If any parts are missing or damaged, contact customer support.
- TV Stand Panels (Engineered Wood)
- TV Mount Components (Metal)
- Hardware Pack (Screws, bolts, connectors)
- LED Light Strip with Remote Control
- Power Outlet Unit (3 AC, 2 USB)
- Assembly Instruction Manual
4. Assembly Instructions
Assembly of the RALGEND TV Stand requires careful attention to detail. Please refer to the separate, detailed assembly manual included in your package for step-by-step instructions, diagrams, and part identification. Ensure you have adequate space and the necessary tools before starting.
- Unpack and Identify Parts: Lay out all components and hardware. Compare them against the parts list in the detailed manual.
- Assemble the Base Unit: Follow the instructions to construct the main cabinet structure.
- Install Shelves and Doors: Secure the internal shelves and attach the glass-front doors.
- Attach TV Mount: Assemble the TV mount column and bracket according to your TV's VESA pattern and size. Secure it to the stand.
- Install Power Outlet and LED Lights: Integrate the power strip and attach the LED light strip as directed.
- Cable Management: Utilize the integrated cable management holes to organize wires.
- Secure TV: Carefully mount your TV to the bracket, ensuring it is securely fastened. Use the provided safety lock.
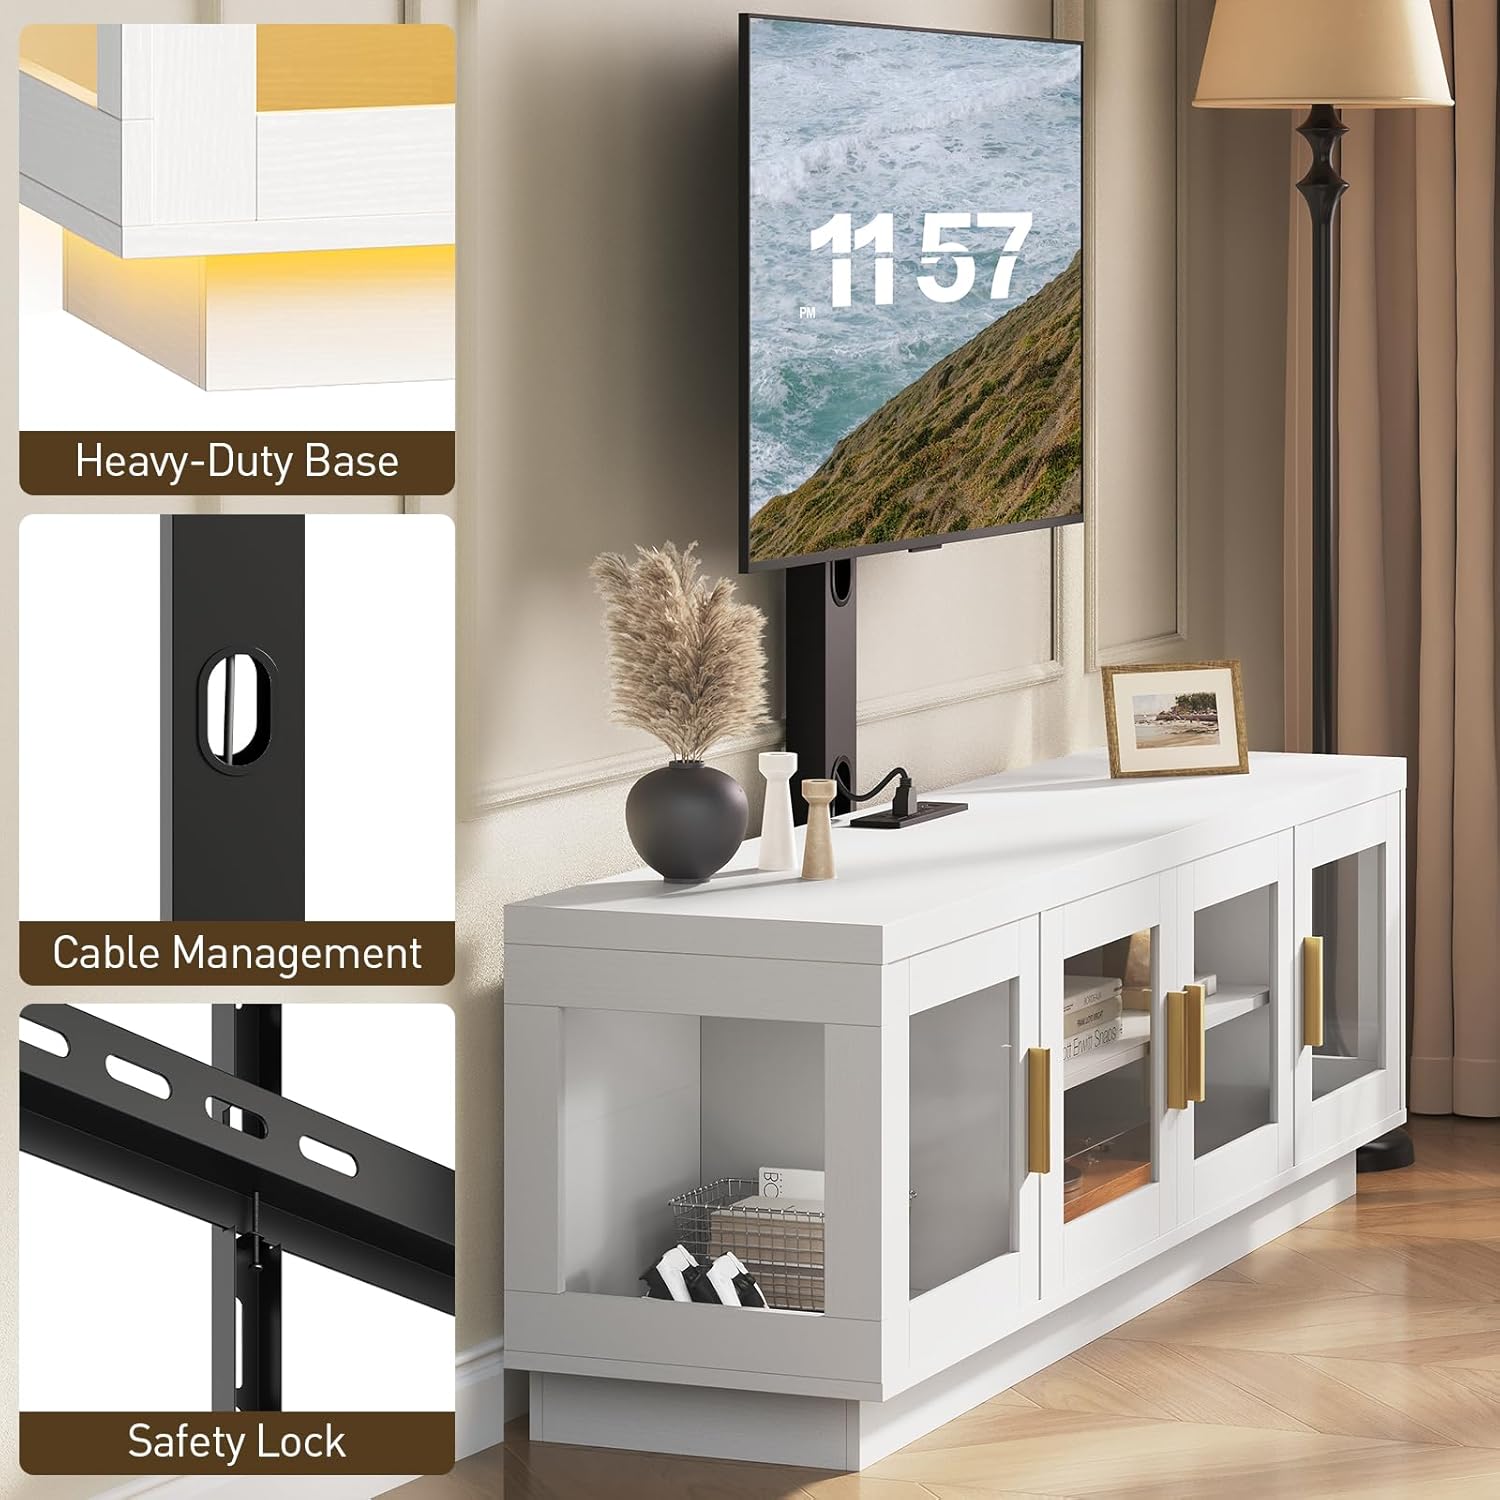
Image 4.1: Details of the heavy-duty base, cable management system, and safety lock for secure TV mounting.

Image 4.2: Detail of the cable management hole, designed to keep wires tidy and out of sight.
5. Operating Instructions
5.1. TV Mount Adjustment
- Height Adjustment: The TV mount offers two mounting height options. Adjust the vertical position of your TV by selecting the appropriate holes on the mount bracket during assembly or by re-adjusting if needed.
- Swivel Function: The mount allows for a 34° left or right swivel. Gently rotate the TV to achieve your desired viewing angle.
- TV Compatibility: This mount is compatible with TVs up to 75 inches and can support a maximum weight of 300 lbs.

Image 5.1: Illustration of the TV mount's adjustable height feature.

Image 5.2: Illustration of the TV mount's 34-degree left and right swivel capability.
5.2. Integrated Power Outlets
The TV stand includes a built-in power strip with 3 AC outlets (125V/12A) and 2 USB ports (5V/2A). This allows for convenient powering of your TV, media devices, and charging of mobile devices.
- Plug the stand's main power cord into a wall outlet.
- Connect your devices to the available AC outlets or USB ports.

Image 5.3: The integrated power strip with 3 AC outlets and 2 USB ports for convenient device charging and power.

Image 5.4: A detailed view of the power outlet unit with a phone and gaming console connected.
5.3. LED Lighting System
The stand features customizable LED lighting to enhance your entertainment experience. Use the included remote control to operate the lights.
- Power On/Off: Press the power button on the remote to turn the LED lights on or off.
- Color Selection: Choose from 20 static colors using the color buttons on the remote.
- Dynamic Modes: Select from 21 dynamic modes for various lighting effects.
- Brightness Adjustment: Use the brightness control buttons to increase or decrease the light intensity.

Image 5.5: The TV stand with its LED lights illuminated, showing the remote control for operation.
Video 5.6: A short video demonstrating the RALGEND TV Stand with Mount and Power Outlet, highlighting its features and design.
6. Maintenance
- Cleaning: Wipe surfaces with a soft, damp cloth. Avoid harsh chemicals or abrasive cleaners that may damage the finish.
- Glass Care: Use a glass cleaner for the cabinet doors.
- Hardware Check: Periodically check all screws and fasteners to ensure they remain tight. Re-tighten if necessary.
- Electrical Components: Ensure the power cord and outlets are free from damage. Do not attempt to repair electrical components yourself.
7. Troubleshooting
| Problem | Possible Cause | Solution |
|---|---|---|
| TV wobbles on mount | Mount not securely fastened; TV not properly attached to bracket; TV too heavy or large. | Ensure all mount screws are tightened. Verify TV is correctly hooked onto the bracket and safety lock is engaged. Check TV weight and size against specifications. |
| LED lights not working | Power cord unplugged; remote battery dead; LED strip disconnected or damaged. | Check power connection. Replace remote battery. Ensure LED strip is properly connected to the power source. |
| Power outlets not functioning | Stand's main power cord unplugged; circuit breaker tripped; device not properly plugged in. | Verify the stand's power cord is fully inserted into a working wall outlet. Check your home's circuit breaker. Ensure devices are firmly plugged into the outlets. |
| Cabinet doors do not close properly | Hinges misaligned; obstruction; magnetic catch issue. | Adjust hinges as per assembly manual. Remove any obstructions. Check if magnetic catches are properly installed and aligned. |
8. Specifications

Image 8.1: Detailed dimensions of the TV stand and its compatibility with various TV sizes (32-75 inches).
| Feature | Detail |
|---|---|
| Brand | RALGEND |
| Model Number | 4501DSUDWB |
| Color | White + Black |
| Material | Engineered Wood, Metal |
| Product Dimensions (L x W x H) | 59" x 13.4" x 17.9" |
| Recommended TV Size | 32 - 75 inches |
| Weight Capacity (Maximum) | 300 Pounds |
| TV Mount Swivel Angle | 34° Left or Right |
| Power Outlets | 3 AC Outlets (125V/12A), 2 USB Ports (5V/2A) |
| LED Lighting | 20 Static Colors, 21 Dynamic Modes, Brightness Adjustable |
| Number of Shelves | 3 |
| Number of Doors | 2 (Central double-door cabinet) |
| Installation Type | Freestanding |
| Assembly Required | Yes |
9. Warranty and Support
For warranty information, please refer to the documentation included with your purchase or contact RALGEND customer support directly. If you encounter any issues or require assistance with assembly or operation, please reach out to the manufacturer's support team. Contact details can typically be found on the product packaging or the official RALGEND website.