1. Introduction
The EPOMAKER RT82 is a versatile wireless mechanical keyboard designed for enhanced productivity and gaming. It features a detachable LCD screen, VIA customization, tri-mode connectivity, RGB backlighting, and hot-swappable switches. This manual provides detailed instructions for setting up, operating, maintaining, and troubleshooting your RT82 keyboard.
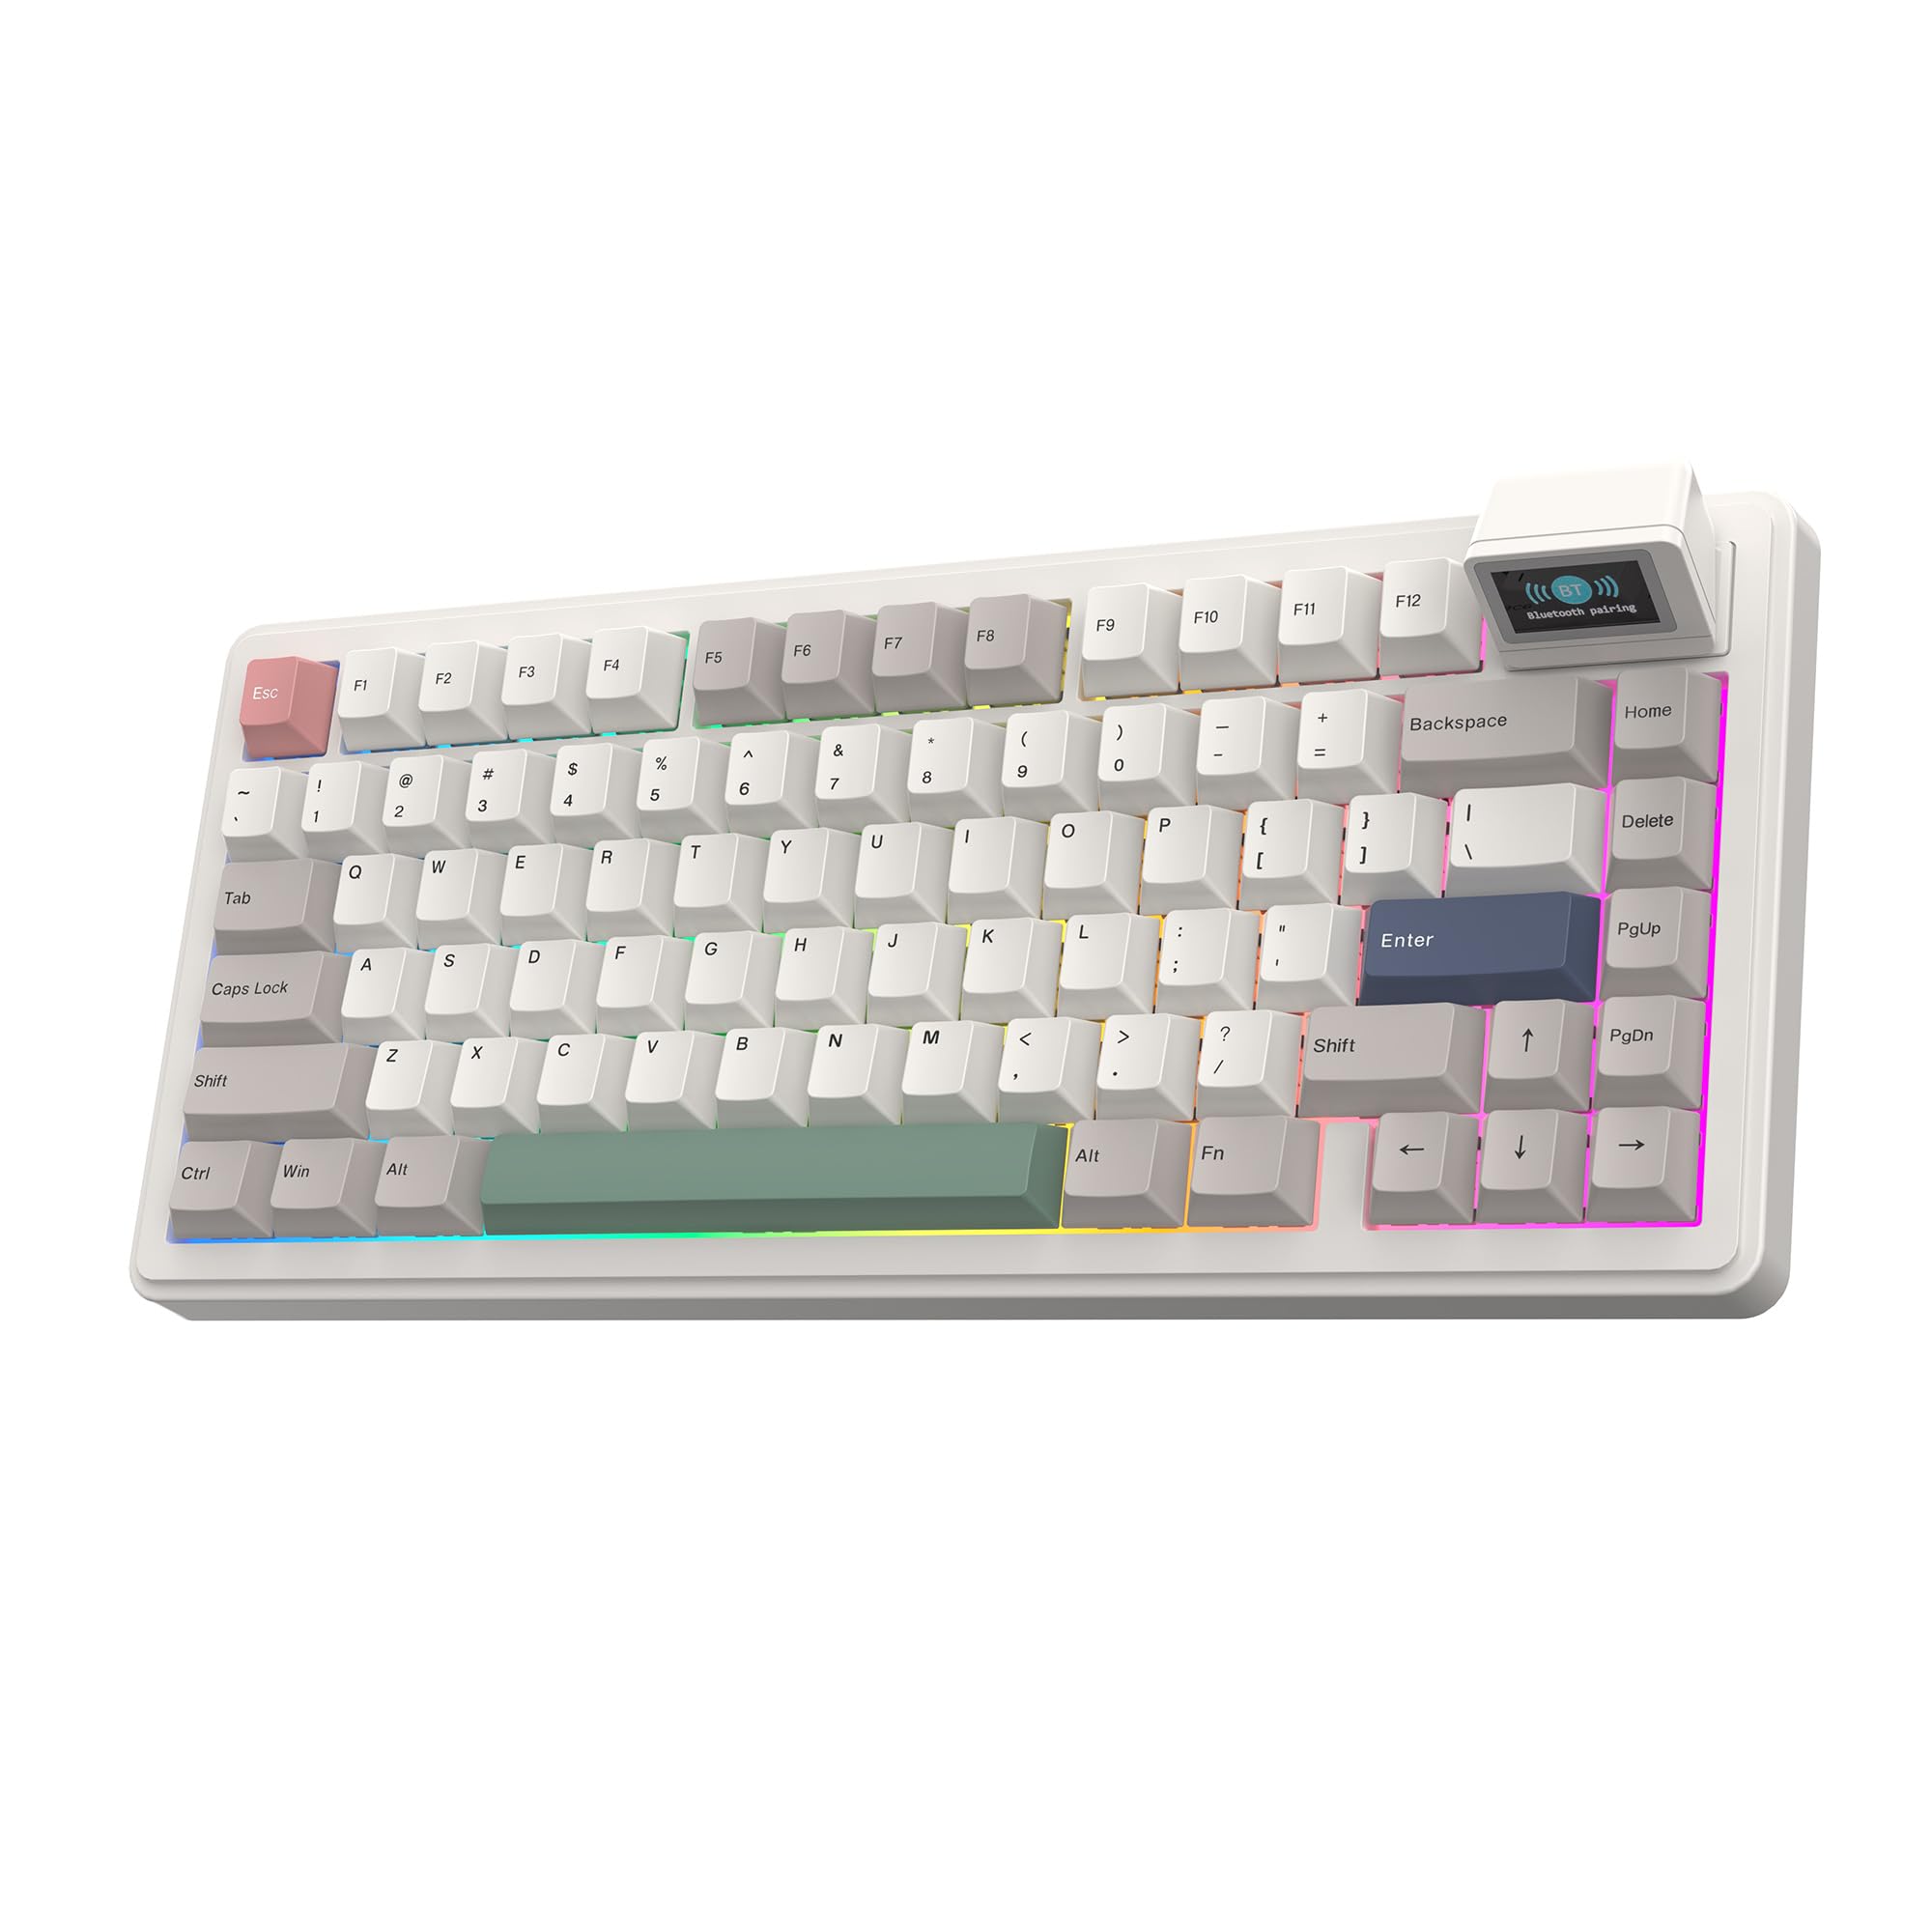
Image 1.1: EPOMAKER RT82 Wireless Mechanical Keyboard with RGB lighting and detachable screen.
2. Package Contents
Verify that all items are present in your package:
- EPOMAKER RT82 Wireless Mechanical Keyboard
- Detachable USB A to C Cable
- 2.4Ghz Wireless Receiver (Dongle)
- 2-in-1 Switch-and-Keycap Puller
- User Manual
- Additional Keycap for Mac

Image 2.1: Contents of the EPOMAKER RT82 keyboard package, including the keyboard, cables, tools, and extra keycaps.
Video 2.1: An unboxing video demonstrating the contents of the EPOMAKER RT82 package and initial setup.
3. Product Features
- Detachable LCD Screen: The RT82 features a magnetically detachable LCD screen for displaying date, time, battery status, custom GIFs, or a real-time typewriter mode.
- VIA Customization with Hot-Swap: This keyboard supports VIA software for key remapping, custom macros, and advanced functions like Mod-Tap. Its hot-swappable design allows for easy switch and keycap changes.
- Creamy Linear Switches & 5-Layer Padded Gasket: Equipped with pre-lubed Creamy Jade switches and a 5-layer padding system (Sandwich Latex, IXPE switch pad, PET sound-enhancement pad, bottom foam, and bottom silicone) for a quiet, precise, and comfortable typing experience with a satisfying 'thocky' sound.
- Tri-Mode Wireless & 4000mAh Battery: Offers three connection modes: 2.4GHz wireless, low-latency USB-C wired, and versatile Bluetooth 5.0. The 4000mAh battery provides up to 115 hours of use with the backlight and screen off, or 15-40 hours with the screen on.
- Dynamic RGB Backlight & PBT Keycaps: Features vibrant RGB backlighting with customizable effects, hue, saturation, and brightness. South-facing LEDs ensure even illumination. High-quality PBT keycaps with Dye-Sublimation printing resist shine and oils.
- Ergonomic Design with Adjustable Height: The gasket design reduces finger fatigue. Three adjustable typing angles (5, 7.5, and 11 degrees) and Cherry profile keycaps provide ergonomic comfort.

Image 3.1: Overview of key features including 2.4GHz dongle storage, two-stage adjustable feet, gasket structure, Creamy Jade switch, 4000mAh battery, and connectivity speeds.

Image 3.2: The magnetically detachable mini screen displaying time, date, and various modes like DIY pictures/GIFs and Type-Writer Mode.

Image 3.3: Detailed view of the hot-swappable sockets, lubed mechanical switches, plate-mounted stabilizers, and south-facing LEDs.

Image 3.4: Specifications for the EPOMAKER Creamy Jade Linear Mechanical Switch, including trigger force, bottom-out force, pre-travel, and total travel.

Image 3.5: Illustration of the keyboard's long-lasting power, showing 14 hours of use with screen and RGB backlight on, and 115 hours with both off.
4. Setup
4.1. Connecting Your Keyboard
The RT82 supports three connection modes:
- USB-C Wired Mode: Connect the provided USB-A to USB-C cable from your computer to the keyboard's USB-C port. The keyboard will automatically switch to wired mode.
- 2.4GHz Wireless Mode: Locate the 2.4GHz wireless receiver (dongle) in the keyboard's storage slot (usually on the back or side). Plug the dongle into an available USB port on your computer. Toggle the mode switch on the keyboard to 2.4G.
- Bluetooth 5.0 Mode: Toggle the mode switch on the keyboard to BT. On your device (PC, laptop, tablet, or phone), search for Bluetooth devices and select "EPOMAKER RT82" to pair.

Image 4.1: The EPOMAKER RT82 keyboard demonstrating its tri-mode connectivity options for various devices and operating systems.

Image 4.2: Close-up of the convenient tri-mode switch located near the USB-C port, allowing selection between Bluetooth, Wireless 2.4G, and USB-C wired modes.
4.2. Adjustable Typing Angles
The keyboard features a built-in kickstand with three adjustable typing angles (5, 7.5, and 11 degrees) to help you find the most comfortable ergonomic position.

Image 4.3: Diagram showing the dimensions of the EPOMAKER RT82 keyboard and its two-stage adjustable feet for ergonomic typing angles.
5. Operating Instructions
5.1. RGB Backlight Control
The RT82 features dynamic RGB backlighting. Use the following key combinations to adjust the lighting:
- FN + \: Toggle Backlight Effect
- FN + ↓: Decrease Backlight Brightness
- FN + ↑: Increase Backlight Brightness
- FN + ←: Decrease Backlight Effect Speed
- FN + →: Increase Backlight Effect Speed
- FN + [{: Decrease Backlight Hue
- FN + ]}: Increase Backlight Hue
- FN + ;:: Decrease Backlight Saturation
- FN + '"': Increase Backlight Saturation
- FN + Backspace: Turn On/Off All Lights
Video 5.1: A demonstration of how to toggle and adjust RGB backlight effects on the EPOMAKER RT82 keyboard.
Video 5.2: A visual showcase of various RGB lighting effects available on the EPOMAKER RT82 keyboard, particularly highlighting their appearance in low-light conditions.
5.2. VIA Customization
The EPOMAKER RT82 is compatible with VIA software for advanced customization of keymaps, macros, and lighting. To use VIA:
- Connect the keyboard to your computer via USB-C cable.
- Download the appropriate JSON file for the RT82 from the EPOMAKER website.
- Access the VIA web application (usevia.app).
- Upload the JSON file to VIA.
- You can now remap keys, create macros, and adjust lighting settings through the intuitive VIA interface.
Video 5.3: A tutorial demonstrating how to use VIA software to customize keymaps and macros for the EPOMAKER RT82 keyboard.
5.3. LCD Screen Customization
The detachable LCD screen can display custom GIFs and synchronize time. To customize the screen:
- Ensure the keyboard is connected via USB-C.
- Download and install the dedicated LCD Screen Driver Software from the EPOMAKER website.
- Connect the device within the software.
- You can upload up to 3 GIFs (recommended size 240x136 pixels), adjust their color, brightness, contrast, saturation, hue, and scale.
- Text and drawing tools are also available for further personalization.
- Use the
Related Documents - RT82

EPOMAKER EP84: Quick Start Guide for 75% Hot-Swap Mechanical Keyboard
Get started with your EPOMAKER EP84 75% hot-swap mechanical keyboard. This guide covers setup, features, shortcuts, and switch replacement.
EPOMAKER TH98 Quick Start Guide and Features
Comprehensive guide to the EPOMAKER TH98 1800 Compact Wired/Wireless Mechanical Keyboard, covering setup, features, shortcuts, and troubleshooting.
EPOMAKER TH96 Mechanical Keyboard: Quick Start Guide & Features
Comprehensive guide to the EPOMAKER TH96 1800 Compact Wired/Wireless Mechanical Keyboard, covering setup, shortcuts, RGB effects, pairing, maintenance, and warranty information.
EPOMAKER TH99 Keyboard Technical Specifications
Detailed technical specifications for the EPOMAKER TH99 keyboard, including layout, connectivity, features, and compatibility.
EPOMAKER RT82 Quick Start Guide: 75% Hot-swappable RGB Mechanical Keyboard with Mini Display
Get started with the EPOMAKER RT82, a 75% hot-swappable, tri-mode RGB mechanical keyboard featuring a detachable mini display. This guide covers setup, connectivity (wired, 2.4G, Bluetooth), and software customization.
EPOMAKER RT100 Mechanical Keyboard Quick Start Guide
Comprehensive guide to the EPOMAKER RT100 98-key hot-plug mechanical keyboard, covering wired and wireless setup, Bluetooth and 2.4GHz pairing, key functions, and smart screen features.