
1. Introduction and Overview
The Stelpro Brava Electric Baseboard Heater (Model AB03029W) is a 300W, 240V hardwired heating unit designed for indoor use. It provides silent convection warmth for spaces up to 30 sq ft. This manual provides essential information for safe installation, operation, and maintenance of your baseboard heater. Please read all instructions carefully before installation and use.

Figure 1: Front view of the Stelpro Brava Electric Baseboard Heater.
2. Important Safety Information
WARNING: Risk of electric shock. Installation and repairs must be performed by qualified personnel only. Improper installation or maintenance can result in fire, electric shock, or personal injury.
- Hardwired Connection: This unit is designed for hardwired installation to a 240V circuit and is not a plug-in appliance. Ensure the power supply is disconnected at the main electrical panel before any installation or maintenance.
- Overheat Protection: The heater is equipped with overheat protection that automatically cuts power if airflow is blocked. Do not obstruct the air intake or outlet vents.
- Placement: Maintain adequate clearance from combustible materials such as furniture, curtains, and bedding.
- Children and Pets: The heater features rounded corners for enhanced safety, but always supervise children and pets around operating heaters.
- Moisture: Do not install the heater in areas where it may be exposed to water spray or excessive moisture.

Figure 2: The Stelpro Brava heater requires a hardwired connection, not a plug-in.
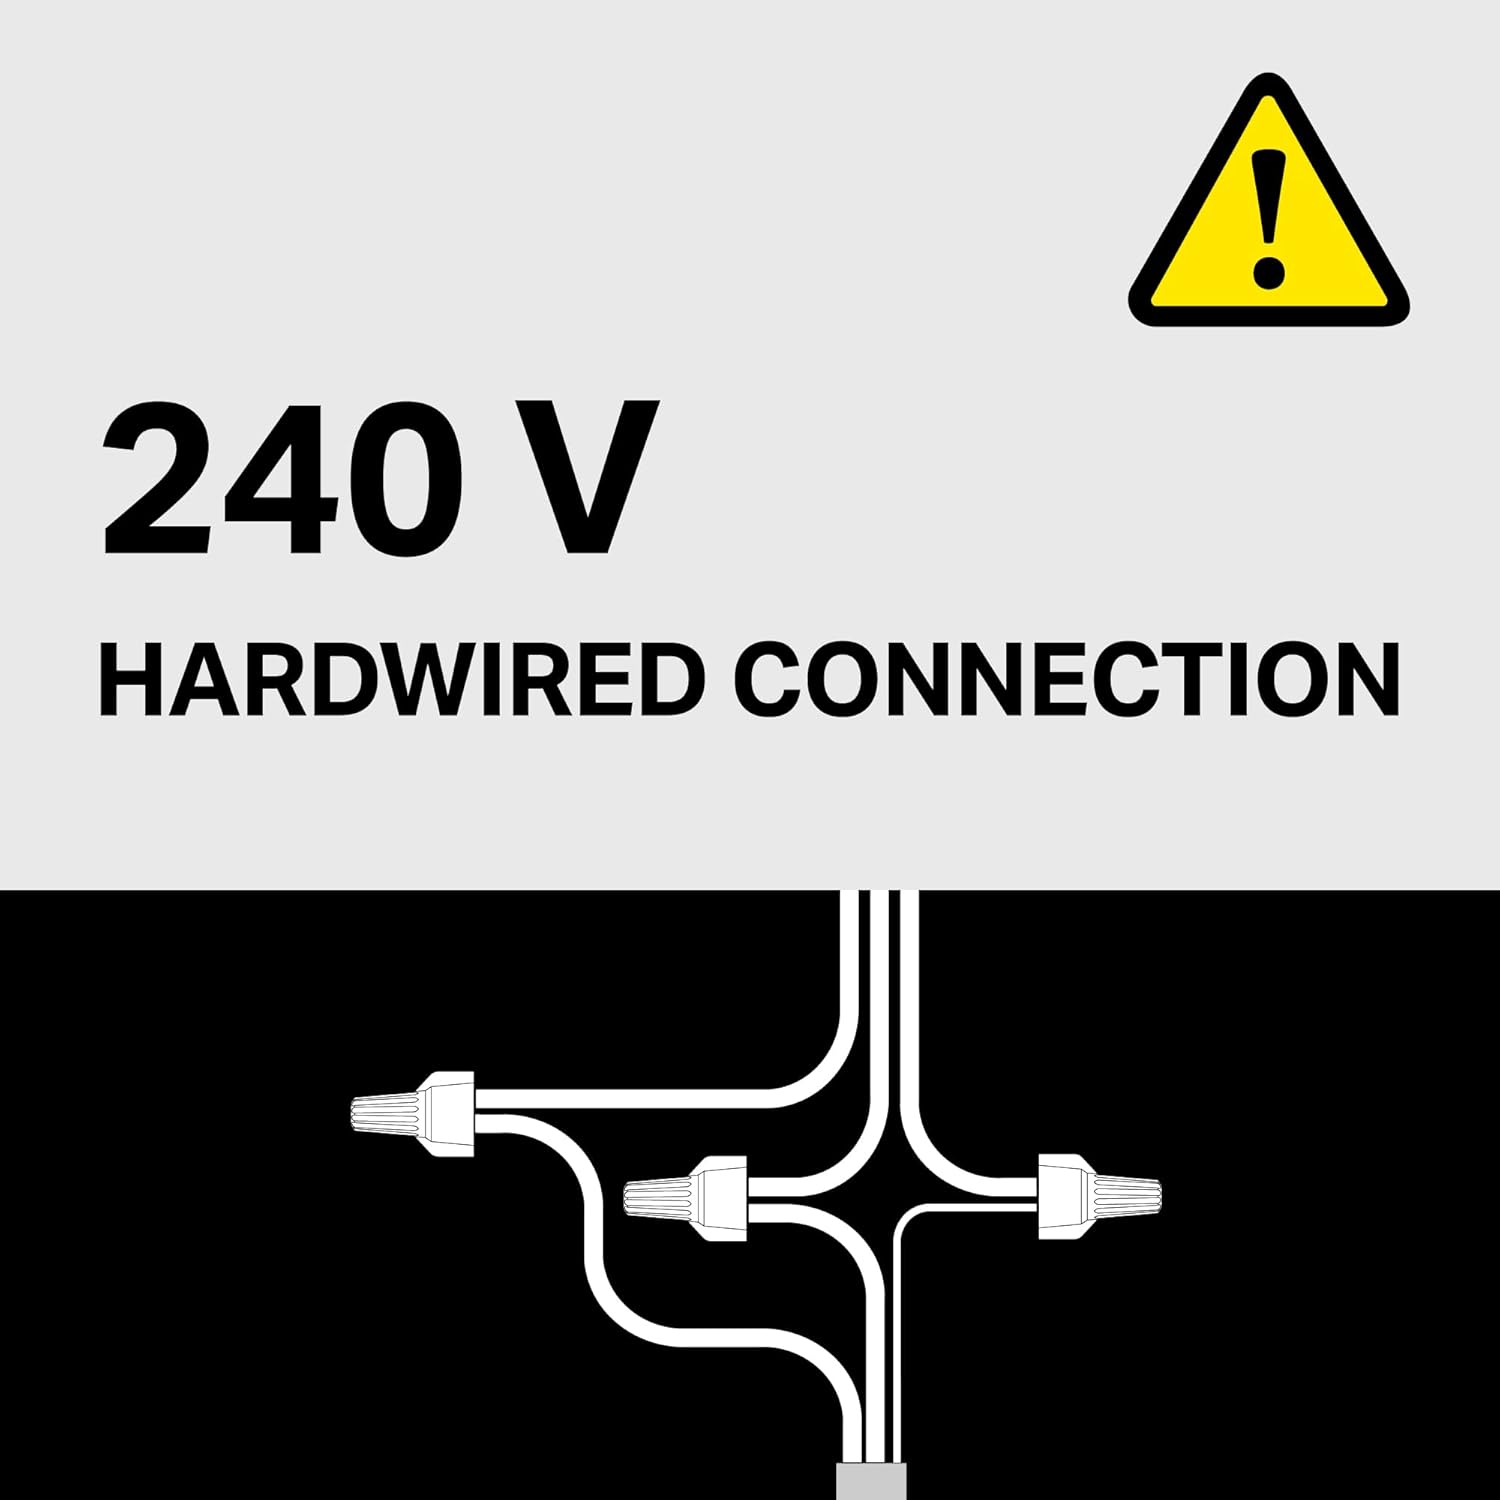
Figure 3: The heater is designed for a 240V hardwired electrical connection.
3. Package Contents
Verify that all components are present before beginning installation:
- Stelpro Brava Electric Baseboard Heater (Model AB03029W)
- Installation Hardware (pre-punched holes, cable clamps)
Note: An external thermostat is required and sold separately. Options include electronic add-on (SIBTE12F) or mechanical single-pole (SIBT1W) or double-pole (SIBT2W) models.
4. Specifications
| Feature | Specification |
|---|---|
| Brand | Stelpro |
| Model Number | AB03029W |
| Power Source | Hardwired Electric - 240V |
| Heat Output | 300 watts |
| Voltage | 240 volts |
| Amperage | 1.25 A |
| Heating Method | Convection |
| Heating Coverage | Up to 30 sq feet |
| Color | White |
| Form Factor | Cabinet |
| Mounting Type | Wall Mount |
| Item Dimensions (D x W x H) | 2.56"D x 22"W x 5.75"H |
| Item Weight | 4.5 pounds |
| Special Features | Bladeless, Energy Efficient, Fast Heating, Noiseless, Overheat Protection |

Figure 4: Dimensions of the Stelpro Brava Electric Baseboard Heater.
5. Setup and Installation
Installation of the Stelpro Brava Electric Baseboard Heater requires a hardwired connection to a 240V electrical circuit. It is recommended that installation be performed by a qualified electrician to ensure compliance with local electrical codes and safety standards.
5.1 Pre-Installation Steps
- Disconnect Power: Turn off power to the circuit at the main electrical panel before starting any work.
- Choose Location: Select a wall location that allows for proper air circulation and is away from obstructions. The heater should be mounted at least 6 inches (15 cm) from the floor.
- Thermostat Selection: Decide on your thermostat control method. This unit requires an external thermostat, which can be a wall-mounted unit or a separately purchased built-in thermostat module (e.g., SIBTE12F, SIBT1W, SIBT2W).
5.2 Mounting the Heater
- The heater features pre-punched holes for easy wall mounting. Secure the heater firmly to the wall studs or use appropriate wall anchors.
- Ensure the heater is level for optimal performance and appearance.
5.3 Electrical Connection
- The heater has universal wiring on both ends, allowing for left or right feed connections.
- Use the included cable clamps to secure the wiring.
- Connect the heater to the 240V circuit according to the wiring diagram provided with your thermostat and local electrical codes.
- Once wiring is complete and secured, restore power at the main electrical panel.
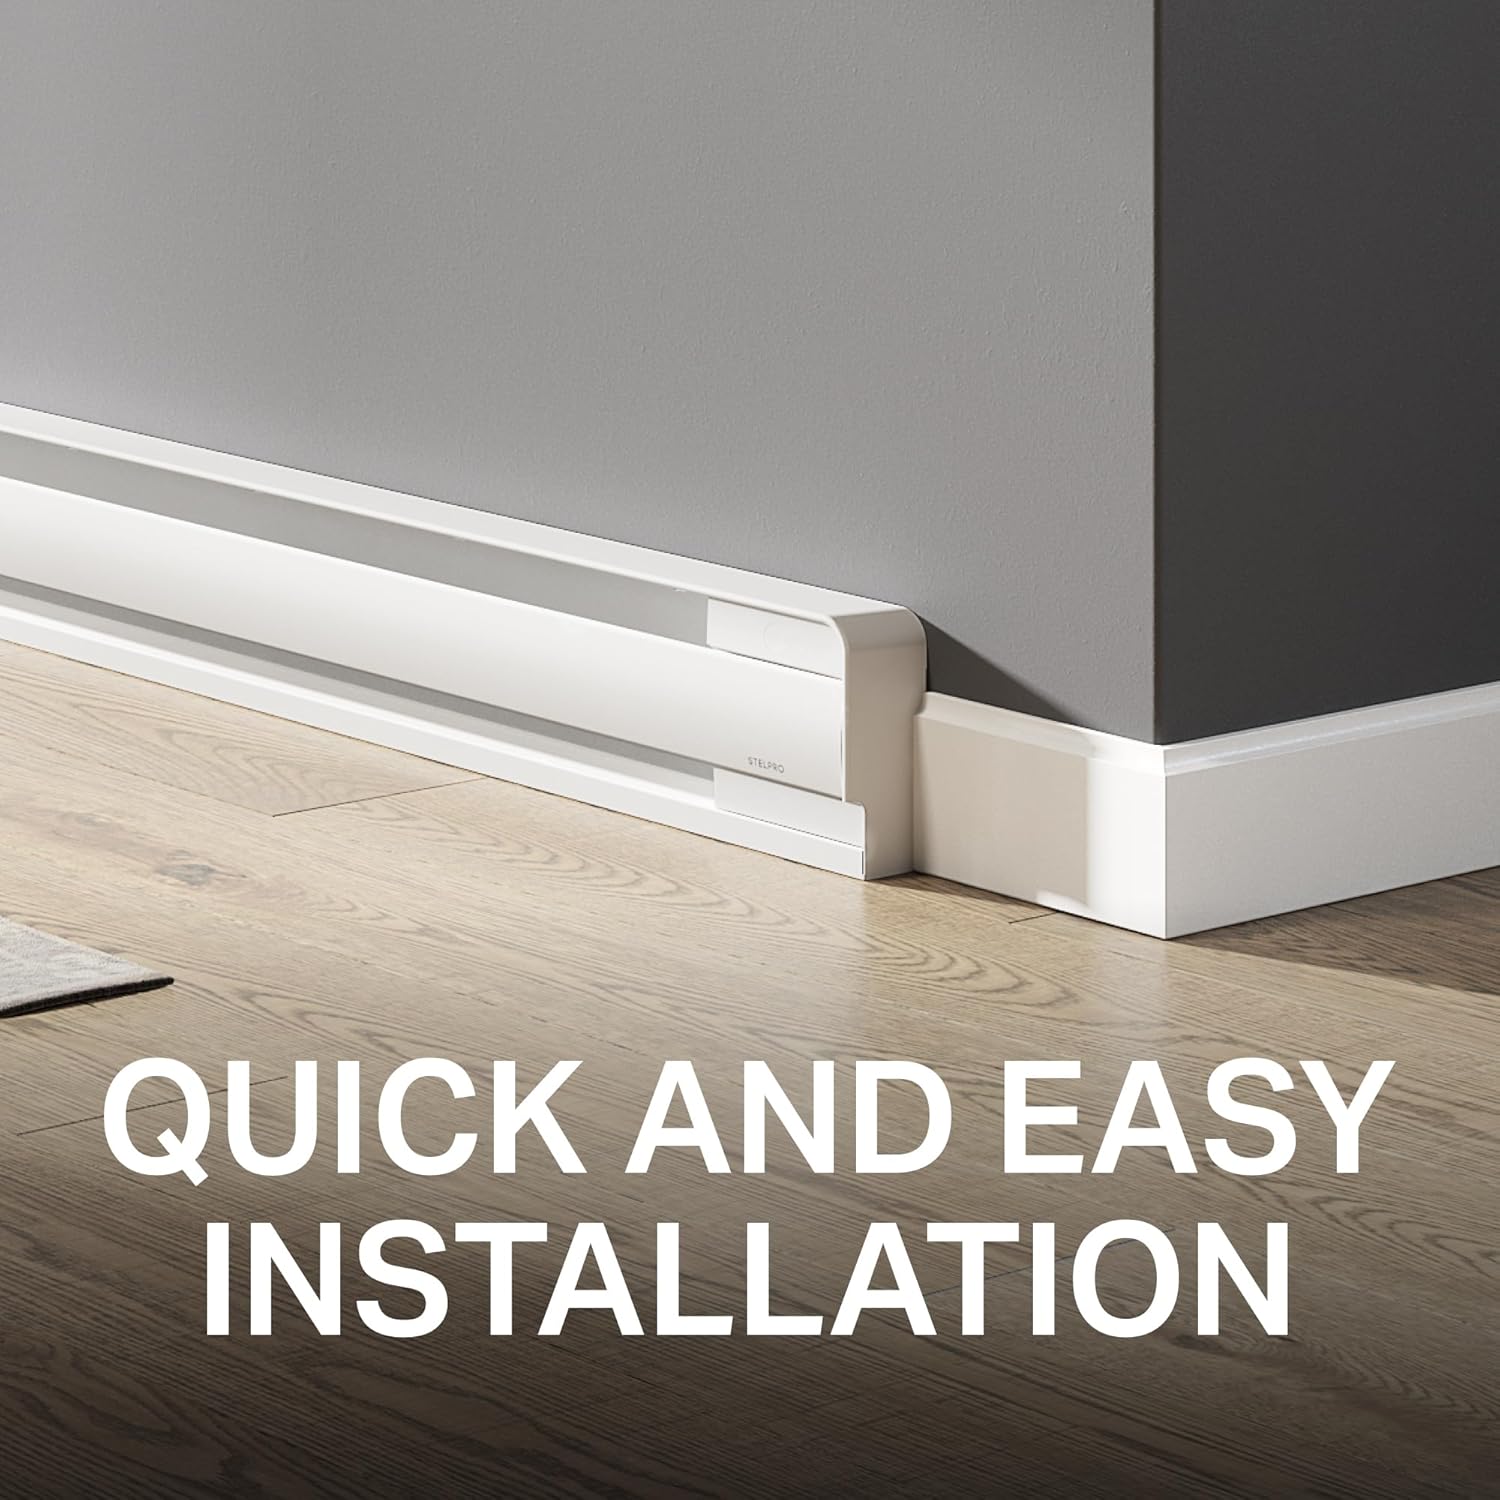
Figure 5: Example of a Stelpro Brava baseboard heater installed.

Figure 6: Optional built-in thermostat models (SIBTE, SIBT1W, SIBT2W) for the Brava heater.
Video 1: Official video demonstrating the Stelpro Brava Electric Baseboard Heater, including its design and installation features.
6. Operating Instructions
The Stelpro Brava Electric Baseboard Heater operates via convection, silently distributing heat throughout the room. Operation is controlled by the external thermostat connected to the unit.
- Thermostat Control: Adjust the external thermostat to your desired temperature setting. The heater will cycle on and off to maintain this temperature.
- Initial Operation: During the first few hours of operation, a slight odor may be noticeable as manufacturing residues burn off. This is normal and will dissipate.
- Airflow: Ensure that the air intake and outlet grilles are never blocked to allow for efficient heat distribution and to prevent the overheat protection from activating.
7. Maintenance
Regular maintenance ensures optimal performance and longevity of your heater.
7.1 Cleaning
- Disconnect Power: Always turn off power to the heater at the main electrical panel before cleaning.
- Exterior Cleaning: Wipe the exterior of the heater with a soft, damp cloth. Do not use abrasive cleaners or solvents, as these can damage the finish.
- Dust Removal: Use a vacuum cleaner with a brush attachment to remove dust from the grilles and heating element. Ensure no debris obstructs airflow.
7.2 General Care
- Inspect the heater periodically for any signs of damage or loose connections.
- There are no user-serviceable parts inside the heater. Refer all repairs to qualified service personnel.

Figure 7: The durable white finish of the Stelpro Brava heater is easy to clean.
8. Troubleshooting
If your heater is not functioning correctly, consult the following common issues before contacting support.
| Problem | Possible Cause | Solution |
|---|---|---|
| Heater does not turn on | No power to the unit; Thermostat set too low; Overheat protection activated | Check circuit breaker; Increase thermostat setting; Ensure grilles are not blocked and allow unit to cool |
| Insufficient heat output | Thermostat set too low; Room size exceeds heater capacity; Blocked airflow | Increase thermostat setting; Verify heater is appropriate for room size (30 sq ft max); Clear any obstructions from grilles |
| Unusual odors during operation | New unit burn-off; Dust accumulation | Normal for first few hours of use; Clean the heater as per maintenance instructions |
If the problem persists after attempting these solutions, contact a qualified electrician or Stelpro customer support.
9. Warranty and Support
9.1 Warranty Information
The Stelpro Brava Electric Baseboard Heater comes with a 5-year warranty on the baseboard and a lifetime warranty on the heating element for the original owner. This warranty covers defects in materials and workmanship under normal use and service.
For detailed warranty terms and conditions, please refer to the official Stelpro website or contact customer service.
9.2 Customer Support
For technical assistance, troubleshooting beyond this manual, or warranty claims, please contact Stelpro customer support through their official website or the contact information provided with your purchase.
Stelpro Website: www.stelpro.com


