
1. Introduction
Thank you for choosing the DocSmart Mini Chainsaw Electric Cordless. This manual provides essential information for the safe and efficient operation, maintenance, and troubleshooting of your chainsaw. Please read this manual thoroughly before initial use and retain it for future reference. Proper understanding and adherence to these instructions will ensure optimal performance and user safety.
2. Safety Information
Operating any power tool requires caution. Always prioritize your safety and the safety of others. Failure to follow these safety guidelines may result in serious injury or property damage.
General Safety Precautions:
- Always wear appropriate personal protective equipment (PPE), including safety goggles, gloves, and sturdy footwear.
- Ensure the work area is clear of bystanders, especially children and pets.
- Inspect the chainsaw for any damage or loose parts before each use.
- Keep hands and feet away from the chain when the tool is in operation.
- Do not operate the chainsaw in wet conditions or near flammable liquids or gases.
- Always use the safety lock to prevent accidental activation.
- Maintain a firm grip on the chainsaw with both hands during operation.
Integrated Safety Features:
- Safety Lock: Prevents unintentional starting of the chainsaw.
- Safety Baffles: Designed to reduce wood chip splashing during cutting.
- Non-slip Front Handle: Provides a secure and comfortable grip for enhanced control.
- Included PPE: A pair of gloves and safety goggles are provided for immediate protection.
3. Package Contents
Upon unpacking, please verify that all items listed below are present and undamaged:
- 1x DocSmart Mini Chainsaw (8-inch chain and 8-inch guide bar pre-installed)
- 2x 4000mAh Lithium-Ion Batteries
- 1x 6-inch Chain
- 1x 6-inch Guide Bar
- 1x Battery Charger
- 1x Pair of Gloves
- 1x Screwdriver
- 1x Safety Goggles
- 1x Cleaning Brush
- 1x Chain Sharpener
- 1x Storage Suitcase

Image: Complete package contents of the DocSmart Mini Chainsaw.
4. Product Features
- 1500W Brushless Motor: Delivers a chain speed of 26 ft/s for efficient cutting, capable of cutting 6-inch branches in approximately 8 seconds. The brushless design enhances motor life and energy efficiency.
- Portable & Cordless Convenience: Equipped with two 4000mAh rechargeable batteries (8000mAh total), providing up to 60 minutes of runtime per battery after a 4-hour charge. Compatible with Makita batteries for extended flexibility.
- 2-in-1 Mini Chainsaw: Includes both 8-inch and 6-inch guide bars and chains, allowing users to switch sizes for various tasks, from delicate trimming to cutting larger branches.
- Ready-to-Use & Ergonomic: The chainsaw comes fully assembled. Weighing only 3.46 lbs, it supports one-handed operation with a non-slip handle for comfortable and precise control.
- Auto Oiler-System: Features a manual lubrication system. Pour up to 30ml of oil into the tank, tighten the cap, and squeeze the bulb several times to ensure smooth chain operation.
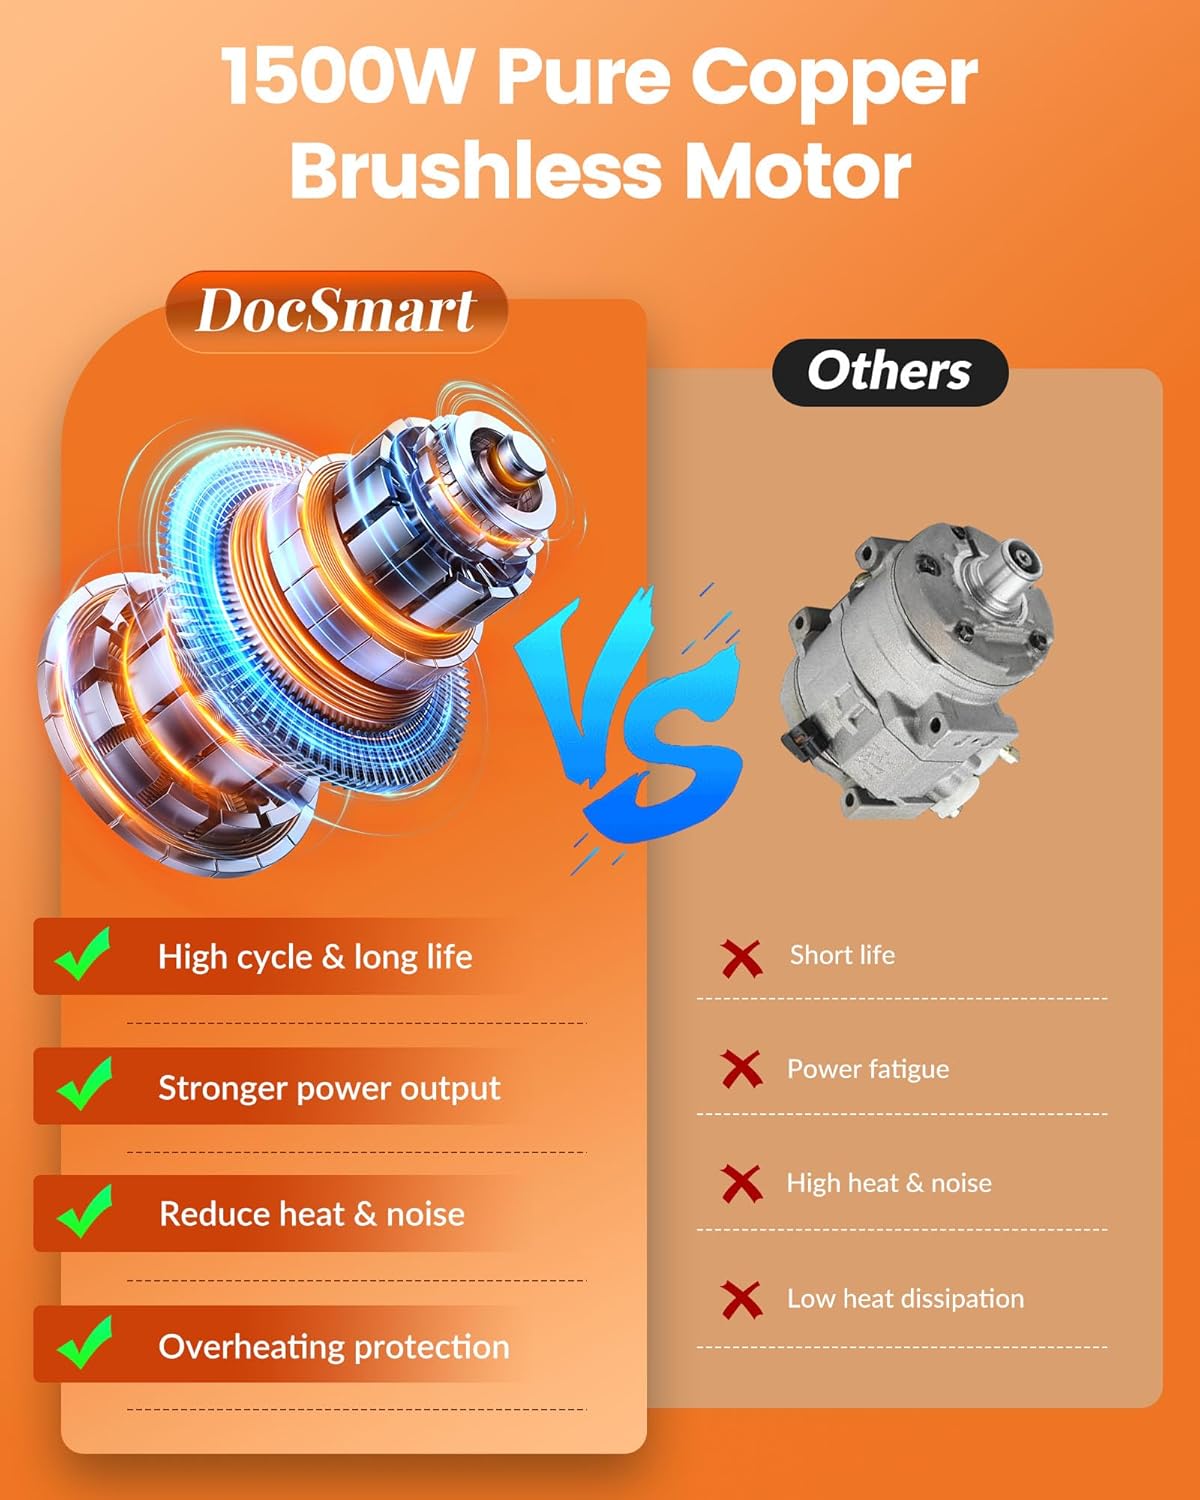
Image: Comparison of the 1500W brushless motor with traditional brushed motors.

Image: Details of the 8000mAh rechargeable lithium batteries.
5. Setup
5.1. Battery Charging
- Insert a battery into the provided charger.
- Plug the charger into a standard power outlet.
- Allow approximately 4 hours for a full charge. The indicator light on the battery or charger will signal completion.
- Ensure batteries are fully charged before first use for optimal performance.
5.2. Chain and Guide Bar Installation/Adjustment
The 8-inch chain and guide bar come pre-installed. To switch to the 6-inch setup or adjust chain tension:
- Loosen the two nuts securing the guide bar cover.
- Remove the guide bar cover.
- Carefully remove the existing chain and guide bar.
- Install the desired guide bar and chain, ensuring the chain direction is correct (refer to markings on the chainsaw body).
- Replace the guide bar cover and lightly tighten the two nuts.
- Adjust chain tension using the tensioning knob. The chain should be snug but still able to move freely around the guide bar (recommended tension: 0.04-0.12 inches of play).
- Once tension is set, fully tighten the two nuts to secure the guide bar.
5.3. Oiling the Chain
The chainsaw features an auto-oiler system that requires manual priming:
- Locate the oil tank cap on the chainsaw body.
- Unscrew the cap and pour bar and chain lubricant (not included) into the tank, up to the 30ml mark.
- Securely tighten the oil tank cap.
- Squeeze the transparent bulb on the oil tank several times to prime the lubrication system and ensure oil reaches the chain.
- Periodically squeeze the bulb during operation to maintain adequate lubrication.

Image: Auto Lubrication System for the chainsaw chain.

Image: Visual guide for initial chainsaw setup steps.
6. Operating Instructions
6.1. Pre-Operation Checklist
- Ensure the battery is fully charged and securely inserted.
- Check that the chain is properly tensioned and lubricated.
- Verify that all safety features, including the safety baffles and safety lock, are functioning correctly.
- Wear all recommended PPE: safety goggles, gloves, and appropriate clothing.
6.2. Starting the Chainsaw
- Hold the chainsaw firmly with both hands.
- Press the safety lock button (usually located near the trigger).
- While holding the safety lock, press the power switch/trigger to start the chainsaw. Release the safety lock once the chain begins to move.
6.3. Cutting Techniques
- Always maintain a stable stance and clear path for falling branches.
- Allow the chainsaw to reach full speed before making contact with the wood.
- Apply light, consistent pressure. Do not force the saw through the wood.
- For branches up to 6 inches, the chainsaw is designed for quick and efficient cuts.
- Be aware of kickback, especially when cutting with the tip of the guide bar.
- When cutting larger branches, make relief cuts to prevent pinching the guide bar.

Image: Chainsaw in use, demonstrating efficient cutting of a 6-inch branch.

Image: Versatility of the 8-inch and 6-inch guide bars for different cutting tasks.
7. Maintenance
7.1. Cleaning
- After each use, disconnect the battery.
- Use the provided cleaning brush to remove sawdust, wood chips, and debris from the guide bar, chain, and motor housing.
- Ensure the oil tank area is clean to prevent contamination.
7.2. Chain Sharpening
- A sharp chain is crucial for safe and efficient cutting.
- Use the included chain sharpener to maintain the sharpness of the chain teeth. Follow the manufacturer's guidelines for proper sharpening angles.
- If the chain is severely dull or damaged, replace it with a new one.
7.3. Storage
- Store the chainsaw in its protective suitcase in a dry, secure location, out of reach of children.
- Remove the battery from the chainsaw before storage.
- Ensure the guide bar cover is in place to protect the chain.
8. Troubleshooting
| Problem | Possible Cause | Solution |
|---|---|---|
| Chainsaw does not start | Battery not charged or improperly inserted; Safety lock not engaged; Power switch/trigger malfunction. | Charge battery fully and reinsert; Ensure safety lock is pressed before trigger; Contact customer support if issue persists. |
| Poor cutting performance | Dull chain; Incorrect chain tension; Insufficient lubrication. | Sharpen or replace chain; Adjust chain tension; Refill oil tank and prime auto-oiler. |
| Chain stops during operation | Battery low; Overload protection activated; Chain pinched in wood. | Recharge battery; Reduce cutting pressure; Carefully free the chain from the wood. |
9. Specifications
| Feature | Detail |
|---|---|
| Brand | DocSmart |
| Model Number | CS08-O4 |
| Power Source | Battery Powered |
| Motor Type | Brushless |
| Horsepower | 1500 Watts |
| Item Weight | 5.5 Pounds |
| Product Dimensions | 16.74"L x 13.55"W x 4.73"H |
| Chain Lengths | 8 Inches & 6 Inches |
| Chain Speed | 26 FT/S |
| Batteries | 2 x 12V 4000mAh Lithium Ion (Included) |
| Charging Time | Approx. 4 hours per battery |
| Runtime per Battery | Up to 60 minutes |
| Color | Orange |
10. Warranty and Support
For warranty information, technical support, or replacement parts, please refer to the documentation included with your product or contact DocSmart customer service. Keep your purchase receipt as proof of purchase.
