1. Product Overview
This manual provides comprehensive instructions for the installation, operation, and maintenance of the maXpeedingrods Air Suspension Kit, Model EU95TH. This kit is designed to enhance vehicle stability and load-carrying capacity.
Compatibility:
- Nissan Interstar X70 (Front-wheel drive) 1999–2010
- Opel Movano X70 (Single tires) 1999–2010
- Renault Master X70 (Front-wheel drive) 1998-2010
Please verify compatibility with your vehicle before proceeding with installation.
2. Package Contents
The maXpeedingrods Air Suspension Kit includes the following components:
- 2 x Air Springs
- 4 x Mounting Brackets
- 1 x 10m Air Hose
- Fastening Screws and Air Fittings
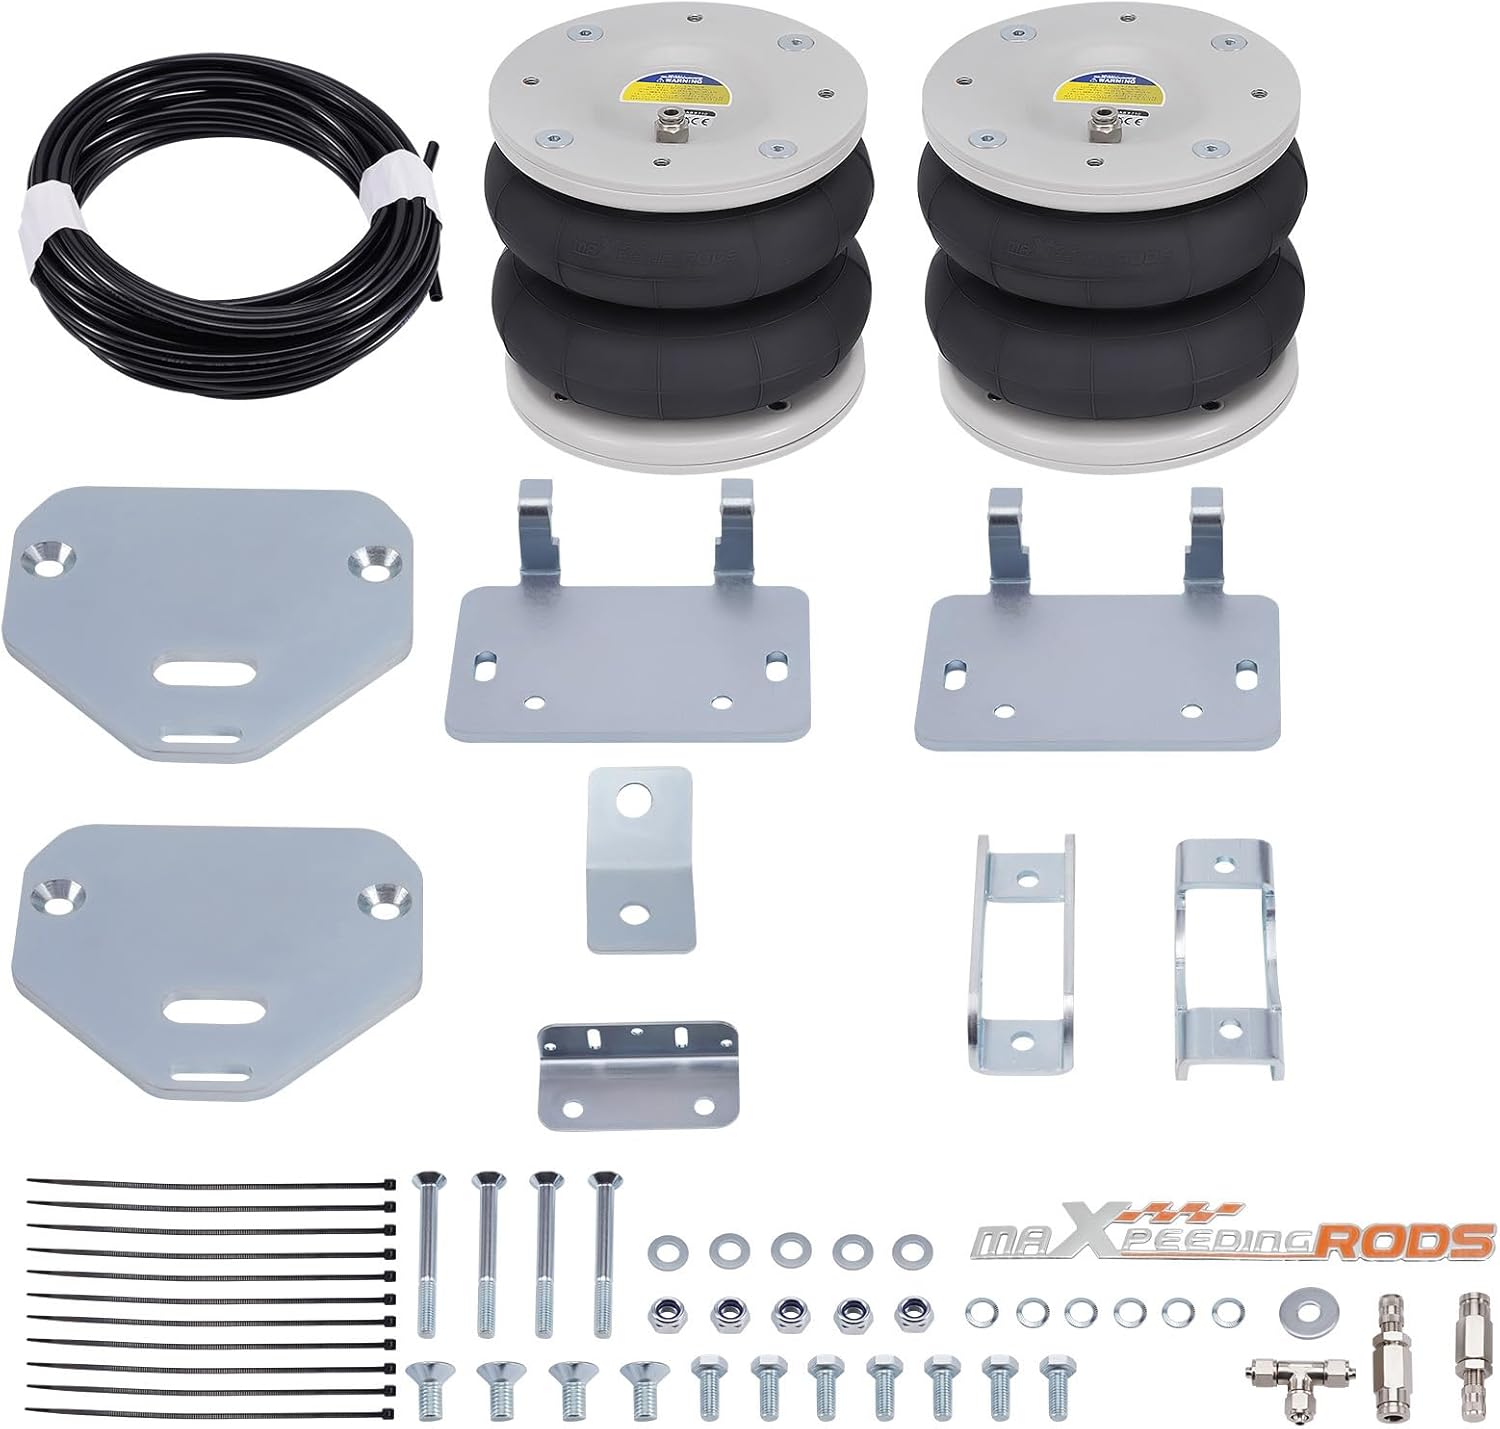
Figure 2.1: Complete Air Suspension Kit Components

Figure 2.2: Fastening Hardware and Air Fittings
3. Key Features
- Flexible Adjustment: The air springs offer a stroke of 140 mm, with a maximum extension of 230 mm and a minimum compression of 90 mm. This allows for restoring the vehicle's original ride height, minimizing tire wear, and balancing ride comfort with functionality.
- High Load Capacity: Designed for dual mounting on the rear left and right sides, providing a maximum load capacity of 4,000 kg. The reinforced four-layer structure combined with high-quality steel ensures high load-bearing capability and stable driving.
- Durability and Reliability: Tested over 5 million times, achieving a burst pressure of ≥ 2.0 MPa. Features high pressure resistance and low noise operation. Made from high-quality natural rubber with a Dacromet anti-corrosion coating for stable performance in temperatures from -40 °C to 70 °C, ensuring a long service life.

Figure 3.1: Air Spring Detail

Figure 3.2: Air Spring Flexibility
Video 3.1: Introduction to maXpeedingrods Air Suspension Leveling Kits. This video provides an overview of the benefits and manufacturing quality of the air spring kits.
4. Installation Instructions
Important Safety Notice: All modifications must be installed by qualified personnel and in compliance with your local modification regulations. Improper installation can lead to vehicle damage or personal injury.
The kit is designed for quick and efficient screw-on installation, eliminating the need for additional accessories. Follow these general steps:
- Prepare the Vehicle: Park the vehicle on a level surface, engage the parking brake, and block the wheels. Lift the rear of the vehicle using a suitable jack and support it with jack stands.
- Remove Existing Components (if necessary): Depending on your vehicle's current setup, you may need to remove existing bump stops or other components to make space for the air springs.
- Mount the Brackets: Attach the mounting brackets to the vehicle's chassis and axle using the provided fastening screws. Ensure all bolts are tightened to the manufacturer's specifications.
- Install Air Springs: Position the air springs between the upper and lower mounting brackets. Secure them using the provided hardware.
- Connect Air Lines: Cut the 10m air hose to the required lengths. Connect one end of the air hose to the air fitting on each air spring and the other end to the air fittings at your desired inflation point (e.g., bumper, chassis). Ensure all connections are secure and leak-free.
- Test for Leaks: Inflate the air springs to a low pressure (e.g., 10-20 PSI) and check all connections for air leaks using a soapy water solution. Bubbles indicate a leak.
- Final Checks: Lower the vehicle, remove jack stands, and re-check all fasteners. Adjust air pressure as needed.
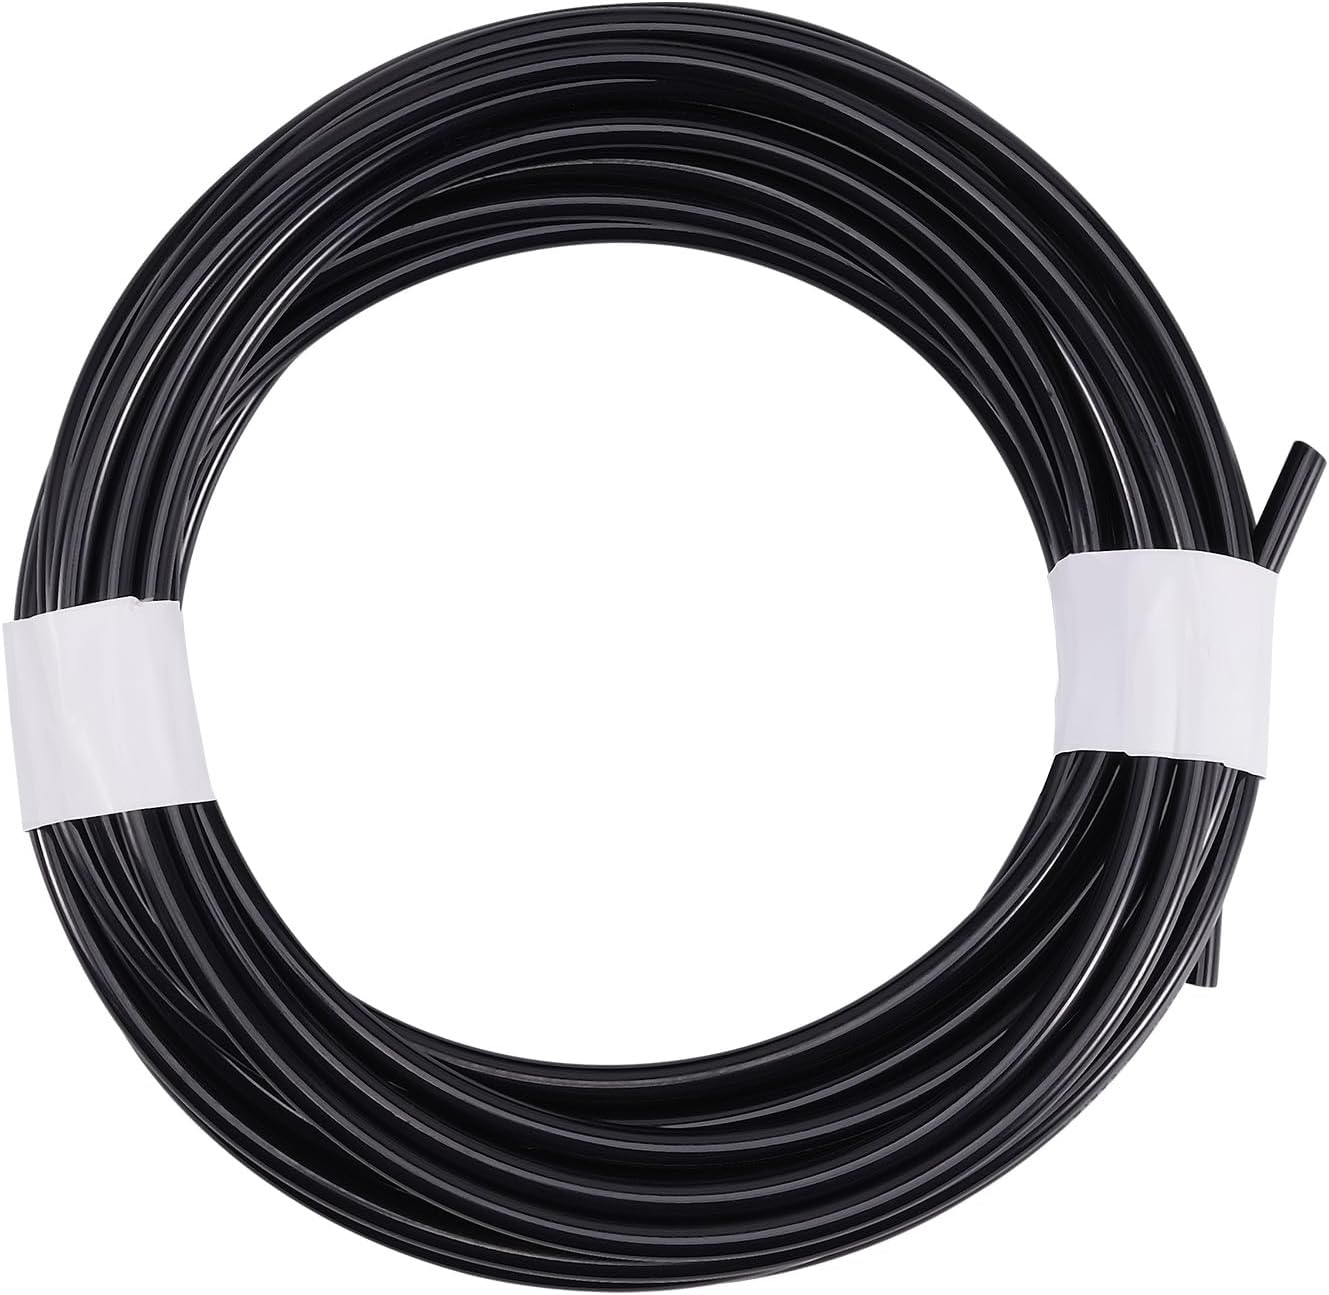
Figure 4.1: Air Spring Installation Overview
5. Operating Instructions
The air suspension kit allows for adjustable load support. Proper air pressure is crucial for optimal performance and safety.
- Inflation: Use an air compressor to inflate the air springs. Refer to your vehicle's and the air spring kit's specifications for recommended minimum and maximum air pressures. Do not exceed the maximum pressure.
- Load Adjustment:
- For heavy loads or towing, increase air pressure to maintain a level vehicle stance and improve stability.
- For lighter loads or unladen driving, reduce air pressure to improve ride comfort.
- Monitoring: Regularly check the air pressure in the springs, especially before and during long trips or when carrying varying loads.
- Driving Conditions: Adjust air pressure according to road conditions and load. Higher pressure may be beneficial for rough terrain or heavy loads, while lower pressure is suitable for smooth roads.
6. Maintenance
Regular maintenance ensures the longevity and optimal performance of your air suspension kit.
- Inspect Air Springs: Periodically inspect the air springs for any signs of wear, cracks, punctures, or damage. Check for proper seating and alignment.
- Check Air Lines and Fittings: Examine air lines for kinks, abrasions, or leaks. Ensure all air fittings are tight and free from corrosion.
- Clean Components: Keep the air springs and surrounding components clean from dirt, debris, and road salt, which can accelerate wear.
- Pressure Checks: Maintain recommended air pressure levels. Avoid operating the air springs completely deflated or over-inflated for extended periods.
7. Troubleshooting
| Problem | Possible Cause | Solution |
|---|---|---|
| Air spring not holding pressure | Leak in air line, fitting, or air spring itself. | Check all connections with soapy water for bubbles. Tighten fittings or replace damaged components. Inspect air spring for punctures. |
| Uneven vehicle height | Unequal air pressure in springs, uneven load distribution. | Check and adjust air pressure in each spring individually. Redistribute load if possible. |
| Excessive vibration or harsh ride | Over-inflation, improper installation, worn vehicle suspension components. | Reduce air pressure to recommended levels. Re-check installation. Inspect other suspension components. |
If you encounter issues not listed here or require further assistance, please contact maXpeedingrods customer support.
8. Specifications
| Feature | Detail |
|---|---|
| Model Number | EU95TH |
| Mounting Position | Rear Left and Right |
| Maximum Load Capacity | 4000 kg |
| Overall Height | 172 mm |
| Stroke | 140 mm |
| Max. Extended Length | 230 mm |
| Min. Closed Length | 90 mm |
| Operating Temperature Range | -40 °C to 70 °C |
| Product Dimensions | 42.3 x 34.4 x 26.8 cm |
| Item Weight | 12.5 Kilograms |
9. Warranty and Support
maXpeedingrods products are manufactured to high-quality standards and are backed by a standard manufacturer's warranty. Please refer to the warranty card included with your product or visit the official maXpeedingrods website for detailed warranty terms and conditions.
For technical support, replacement parts, or any inquiries regarding your air suspension kit, please contact maXpeedingrods customer service through their official channels.


