
1. Product Overview
This manual provides detailed instructions for the assembly, operation, and maintenance of your Aoxun 5x3 ft Galvanized Metal Outdoor Storage Shed. This shed is designed for outdoor storage of various items, offering durability and weather resistance.
1.1 Key Features
- Expansive Single-Door Layout: Measuring 61x33x71 inches, this shed features a broad front door (26 inches wide) for easy storage of bulky items. The 71-inch interior height provides ample vertical space. Total storage capacity is approximately 144 cubic feet.
- Robust Galvanized Steel Framework: Constructed from structural-grade galvanized steel panels with a powder-coated surface for rust resistance. The slanted roof design facilitates rapid rainwater drainage.
- Secure Locking Mechanism & Effective Air Circulation: Includes a stainless-steel bolt lock for security. A built-in top ventilation vent enhances airflow, reducing moisture and protecting stored items.
- Multi-Purpose Outdoor Storage: Suitable for storing gardening tools, outdoor furniture, power tools, bicycles, and other seasonal equipment.

Image 1.1: The Aoxun 5x3 ft storage shed in a garden, showcasing its open door and internal storage potential.

Image 1.2: Illustration of the shed's versatility for various storage needs.
2. Safety Information
Please read and understand all safety instructions before assembly and use. Failure to follow these instructions may result in injury or damage to the product.
- Assembly: It is recommended that 2-3 adults assemble the shed. Wear appropriate personal protective equipment, such as gloves, to prevent cuts from sharp metal edges.
- Foundation: Ensure the shed is assembled on a level, stable foundation (e.g., concrete pavers, a prepared base) to prevent instability and potential collapse. The included base frame helps raise the shed and adapt to various terrains.
- Sharp Edges: Metal panels may have sharp edges. Handle all components with care during unpacking and assembly.
- Weather Conditions: Do not assemble the shed during strong winds, heavy rain, or other adverse weather conditions.
- Anchoring: Securely anchor the shed to the ground after assembly to prevent it from being moved or damaged by strong winds.
- Ventilation: Do not block the ventilation vents to ensure proper airflow and prevent moisture buildup inside the shed.
3. Setup and Assembly
The shed is designed for straightforward assembly with clear, step-by-step instructions and numbered parts. Please follow the provided manual carefully.
3.1 Before You Begin
- Unpacking: Carefully unpack all components. Each box is shipped with plastic corner protectors, EPE foam, and cushioned inserts to prevent damage.
- Protective Film: Many metal panels are covered with a protective plastic film. It is recommended to peel this film off before assembly, as it can be tedious to remove once parts are joined.
- Tools Required: While not explicitly listed, common assembly tools such as a screwdriver, wrench, and possibly a drill (for pilot holes if needed) are typically required.
- Site Preparation: Prepare a level and stable foundation for the shed. The included base frame is designed to raise the interior space and prevent items from touching the ground directly, enhancing stability.

Image 3.1: The shed's high-strength base design for improved stability and ground clearance.
3.2 Assembly Steps (General Guidelines)
- Base Frame Assembly: Begin by assembling the base frame according to the instructions. Ensure it is square and level.
- Wall Panel Installation: Attach the wall panels to the base frame. Pay close attention to the orientation of each panel to ensure pre-drilled holes align correctly. Misalignment can cause issues later in the assembly.
- Roof Structure: Assemble the roof support structure and then attach the roof panels. The slanted roof design is crucial for water drainage.
- Door Installation: Install the door and its components, including the stainless-steel latch. Ensure the door opens and closes smoothly.
- Final Checks: Verify all screws are tightened, and the shed is stable.
Video tutorials for key assembly steps may be available from the manufacturer to assist with the process.
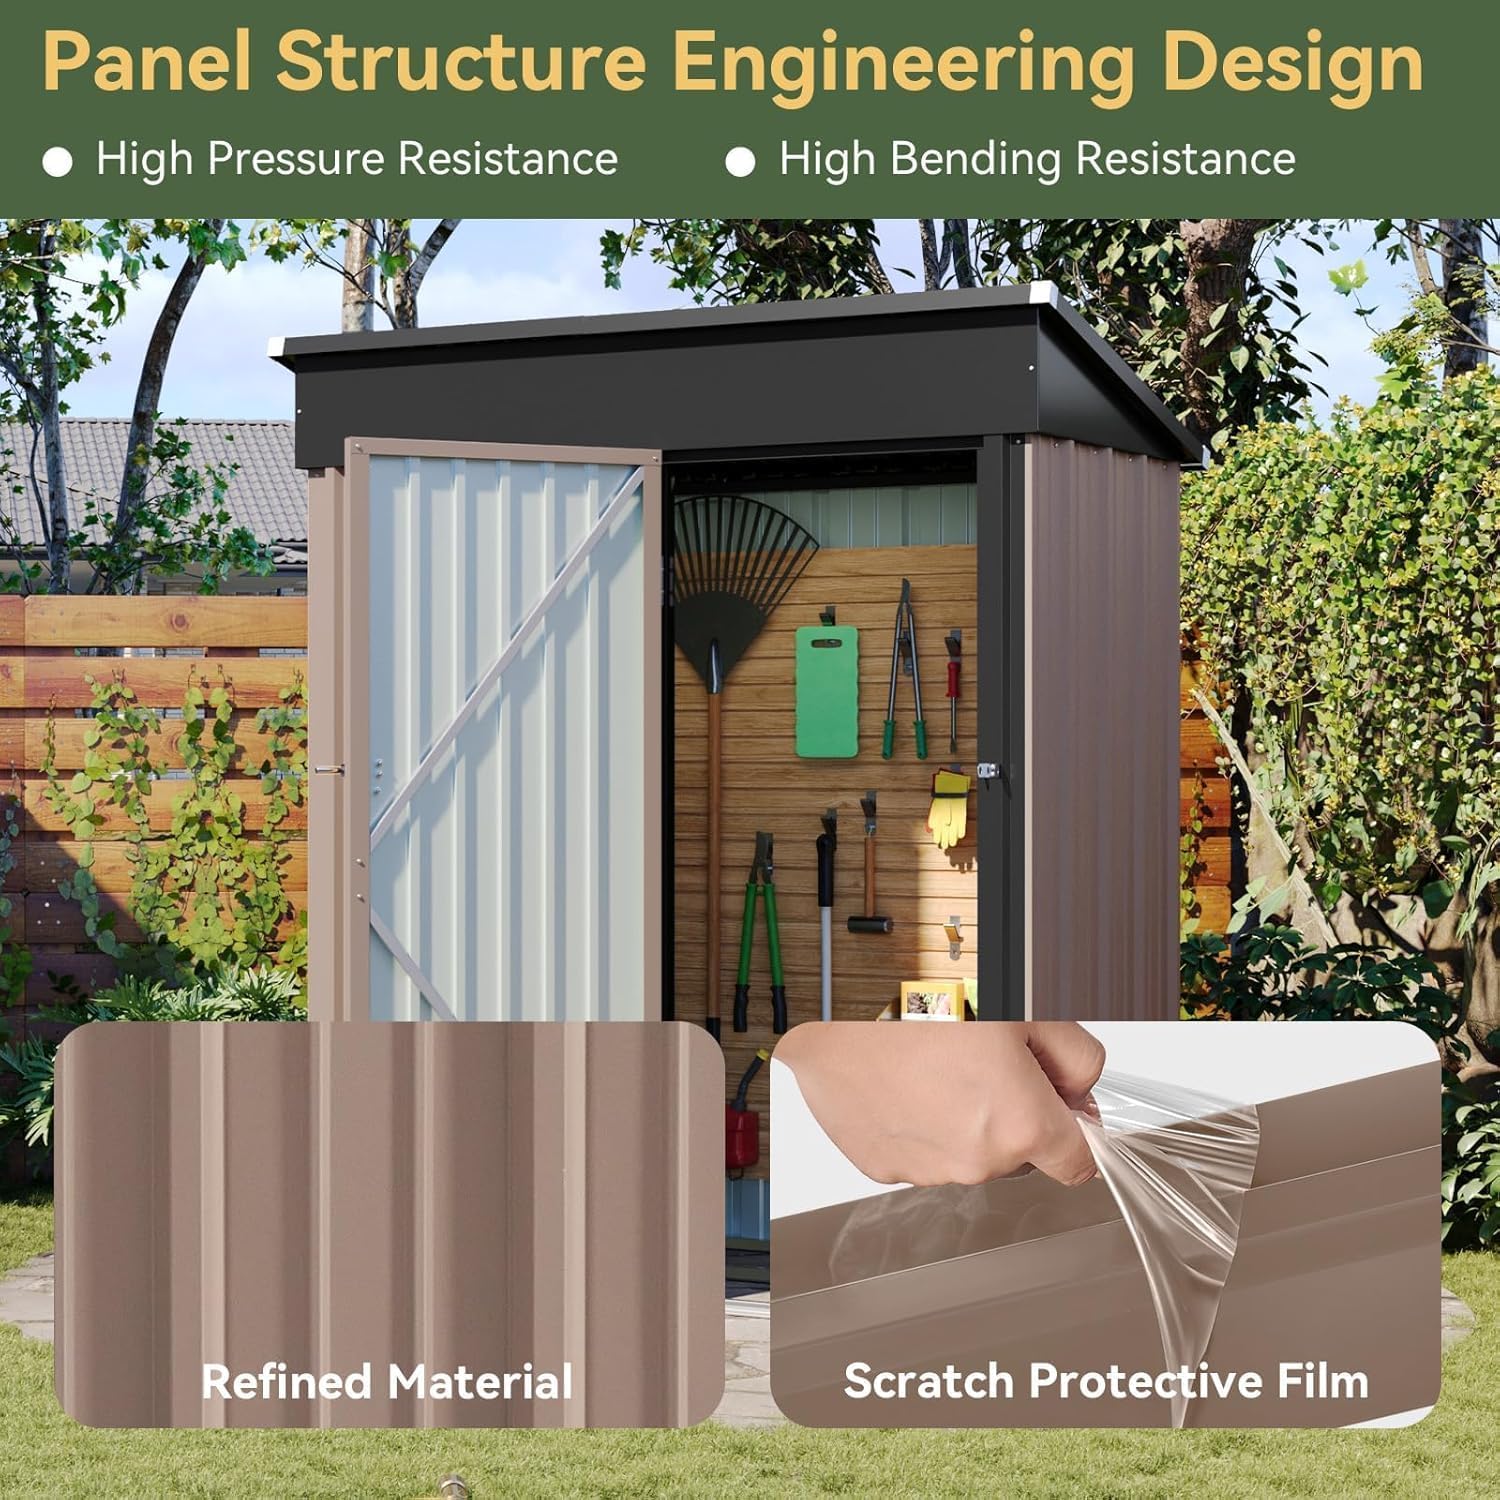
Image 3.2: Illustration of the shed's panel material and the importance of removing the protective film.
4. Operating Instructions
4.1 Door Operation
- The shed features a single door equipped with a stainless-steel bolt lock.
- To open, slide the bolt lock and pull the door outwards.
- To close, push the door firmly until it is flush with the frame, then engage the bolt lock to secure it.

Image 4.1: Details of the door lock and other structural features.
4.2 Ventilation
- The shed includes a built-in top ventilation vent to ensure proper air circulation.
- Do not obstruct this vent to maintain airflow, which helps prevent moisture accumulation and protects stored items from rust and mildew.
5. Maintenance
Regular maintenance will extend the life and appearance of your Aoxun storage shed.
- Cleaning: Clean the exterior of the shed periodically with mild soap and water. Avoid abrasive cleaners or harsh chemicals that could damage the powder-coated finish.
- Rust Inspection: Although made of galvanized steel with a powder coating, regularly inspect for any signs of rust, especially in areas where the coating might be scratched or damaged. Touch up any affected areas promptly to prevent further corrosion.
- Drainage: Ensure the slanted roof remains clear of debris (leaves, snow) to allow for efficient rainwater runoff.
- Fastener Check: Periodically check all screws and fasteners to ensure they remain tight. Re-tighten as necessary.
- Door Mechanism: Lubricate the door hinges and latch mechanism annually to ensure smooth operation.

Image 5.1: The shed's upgraded coating for enhanced durability and rust resistance.
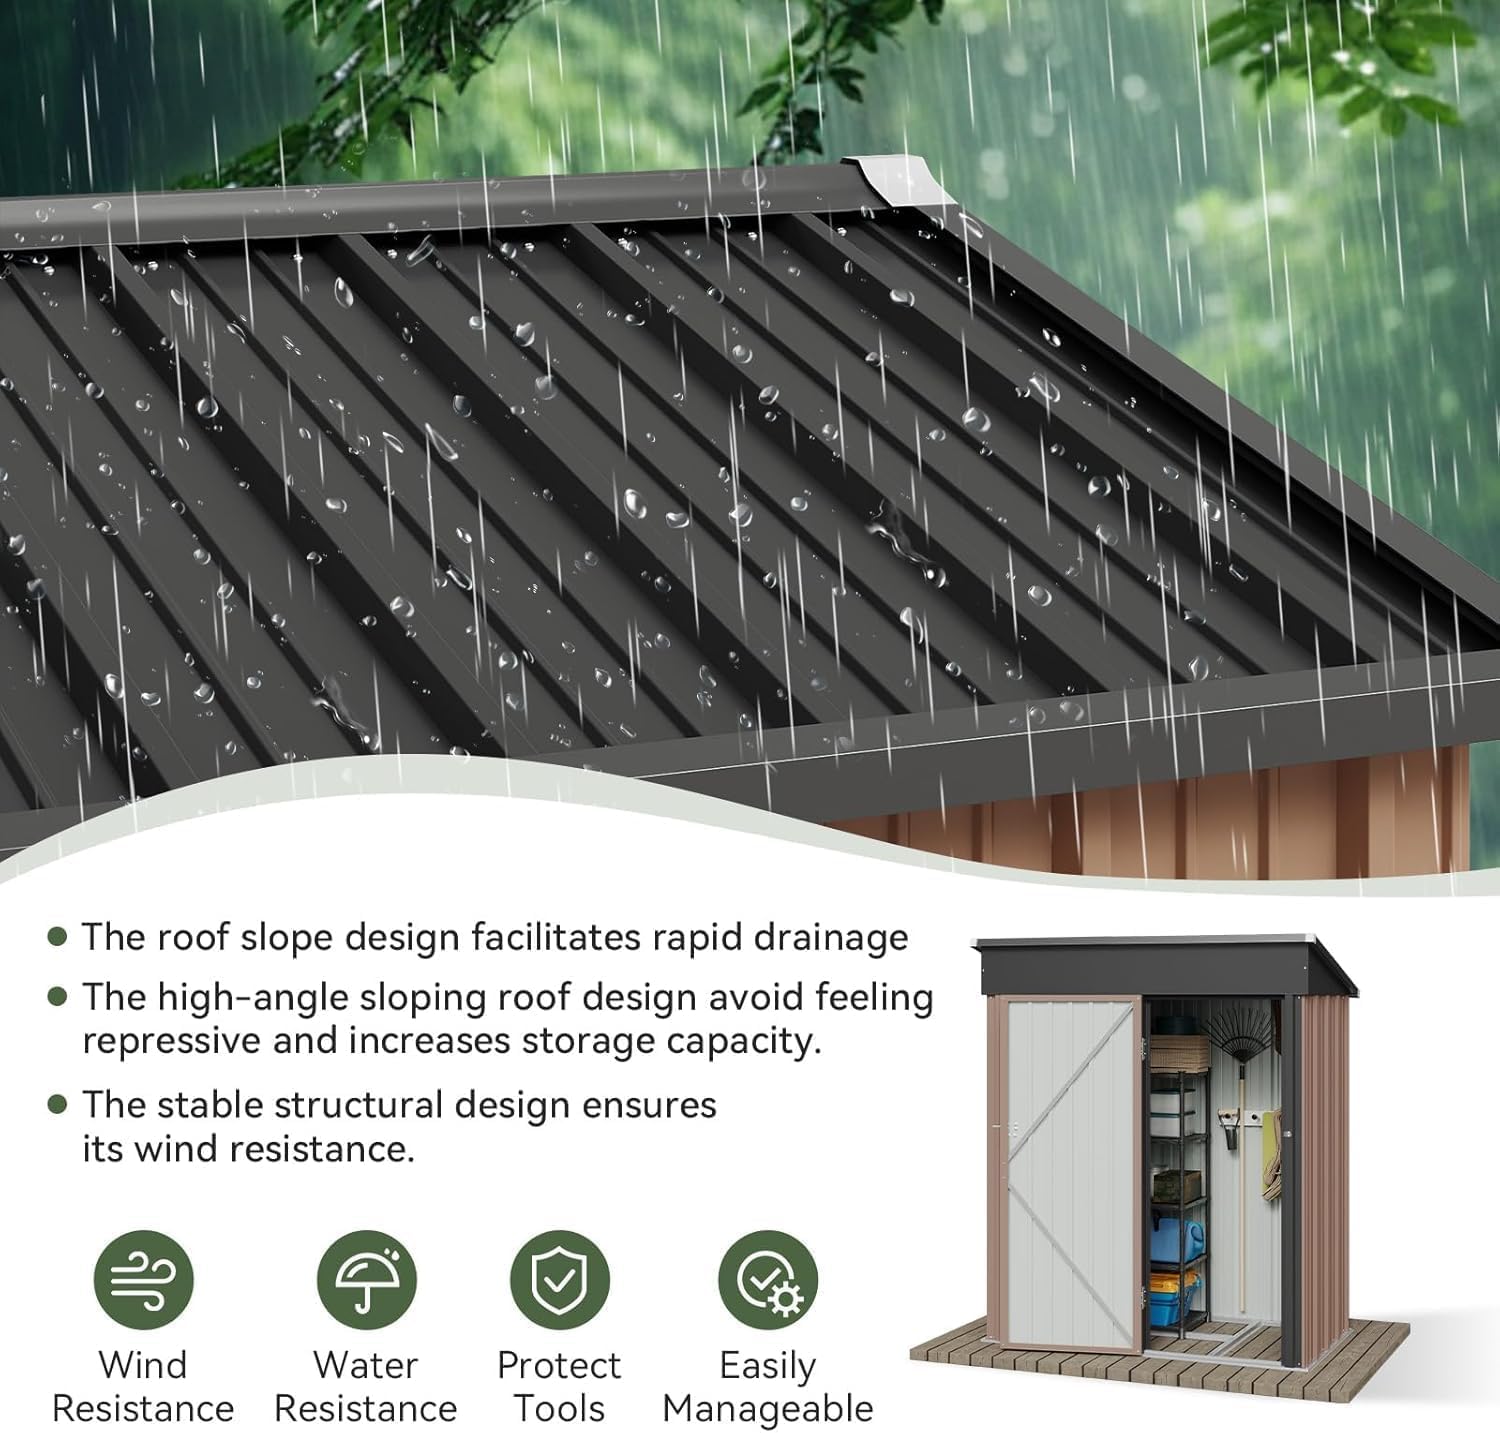
Image 5.2: The slanted roof design ensures effective water drainage and weather resistance.
6. Troubleshooting
6.1 Common Issues and Solutions
- Misaligned Holes During Assembly: If holes do not align, double-check the orientation of the panels. It is common to accidentally reverse a panel. Disassemble the affected section and re-orient the parts as per the instruction manual.
- Door Not Closing Properly: Ensure the shed is on a perfectly level surface. An uneven foundation can cause the frame to twist, leading to door misalignment. Adjust the foundation or the shed's base if necessary. Check door hinges and latch for any obstructions or damage.
- Water Leaks: Verify that all roof panels are correctly overlapped and all fasteners, especially those with washers, are securely tightened. Ensure the roof is clear of debris that could impede water flow.
- Shed Instability: Confirm that the shed is properly anchored to the ground. Ensure the base frame is fully assembled and all connections are secure.
7. Specifications
| Brand | Aoxun |
| Model Number | G37056-0503BR |
| Product Dimensions (D x W x H) | 33" x 61" x 72" (83.8 cm x 154.9 cm x 182.9 cm) |
| Color | Brown |
| Material | Galvanized Metal |
| Storage Capacity | Approx. 144 cu.ft |
| Assembly Required | Yes |

Image 7.1: Detailed product dimensions.
8. Warranty and Support
For customer support, warranty information, or to report any issues with your Aoxun storage shed, please contact the manufacturer directly.
- Returns: This product is returnable until January 31, 2026. Please refer to your purchase documentation for specific return policies.
- Manufacturer Support: Contact Aoxun Direct for assistance. Refer to your purchase receipt or the product packaging for contact details.


