
1. Product Overview
The Starlink Router Mini is a compact, Wi-Fi 6, dual-band router designed to enhance Wi-Fi speed and extend coverage, effectively eliminating dead spots within your residence. Its small form factor makes it suitable for use as a mesh node, ensuring a consistent and reliable Wi-Fi experience. This router provides coverage for approximately 1300 square feet (120 square meters) per unit. Actual range may vary based on home construction, layout, and router placement.
Key Features:
- Compatibility: Works with Gen 2 Router, Gen 3 Router, Router Mini, and Starlink Mini Kit. Not compatible with third-party mesh systems.
- Ethernet Ports: Features one (1) Latching Ethernet LAN port and one (1) Latching Ethernet WAN port.
- Wi-Fi Generation: Wi-Fi 6 for improved speed and efficiency.
- Frequency Band Class: Dual-Band for flexible connectivity.
- Security Protocol: WPA3 for enhanced network security.
2. What's in the Box
Verify that all components are present in the package:
- Mini Router
- Power Supply
- Stand
- Wood Screws (2x)
- Drywall Anchors (2x)
3. Setup Guide
3.1 Unboxing and Initial Placement
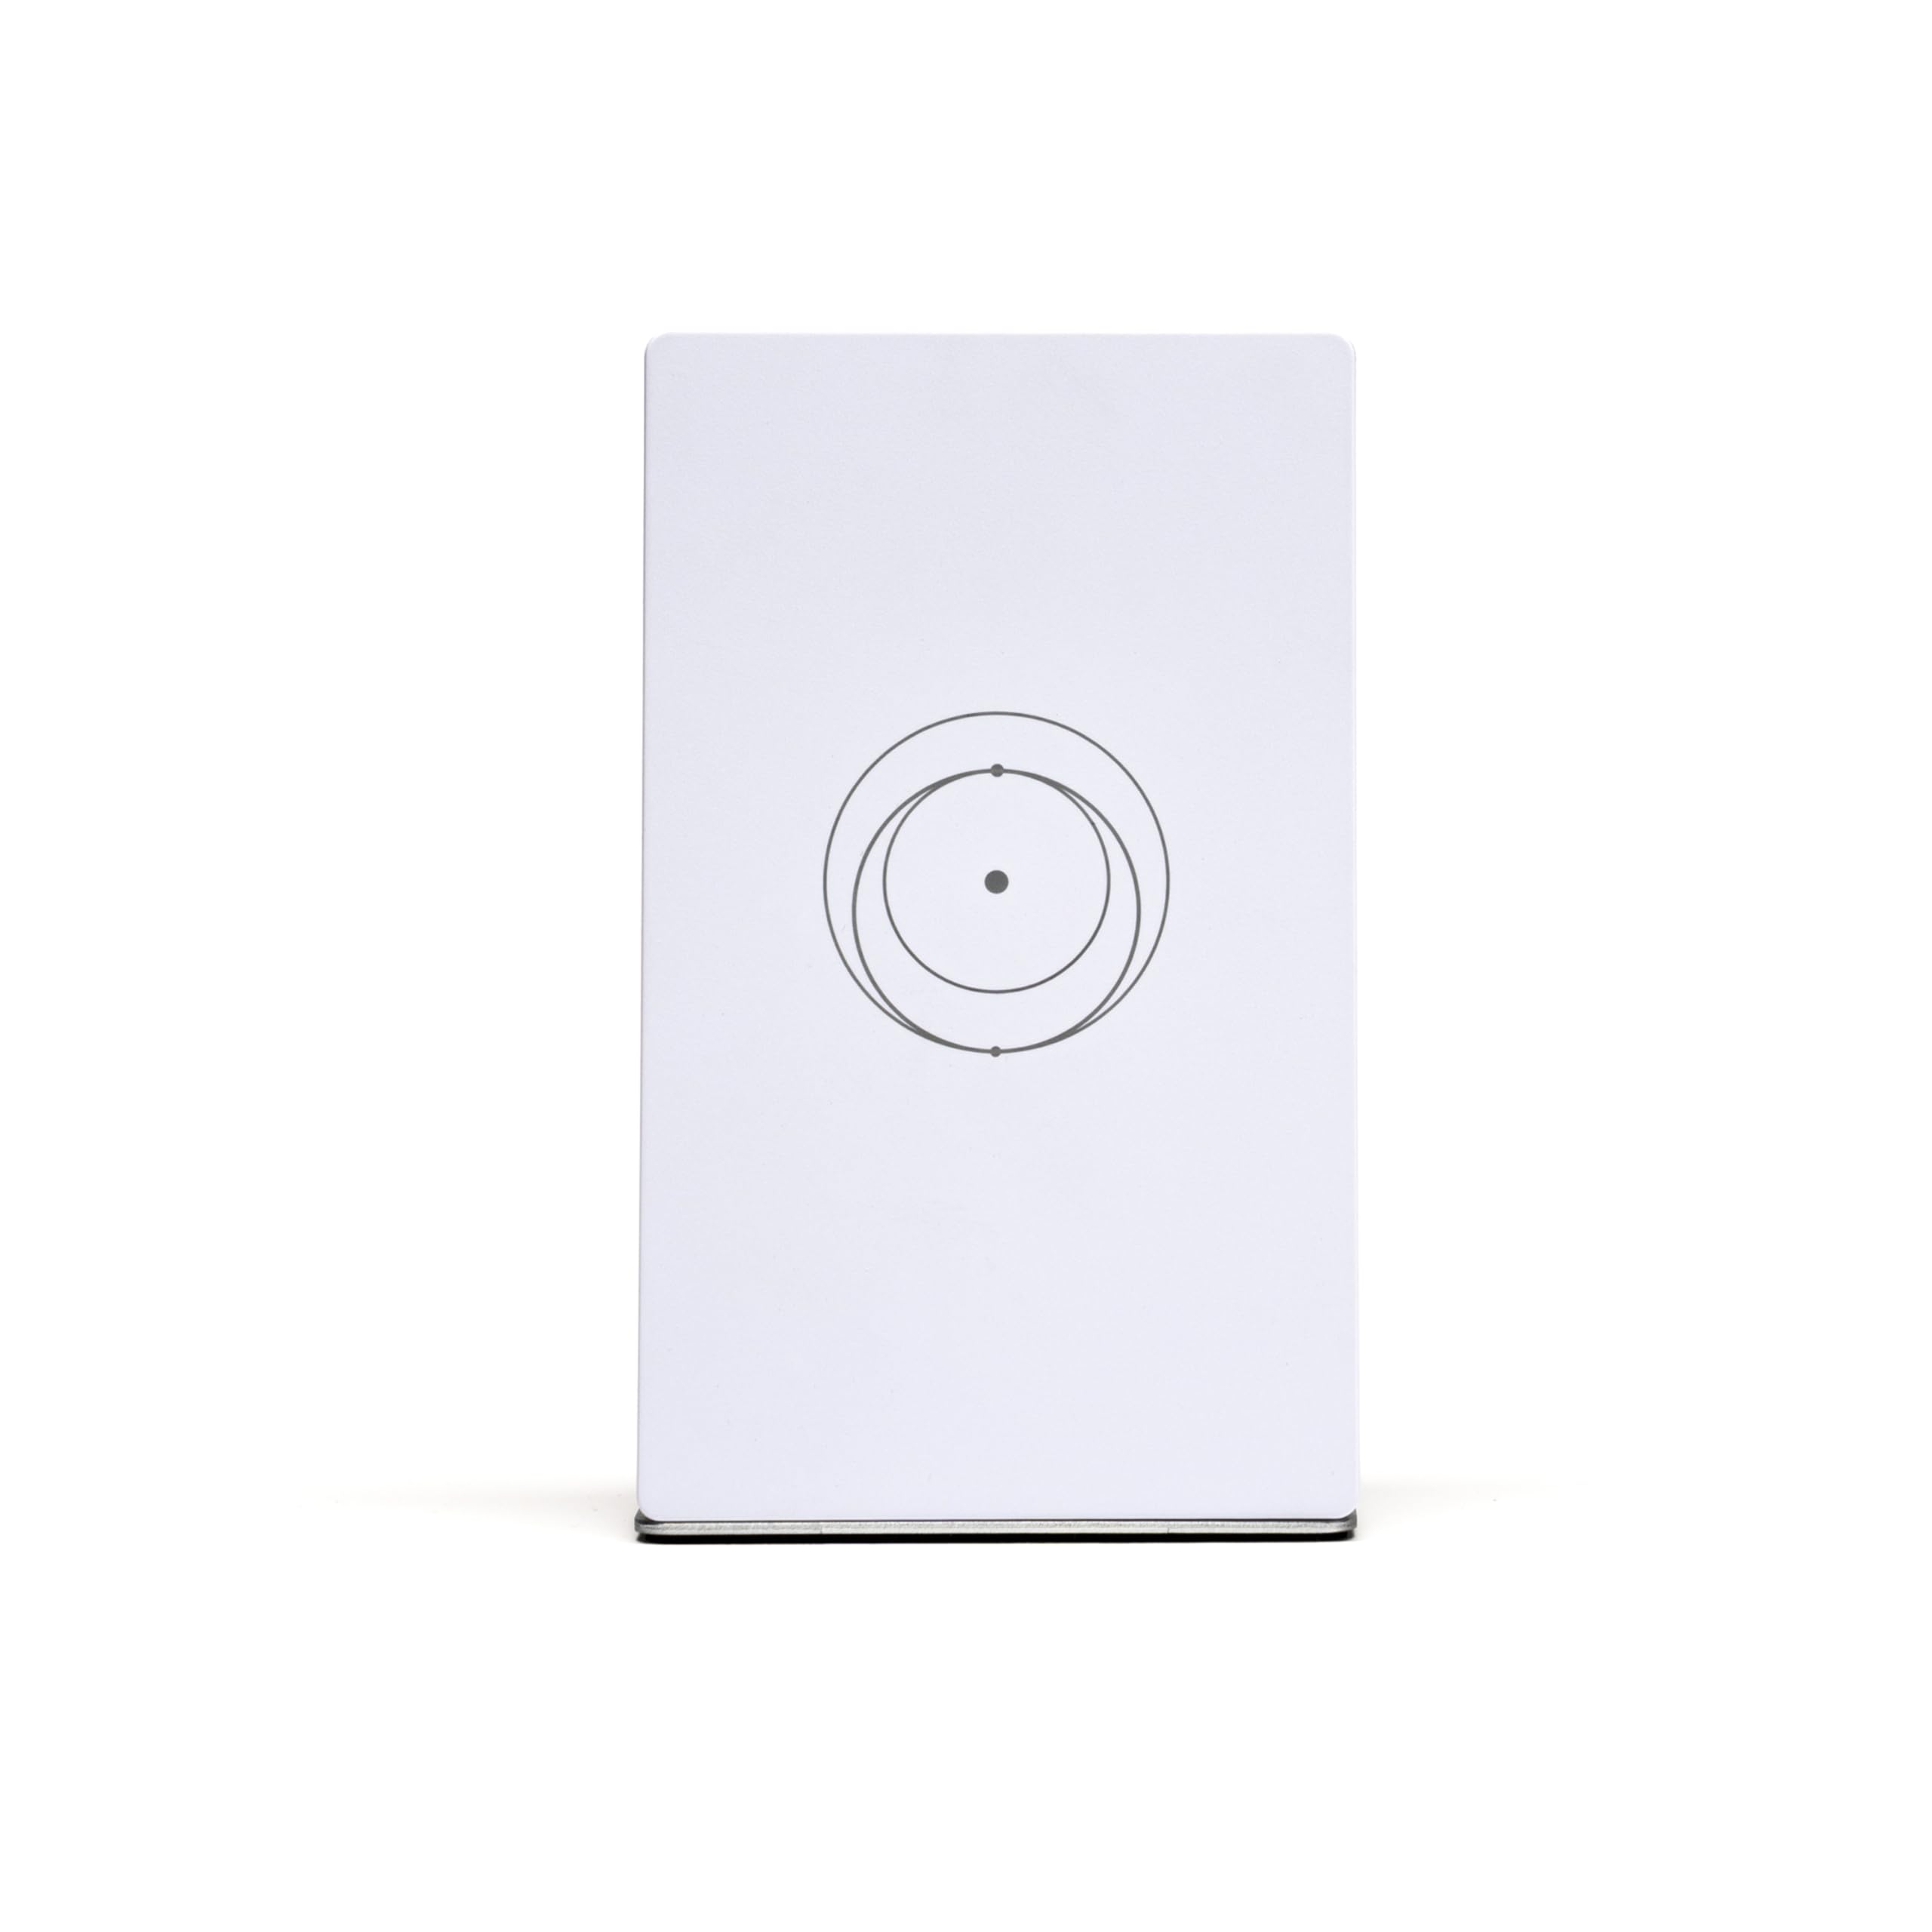
Carefully remove all components from the packaging. The Router Mini can be placed on a flat surface using its included stand or mounted to a wall.

3.2 Connecting the Router Mini
To connect your Starlink Router Mini, follow these steps:
- Connect the power supply to the Router Mini's power input port.
- Plug the power supply into a standard electrical outlet.
- Connect the Ethernet cable from your existing Starlink system (Gen 2, Gen 3, Gen 4 4X V4, or Mini Kit Satellite) to the WAN port on the Router Mini.
- If desired, connect devices directly via Ethernet to the LAN port.

3.3 Wall Mounting (Optional)
If you choose to wall mount the Router Mini, use the provided wood screws and drywall anchors. Ensure the mounting location is clear of obstructions for optimal signal performance.

4. Operating Instructions
4.1 Powering On
Once connected to power and your Starlink system, the Router Mini will automatically power on. Allow a few minutes for the device to boot up and establish a connection.
4.2 Connecting to Wi-Fi
Locate the Wi-Fi network name (SSID) and password on the label of your Router Mini. On your wireless devices (smartphones, tablets, laptops), search for available Wi-Fi networks and select your Router Mini's SSID. Enter the password when prompted to connect.
4.3 Mesh Network Functionality
The Router Mini can function as a mesh node to expand your Starlink Wi-Fi coverage. For optimal mesh performance, place additional Router Mini units strategically to cover areas with weak signals. Ensure they are within range of each other and your primary Starlink router for seamless roaming.
5. Maintenance
To ensure the longevity and optimal performance of your Starlink Router Mini, consider the following maintenance tips:
- Cleaning: Gently wipe the exterior of the router with a soft, dry cloth. Avoid using liquid cleaners or abrasive materials.
- Ventilation: Ensure the router is placed in a location with adequate airflow to prevent overheating. Do not block ventilation openings.
- Environmental Conditions: Protect the router from extreme temperatures, direct sunlight, and moisture.
- Firmware Updates: Periodically check for and install firmware updates through the Starlink app to ensure your router has the latest features and security enhancements.
6. Troubleshooting
If you encounter issues with your Starlink Router Mini, try the following troubleshooting steps:
- No Internet Connection:
- Verify that the power supply is securely connected and the router is powered on.
- Check the Ethernet connection between the Router Mini and your Starlink system.
- Restart the Router Mini by unplugging it from the power outlet for 30 seconds and then plugging it back in.
- Ensure your main Starlink system is operational and has an active internet connection.
- Weak Wi-Fi Signal:
- Relocate the Router Mini to a more central location within your coverage area.
- Minimize physical obstructions (e.g., thick walls, large appliances) between the router and your devices.
- Consider adding another Router Mini as a mesh node to extend coverage.
- Device Cannot Connect to Wi-Fi:
- Double-check the Wi-Fi password.
- Restart the device attempting to connect.
- Ensure the Router Mini's Wi-Fi is enabled (check via the Starlink app if applicable).
7. Specifications
| Brand | Starlink |
| Model Name | Router Mini |
| Model Number | 39006001 |
| Special Feature | Internet Security |
| Frequency Band Class | Dual-Band |
| Wireless Communication Standard | 802.11a, 802.11ac, 802.11ax |
| Compatible Devices | Gaming Console, Personal Computer, Security Camera, Smart Television, Smartphone, Tablet |
| Recommended Uses For Product | Business, Gaming, Home |
| Connectivity Technology | Wi-Fi |
| Color | White |
| Operating System | ZyNOS |
| Security Protocol | WPA3 |
| Number of Ports | 2 |
| LAN Port Bandwidth | 1000 Mbps |
| Maximum Upstream Data Transfer Rate | 1000 Megabits Per Second |
| Wi-Fi Generation | Wi-Fi 6 |
| Connectivity Range | 1300 Square Feet |
| Is Modem Compatible | No |

8. Warranty and Support
8.1 Warranty Information
The Starlink Router Mini comes with a 12-month warranty. Please retain your proof of purchase for warranty claims.
8.2 Customer Support
For technical assistance, troubleshooting beyond this manual, or warranty inquiries, please visit the official Starlink support website or contact their customer service. Refer to your Starlink account for specific support contact details.