
1. Introduction
The Cooler Master Elite 502 Lite is a minimalist ATX PC case designed for high airflow and efficient component cooling. It features a spacious interior to accommodate modern hardware, including large GPUs and liquid cooling solutions, while maintaining a clean aesthetic. This manual provides detailed instructions for setting up, operating, and maintaining your Elite 502 Lite PC case.
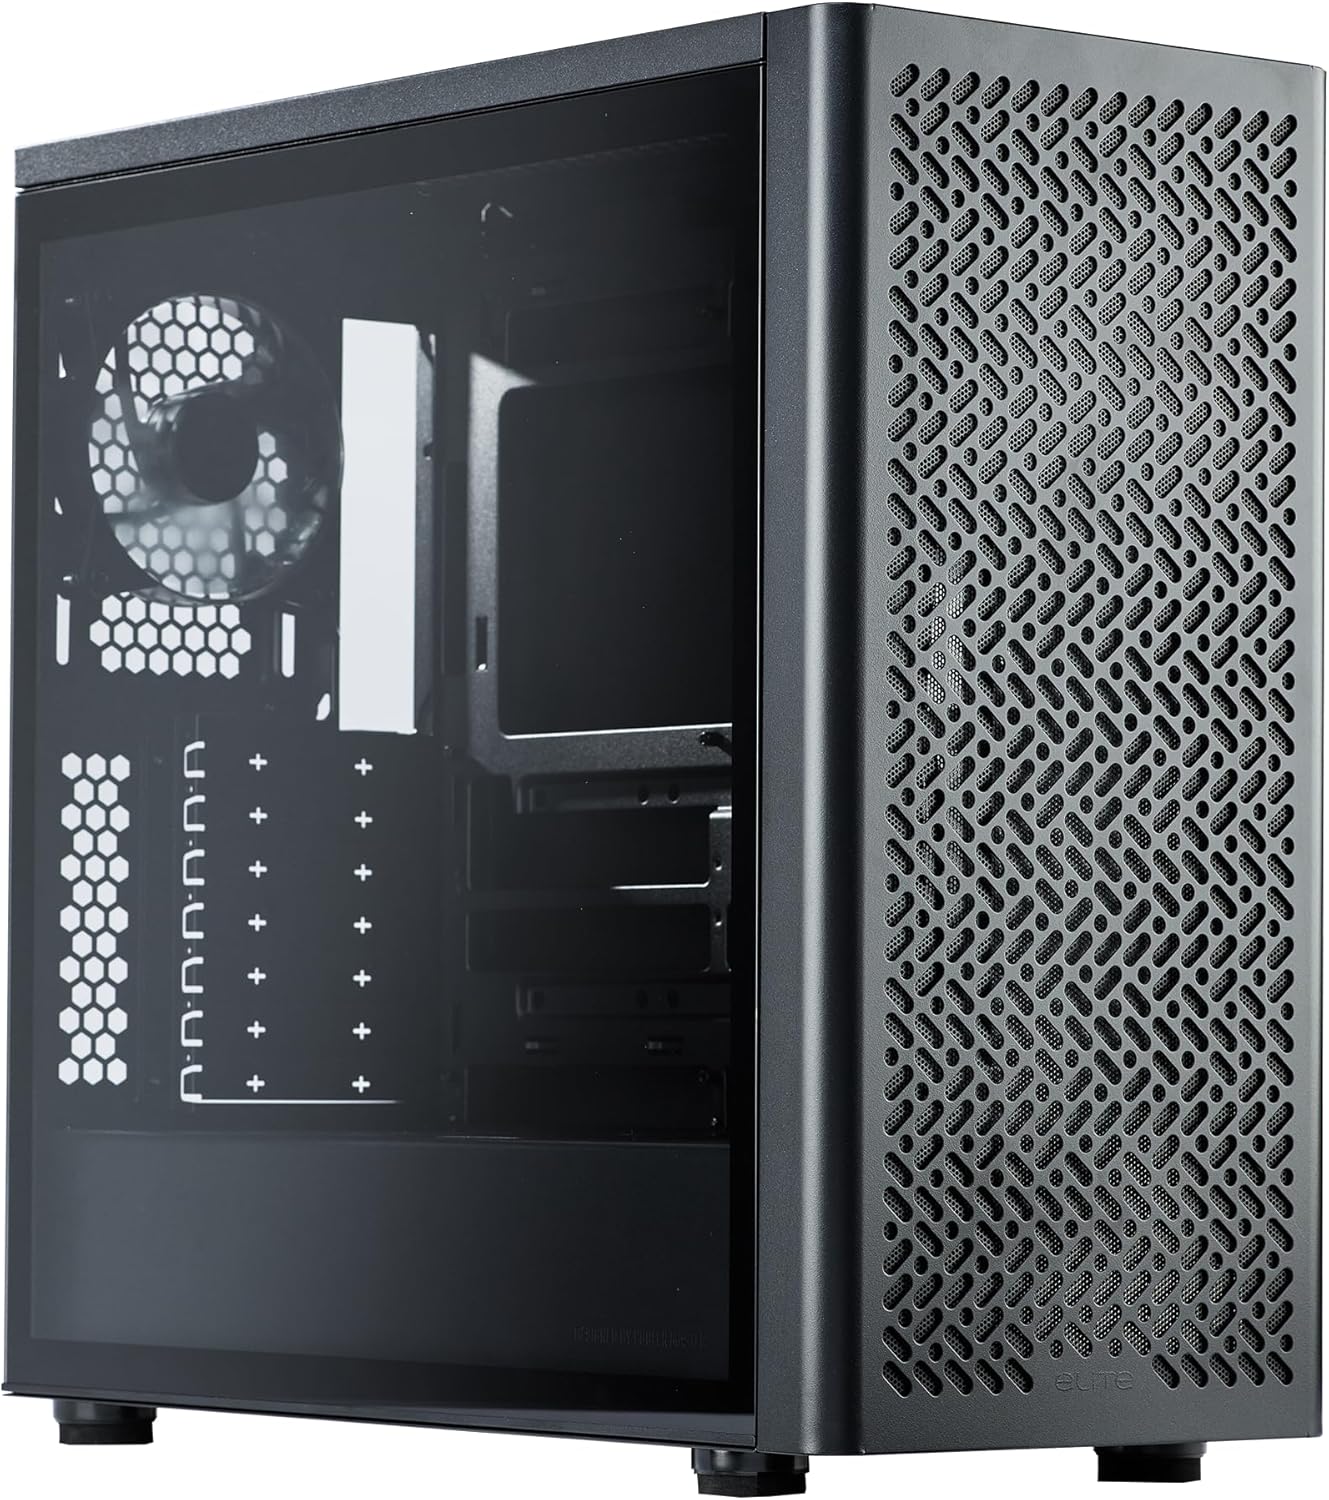
Figure 1.1: The Cooler Master Elite 502 Lite PC Case. This image displays the front mesh panel and tempered glass side panel, highlighting the case's design and internal visibility.
2. Package Contents
Please verify that all items listed below are present in your package. If any items are missing or damaged, contact your retailer or Cooler Master support.
- Cooler Master Elite 502 Lite ATX PC Case
- Accessory Box (containing screws, standoffs, zip ties, etc.)
- 120mm PWM Fan (pre-installed or included separately)
- User Manual (this document)
3. Key Features
The Elite 502 Lite is engineered with several features to enhance your PC building and usage experience:
- High Airflow Design: Features a performance mesh front panel and large intake grill for superior ventilation.
- Broad Motherboard Compatibility: Supports ATX and Micro-ATX motherboards, offering flexibility for various build types.
- Spacious GPU Clearance: Accommodates graphics cards up to 410mm in length, including high-end models.
- Extensive Cooling Support: Supports up to a 360mm liquid cooler and seven fans for optimal thermal management.
- Generous Component Clearance: Provides 170mm clearance for CPU coolers and 170mm for power supply units.
- Integrated USB Type-C: Convenient USB Type-C port on the front I/O panel for modern connectivity.
- Breathable PSU Shroud: Ventilated power supply cover aids in cooling and cable management.

Figure 3.1: Close-up view of the large intake grill on the Cooler Master Elite 502 Lite. This design ensures unrestricted airflow into the case, crucial for cooling high-performance components.
4. Setup Guide
4.1. Preparation
- Unpack the PC case and place it on a stable, flat surface.
- Remove the side panels. Typically, the tempered glass panel is secured with thumbscrews.
- Locate the accessory box inside the case, which contains all necessary screws and mounting hardware.
4.2. Motherboard Installation
The Elite 502 Lite supports ATX and Micro-ATX motherboards.
- Identify the correct standoff positions for your motherboard form factor (ATX or Micro-ATX). Pre-installed standoffs may need adjustment.
- Carefully place your motherboard onto the standoffs, aligning the screw holes.
- Secure the motherboard with the provided screws. Do not overtighten.

Figure 4.1: Diagram illustrating the compatibility for ATX (12.0 in x 9.6 in) and Micro-ATX (9.6 in x 9.6 in) motherboards within the case. This helps in correctly positioning the motherboard standoffs.
4.3. Power Supply Unit (PSU) Installation
The PSU mounts at the bottom of the case.
- Slide the PSU into its designated compartment at the bottom rear of the case, typically with the fan facing downwards for optimal cooling.
- Secure the PSU to the case rear with the provided screws.

Figure 4.2: View of the ventilated PSU shroud within the Cooler Master Elite 502 Lite. This shroud helps to efficiently cool the power supply and manage cables, contributing to a cleaner build.
4.4. Storage Drive Installation
The case supports 2.5" and 3.5" storage drives. Refer to the internal layout for specific drive bay locations and mounting methods (e.g., screw-in or tool-less trays).
- Mount your 2.5" SSDs or 3.5" HDDs into the available drive bays or trays.
- Secure the drives using the appropriate screws.
4.5. Graphics Card (GPU) Installation
The Elite 502 Lite offers ample space for GPUs up to 410mm.
- Remove the necessary PCIe slot covers from the rear of the case.
- Insert your graphics card into the appropriate PCIe slot on the motherboard.
- Secure the graphics card with screws to the case.

Figure 4.3: Illustration of the spacious GPU clearance within the Elite 502 Lite, demonstrating accommodation for graphics cards up to 410mm in length. This allows for installation of high-performance GPUs.
4.6. Cooling System Installation (Fans & AIO)
The case supports multiple fans and liquid cooling radiators.
- Install additional case fans in the designated mounting points (front, top, rear). The case includes one 120mm PWM fan.
- If using an All-in-One (AIO) liquid cooler, mount the radiator (up to 360mm) to the front or top panel, and secure the pump/block to your CPU.

Figure 4.4: Internal view highlighting the extensive support for cooling solutions, including a 360mm liquid cooler and multiple fan mounting points. This ensures optimal thermal efficiency for your system.

Figure 4.5: Visual representation of unrestricted airflow through the Cooler Master Elite 502 Lite, demonstrating how the design facilitates efficient cooling for internal components.
4.7. Front I/O Panel Connections
Connect the front panel cables to your motherboard according to your motherboard's manual.
- USB 3.0: Connect the USB 3.0 header to your motherboard.
- USB Type-C: Connect the USB Type-C header to your motherboard.
- HD Audio: Connect the audio header for front panel headphone and microphone jacks.
- Power/Reset/LEDs: Connect the small individual headers for power button, reset button, power LED, and HDD LED.

Figure 4.6: Close-up of the integrated USB Type-C port on the front I/O panel of the Elite 502 Lite, providing modern connectivity options.
4.8. Cable Management
Utilize the cable routing cutouts and tie-down points behind the motherboard tray to manage cables. This improves airflow and aesthetics.

Figure 4.7: Rear interior view of the case, showing the space and tie-down points available for effective cable management behind the motherboard tray. This helps maintain a clean build and optimize airflow.
5. Operating Your PC Case
Once all components are installed and cables are connected, replace the side panels. The Elite 502 Lite is designed to provide optimal airflow through its mesh front panel. Ensure that the case is placed in an area with adequate ventilation to allow for proper air intake and exhaust.
- Power On: Press the power button on the front I/O panel to start your system.
- Airflow: The front mesh acts as a primary intake. Ensure it is not obstructed.
6. Maintenance
Regular maintenance helps ensure optimal performance and longevity of your PC components.
- Dust Filters: The Elite 502 Lite features dust filters (e.g., on the front panel, top, and PSU intake). Regularly remove and clean these filters to prevent dust buildup and maintain airflow.
- Case Cleaning: Use a soft, damp cloth to clean the exterior of the case. Avoid abrasive cleaners. For interior cleaning, use compressed air to remove dust from components and internal surfaces.
- Cable Management Check: Periodically check cable routing to ensure no cables are obstructing fans or airflow paths.
7. Troubleshooting
If you encounter issues with your PC build, consider the following common troubleshooting steps related to the case:
- No Power: Ensure all front panel headers (especially the power switch) are correctly connected to the motherboard. Verify the PSU is properly seated and connected.
- Poor Airflow/Overheating: Check if dust filters are clean and if all installed fans are spinning correctly. Ensure no cables are blocking airflow.
- Front I/O Not Working: Confirm that the USB and audio headers are securely connected to the motherboard.
- Loose Components: If you hear rattling, check that all components (motherboard, GPU, drives, fans) are securely fastened with screws.
8. Specifications
Detailed technical specifications for the Cooler Master Elite 502 Lite PC Case:
| Brand | Cooler Master |
| Series | Elite 502 Lite |
| Model Number | E502L-KGNN-S00 |
| Case Type | Mid Tower |
| Motherboard Compatibility | ATX, Micro ATX |
| Material | Alloy Steel, Tempered Glass |
| Color | Black |
| Dimensions (L x W x H) | 18.66 x 18.94 x 9.06 inches (474 x 481 x 230 mm) |
| Item Weight | 17.42 pounds (7.9 kg) |
| GPU Clearance | Up to 410mm |
| CPU Cooler Height | Up to 170mm |
| PSU Length | Up to 170mm |
| Liquid Cooling Support | Up to 360mm radiator |
| Fan Support | Seven fans (includes one 120mm PWM fan) |
| Front I/O Ports | 1x USB 3.0, 1x USB Type-C, Audio In/Out |
| Power Supply Mounting Type | Bottom Mount |
| Cooling Method | Air |
9. Warranty and Support
Cooler Master products come with a limited warranty. For specific warranty terms and conditions, please refer to the warranty card included with your product or visit the official Cooler Master website. For technical support, troubleshooting assistance, or to inquire about replacement parts, please contact Cooler Master customer service through their official channels.
Online Support: www.coolermaster.com


