1. Important Safety Instructions
Please read all instructions carefully before using this appliance. Keep this manual for future reference.
- Ensure the voltage indicated on the appliance corresponds to your local mains voltage before connecting.
- Do not immerse the appliance, power cord, or plug in water or any other liquid.
- Always unplug the appliance from the power outlet before cleaning and when not in use.
- Do not operate any appliance with a damaged cord or plug, or after the appliance malfunctions or has been damaged in any manner.
- Keep children away from the appliance during operation. Hot surfaces and steam can cause burns.
- Do not use the appliance for anything other than its intended use.
- Place the coffee maker on a stable, level surface, away from hot surfaces or open flames.
- Do not add hot water to the water tank. Use only cold, fresh water.
- The carafe is designed for use with this appliance only. It must not be used on a range top.
- Do not clean the carafe with abrasive cleaners, steel wool pads, or other abrasive materials.
2. Product Overview
Familiarize yourself with the components of your Aigostar Drip Coffee Maker.

Image: The Aigostar Drip Coffee Maker, highlighting its integrated grinder and drip coffee functionality.

Image: Detailed view of the coffee maker, showing the bean hopper, water tank, filter basket, and carafe, along with product dimensions.
Components:
- Bean Hopper: For whole coffee beans.
- Integrated Conical Grinder: Grinds fresh beans.
- Water Tank: Holds up to 1.5 liters of water.
- Control Panel with LED Display: For settings and programming.
- Filter Basket: Holds the reusable coffee filter.
- Glass Carafe: 1.5L capacity, serves 2-12 cups.
- Warming Plate: Keeps coffee warm after brewing.
- Measuring Spoon: For ground coffee.
3. Before First Use & Setup
Before First Use:
- Unpack the coffee maker and all accessories.
- Wash the glass carafe, filter basket, and measuring spoon in warm, soapy water. Rinse thoroughly and dry.
- Wipe the exterior of the coffee maker with a damp cloth.
- Run a full brewing cycle with only water (no coffee) to clean the internal components. Discard the water.
Setup:
- Place the coffee maker on a flat, stable, heat-resistant surface.
- Fill the water tank with fresh, cold water up to the desired level (indicated on the tank).
- Add whole coffee beans to the bean hopper or pre-ground coffee to the filter basket.
- Ensure the glass carafe is correctly placed on the warming plate.

Image: Visual guide illustrating the coffee preparation process: Add Water, Add Beans or Powder, Customize Settings, One-Touch Preparation, Enjoy Coffee.
4. Operating Instructions
4.1 Grinding Settings
The integrated conical grinder offers 7 adjustable grinding levels to suit your preference, from fine to coarse. A slower grind preserves the coffee's flavor, ensuring uniform grinding and low noise.

Image: Illustration of the 7 grinding levels, indicating uniform grinding, low speed, and low noise for optimal flavor preservation.
To adjust the grinding level, turn the knob located on the bean hopper to your desired setting.

Image: Close-up of the conical burr grinder in action, emphasizing precise grinding for perfect flavor.
4.2 Coffee Strength Selection
Choose from 3 intensity options (Mild, Medium, Strong) to customize your coffee experience. This allows you to tailor the coffee to your mood and occasion.
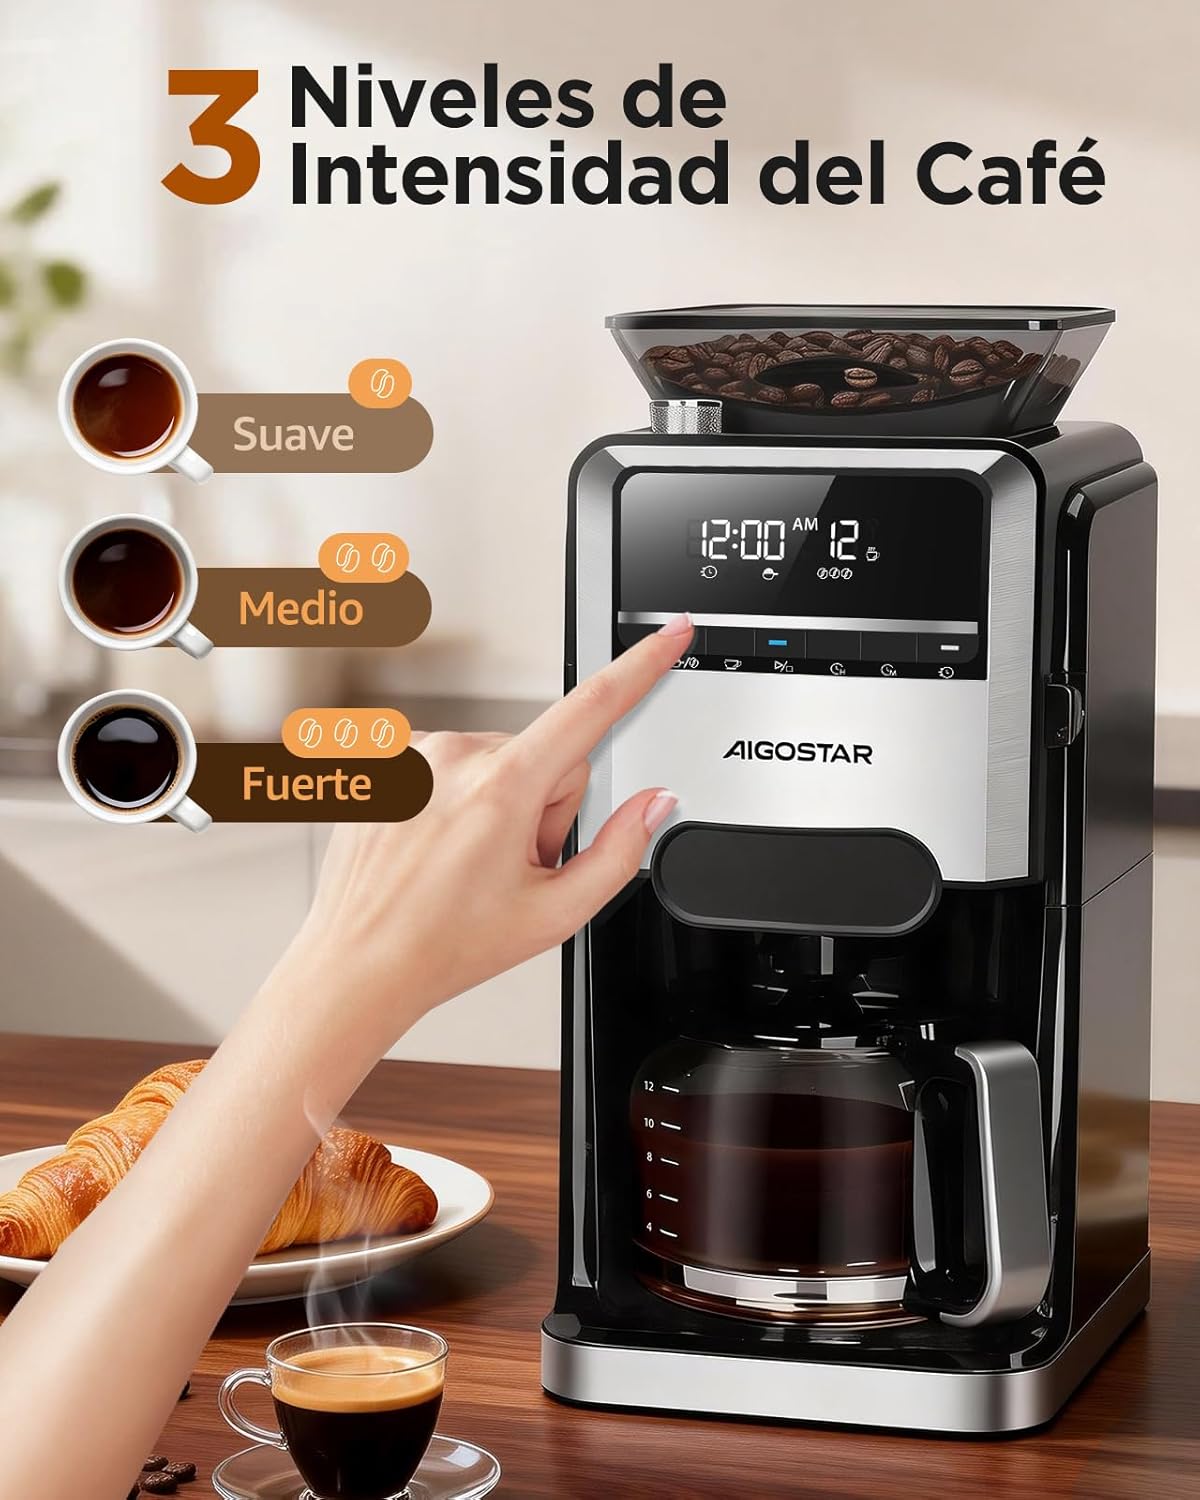
Image: The control panel displaying options for Mild, Medium, and Strong coffee intensities, with corresponding cups of coffee.
4.3 Cup Quantity Selection
The coffee maker can prepare between 2 to 12 cups of coffee, making it suitable for individual use or serving multiple people without frequent refills.

Image: A group of people enjoying coffee, illustrating the machine's capacity to prepare up to 12 cups.
4.4 24-Hour Programmable Timer
Set the brewing time up to 24 hours in advance to wake up to the aroma of freshly brewed coffee. The LED display allows for easy programming of the time and brew cycle.

Image: The coffee maker with its 24-hour programmable timer feature, showing a visual of setting it the night before for morning coffee.
4.5 Keep Warm Function
After brewing, the coffee maker automatically keeps the coffee warm for 40 minutes, ensuring your coffee remains at an ideal temperature.

Image: A person enjoying coffee, emphasizing the machine's ability to keep coffee hot for 40 minutes.
4.6 Using Pre-Ground Coffee
In addition to grinding fresh beans, the machine also allows for the use of pre-ground coffee for quick preparation when time is limited. Simply add the desired amount of pre-ground coffee to the filter basket.

Image: A visual comparison showing the options for using freshly ground coffee beans or pre-ground coffee.
5. Cleaning and Maintenance
Regular cleaning and maintenance will ensure the longevity and optimal performance of your coffee maker.
5.1 Daily Cleaning
- After each use, remove and empty the filter basket and glass carafe. Wash them with warm, soapy water and rinse thoroughly.
- Wipe the exterior of the appliance with a damp cloth. Do not use abrasive cleaners.
- The conical grinder is detachable and washable for easy cleaning.

Image: An exploded view of the coffee maker, showing the removable components like the measuring spoon, funnel, filter, and carafe, for easy cleaning.
5.2 Self-Cleaning Function
The coffee maker features a self-cleaning function. Refer to the control panel for instructions on activating this cycle. This helps prevent mineral buildup and ensures consistent coffee quality.
5.3 Smart Reminders
The machine provides smart reminders for maintenance, such as when the filter needs to be placed or replaced, or if the water level is low. It also reminds you not to add hot water.

Image: The coffee maker's display indicating smart reminders for water shortage and filter status, promoting worry-free use.
6. Troubleshooting
If you encounter any issues with your coffee maker, please refer to the following common problems and solutions:
| Problem | Possible Cause | Solution |
|---|---|---|
| Coffee not brewing. | No water in tank, power not connected, brew cycle not started. | Fill water tank, check power connection, press start button. |
| Weak coffee. | Insufficient coffee, coarse grind setting, low intensity setting. | Add more coffee, select finer grind, choose higher intensity. |
| Grinder not working. | Bean hopper empty, grinder clogged, incorrect mode selected. | Fill bean hopper, clean grinder, ensure correct mode for whole beans. |
| Coffee overflows. | Too much coffee, filter clogged, carafe not properly placed. | Reduce coffee amount, clean filter, ensure carafe is centered. |
| Error message on display. | Specific system error. | Refer to the specific error code in the full manual or contact customer support. |
If the problem persists after trying these solutions, please contact Aigostar customer support.
7. Specifications
Technical details for the Aigostar Drip Coffee Maker with Integrated Grinder.
- Brand: Aigostar
- Model Number: B0FHH4MZHP
- Capacity: 1.5 Liters (2-12 Cups)
- Color: Black
- Product Dimensions: 25cm (Depth) x 21cm (Width) x 43cm (Height)
- Special Features: Automatic shut-off, Automatic cleaning function, Adjustable brew strength, Integrated coffee grinder, Programmable
- Coffee Maker Type: Drip coffee maker
- Material: Stainless steel
- Operation: Fully Automatic
- Power: 1400 Watts
- Voltage: 240 Volts
- Input Interface: Buttons
- Display Type: LED Display
- Coffee Input Type: Whole bean, Ground
- Power Source: Electric
- Dishwasher Safe: No
8. Warranty and Support
Aigostar products are designed for reliability and performance. This product comes with a 2-year warranty.
- 2-Year Warranty: Covers manufacturing defects and malfunctions under normal use.
- Lifetime Support: Aigostar offers lifetime support to ensure customer satisfaction.
- Quick Response: Expect a quick response to email inquiries within 24 hours.
- Return Policy: A 30-day return policy is available.
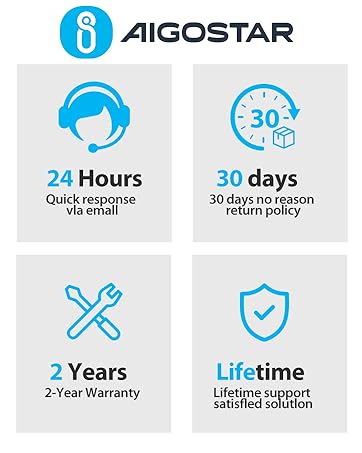
Image: Aigostar customer service details, including warranty, return policy, and support contact information.
For any questions, technical assistance, or warranty claims, please contact Aigostar customer service through their official website or the retailer where the product was purchased.


