
Introduction
The Raddy PT-5 is a floating solar pool thermometer designed for accurate temperature monitoring in various water bodies such as swimming pools, hot tubs, ponds, aquariums, and ice baths. It features a clear digital display and dual power options for continuous operation, ensuring reliable temperature readings even on cloudy days.

Image: The Raddy PT-5 thermometer, showcasing its floating design and vibrant green and white colors, with water splashing around its base.
Package Contents
Please verify that all items are present in the package:
- 1 x Raddy PT-5 Solar Pool Thermometer
- 1 x USB-C Charging Cable
- 1 x Instruction Manual
- 1 x Tether Rope

Image: The retail packaging for the Raddy PT-5 Pool Thermometer, displaying the product name and an illustration of the thermometer.
Specifications
| Feature | Detail |
|---|---|
| Temperature Measurement Range | -50 to 70°C (-58 to 158°F) |
| Temperature Resolution | 0.1°C / 0.1°F |
| Accuracy | ±1°C (±2°F) |
| Waterproof Rating | IPX8 with Dual Sealing Rings |
| Battery | Built-in 1200mAh Rechargeable Lithium Battery |
| Power Source | Solar Powered, USB-C Charging |
| Display Type | Digital LCD |
| Dimensions | 6.77 x 5.28 x 4.41 inches |
| Item Weight | 9.52 ounces |

Image: A detailed diagram highlighting the solar panel, USB-C charging port, temperature display, and power/°C/°F switch, along with the product dimensions.
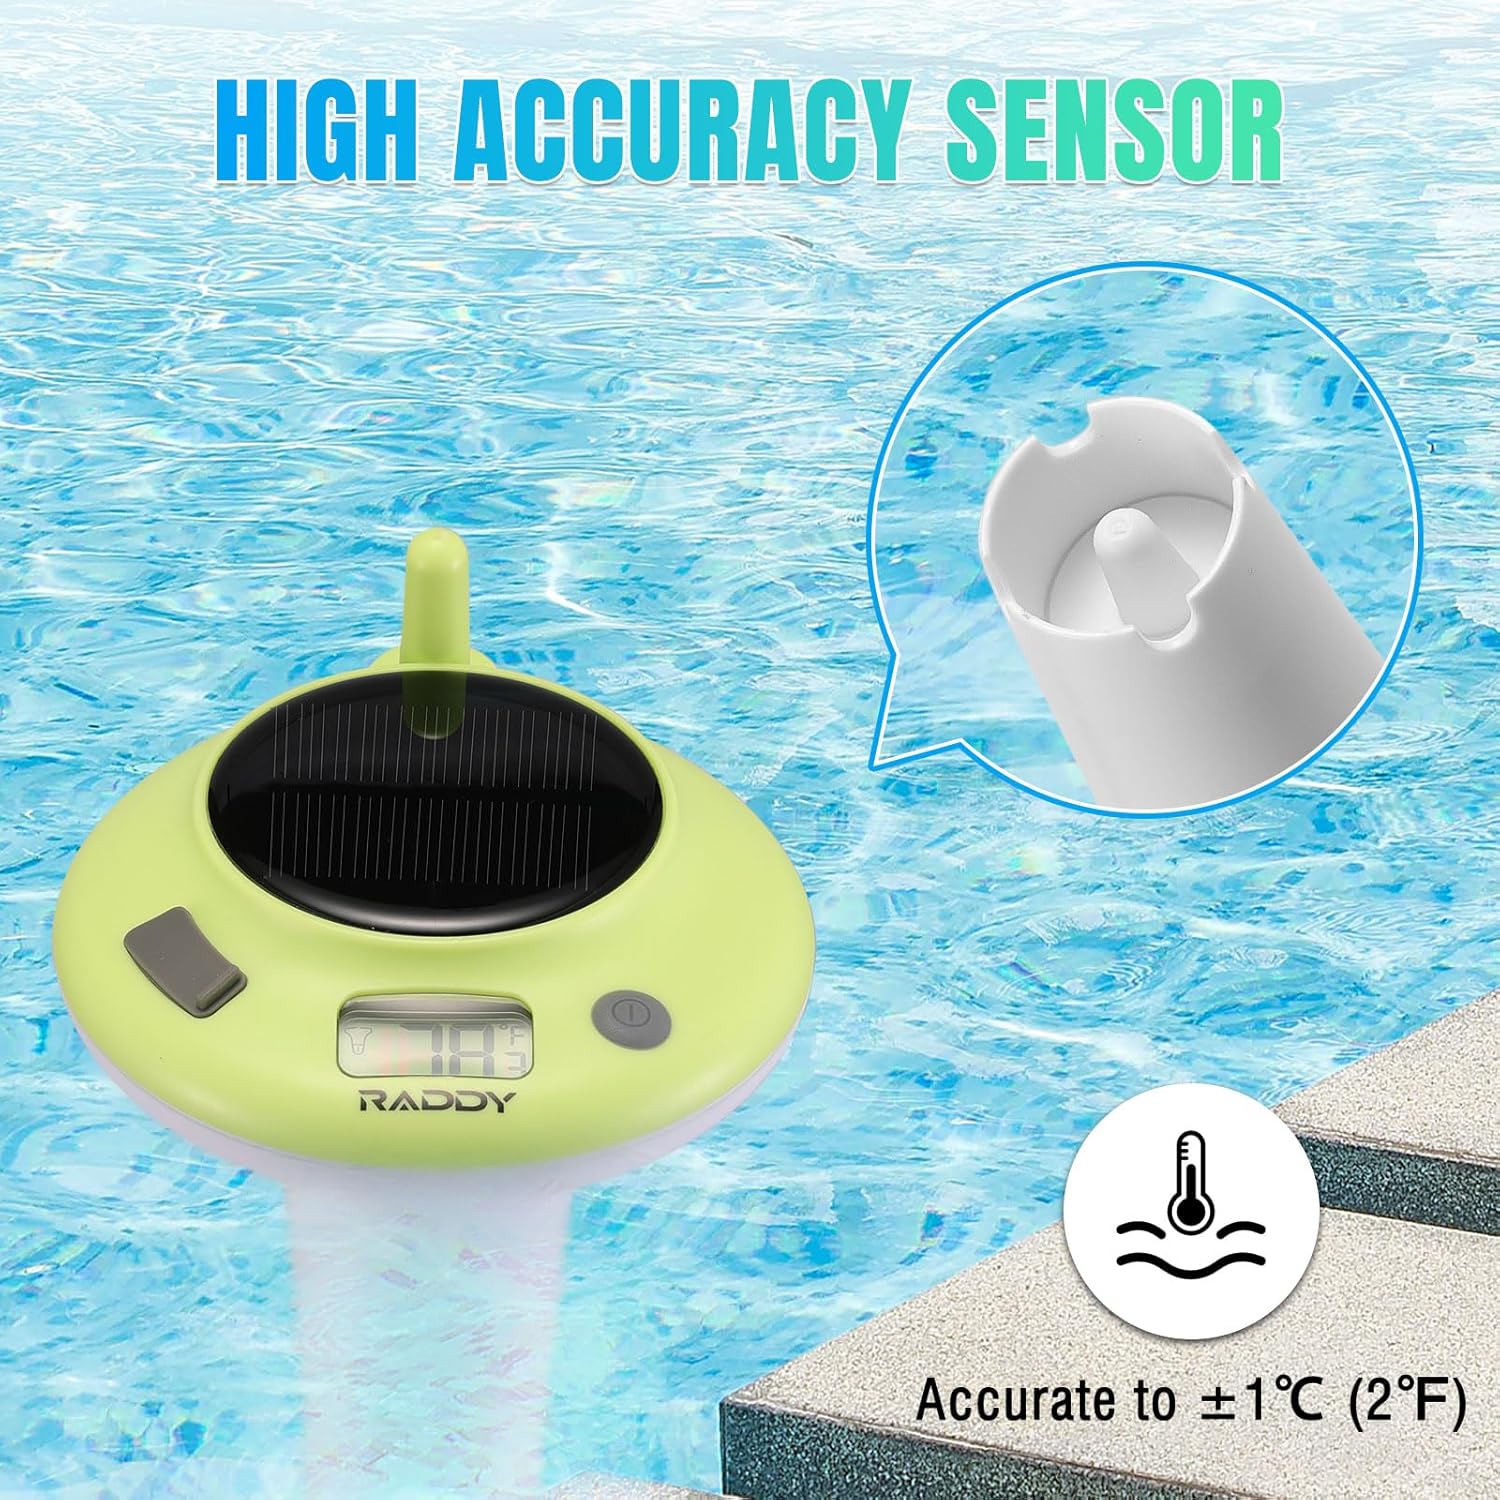
Image: The Raddy PT-5 thermometer floating in a pool, with an inset showing a close-up of its high-accuracy sensor, indicating an accuracy of ±1°C (2°F).
Setup
- Initial Charging: Before first use, ensure the thermometer is fully charged. It can be charged via its built-in solar panel by placing it in direct sunlight, or by connecting the included USB-C cable to the charging port. A full charge ensures optimal performance.
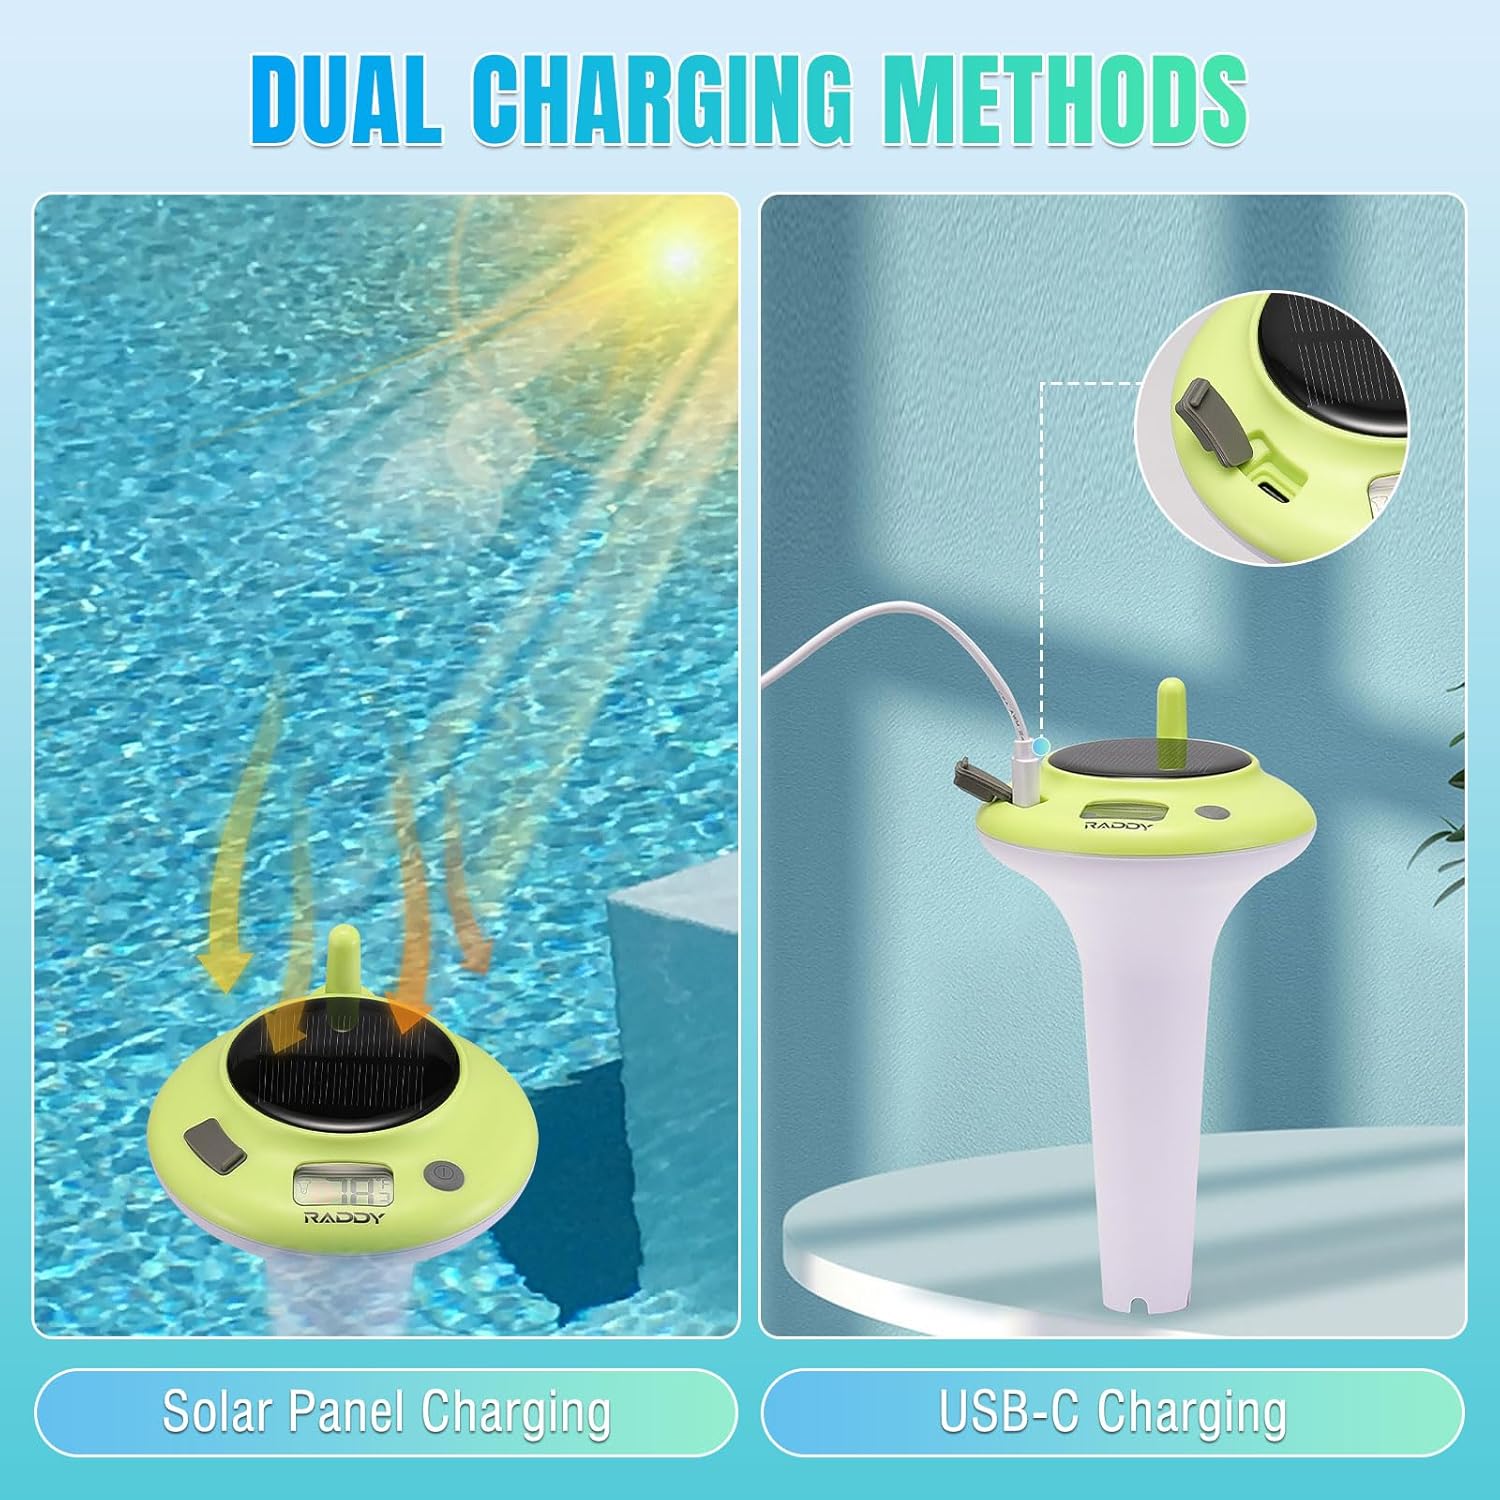
Image: Illustrations demonstrating the dual charging methods: solar panel charging in sunlight and USB-C charging via cable.
- Power On: Press and hold the power button (usually located near the display) for approximately 3 seconds to turn on the device. The digital display should illuminate.
- Attach Tether (Optional): If you wish to keep the thermometer anchored in a specific location within your pool or pond, thread the included tether rope through the designated loop on the thermometer and secure it to a fixed point.
- Placement: Gently place the Raddy PT-5 thermometer into the water body you wish to monitor. Ensure it floats freely and the solar panel is exposed to light for continuous charging.
Operating Instructions
- Reading Temperature: The current water temperature will be displayed prominently on the digital LCD screen.
- Switching Temperature Units: To switch between Celsius (°C) and Fahrenheit (°F), briefly press the power button. The display will toggle between the two units.
- Low Battery Indicator: If the low battery symbol flashes on the display, it indicates that the product has not been charged sufficiently by solar power. Please use the USB-C cable to fully charge the device.
- Power Off: To turn off the thermometer, press and hold the power button for 3 seconds.

Image: A visual representation of the Raddy PT-5 thermometer's versatility, showing its use in a swimming pool, hot spring, bathtub, and aquarium.
Maintenance
- Cleaning: Regularly wipe the thermometer's surface, especially the solar panel and display, with a soft, damp cloth to remove dirt, debris, or mineral buildup. Do not use abrasive cleaners or solvents.
- Charging: Ensure the solar panel receives adequate sunlight for optimal charging. If the device is used in low-light conditions or indoors, utilize the USB-C charging port to maintain battery levels.
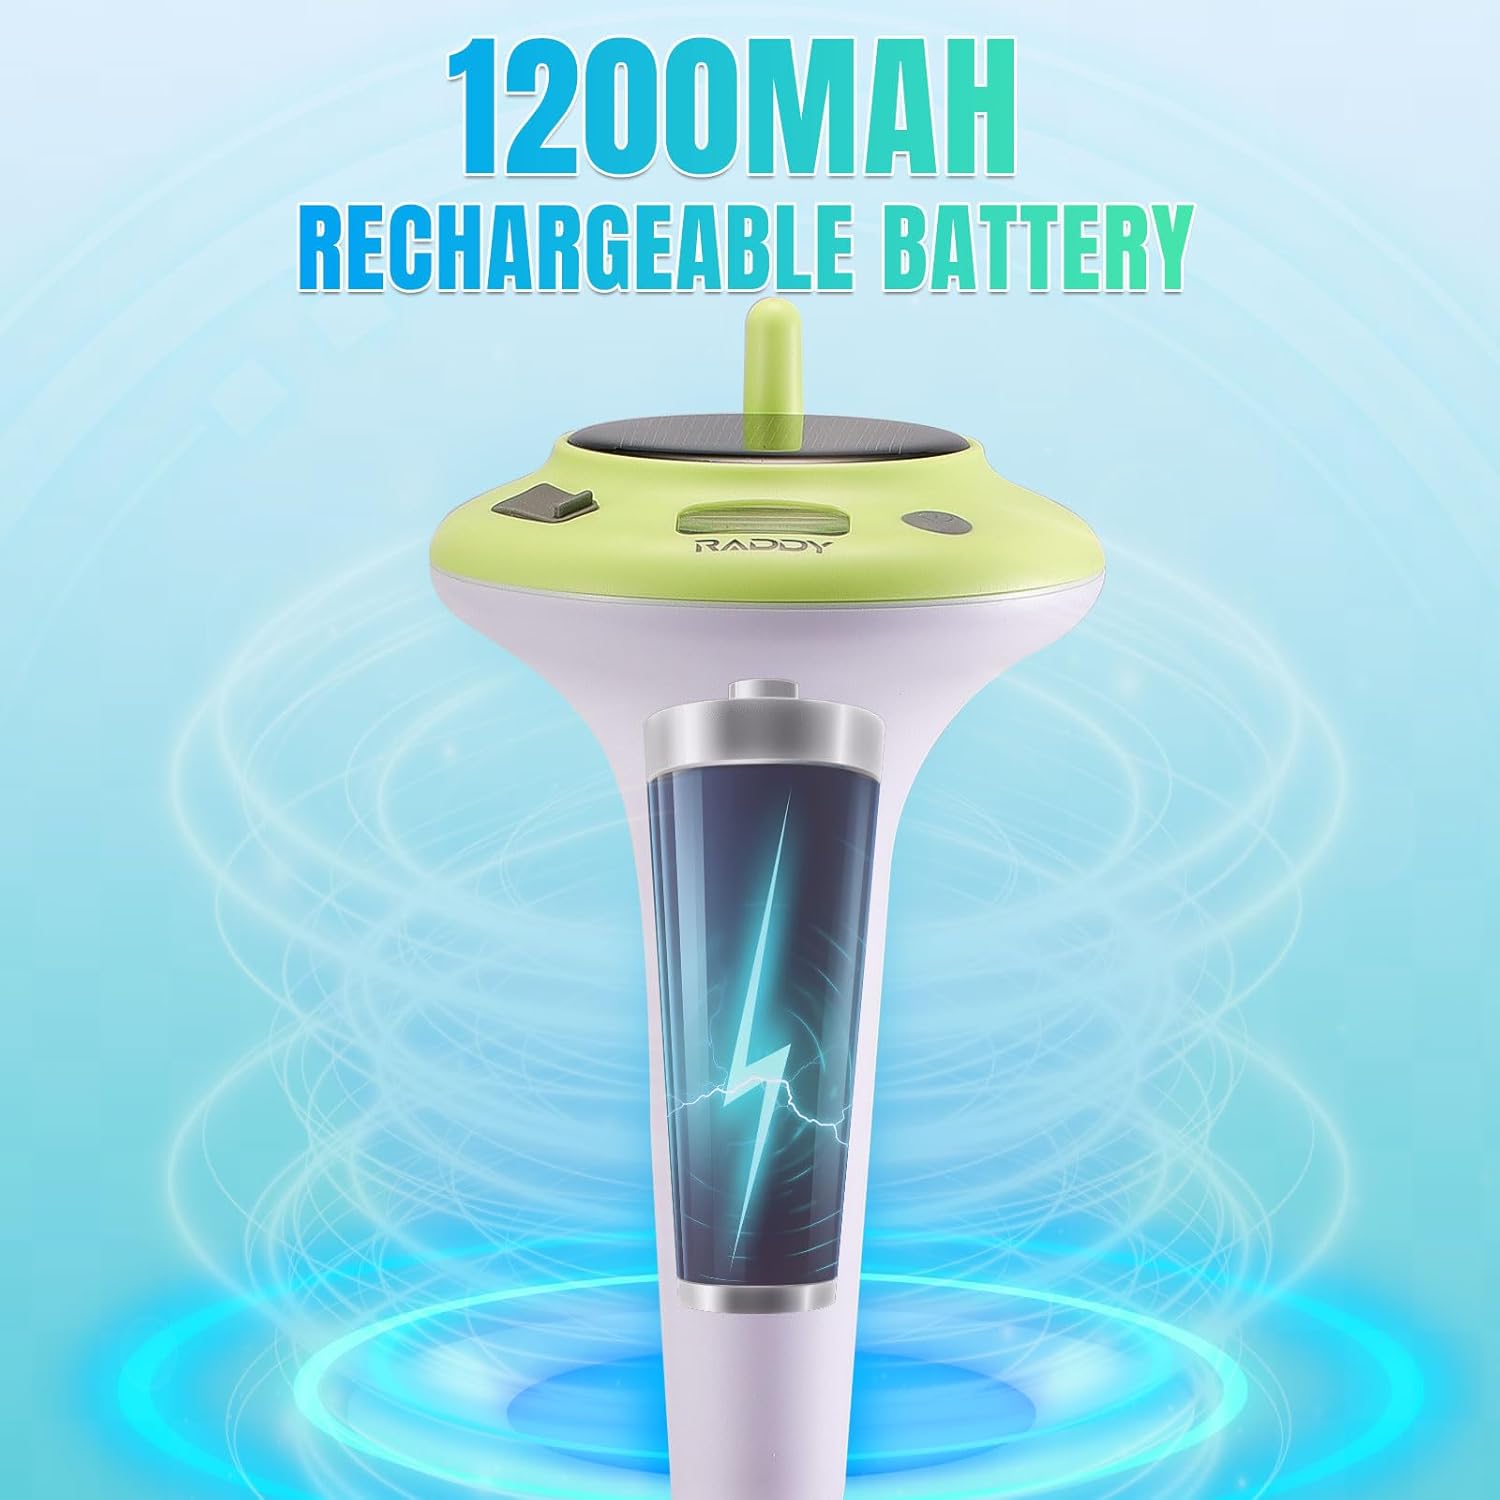
Image: A graphic emphasizing the 1200mAh rechargeable battery of the Raddy PT-5 thermometer, illustrating its power capacity.
- Storage: When not in use for extended periods, clean the thermometer and store it in a cool, dry place away from direct sunlight and extreme temperatures.
Troubleshooting
| Problem | Possible Cause / Solution |
|---|---|
| Display is blank or not turning on. |
|
| Inaccurate temperature readings. |
|
| Device not charging via solar. |
|
Warranty and Support
For warranty information and technical support, please refer to the official Raddy website or contact customer service directly.
- Website: www.iraddy.com
- Email: support@iraddy.com

Image: The back of the product box, displaying contact information for Raddy support.


