1. Introduction
This manual provides detailed instructions for the setup, operation, and maintenance of your CRUA 34-inch Curved UWQHD 120Hz IPS Gaming Monitor, Model CR340E. Please read this manual thoroughly before using the product to ensure proper functionality and to prevent damage.
2. Product Features
- 34-inch IPS Curved Panel: Experience enhanced immersion and a wide viewing angle with the 34-inch 21:9 ultrawide 1900R IPS curved panel. A 178° wide viewing angle ensures no color distortion at the edges, ideal for both movie watching and multitasking.

Image: Front view of the CRUA 34-inch Curved UWQHD 120Hz IPS Gaming Monitor, showcasing its curved design.
- Professional-Grade Color: Achieve cinema-standard color reproduction with 98% DCI-P3 coverage. High brightness of 350 cd/m² and a 2000:1 contrast ratio vividly display HDR content. The 8-bit (16.7 million colors) panel ensures smooth color gradations.

Image: Visual representation of the monitor's DCI-P3 98% color gamut, 130% sRGB, 2000:1 contrast ratio, 8-bit color depth, and 350 cd/m² brightness.
- Productivity Enhancement: The expansive 3440x1440 UWQHD resolution screen allows for simultaneous viewing of document comparisons and video editing timelines. The 21:9 aspect ratio significantly boosts work efficiency for remote work and professional tasks.

Image: A comparison demonstrating the superior detail and clarity of UWQHD (3440x1440) resolution compared to FHD.
- Gaming Performance: Eliminates screen tearing and stuttering with a 120Hz high refresh rate and AMD FreeSync technology. Leveraging the curved IPS panel, it provides an immersive experience for the vast worlds of RPGs and simulation games.

Image: A dynamic scene of a motorcycle race, illustrating the smooth motion provided by the 120Hz refresh rate and AMD FreeSync technology.
- Excellent Expandability: Connect gaming consoles (e.g., PS5) and PCs simultaneously with 2x HDMI 2.0 and 2x DP 1.4 ports. A 3.5mm earphone jack and 100x100mm VESA mount compatibility offer complete flexibility for audio setup and installation.

Image: A diagram showing the monitor's dimensions and the location of its various ports, including HDMI 2.0, DP 1.4, audio output, and DC power input.
3. Setup Instructions
3.1 Package Contents
Please verify that all components are present in the package:
- CRUA 34-inch Curved Monitor
- Monitor Stand (Base and Neck)
- Power Adapter and Cable
- HDMI Cable
- DisplayPort (DP) Cable
- USB-C Cable (if applicable, check your specific model)
- User Manual (this document)
- Mounting Screws (for VESA mount)
3.2 Assembling the Stand
- Carefully remove the monitor from its packaging and place it face down on a soft, clean surface to prevent scratches.
- Attach the stand neck to the monitor panel using the provided screws.
- Attach the stand base to the stand neck, securing it with the designated screw.
- Ensure all connections are firm before placing the monitor upright.
3.3 VESA Wall Mount Installation (Optional)
The monitor supports a 100x100mm VESA mount. If using a VESA mount, remove the stand and attach the VESA bracket to the monitor's rear panel using the provided screws. Follow the instructions included with your VESA mount for proper installation.
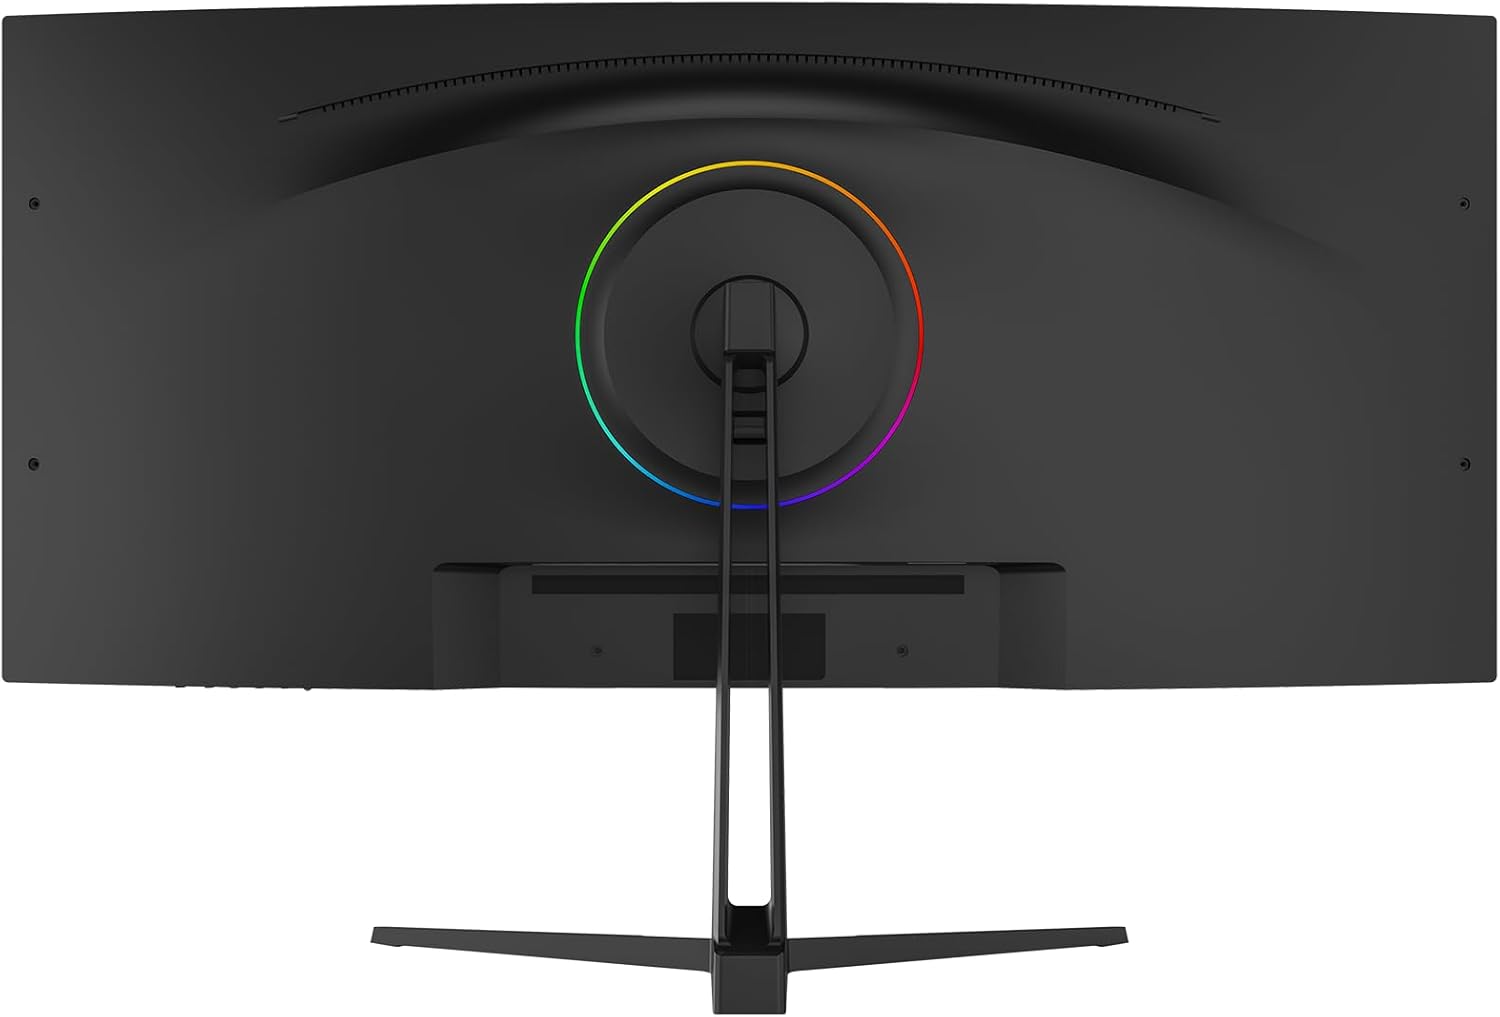
Image: Rear view of the monitor, highlighting the VESA mount compatibility and the RGB lighting ring.
3.4 Connecting to a Device
- Connect one end of the HDMI or DisplayPort cable to the corresponding port on your computer or gaming console.
- Connect the other end of the cable to an available HDMI (HDMI 1 or HDMI 2) or DisplayPort (DP 1 or DP 2) input on the monitor.
- Connect the power adapter to the monitor's DC input, then plug the power cable into a power outlet.
- For audio output, connect headphones or external speakers to the 3.5mm audio jack on the monitor.
4. Operating Instructions
4.1 Power On/Off
Press the power button, usually located on the back or bottom of the monitor, to turn the monitor on or off. The power indicator light will illuminate when the monitor is on.
4.2 OSD Menu Navigation
The On-Screen Display (OSD) menu is controlled via a joystick or buttons, typically located on the back or bottom of the monitor. Use the joystick/buttons to navigate through the menu options and adjust settings.
- Press: Enter/Confirm selection.
- Up/Down: Navigate menu options.
- Left/Right: Adjust values or navigate sub-menus.
4.3 Input Source Selection
Access the OSD menu and navigate to the 'Input' or 'Source' section to select between HDMI 1, HDMI 2, DP 1, or DP 2 inputs.
4.4 Picture Settings
Adjust display settings through the OSD menu:
- Brightness: Adjusts the overall luminance of the screen.
- Contrast: Controls the difference between light and dark areas.
- Color Temperature: Selects preset color temperatures (e.g., Warm, Cool, User) or allows manual adjustment of RGB values.
- HDR Mode: Enables or disables High Dynamic Range display for compatible content.
- Blue Light Reduction: Reduces blue light emission to minimize eye strain.
4.5 Gaming Features
- Refresh Rate: The monitor supports up to 120Hz. Ensure your connected device is configured to output at the desired refresh rate.
- AMD FreeSync: Enable FreeSync in the OSD menu and on your AMD graphics card settings to synchronize the monitor's refresh rate with your GPU's frame rate, eliminating screen tearing and stuttering.
4.6 Tilt Adjustment
The monitor stand allows for tilt adjustment. Gently hold the top and bottom edges of the monitor and tilt it to your preferred viewing angle.
5. Maintenance
5.1 Cleaning the Screen
Turn off the monitor and unplug the power cord. Use a soft, lint-free cloth lightly dampened with water or a specialized screen cleaner. Do not spray cleaner directly onto the screen.
5.2 General Care
- Avoid placing heavy objects on the monitor or its cables.
- Keep the monitor away from direct sunlight, heat sources, and excessive moisture.
- Do not block the ventilation openings on the monitor.
- Unplug the monitor during lightning storms or when unused for extended periods.
6. Troubleshooting
If you encounter issues with your monitor, please refer to the following common problems and solutions:
| Problem | Possible Cause | Solution |
|---|---|---|
| No image on screen | Power cable disconnected, incorrect input source, device not powered on. | Check power connections, select correct input source via OSD, ensure connected device is on. |
| Image flickering or unstable | Loose video cable, incompatible refresh rate, FreeSync issue. | Ensure video cables are securely connected. Adjust refresh rate on your device. Check FreeSync settings. |
| Dead pixels or abnormal display | Manufacturing defect. | Contact customer support for assistance. |
| No audio | Audio cable disconnected, volume too low, incorrect audio output selected on device. | Check 3.5mm audio jack connection. Adjust monitor and device volume. Ensure monitor is selected as audio output on your device. |
If the problem persists after attempting these solutions, please contact CRUA customer support.
7. Specifications
| Feature | Specification |
|---|---|
| Brand | CRUA |
| Model Series | CR340E |
| Product Model Number | CR340E |
| Color | Black |
| Product Dimensions (W x H x D) | 81.4 x 51.1 x 22.4 cm |
| Product Weight | 8.46 kg |
| Screen Size | 34 inches |
| Panel Type | IPS Curved |
| Curvature | 1900R |
| Resolution | 3440 x 1440 Pixels (UWQHD) |
| Aspect Ratio | 21:9 |
| Refresh Rate | 120Hz |
| Color Gamut | DCI-P3 98% |
| Brightness | 350 cd/m² |
| Contrast Ratio | 2000:1 |
| Color Depth | 8-bit (16.7M colors) |
| Screen Surface | Non-glare |
| HDMI Ports | 2 (HDMI 2.0) |
| DisplayPort (DP) Ports | 2 (DP 1.4) |
| Audio Output | 3.5mm Headphone Jack |
| VESA Mount Compatibility | 100 x 100 mm |
8. Warranty and Support
8.1 Warranty Information
CRUA products typically come with a warranty period of 1 to 3 years. Please refer to your purchase documentation or contact CRUA customer support for specific warranty terms applicable to your region and product.
8.2 Customer Support
For technical assistance, troubleshooting, or warranty claims, please contact CRUA customer support. Support is available 24 hours a day. You can typically find contact information (email, phone, or online chat) on the official CRUA website or through your retailer.
For more information, visit the CRUA Brand Store.


