
Introduction
This manual provides detailed instructions for the safe and effective use of your OLIGHT Perun 3 Rechargeable Headlamp and OLIGHT I3T EOS EDC Flashlight. Please read this manual thoroughly before operating the devices and retain it for future reference.
OLIGHT Perun 3 Headlamp

The Perun 3 headlamp offers versatile lighting options, functioning as both a headlamp and a handheld light.
Setup
- Headband Attachment: Securely attach the Perun 3 to the provided headband. Ensure the light is oriented correctly for your intended use. The headband features a rugged stainless steel mount for durability.
- Initial Charge: Before first use, fully charge the Perun 3 using the magnetic charging cable. Connect the magnetic end to the charging port on the flashlight and the USB end to a power source. The indicator light will show charging status.
Operation
- Power On/Off: Press the side switch once to turn the light on or off.
- Mode Switching (White Light): When the light is on, press and hold the side switch to cycle through brightness levels (low, medium, high). Release the switch at your desired brightness.
- Red Light Activation: Double-press the side switch to activate the red light. The red light has 2 brightness levels and a flashing mode for signaling.
- Sensor Function: The Perun 3 includes a proximity sensor. This sensor automatically dims the light when an object is detected within 0.5 seconds after the Turbo mode is activated, preventing glare and overheating.

The Perun 3 provides a powerful 3000-lumen floodlight beam for wide area illumination.

The proximity sensor enhances safety by automatically dimming the light when an object is detected nearby.
Charging
Use the provided magnetic charging cable to recharge the Perun 3. A full charge ensures optimal performance and runtime. The maximum runtime is up to 20 days on the lowest setting.
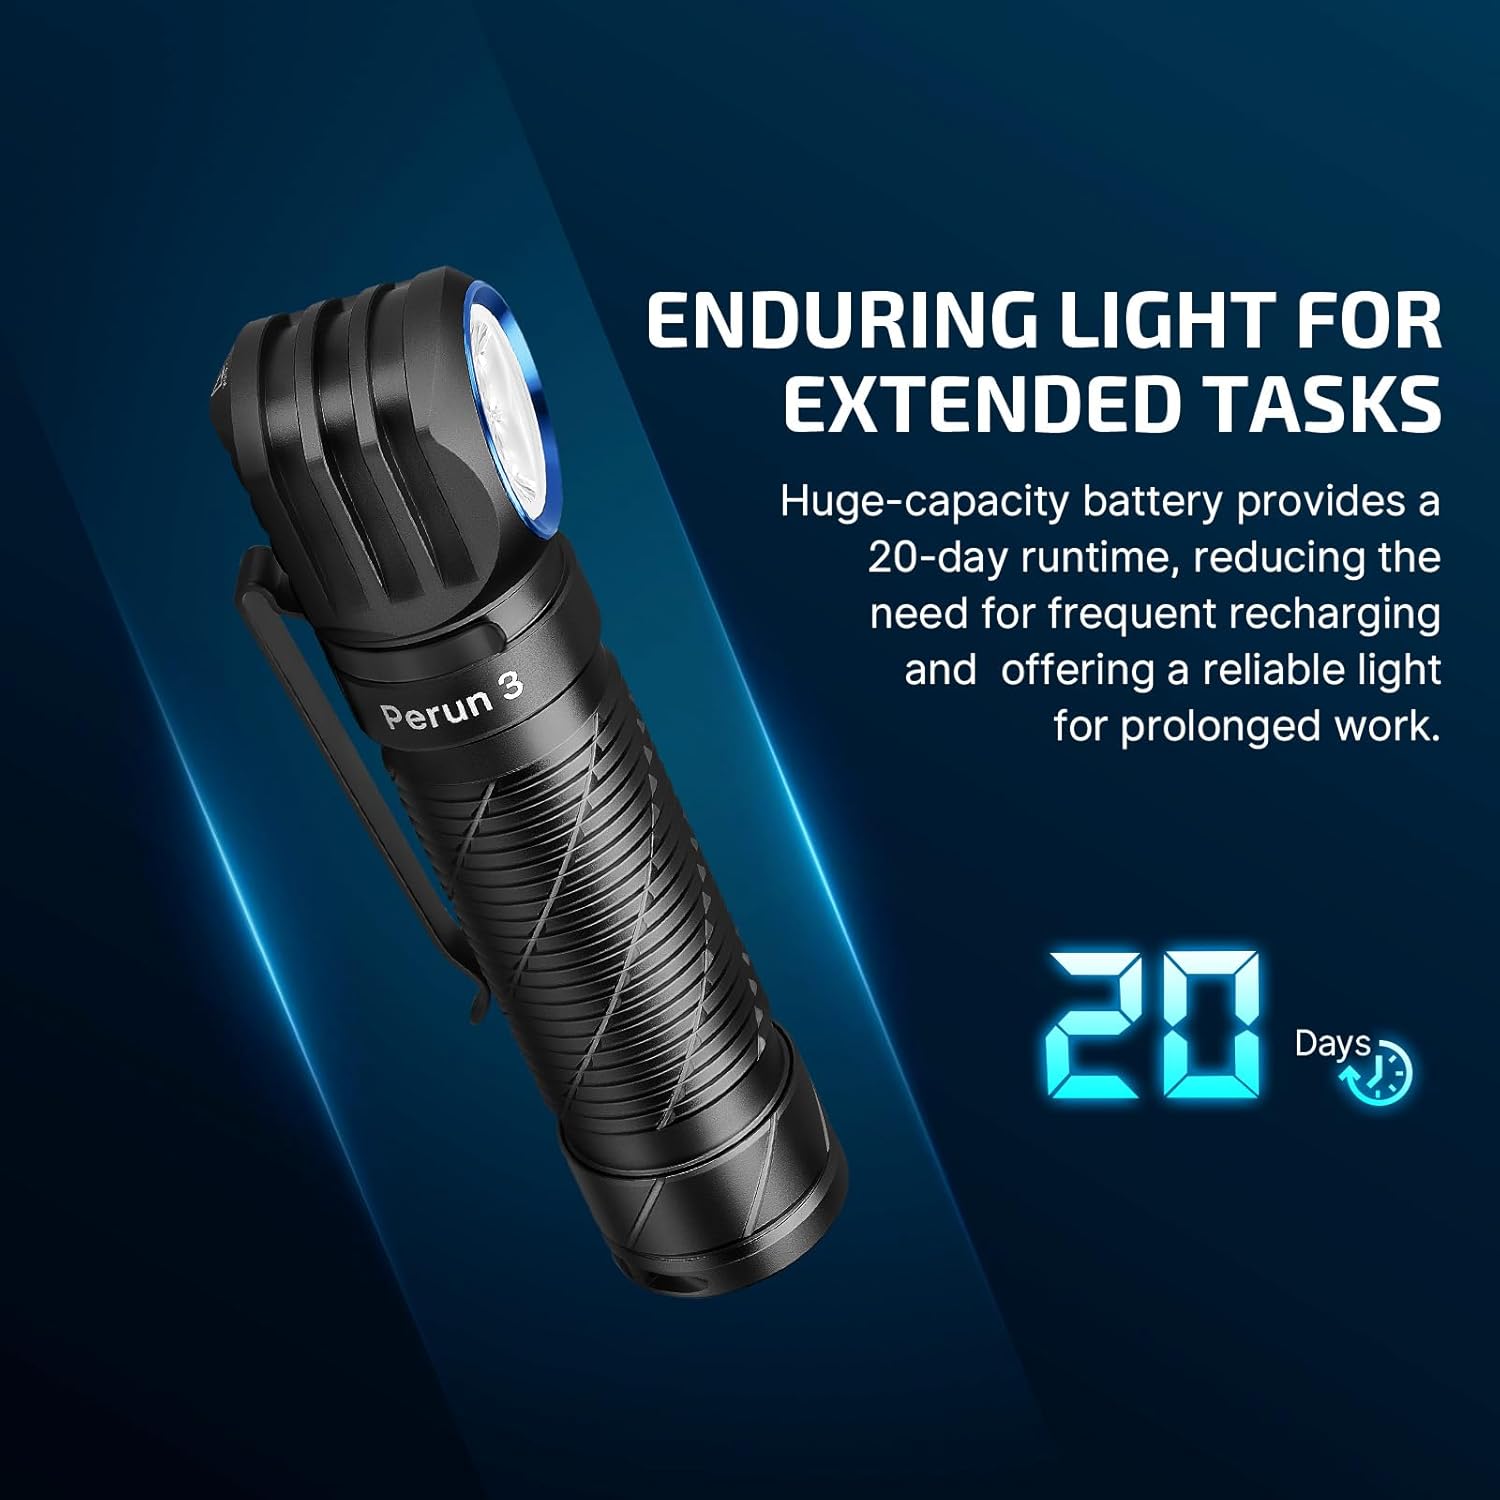
The Perun 3 features a high-capacity battery, offering up to 20 days of runtime on lower settings.
Maintenance
- Cleaning: Wipe the device with a soft, damp cloth. Do not use abrasive cleaners.
- Storage: Store the Perun 3 in a cool, dry place away from direct sunlight and extreme temperatures.
- Waterproof/Dustproof: The Perun 3 is rated IP68, meaning it is protected against dust ingress and can withstand immersion in water up to 1.5 meters for 30 minutes. Ensure the charging port is clean and dry before charging.
Specifications (Perun 3)
- Maximum Output: 3,000 Lumens
- Maximum Runtime: 20 days (on lowest setting)
- Light Source: Premium LEDs (White and Red Light)
- Waterproof Rating: IP68
OLIGHT I3T EOS Flashlight

The I3T EOS is a compact EDC flashlight designed for everyday carry, featuring a non-slip double helix body knurling.
Setup
- Battery Installation: Unscrew the tail cap and insert one AAA battery with the positive (+) end facing the head of the flashlight. Screw the tail cap back on securely.
Operation
- Tail Switch Function: The I3T EOS is operated via its tail switch.
- Momentary On: Soft press the tail switch without fully clicking for momentary illumination. Release to turn off.
- Constant On/Off: Deep press the tail switch until it clicks for constant illumination. Press again to turn off.
- Mode Changing: Quickly turn the light off and on (within 0.5 seconds) to switch between the 5-lumen and 180-lumen output modes.

Operate the I3T EOS with a simple tail switch for momentary or constant illumination and mode selection.

The I3T EOS provides up to 180 lumens of light, suitable for close-range tasks.

The I3T EOS is ideal for various tasks including everyday carry, searching, checking, and car repair.
Maintenance
- Cleaning: Wipe the device with a soft, damp cloth. Do not use abrasive cleaners.
- Storage: Store the I3T EOS in a cool, dry place away from direct sunlight and extreme temperatures. Remove the battery if storing for extended periods to prevent leakage.
- Waterproof: The I3T EOS is rated IPX8, meaning it is protected against continuous immersion in water. Ensure the tail cap is fully tightened to maintain its waterproof integrity.
Specifications (I3T EOS)
- Maximum Output: 180 Lumens
- Output Modes: 5 Lumens, 180 Lumens
- Power Source: 1 x AAA Battery
- Waterproof Rating: IPX8
Troubleshooting
- Light Not Turning On:
- For Perun 3: Ensure the battery is charged.
- For I3T EOS: Check battery orientation and ensure the tail cap is fully tightened. Replace battery if necessary.
- Intermittent Operation:
- Clean battery contacts and threads with a clean cloth.
- Ensure all parts are securely fastened.
- Reduced Brightness/Runtime:
- For Perun 3: Recharge the battery.
- For I3T EOS: Replace the battery.
Warranty and Support
OLIGHT products are manufactured with high-quality materials and craftsmanship. For warranty information or technical support, please refer to the official OLIGHT website or contact their customer service directly. Keep your purchase receipt for warranty claims.


