
1. Introduction
This manual provides essential information for the setup, operation, and maintenance of your Blackview Tab 20WIFI 10-inch Android 15 Tablet. Please read this manual thoroughly to ensure proper use and to maximize the performance of your device.
The Blackview Tab 20WIFI is a versatile 10-inch Android 15 tablet featuring a 1280x800 IPS touchscreen, a quad-core processor, 4GB RAM (expandable to 12GB virtual RAM), 64GB internal storage expandable up to 1TB, 5G WiFi, Bluetooth 5.0, dual cameras, and a 6600mAh battery. It is designed for various applications, from entertainment to productivity.
2. What's in the Box
Upon opening the package, verify that all items are present:
- Blackview Tab 20WIFI Tablet
- USB Type-C Cable
- Power Adapter
3. Device Overview
Familiarize yourself with the physical components of your Blackview Tab 20WIFI tablet.

Image: Front and back view of the Blackview Tab 20WIFI tablet, showcasing the display and rear camera module.
3.1. Physical Components
- Display: 10.1-inch HD+ IPS Touchscreen (1280x800 resolution).
- Power Button: Located on the side, used to power on/off or wake/sleep the device.
- Volume Buttons: Located on the side, used to adjust audio volume.
- USB Type-C Port: For charging and data transfer.
- Headphone Jack: Standard 3.5mm audio output.
- Front Camera: 5MP camera for video calls and selfies.
- Rear Camera: 8MP camera for photos and videos.
- Speaker: Audio output.
- MicroSD Card Slot: For expandable storage up to 1TB.
4. Setup
4.1. Charging the Tablet
- Connect the USB Type-C cable to the tablet's charging port.
- Connect the other end of the cable to the power adapter.
- Plug the power adapter into a wall outlet.
- Allow the tablet to charge fully before initial use. The battery indicator on the screen will show charging status.
4.2. Powering On/Off
- To Power On: Press and hold the Power button until the Blackview logo appears.
- To Power Off: Press and hold the Power button until the power options appear on the screen, then select 'Power off'.
- To Restart: Press and hold the Power button until the power options appear, then select 'Restart'.
4.3. Initial Setup
The first time you power on your tablet, you will be guided through the initial setup process:
- Language Selection: Choose your preferred language.
- Wi-Fi Connection: Select your Wi-Fi network and enter the password to connect to the internet.
- Google Account: Sign in with your Google account or create a new one. This is necessary to download apps from the Google Play Store and access Google services.
- Date & Time: Set the correct date and time or allow the network to set it automatically.
- Security: Set up a screen lock (PIN, pattern, password, or Face Unlock).
- Follow any remaining on-screen prompts to complete the setup.
5. Operating Instructions
5.1. Basic Navigation
- Home Screen: The central hub for your apps and widgets.
- App Drawer: Swipe up from the bottom of the screen to access all installed applications.
- Notifications Panel: Swipe down from the top of the screen to view notifications and quick settings.
- Recent Apps: Tap the square navigation button (or swipe up and hold from the bottom) to see recently used applications.
5.2. Display and Visuals
The tablet features a 10.1-inch HD+ IPS display with a 1280x800 resolution, offering clear visuals. It supports 10-point multi-touch and a 120Hz sampling rate for responsive interactions. Brightness can be adjusted in Settings > Display.

Image: The Blackview tablet screen showing the Android interface with various applications like Facebook, TikTok, YouTube, and Netflix.
5.3. Storage Management
Your tablet comes with 64GB of internal storage. You can expand this by inserting a MicroSD (TF) card up to 1TB into the dedicated slot.

Image: Visual representation of the tablet's storage capabilities, including 12GB RAM (virtual), 64GB ROM, and support for up to 1TB expandable storage via a MicroSD card.
5.4. Camera Usage
The tablet is equipped with an 8MP rear camera and a 5MP front camera. Open the Camera app to capture photos and videos. Tap the screen to focus and press the shutter button to take a picture.

Image: Examples of photos taken with the tablet's 8MP rear camera and 5MP front camera, highlighting their use for capturing moments.
5.5. Face Unlock
For convenient and secure access, you can set up Face Unlock. Go to Settings > Security > Face Unlock and follow the on-screen instructions to register your face. Once set up, you can unlock your tablet by simply looking at the front camera.

Image: A user demonstrating the Face Unlock feature on the Blackview tablet, with facial recognition lines visible.
5.6. Connectivity
The tablet supports 5G Wi-Fi for fast internet access and Bluetooth 5.0 for connecting wireless accessories like headphones or keyboards.
- Wi-Fi: Go to Settings > Network & internet > Wi-Fi to connect to available networks.
- Bluetooth: Go to Settings > Connected devices > Bluetooth to pair with Bluetooth devices.
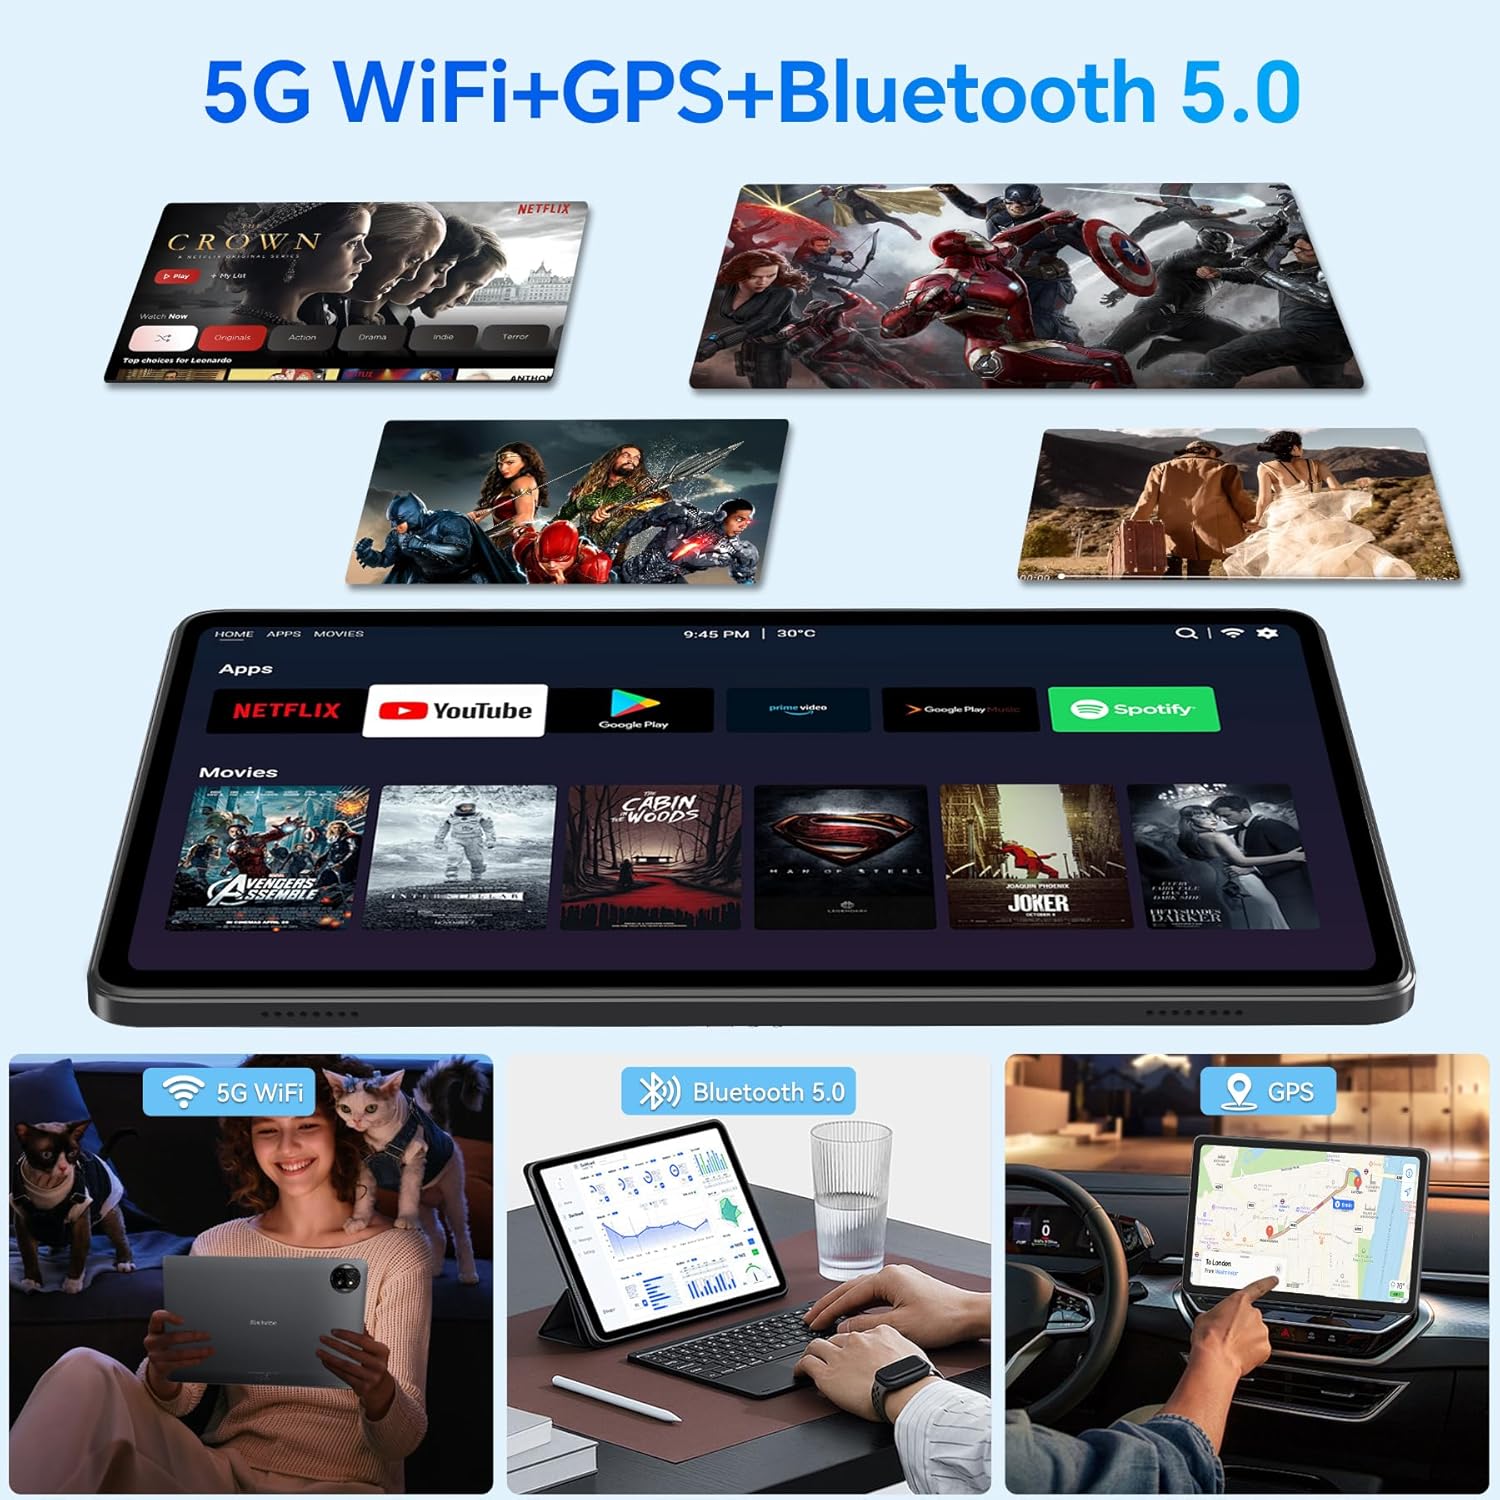
Image: Demonstrations of the tablet's connectivity features, including 5G WiFi for streaming, Bluetooth 5.0 for connecting peripherals, and GPS for navigation.
5.7. Multifunctional Use
The Blackview Tab 20WIFI supports various modes of use to enhance your experience:
- Split Screen: Use two apps simultaneously for multitasking.
- Gaming: Enjoy mobile games with the tablet's performance.
- Music & Video: Stream or play local media files.
- Navigation: Utilize GPS and mapping applications.
- Portable Office: Use productivity apps for work or study.

Image: A collage illustrating the tablet's versatility, showing it used for split-screen multitasking, gaming, listening to music, GPS navigation, watching YouTube, and as a portable office device.
6. Maintenance
6.1. Battery Care
To prolong battery life:
- Avoid exposing the tablet to extreme temperatures.
- Do not allow the battery to fully discharge frequently.
- Use the provided charger and cable for optimal charging.
- The 6600mAh battery supports 10W fast charging, achieving 6-8 hours of video playback from 2 hours of charging.

Image: A graphic depicting the tablet's 6600mAh high-capacity battery and its convenient Type-C charging port.
6.2. Cleaning
- Use a soft, lint-free cloth to clean the screen and body.
- Avoid using harsh chemicals or abrasive materials.
6.3. Software Updates
Regularly check for and install system updates to ensure optimal performance and security. Go to Settings > System > System update.
7. Troubleshooting
If you encounter issues with your tablet, refer to the following common solutions:
| Issue | Possible Solution |
|---|---|
| Tablet does not power on | Ensure the tablet is charged. Connect it to the charger for at least 30 minutes, then try powering on again. If unresponsive, perform a forced restart by holding the power button for 10-15 seconds. |
| Wi-Fi connection issues | Restart your Wi-Fi router. Go to Settings > Network & internet > Wi-Fi, forget the network, and reconnect. Ensure you are within range of the Wi-Fi signal. |
| Slow performance or freezing | Close unnecessary background apps. Clear cache for frequently used apps (Settings > Apps > [App Name] > Storage & cache > Clear cache). Restart the tablet. Ensure sufficient storage space is available. |
| Apps crashing | Update the app from the Google Play Store. Clear the app's cache and data (Settings > Apps > [App Name] > Storage & cache). Reinstall the app if the issue persists. |
| Face Unlock not working | Ensure your face is well-lit and positioned correctly in front of the camera. Clean the front camera lens. Re-register your face in Settings > Security > Face Unlock. |
If problems persist, consider performing a factory reset (Settings > System > Reset options > Erase all data (factory reset)). Warning: This will erase all data on your tablet. Back up important data before proceeding.
8. Specifications
Key technical specifications for the Blackview Tab 20WIFI tablet:
- Model: T310
- Operating System: Android 15
- Display: 10.1-inch IPS, 1280 x 800 pixels
- Processor: 1.8 GHz Quad-Core (Unisoc)
- RAM: 4GB (up to 12GB virtual RAM)
- Internal Storage: 64GB
- Expandable Storage: Up to 1TB via MicroSD (TF) card
- Rear Camera: 8MP
- Front Camera: 5MP
- Battery: 6600mAh
- Connectivity: 5G Wi-Fi, Bluetooth 5.0
- Dimensions (LxWxH): 9.51 x 0.37 x 6.3 inches
- Item Weight: 2.57 pounds
9. Warranty and Support
Blackview provides comprehensive support for its products.
9.1. Warranty Information
Blackview products undergo strict quality control from design to production. For Blackview tablets, users are entitled to a 24-month free repair warranty from the date of purchase. This warranty covers manufacturing defects and ensures high-quality standards.

Image: An icon representing Blackview's two-year warranty support, featuring a headset and a shield.
9.2. Technical Support
In addition to the warranty, Blackview offers lifetime technician support to assist with any operational or technical queries you may have. For support, please visit the official Blackview website or contact their customer service.
