1. Introduction
The Noctua NF-A12x25 G2 PWM Sx2-PP is a dual fan set engineered for high-performance quiet cooling in various PC applications. This set is optimized for push-pull configurations and scenarios where multiple fans operate side-by-side, such as on CPU coolers, water cooling radiators, or as case intake/exhaust fans.
Key features include a Progressive Bend impeller with winglets and Centrifugal Turbulator, Flow Acceleration Channels, and an AAO frame, all constructed from Sterrox LCP for ultra-tight tip clearance. The fans utilize Noctua's premium-grade SSO2 bearing for long-term stability and quiet operation.

Image 1.1: Two Noctua NF-A12x25 G2 PWM fans, designed for optimal airflow and static pressure.
2. Package Contents
Verify that all components are present in the package:
- 2x Noctua NF-A12x25 G2 PWM 120x25mm Fans
- 2x NA-YC1 4-pin PWM Y-cables
- 2x NA-RC14 Low-Noise Adaptors (L.N.A.)
- 8x NA-AV2 Anti-Vibration Mounts
- 8x Fan Screws
- 2x NA-EC1 30cm Extension Cables
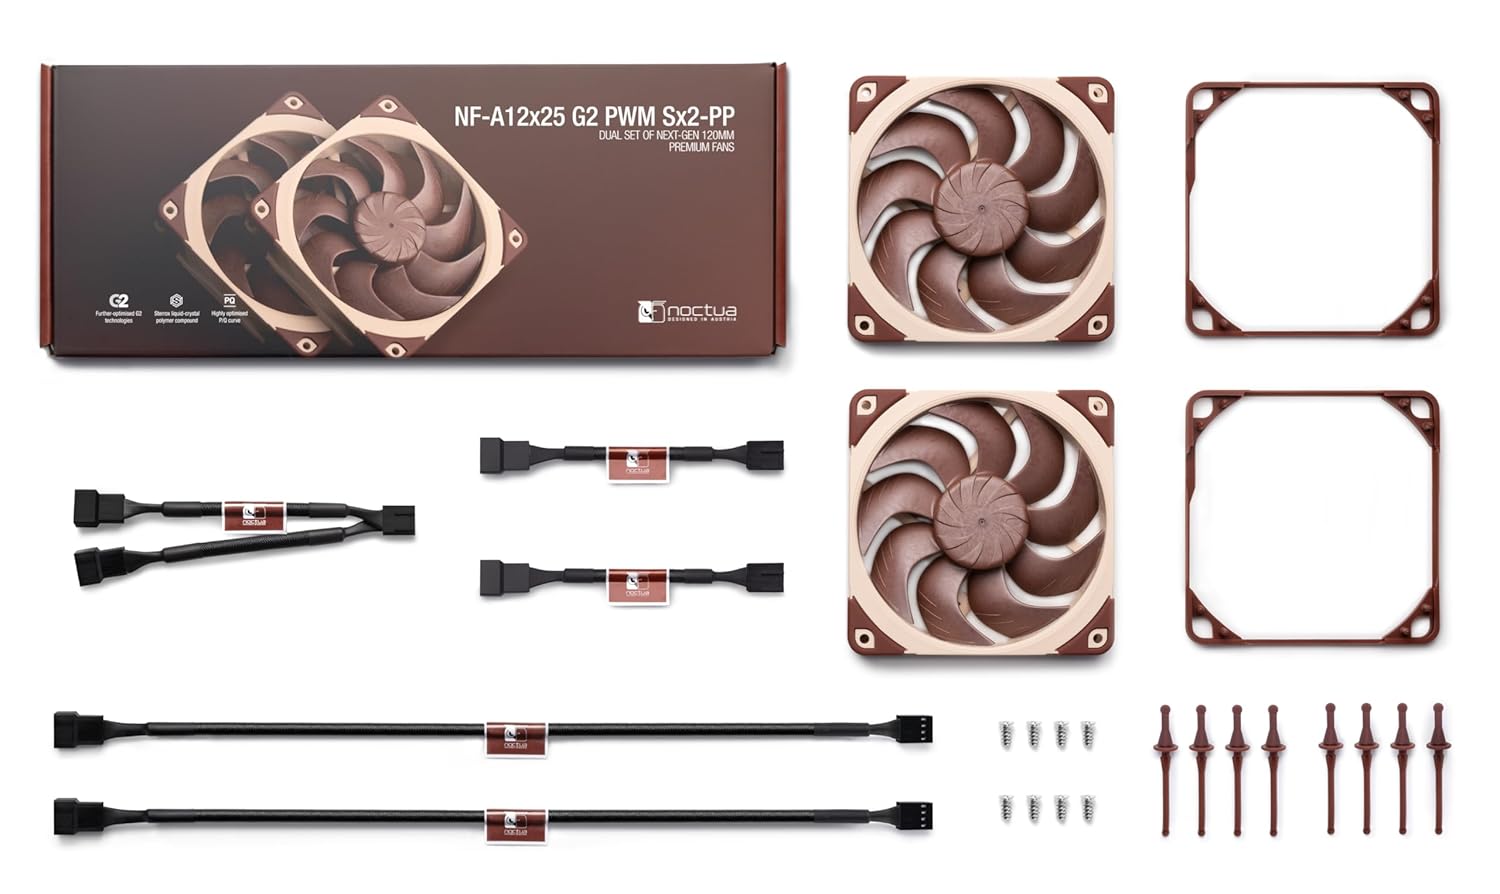
Image 2.1: Overview of the Noctua NF-A12x25 G2 PWM Sx2-PP dual fan set and included accessories.
3. Setup and Installation
Follow these steps for proper installation of your Noctua NF-A12x25 G2 PWM Sx2-PP fan set.
3.1 Mounting the Fans
- Identify Mounting Location: Determine whether the fans will be used as case fans, on a CPU cooler, or on a water cooling radiator.
- Choose Mounting Hardware: Use either the provided fan screws for rigid mounting or the NA-AV2 anti-vibration mounts for reduced vibration transmission.
- Secure Fans: Attach the fans to the desired mounting points. For push-pull configurations on CPU coolers or radiators, ensure the airflow direction of both fans is aligned (one pushing air through, one pulling air through). The fans in this set are slightly offset in speed to minimize acoustic interaction in such setups.

Image 3.1: Noctua fans installed as case fans within a PC chassis, demonstrating typical mounting.

Image 3.2: Noctua fans mounted on a CPU cooler in a push-pull configuration, enhancing cooling performance.

Image 3.3: Noctua fans attached to a water cooling radiator, illustrating their use in liquid cooling systems.
3.2 Connecting the Fans
- Power Connection: Connect the 4-pin PWM cable of each fan to an available 4-pin fan header on your motherboard or fan controller.
- Using Y-Cables: If your motherboard has insufficient 4-pin headers, use the provided NA-YC1 4-pin PWM Y-cables to connect both fans to a single motherboard header. This allows both fans to be controlled simultaneously.
- Extension Cables: Use the NA-EC1 30cm extension cables if the standard fan cables are not long enough to reach the desired fan headers.
- Low-Noise Adaptors (Optional): For reduced fan speed and noise levels, connect the NA-RC14 Low-Noise Adaptors (L.N.A.) between the fan and the motherboard header. Note that using L.N.A. will reduce the maximum fan speed.
4. Operating the Fans
The NF-A12x25 G2 PWM fans are equipped with Pulse Width Modulation (PWM) for automatic speed control. Your motherboard or fan controller will adjust the fan speed based on system temperature, optimizing the balance between cooling performance and noise levels.
- Automatic Control: Ensure your motherboard's BIOS/UEFI settings or fan control software is configured to utilize PWM control for the connected fan headers.
- Manual Control: Most motherboards and fan controllers allow for manual adjustment of fan curves or fixed speeds if desired.
- Low-Noise Operation: For systems prioritizing silence, consider using the included Low-Noise Adaptors (L.N.A.) to permanently reduce the maximum fan speed and noise output.

Image 4.1: Close-up view of the fan blades, highlighting the Progressive Bend impeller design for enhanced airflow.
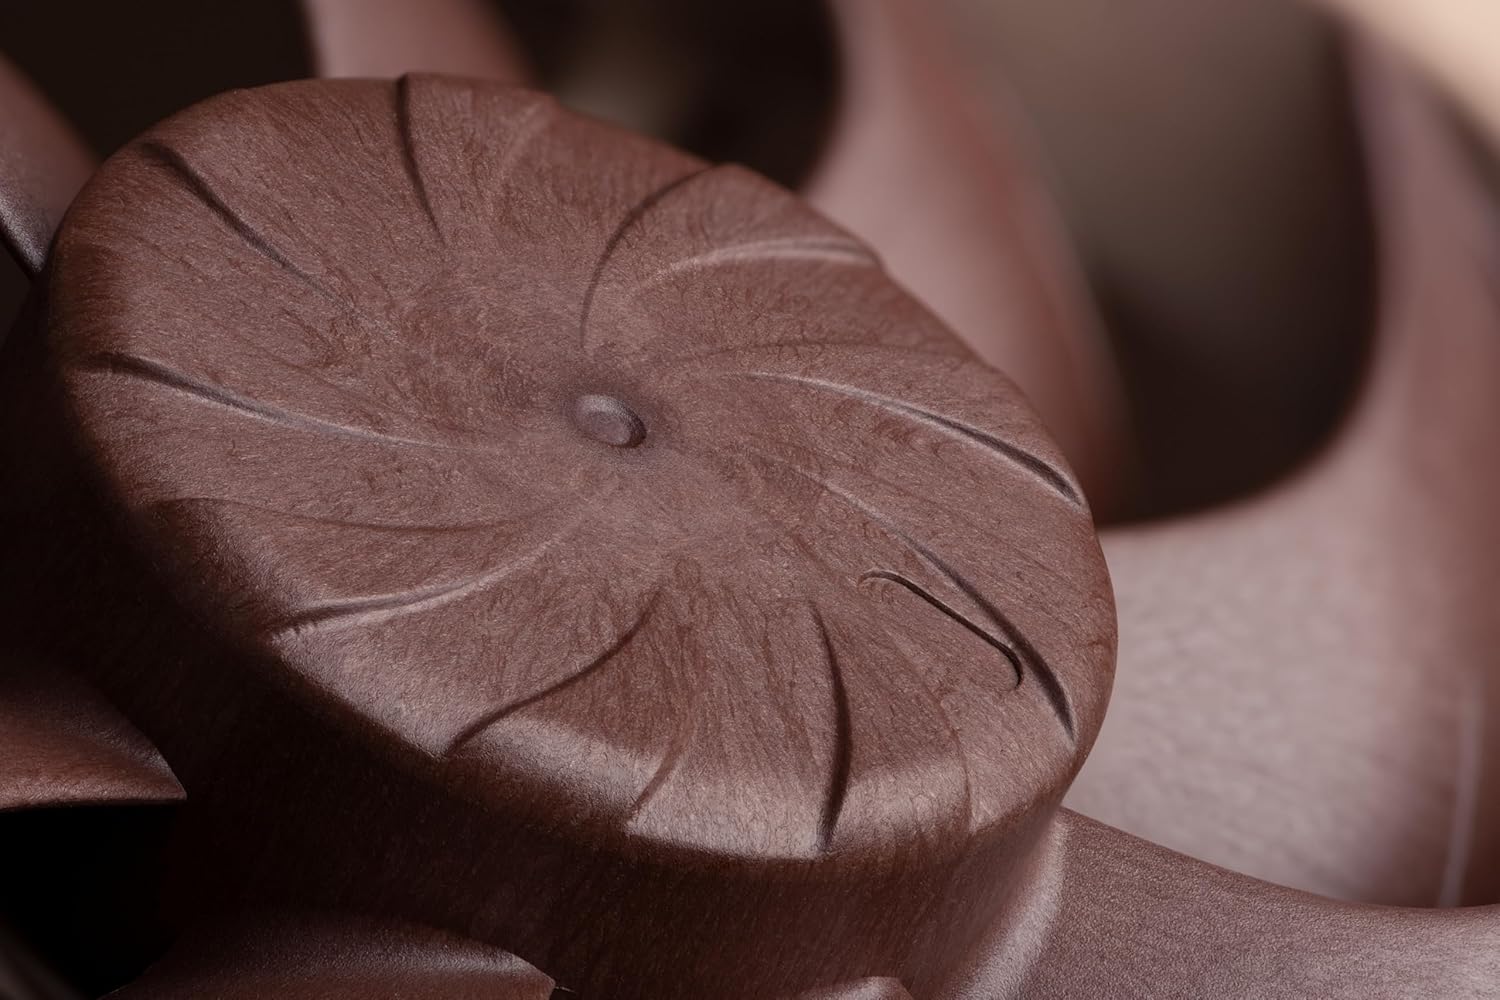
Image 4.2: Detailed view of the fan hub, showing the Centrifugal Turbulator for improved static pressure.
5. Maintenance
Regular maintenance ensures optimal performance and longevity of your Noctua fans.
- Dust Removal: Periodically inspect the fan blades and frame for dust accumulation. Use compressed air or a soft brush to gently remove dust. Ensure the fan is powered off before cleaning.
- Bearing Maintenance: The SSO2 bearing system is self-lubricating and requires no additional lubrication throughout its lifespan.
6. Troubleshooting
If you encounter issues with your Noctua fans, refer to the following troubleshooting guide:
- Fan Not Spinning:
- Check if the 4-pin PWM cable is securely connected to the motherboard or fan controller.
- Verify that the fan header on the motherboard is enabled in BIOS/UEFI settings.
- Ensure the power supply is providing adequate power to the system.
- If using a Y-cable, ensure both fans are properly connected to it.
- Excessive Noise:
- Check for any cables or obstructions touching the fan blades.
- Ensure the fan is securely mounted and not vibrating against the case or cooler. Use NA-AV2 anti-vibration mounts if not already in use.
- Consider using the NA-RC14 Low-Noise Adaptors (L.N.A.) to reduce fan speed.
- Verify fan speed settings in your motherboard's BIOS/UEFI or fan control software.
- Poor Cooling Performance:
- Confirm the fan's airflow direction is correct for your application (e.g., pushing air into the case, exhausting air out).
- Ensure there are no obstructions blocking airflow to or from the fan.
- Check fan speed settings; increase speed if temperatures are too high.
- Clean any dust accumulation on the fan blades or heatsink/radiator fins.
7. Specifications
| Specification | Value |
|---|---|
| Product Dimensions | 4.72"L x 4.72"W x 0.98"H |
| Power Connector Type | 4-Pin PWM |
| Voltage | 12 Volts |
| Wattage | 1.8 watts |
| Cooling Method | Air |
| Compatible Devices | Desktop |
| Noise Level (Max) | 22.5 Decibels |
| Material | Sterrox LCP |
| Maximum Rotational Speed | 1800 RPM |
8. Warranty and Support
Noctua products are built to high quality standards and feature a long Mean Time To Failure (MTTF) of over 150,000 hours, backed by safety certifications from UL and TÜV. The product is protected against reverse polarity, over voltage, and short-circuits.
For detailed warranty information, technical support, or to contact customer service, please visit the official Noctua website: noctua.at


