
1. Introduction
This manual provides detailed instructions for the safe and effective use of your KAIWEETS HT118E Digital Multimeter and KET12 Multimeter Test Lead Set. Please read this manual thoroughly before operation and retain it for future reference. The HT118E is a True RMS (TRMS) digital multimeter with 20000 counts, offering high resolution and auto-ranging capabilities for various electrical measurements. The KET12 test lead set provides versatile and safe connections for testing.

Image: An electrician performing measurements on an electrical panel using the KAIWEETS HT118E Digital Multimeter, demonstrating its application in professional settings.
2. Safety Information
WARNING: To avoid electric shock or personal injury, read and understand all safety information before using this product.
- Always ensure the multimeter is set to the correct function and range before making measurements.
- Do not use the multimeter if it appears damaged or if the test leads are damaged.
- Verify the multimeter's operation by measuring a known voltage or current before use.
- Adhere to the maximum input values marked on the multimeter.
- Use caution when working with voltages above 30V AC RMS, 42V peak, or 60V DC. These voltages pose a shock hazard.
- Always connect the common (COM) test lead first and disconnect it last.
- The HT118E is safety rated CAT III 1000V & CAT IV 600V. Ensure your application falls within these safety ratings.
- The KET12 test leads are double insulated and rated for 10A current.
3. Product Overview
The KAIWEETS HT118E Digital Multimeter is designed for accurate and reliable electrical measurements. The KET12 Test Lead Set complements the multimeter with versatile and safe connection options.
3.1. HT118E Digital Multimeter Features
- 20000 Counts Display for higher resolution.
- True RMS (TRMS) for accurate AC measurements.
- Auto-Ranging for simplified operation.
- Functions: AC/DC Voltage, AC/DC Current, Resistance, Temperature, Capacitance, Frequency, Duty-cycle, Diodes, Continuity, NCV (Non-Contact Voltage), Live Wire Detection.
- Backlight and Flashlight for dimly lit environments.
- Min/Max recording, Data Hold, Auto Power-Off.
- Integrated kickstand and pen slot.

Image: A comprehensive view of the KAIWEETS HT118E Digital Multimeter alongside the KET12 Test Lead Set, showcasing all included components.
3.2. KET12 Test Lead Set Features
- Soft silicone double-insulated wires for durability and flexibility.
- Universal compatibility with various multimeters and clamp meters.
- Interchangeable connectors: crocodile clips, needle probes, mini-hooks, and SMD tweezers.
- Safety rated CAT III 1000V & CAT IV 600V, 10A current.
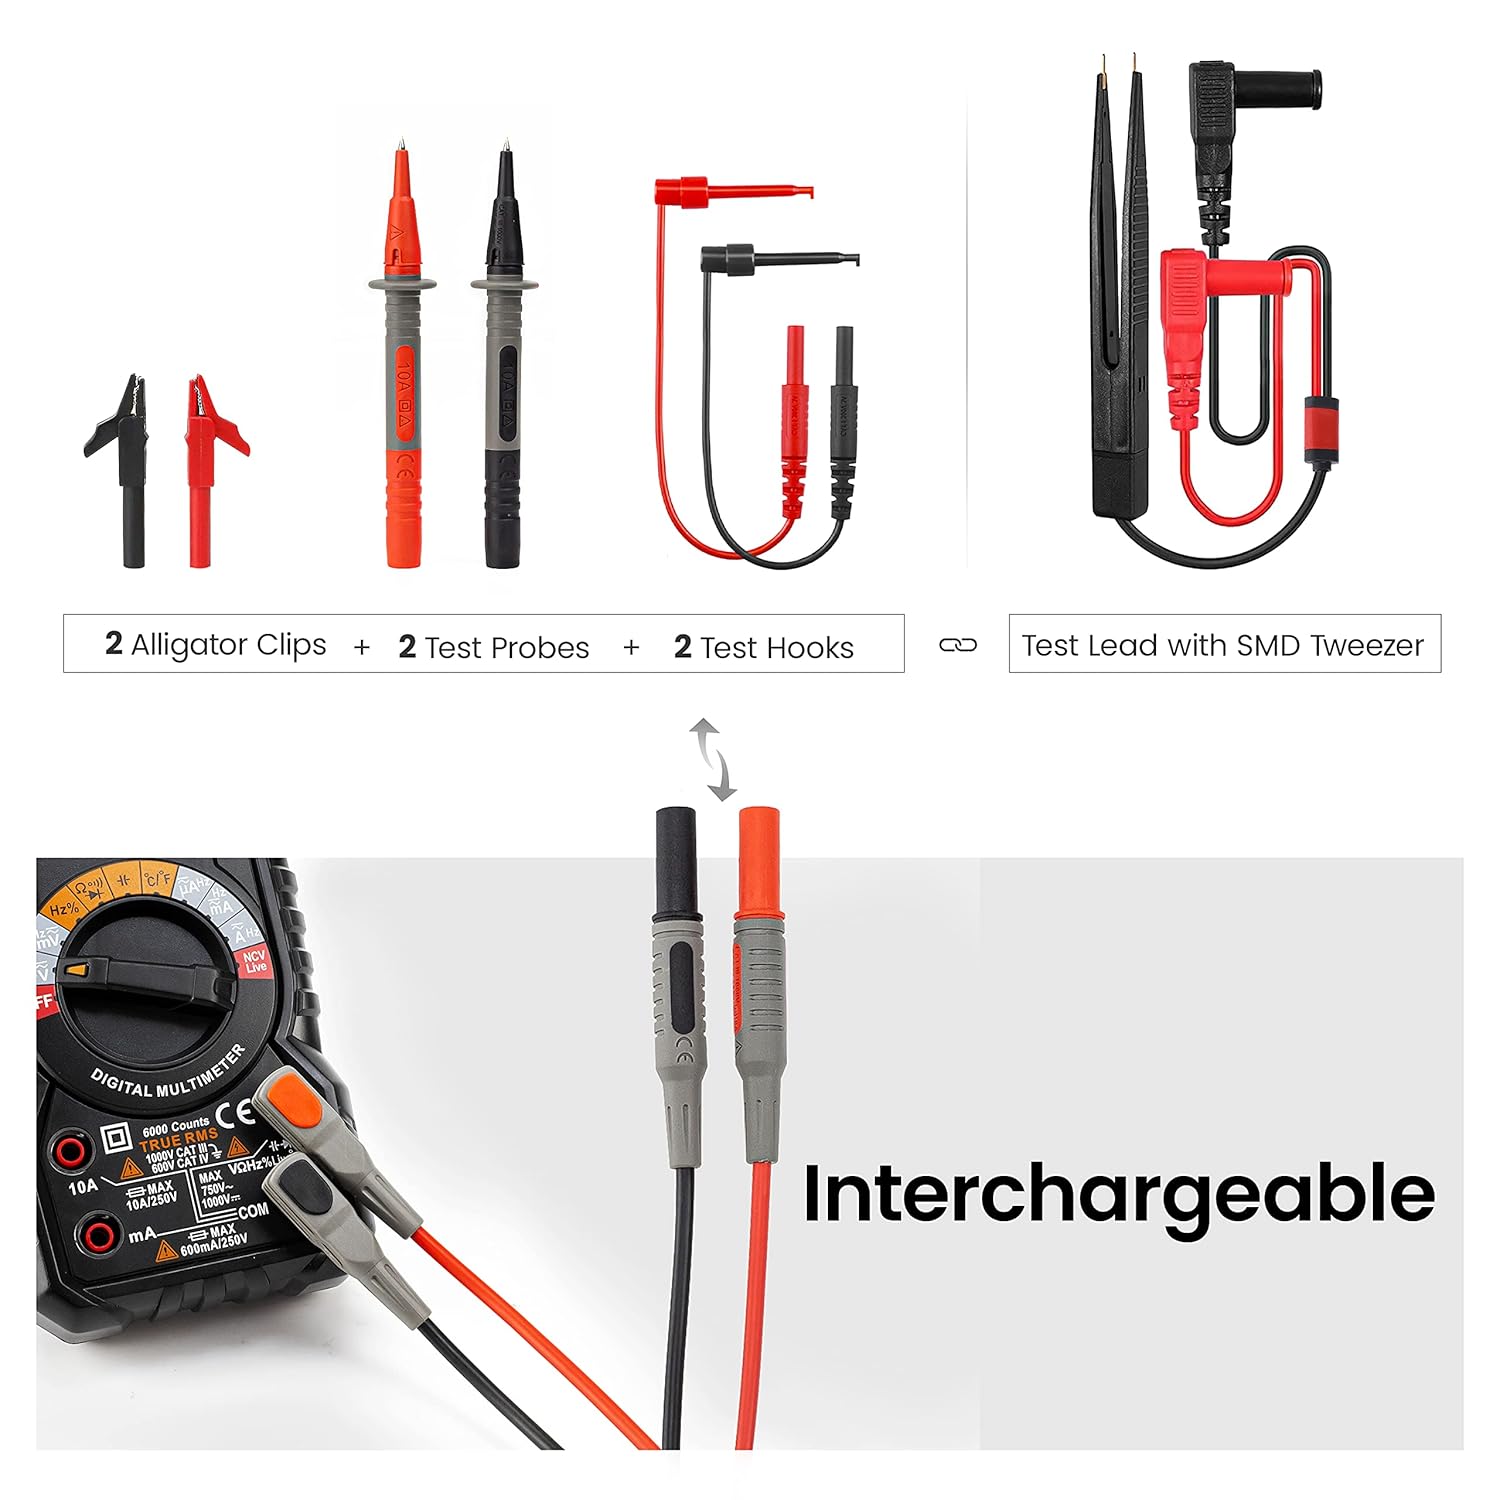
Image: Close-up of the KET12 Test Lead Set demonstrating the interchangeable nature of the test probes, allowing for different connection types.

Image: A visual representation of the flexible and durable insulated wires of the KET12 Test Lead Set, highlighting their quality and safety features.
4. Setup
4.1. Battery Installation
- Ensure the multimeter is turned OFF.
- Locate the battery compartment cover on the back of the multimeter.
- Unscrew the retaining screw(s) and remove the cover.
- Insert the required batteries (typically AA or 9V, refer to the battery compartment label) observing correct polarity.
- Replace the battery compartment cover and secure it with the screw(s).
4.2. Connecting Test Leads
- Identify the common (COM) input jack (black).
- Identify the voltage/resistance/diode/capacitance input jack (red, usually marked VΩHz).
- Identify the current input jacks (red, usually marked 10A and mA).
- Insert the black test lead into the COM jack.
- Insert the red test lead into the appropriate jack for your measurement (e.g., VΩHz for voltage, resistance, etc., or 10A/mA for current).
- Attach the desired interchangeable connector (e.g., needle probe, alligator clip) to the test leads.
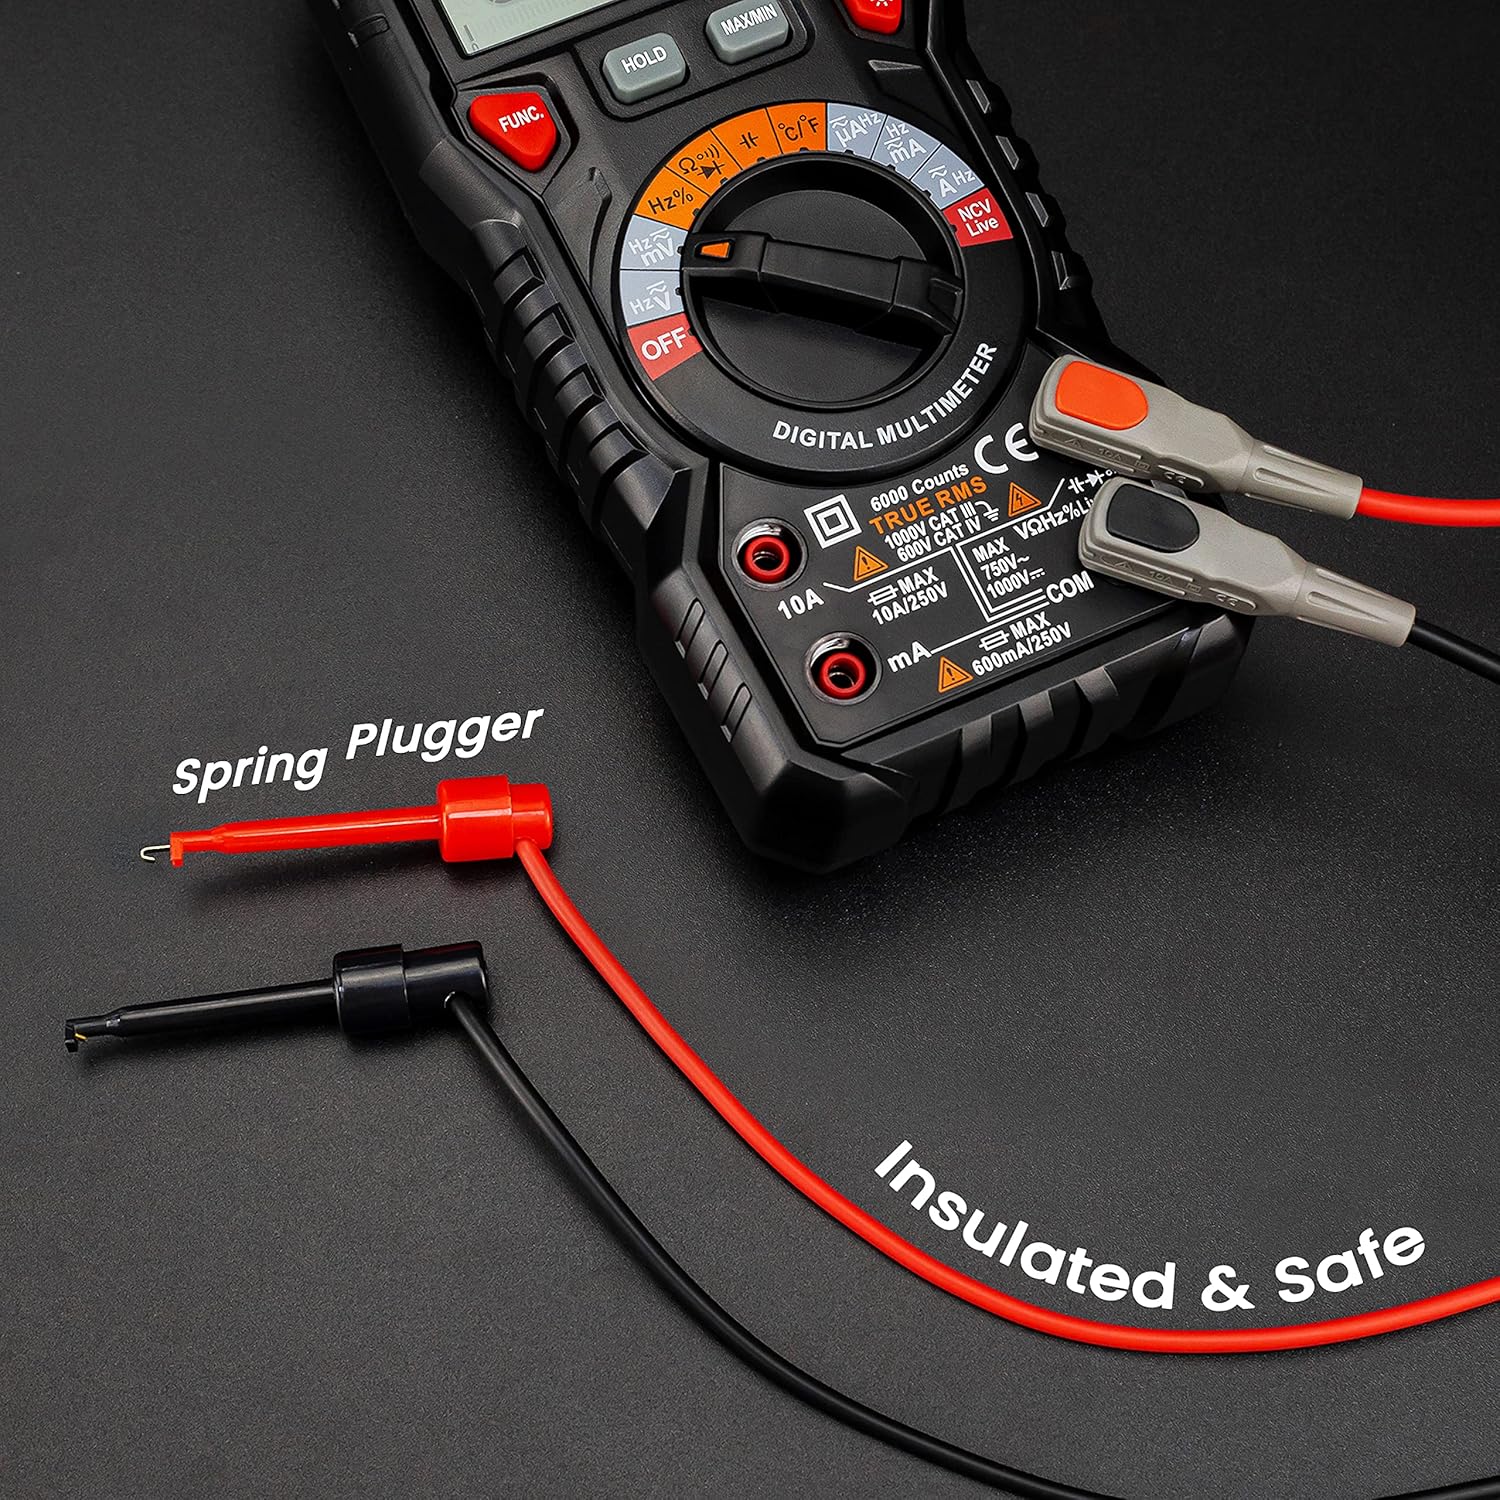
Image: The KAIWEETS HT118E Multimeter with test leads securely connected, illustrating the spring plugger design for safe and insulated connections.
5. Operating Instructions
The HT118E features auto-ranging for most functions, simplifying operation. Select the desired function using the rotary dial.

Image: The KAIWEETS HT118E Digital Multimeter showcasing its multi-function display, indicating its capability to measure various electrical parameters.
5.1. Measuring AC/DC Voltage
- Turn the rotary dial to the V~ (AC Voltage) or V- (DC Voltage) position.
- Connect the test leads in parallel to the circuit or component under test.
- Read the voltage value on the display. If voltage is >80V, the orange backlight illuminates.

Image: Two examples demonstrating the KAIWEETS HT118E measuring AC/DC Voltage in a wall outlet and a car battery, and AC/DC Current in a circuit, with the orange backlight indicating high voltage/current.
5.2. Measuring AC/DC Current
- Turn the rotary dial to the A~ (AC Current) or A- (DC Current) position.
- Important: Connect the multimeter in series with the circuit. Ensure the red lead is in the appropriate current jack (10A or mA).
- Read the current value on the display. If current is >1A, the orange backlight illuminates.
5.3. Measuring Resistance (Ω)
- Turn the rotary dial to the Ω position.
- Ensure the circuit is de-energized before measuring resistance.
- Connect the test leads across the component.
- Read the resistance value.
5.4. Continuity Test
- Turn the rotary dial to the Ω position and press the FUNC button to select continuity mode (indicated by a buzzer symbol).
- Connect the test leads across the circuit or component.
- A continuous beep indicates continuity (low resistance).
5.5. Diode Test
- Turn the rotary dial to the Ω position and press the FUNC button to select diode mode (indicated by a diode symbol).
- Connect the red lead to the anode and the black lead to the cathode of the diode.
- The display will show the forward voltage drop. Reverse the leads; an open circuit reading indicates a good diode.
5.6. Non-Contact Voltage (NCV) Detection
- Turn the rotary dial to the NCV position.
- Move the top of the multimeter near the conductor.
- The display will indicate "----L" for low voltage or "----H" for high voltage, accompanied by an audible alarm and flashing LED.

Image: The KAIWEETS HT118E Multimeter demonstrating its Non-Contact Voltage (NCV) detection feature, showing distinct display indications for low and high voltage presence.
5.7. Live Wire Detection
- Turn the rotary dial to the Live position.
- Use the red test lead to touch the suspected live wire.
- An audible alarm and flashing LED indicate a live wire.
5.8. Other Functions (Capacitance, Frequency, Temperature, Duty Cycle)
For these functions, turn the rotary dial to the corresponding position and use the FUNC button if necessary to cycle through sub-functions. Connect the test leads appropriately to the component or circuit.
For temperature measurement, use the included K-type thermocouple probe, ensuring correct polarity.

Image: A detailed view of the sensitive SMD tweezer, part of the KET12 Test Lead Set, designed for precise measurements on small surface-mount components.
6. Maintenance
6.1. Cleaning
- Wipe the case with a damp cloth and mild detergent. Do not use abrasives or solvents.
- Ensure the multimeter is completely dry before use.
6.2. Battery Replacement
When the low battery indicator appears on the display, replace the batteries as described in the "Battery Installation" section (4.1).
6.3. Fuse Replacement
If the current measurement function fails, the fuse may need replacement. Refer to the specifications for the correct fuse type and rating. Fuse replacement should only be performed by qualified personnel.
6.4. Storage
If the multimeter is not used for an extended period, remove the batteries to prevent leakage and store the device in a cool, dry place.
7. Troubleshooting
| Problem | Possible Cause | Solution |
|---|---|---|
| No display or dim display | Low batteries or incorrect battery installation. | Replace batteries, ensuring correct polarity. |
| Incorrect readings | Incorrect function/range selected; damaged test leads; poor contact. | Verify function/range; check test leads for damage; ensure good contact. |
| Current measurement not working | Blown fuse. | Replace the fuse (refer to fuse replacement section). |
| "OL" or "OVER" displayed | Measurement exceeds the selected range or maximum input. | Select a higher range (if not auto-ranging) or ensure measurement is within device limits. |
8. Specifications
8.1. KAIWEETS HT118E Digital Multimeter
- Display: 20000 Counts
- True RMS: Yes
- Auto-Ranging: Yes
- Safety Rating: CAT III 1000V, CAT IV 600V
- Functions: AC/DC Voltage, AC/DC Current, Resistance, Capacitance, Frequency, Duty Cycle, Temperature, Diode, Continuity, NCV, Live
- Special Features: Backlight, Flashlight, Min/Max, Data Hold, Auto Power-Off, Kickstand, Pen Slot
8.2. KAIWEETS KET12 Multimeter Test Lead Set
- Material: Soft Silicone, Double Insulated
- Current Rating: 10A
- Safety Rating: CAT III 1000V, CAT IV 600V
- Wire Length: 48 inches (approx. 122 cm)
- Connectors: Crocodile Clips, Needle Probes, Mini-Hooks, SMD Tweezers
9. Warranty and Support
KAIWEETS products are designed for reliability and performance. For warranty information, technical support, or service inquiries, please refer to the official KAIWEETS website or contact your local distributor. Please retain your proof of purchase for warranty claims.
For further assistance, visit the KAIWEETS Store on Amazon.