
Nexgrill 720-1142
Nexgrill 720-1142 5-Burner Gas Grill with Side Burner Instruction Manual
Model: 720-1142
Introduction
This manual provides essential instructions for the safe assembly, operation, maintenance, and troubleshooting of your Nexgrill 720-1142 5-Burner Gas Grill with Side Burner. Please read all instructions carefully before using the grill to ensure proper function and safety.
Important Safety Information
- Always operate the grill outdoors in a well-ventilated area.
- Keep children and pets away from the grill during operation.
- Do not store or use gasoline or other flammable vapors and liquids in the vicinity of this or any other appliance.
- Ensure all gas connections are tight and leak-free before use.
- Never leave a lit grill unattended.
Product Overview
The Nexgrill 720-1142 is a 5-burner propane gas grill designed for outdoor cooking. It features a main cooking area, a side burner, and a warming rack, providing versatile cooking options.

Image: Overview of the Nexgrill 5-Burner Gas Grill, highlighting key components such as side shelves, warming rack, electronic ignition, and side burner. The image also indicates a total cooking power of 67,000 BTU and capacity for 27 burgers.
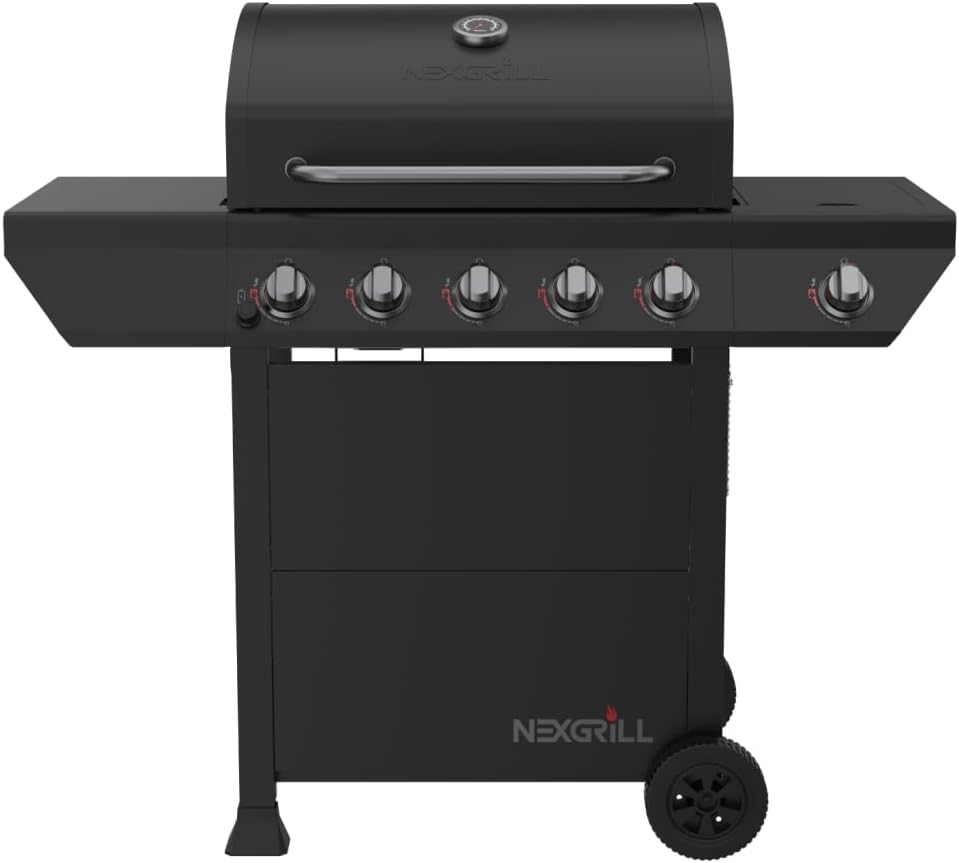
Image: Front view of the Nexgrill 5-Burner Gas Grill, showcasing its black finish and overall design with the lid closed.
Setup and Assembly
Before operating your grill, ensure it is properly assembled and connected to a propane tank. Refer to the separate assembly guide for detailed step-by-step instructions.
Location Requirements
- Place the grill on a level, stable surface.
- Maintain adequate clearance from combustible materials: at least 24 inches from the back and sides.
- Ensure the area is well-ventilated and free from obstructions.
Propane Tank Connection
- Ensure the propane tank valve is closed.
- Connect the regulator hose to the tank valve, turning clockwise until tight. Do not overtighten.
- Perform a leak test: Apply a soapy water solution to all connections. Bubbles indicate a leak. If a leak is detected, close the tank valve and tighten connections. Repeat the test. If the leak persists, do not use the grill and contact customer support.
Operating Instructions
Main Burner Ignition
- Open the grill lid.
- Ensure all burner control knobs are in the "OFF" position.
- Open the propane tank valve slowly.
- Push and turn one main burner control knob to the "HIGH" position.
- Immediately press and hold the electronic ignition button until the burner ignites.
- Once ignited, release the ignition button and adjust the burner to the desired heat setting.
- If ignition does not occur within 5 seconds, turn the burner control knob to "OFF", wait 5 minutes, and repeat the process.
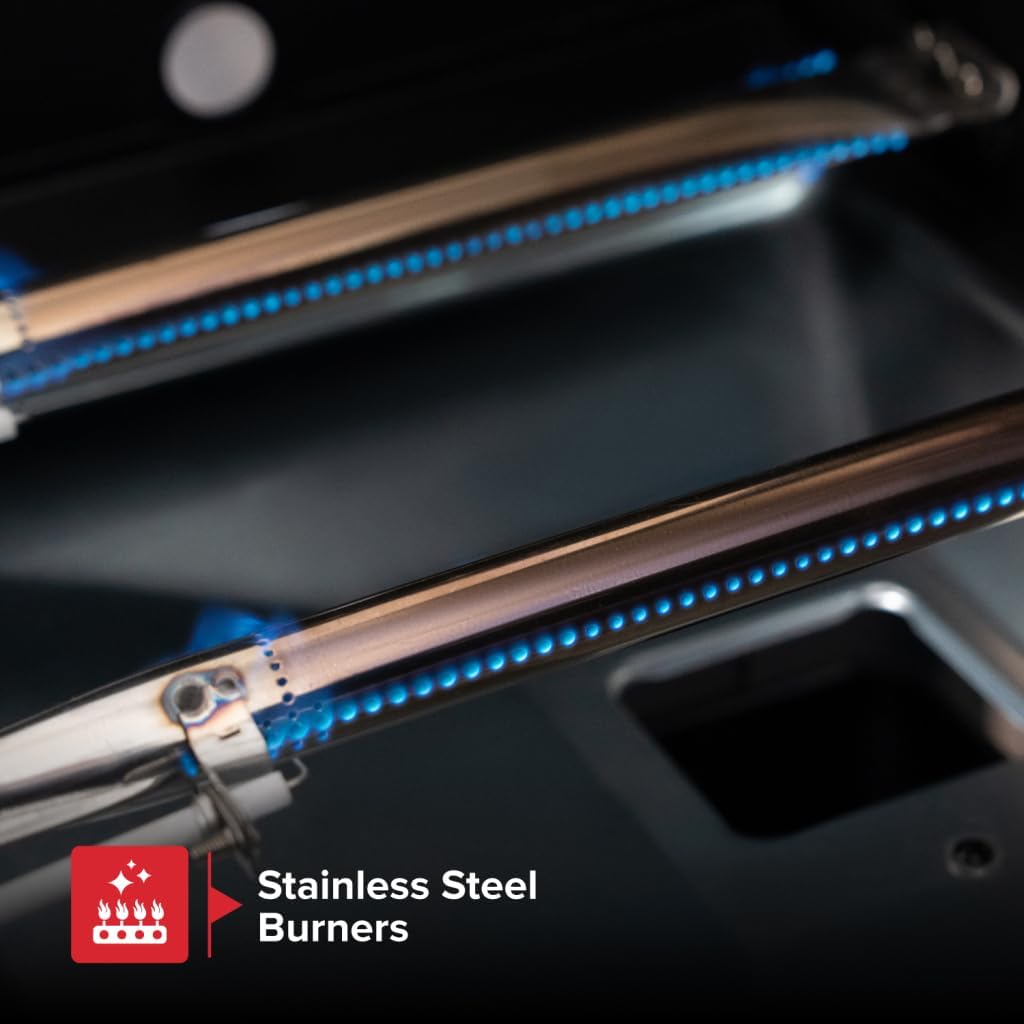
Image: Close-up view of the stainless steel burners inside the grill, showing blue flames indicating proper gas flow and ignition.
Side Burner Operation
- Open the side burner lid.
- Ensure the side burner control knob is in the "OFF" position.
- Push and turn the side burner control knob to the "HIGH" position.
- Immediately press and hold the electronic ignition button until the side burner ignites.
- Adjust to the desired heat setting.

Image: Close-up view of the 12,000 BTU side burner, showing a blue flame indicating it is lit and ready for use.
Cooking Area and Grates
The grill features a primary cooking area of 26.9 x 17.2 inches and a warming rack of 23.5 x 6.8 inches, both equipped with porcelain-coated cast iron cooking grids for even heat distribution and durability.
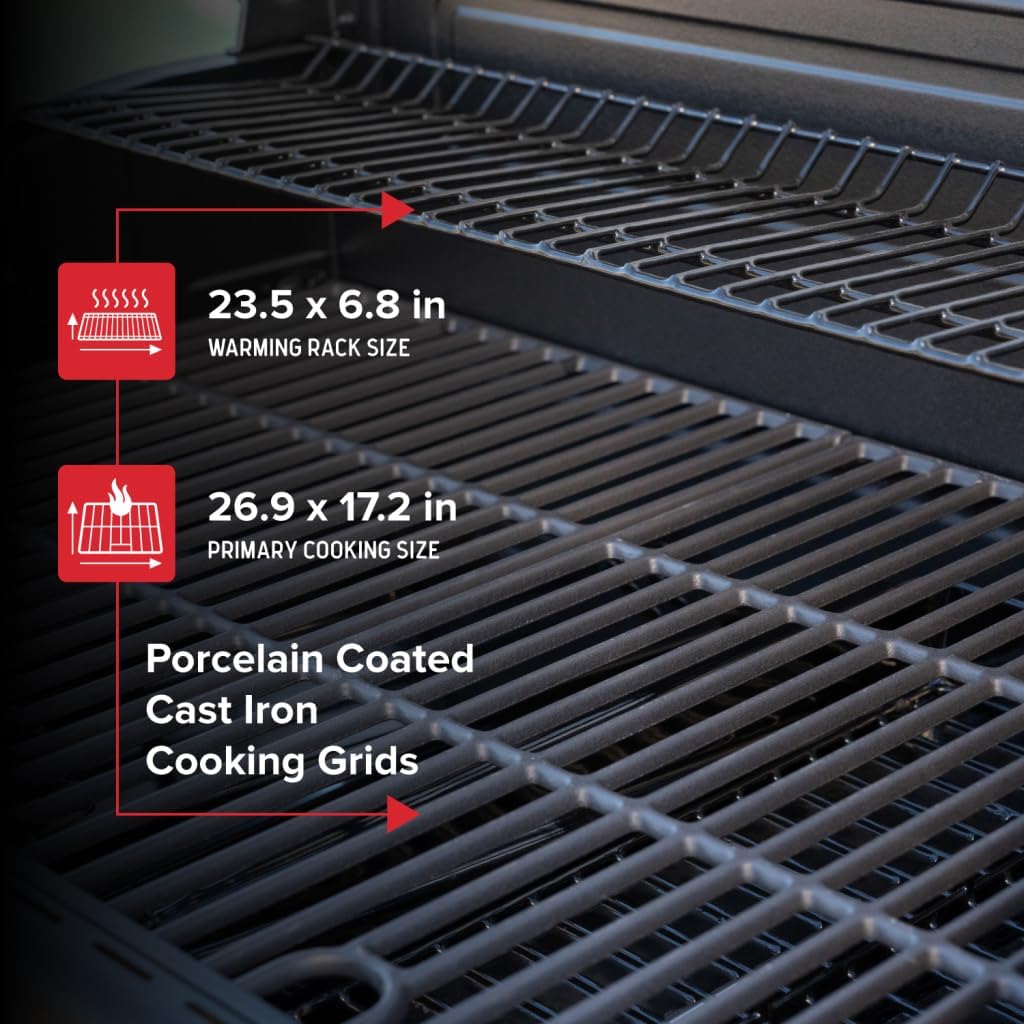
Image: Detailed view of the porcelain-coated cast iron cooking grids, showing the dimensions of the primary cooking area (26.9 x 17.2 inches) and the warming rack (23.5 x 6.8 inches).

Image: Various foods, including steaks, vegetables, and sausages, cooking on the grill, illustrating the spacious 618.4 square inches of total cooking area.
Maintenance and Care
Cleaning the Cooking Grates
- After each use, while the grill is still warm, brush off food residue with a grill brush.
- For deeper cleaning, remove grates and wash with warm soapy water. Rinse thoroughly and dry.
Cleaning the Firebox and Burners
- Ensure the grill is cool and the gas supply is off.
- Remove cooking grates and heat tents.
- Scrape any debris from the firebox into the grease tray.
- Clean burner ports with a wire brush if clogged.
Grease Tray
Regularly check and empty the removable grease tray to prevent flare-ups and maintain cleanliness.
Storage
When not in use, cover the grill with a weather-resistant cover. If storing indoors, disconnect the propane tank and store it outdoors in a well-ventilated area.
Troubleshooting
| Problem | Possible Cause | Solution |
|---|---|---|
| Burner fails to ignite | No gas flow, clogged burner port, faulty igniter. | Check propane tank, clear burner ports, check igniter electrode. |
| Low flame or uneven heat | Low gas pressure, clogged burner ports, regulator issue. | Check propane level, clean burner ports, reset regulator. |
| Flare-ups | Excess grease buildup, high heat. | Clean grease tray, reduce heat, trim fat from food. |
For issues not listed here, or if solutions do not resolve the problem, contact Nexgrill customer support.
Specifications
- Brand: Nexgrill
- Model: 720-1142
- Product Dimensions: 24.3"D x 46.6"W x 51"H
- Fuel Type: Propane Gas
- Total BTUs: 67,000 BTUs (5 x 11,000 BTU main burners + 1 x 12,000 BTU side burner)
- Total Cooking Area: 618.4 sq. inches (Primary cooking area: 568 sq. inches)
- Cooking Grates: Porcelain-coated cast iron
- Special Features: Heavy Duty construction, Removable Grease Tray, Warming Rack
- Color: Black

Image: Diagram illustrating the product dimensions: Height 46.58 inches, Depth 24.29 inches, Width 51.06 inches, and Weight 66.14 lbs.
Warranty and Customer Support
For warranty information, parts replacement, or technical assistance, please refer to the warranty card included with your product or visit the official Nexgrill website. Keep your purchase receipt as proof of purchase.
Nexgrill Customer Support: Contact Us
Related documents720-1142


Ask a question about this manual
Ask about setup, troubleshooting, compatibility, parts, safety, or missing instructions. Manuals+ will review the question and use this page’s manual context to help answer it.