
MUCAR VO7 + Drivescan
MUCAR VO7 + Drivescan OBD2 Scanner Diagnostic Tool User Manual
Model: VO7 + Drivescan
1. Introduction
The MUCAR VO7 + Drivescan is a professional-grade OBD2 diagnostic scanner designed for comprehensive vehicle system analysis. It offers advanced features such as bi-directional control, full system diagnostics, and various maintenance services, making it an essential tool for automotive technicians and enthusiasts.
This manual provides detailed instructions on how to set up, operate, maintain, and troubleshoot your MUCAR VO7 + Drivescan device to ensure optimal performance and longevity.
2. Safety Information
Always observe the following safety precautions when using the MUCAR VO7 + Drivescan:
- Ensure the vehicle is parked on a level surface with the parking brake engaged.
- Do not wear loose clothing or jewelry that could get caught in moving engine parts.
- Keep a fire extinguisher suitable for gasoline/electrical fires nearby.
- Avoid touching hot engine components or exhaust pipes.
- Do not connect or disconnect the device while the vehicle's ignition is on, unless specifically instructed.
- Always refer to the vehicle's service manual for specific diagnostic procedures and safety warnings.
3. Product Overview
The MUCAR VO7 + Drivescan is equipped with a user-friendly interface and robust hardware for efficient diagnostics.

Figure 3.1: MUCAR VO7+ Drivescan OBD2 Scanner Diagnostic Tool. This image shows the main unit with its screen displaying the primary menu options like AutoSearch, Scan, OBD, Store, Update, Reset, File, Repair Info, Module, and Settings.

Figure 3.2: MUCAR VO7+ Drivescan OBD2 Scanner in its protective carrying case. The device is shown alongside its durable carrying case, emphasizing portability and protection.

Figure 3.3: MUCAR VO7+ Drivescan device connected to a smartphone displaying the diagnostic app interface. This image illustrates the device's connectivity with a smartphone, showcasing the mobile application's user interface for diagnostics.

Figure 3.4: Illustration of OE-Level Comprehensive Full Systems Diagnosis capabilities. This graphic highlights the scanner's ability to diagnose various vehicle systems including TCM, BCM, SRS, BMS, Gearbox, ABS, Fuel, Engine, and TPMS, along with functions like reading/clearing fault codes and live data streams.

Figure 3.5: Diagram illustrating Bi-Directional Control features. This image demonstrates the active test capabilities, allowing the user to send commands to vehicle components such as activating the fuel pump, controlling windows/doors, interior lights, and mirrors.

Figure 3.6: Overview of 28+ maintenance services supported by the MUCAR VO7+ Drivescan. This visual lists various maintenance functions including Brake Reset, Injector, SRS, ABS, AFS Reset, Sun Roof, SAS Reset, Oil Reset, SEATS, and TPMS Reset, among others.

Figure 3.7: Visual representation of Advanced ECU Coding capabilities. This image highlights the ability to flash hidden functions, personalize settings, recode modules, write VIN to ECU, and renew ECU coordination for optimized performance, fuel efficiency, reduced power loss, and improved durability.

Figure 3.8: Image highlighting the optimized high-end configuration of the MUCAR VO7+ Drivescan. This graphic details key specifications such as a 7" TFT (1280x800) screen, 1.8 GHz 4x Cortex processor, Android 10 OS, 2+32GB storage, 8M camera, and 6000mAh battery, along with Dual Wifi connectivity.
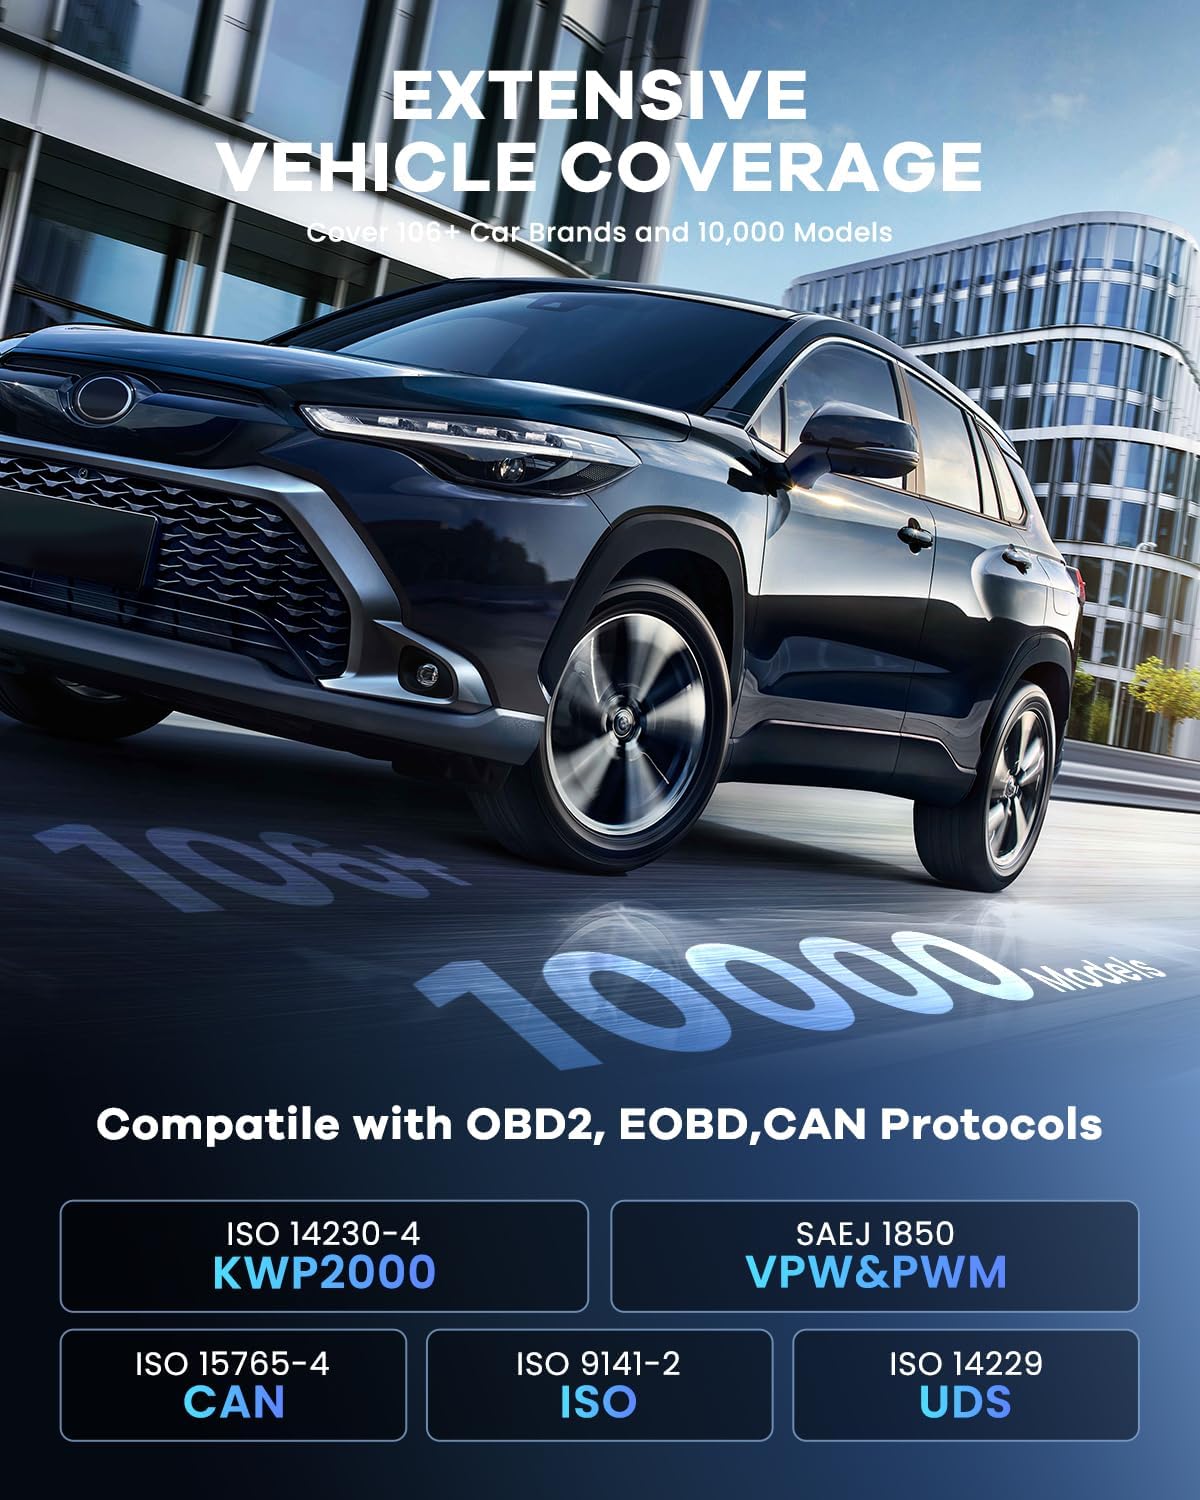
Figure 3.9: Graphic demonstrating the extensive vehicle coverage. This image indicates compatibility with over 100 car brands and 10,000 models, supporting OBD2, EOBD, and CAN protocols including ISO 14230-4 (KWP2000), SAEJ 1850 (VPW&PWM), ISO 15765-4 (CAN), ISO 9141-2 (ISO), and ISO 14229 (UDS).
4. Setup
4.1 Unboxing and Initial Inspection
Carefully unbox the MUCAR VO7 + Drivescan and verify that all components are present and undamaged. The package should include the main diagnostic tablet, the VCI (Vehicle Communication Interface) dongle, and a charging cable.
4.2 Charging the Device
Before first use, fully charge the MUCAR VO7 + Drivescan tablet using the provided charging cable and a compatible power adapter. The charging indicator will show the charging status.
4.3 Connecting to the Vehicle
- Locate the vehicle's OBD2 port, typically found under the dashboard on the driver's side.
- Plug the VCI dongle firmly into the vehicle's OBD2 port.
- Ensure the MUCAR VO7 + Drivescan tablet is powered on. The tablet will automatically attempt to establish a Bluetooth connection with the VCI dongle.
4.4 Initial Power-On and Language Selection
Press and hold the power button to turn on the device. Follow the on-screen prompts to select your preferred language and time zone.
4.5 Wi-Fi Connection
To access online features, software updates, and vehicle information, connect the device to a Wi-Fi network:
- Go to 'Settings' on the main menu.
- Select 'Network & Internet' or 'Wi-Fi'.
- Choose your desired Wi-Fi network and enter the password if prompted.
4.6 Software Updates
It is highly recommended to update the software to the latest version before first use to ensure optimal performance and access to the newest vehicle models and functions.
- Ensure the device is connected to Wi-Fi.
- From the main menu, tap 'Update'.
- Follow the on-screen instructions to download and install available updates.
5. Operating Instructions
5.1 Navigating the Interface
The MUCAR VO7 + Drivescan features an intuitive Android-based interface. Use the touchscreen to navigate through menus and select functions.
5.2 Performing a Full System Scan
To perform a comprehensive diagnostic scan of all available vehicle systems:
- Ensure the device is properly connected to the vehicle's OBD2 port and the ignition is on.
- From the main menu, tap 'AutoSearch' or 'Scan'.
- The device will automatically identify the vehicle's VIN and begin scanning all supported systems.
- Review the scan results, which will display detected fault codes and system statuses.
5.3 Reading and Clearing Fault Codes
After a scan, you can view detailed information about detected Diagnostic Trouble Codes (DTCs) and clear them.
- Reading Codes: Select a system from the scan results, then choose 'Read Fault Codes' to view DTCs with descriptions.
- Clearing Codes: After addressing the underlying issue, select 'Clear Fault Codes'. Confirm the action. Note: Clearing codes without fixing the problem will result in the codes reappearing.
5.4 Viewing Live Data Streams
Monitor real-time data from various vehicle sensors and components:
- From the diagnostic menu for a specific system, select 'Live Data Stream'.
- Choose the data parameters you wish to monitor. Data can be displayed in text, graph, or gauge format.
5.5 Performing Active Tests (Bi-Directional Control)
The bi-directional control feature allows you to send commands to vehicle components to test their functionality.
- From the diagnostic menu, select 'Active Test' or 'Bi-Directional Control'.
- Choose the component you wish to test (e.g., fuel pump, ABS motor, windows).
- Follow the on-screen instructions to activate or deactivate the component and observe its response.
5.6 Using Maintenance Services
The MUCAR VO7 + Drivescan supports over 28 maintenance and reset services. Access these from the 'Service' or 'Maintenance' menu.
- Oil Reset: Resets the engine oil life system after an oil change.
- Brake Reset: Resets the electronic parking brake (EPB) system after brake pad replacement.
- SAS Reset: Calibrates the Steering Angle Sensor.
- TPMS Reset: Resets the Tire Pressure Monitoring System.
- Injector Coding: Programs new injector codes into the ECU.
- And many more. Select the desired service and follow the on-screen prompts.
5.7 ECU Coding
Advanced ECU Coding allows for personalization and optimization of vehicle performance.
- Access 'ECU Coding' from the main menu or specific system diagnostic menu.
- This function allows you to flash hidden functions, personalize settings, recode changed modules, write VIN to ECU, and renew ECU coordination.
- Caution: ECU coding requires advanced knowledge. Incorrect operations can cause vehicle damage. Proceed with caution and ensure you have proper vehicle data backups.
5.8 Generating Diagnostic Reports
After completing a diagnostic session, you can generate a comprehensive report.
- After a scan or diagnostic session, look for the 'Report' or 'Save' option.
- Reports can typically be saved to the device's internal storage or shared via email (if configured).
6. Maintenance
6.1 Cleaning the Device
Regularly clean the MUCAR VO7 + Drivescan to ensure its longevity and proper functioning.
- Use a soft, damp cloth to wipe the screen and exterior.
- Do not use abrasive cleaners or solvents.
- Keep the ports free of dust and debris.
6.2 Software Updates
Periodically check for software updates to ensure your device has the latest vehicle coverage, bug fixes, and features. Connect to Wi-Fi and navigate to the 'Update' section on the device.
6.3 Storage
When not in use, store the device in its protective carrying case in a cool, dry place, away from direct sunlight and extreme temperatures.
7. Troubleshooting
This section addresses common issues you might encounter.
| Problem | Possible Cause | Solution |
|---|---|---|
| Device does not power on. | Low battery; Power button not pressed long enough; Device malfunction. | Charge the device fully; Press and hold the power button for 3-5 seconds; Contact support if issue persists. |
| No communication with vehicle. | VCI dongle not properly connected; Vehicle ignition off; Blown fuse in vehicle's OBD2 circuit; VCI dongle malfunction. | Ensure VCI is firmly plugged in; Turn vehicle ignition to ON position; Check vehicle's OBD2 fuse; Try on another vehicle; Contact support. |
| Scan fails or is incomplete. | Software outdated; Vehicle not supported; Communication error. | Update software; Verify vehicle compatibility; Re-establish connection; Contact support. |
| Screen is unresponsive. | Software glitch; Hardware issue. | Restart the device; Perform a factory reset (if accessible); Contact support. |
8. Specifications
Key technical specifications for the MUCAR VO7 + Drivescan:
- Brand: MUCAR
- Model: VO7 + Drivescan
- ASIN: B0F9FGR34N
- Display: 7-inch TFT (1280x800 resolution)
- Processor: 1.8 GHz 4x Cortex
- Operating System: Android 10
- Storage: 2GB RAM + 32GB ROM
- Camera: 8 Megapixel
- Battery: 6000mAh
- Connectivity: Dual Wi-Fi, Bluetooth
- Supported Protocols: OBD2, EOBD, CAN, ISO 14230-4 (KWP2000), SAEJ 1850 (VPW&PWM), ISO 15765-4 (CAN), ISO 9141-2 (ISO), ISO 14229 (UDS)
- Vehicle Coverage: Supports over 100 car brands and 10,000 models.
- First Available: May 8, 2024
9. Warranty and Support
9.1 Warranty Information
MUCAR products typically come with a limited warranty covering manufacturing defects. Please refer to the warranty card included with your product or visit the official MUCAR website for specific warranty terms and conditions.
9.2 Customer Support
For technical assistance, troubleshooting, or warranty claims, please contact MUCAR customer support through their official website or the contact information provided in your product packaging. When contacting support, please have your product model and serial number ready.
Related documentsVO7 + Drivescan


Ask a question about this manual
Ask about setup, troubleshooting, compatibility, parts, safety, or missing instructions. Manuals+ will review the question and use this page’s manual context to help answer it.