
Carpeer 9inch
Carpeer 9-inch Portable Wireless CarPlay Screen User Manual
Model: 9inch
1. Introduction
This manual provides detailed instructions for the installation, operation, and maintenance of your Carpeer 9-inch Portable Wireless CarPlay Screen. Please read this manual thoroughly before using the product to ensure proper functionality and safety. Keep this manual for future reference.
2. Safety Information
- Do not operate the device in a manner that distracts you from driving. Always prioritize road safety.
- Ensure all cables are securely connected and routed to avoid interference with vehicle controls or passenger movement.
- Avoid exposing the device to extreme temperatures, direct sunlight for prolonged periods, or moisture.
- Do not attempt to disassemble or repair the device yourself. Refer to qualified service personnel for assistance.
- Use only the provided accessories and power supply to prevent damage or malfunction.
3. Package Contents
Verify that all items are present in the package:
- 1 x 9-inch CarPlay Screen
- 1 x Adhesive Sticker Bracket
- 1 x Suction Cup Bracket
- 1 x 1080P Backup Camera
- 1 x 64GB TF Card
- 1 x AUX Cable
- 1 x Cigarette Lighter Power Cord
- 1 x User Manual

Figure 3.1: Included Components
4. Setup and Installation
4.1 Mounting the CarPlay Screen
The Carpeer CarPlay screen offers two mounting options: a suction cup bracket for windshield or dashboard, and an adhesive sticker bracket for dashboard mounting.
- Choose a suitable location on your dashboard or windshield that does not obstruct your view or interfere with driving.
- Attach the chosen bracket to the back of the CarPlay screen.
- Secure the bracket to the desired surface. For the suction cup bracket, ensure the surface is clean and smooth. For the adhesive bracket, clean the surface thoroughly before applying.

Figure 4.1: Mounting Options
4.2 Power Connection
Connect the provided cigarette lighter power cord to the CarPlay screen and then plug it into your vehicle's 12-36V cigarette lighter socket.
4.3 Backup Camera Installation
The backup camera provides a 1080P view and requires wiring to your vehicle's reverse light circuit.
- Remove the vehicle's rear tail light assembly to access the wiring.
- Identify the reverse light wire (typically white). Carefully expose the copper wires of the positive and negative electrodes without cutting them.
- Verify the reverse light is 12V voltage using a multimeter.
- Connect the red wire of the camera's power cord to the positive reverse light wire.
- Connect the black wire of the camera's power cord to the negative reverse light wire.
- Secure these connections with insulating tape.
- Route the extension cord from the camera to the front center console, ensuring it is hidden and does not interfere with vehicle components.
- Insert the RCA adapter from the extension cable into the 'CAM IN' jack on the CarPlay screen.
Video 4.1: Hands-on Backup Camera Installation Guide
This video demonstrates the practical steps for installing the backup camera, including accessing the tail light, identifying the reverse light wire, making electrical connections, and routing the cable to the main unit.
Video 4.2: Theoretical Backup Camera Installation Guide
This video provides a theoretical overview of the backup camera installation process, detailing the wiring connections and cable routing for proper setup.

Figure 4.2: Backup Camera Connection Diagram
4.4 Dash Cam Functionality
The device includes a 4K front dash cam and supports continuous loop recording with the included 64GB TF card.

Figure 4.3: Dash Cam and Rear Camera Features

Figure 4.4: Driving Assistance Functions
5. Operating Instructions
5.1 Wireless CarPlay Connection
To connect your iPhone wirelessly to CarPlay:
- Turn on Bluetooth and Wi-Fi on your iPhone.
- On the CarPlay screen, select 'CarPlay' from the menu.
- On your iPhone, go to Bluetooth settings and find the device named 'SWL-BT'. Select it to pair. Enter '0000' if prompted for a password.
- Once paired, a prompt will appear on your iPhone. Click 'Use CarPlay'.
Video 5.1: How to Use CarPlay
This video demonstrates the steps to connect and use CarPlay with the device, including Bluetooth pairing and accessing CarPlay features.
Video 5.2: How to Connect Apple CarPlay
This video provides a concise guide on establishing an Apple CarPlay connection with the portable screen.

Figure 5.1: Wireless Apple CarPlay Connection Steps
5.2 Wireless Android Auto Connection
To connect your Android phone wirelessly to Android Auto:
- Turn on Bluetooth and Wi-Fi on your Android phone.
- On the CarPlay screen, select 'Android Auto' from the menu.
- On your Android phone, go to Bluetooth settings and find the device named 'SWL-BT'. Select it to pair. Enter '0000' if prompted for a password.
- Allow the connection. The connection should be successful after a few moments.

Figure 5.2: Wireless Android Auto Connection Steps
5.3 AirPlay (iOS Mirror Link) Connection
To mirror your iOS device screen:
- Exit Apple CarPlay mode first.
- On the CarPlay screen, select 'AirPlay' from the menu.
- Turn on Wi-Fi on your iPhone.
- Find the CarPlay screen's Wi-Fi network (e.g., 'carplay_WiFi_xxxx') and enter the password '12345678' to connect.
- Open your iPhone's Control Center, tap 'Screen Mirroring', and select 'SmartScreen' or 'X7-Airplay'.
Video 5.3: How to Connect AirPlay
This video illustrates the process of connecting your iPhone via AirPlay for screen mirroring.

Figure 5.3: iOS Mirror Link Connection Steps
5.4 Android Mirror Link Connection
To mirror your Android device screen:
- Exit Android Auto mode first.
- On the CarPlay screen, select 'Miracast' from the menu.
- On your Android phone, open the quick settings panel and select 'Screen Mirror' or 'Smart View'.
- Select 'X7-Miracast' to connect.

Figure 5.4: Android Miracast Link Connection Steps
5.5 Audio Output Modes
The CarPlay screen supports four audio output modes:
- Built-in Speaker: Audio plays directly from the device's internal speaker.
- Bluetooth: Connect your phone's Bluetooth to the CarPlay screen, then connect your car's Bluetooth to your phone for audio output through car speakers.
- FM Transmission: Select an unused FM frequency on the CarPlay screen and tune your car radio to the same frequency.
- AUX: Connect the provided AUX cable from the CarPlay screen to your car's AUX input.

Figure 5.5: Four Audio Output Modes

Figure 5.6: Detailed Audio Output Options

Figure 5.7: Bluetooth Connection to Car Speaker

Figure 5.8: FM Transmission Setup

Figure 5.9: AUX Connection
5.6 GPS Navigation
When connected via CarPlay or Android Auto, the screen supports real-time GPS navigation using compatible apps like Google Maps, Apple Maps, Waze, and Sygic. Your smartphone's navigation will be mirrored to the screen.
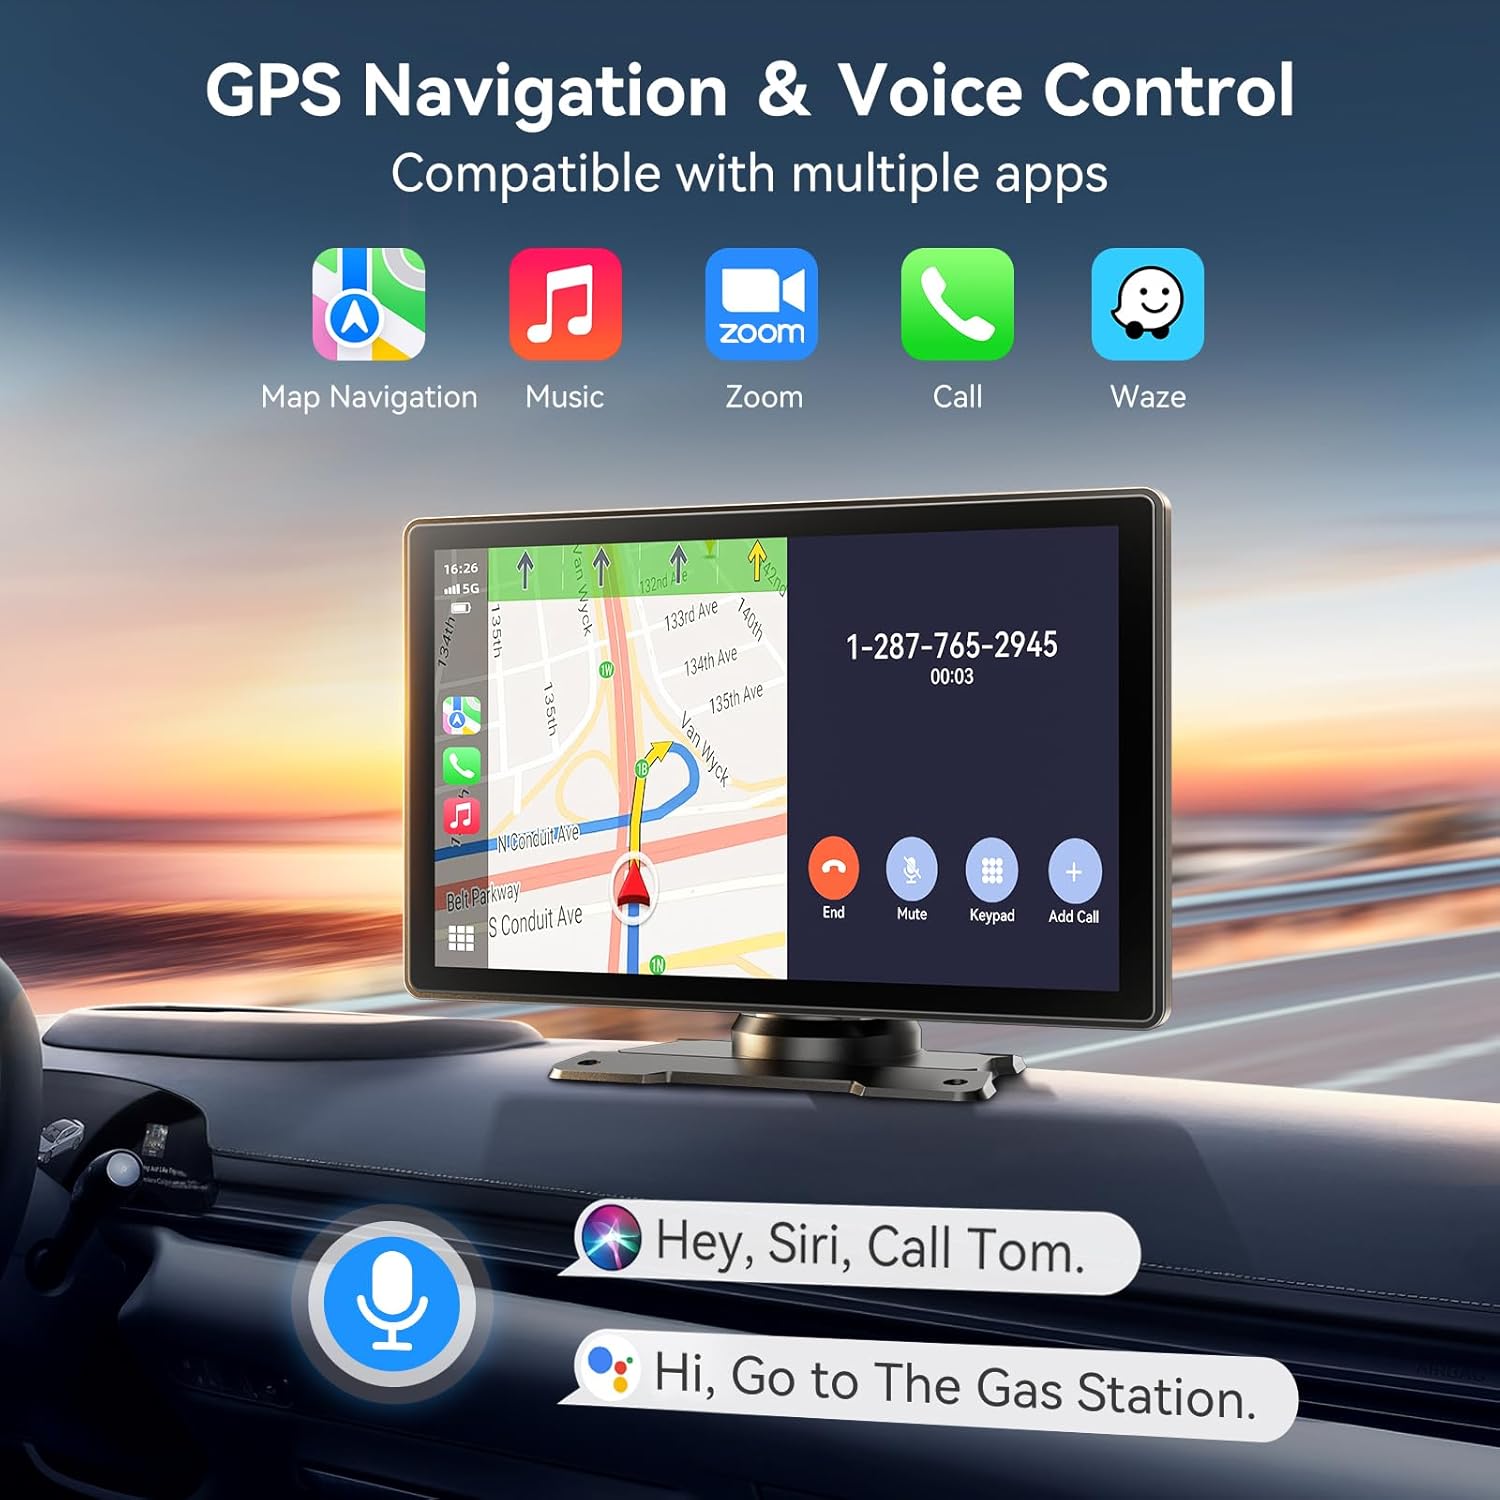
Figure 5.10: GPS Navigation and Voice Control

Figure 5.11: GPS Real-time Navigation
5.7 Voice Control
Utilize Siri or Google Assistant for voice commands when connected via CarPlay or Android Auto. This allows for hands-free operation of navigation, calls, and music.

Figure 5.12: Hands-free Calling

Figure 5.13: Siri/Google Voice Control
5.8 Split-Screen Display
The device supports split-screen functionality, allowing you to view multiple applications simultaneously, such as navigation and music, or front and rear camera feeds.

Figure 5.14: Split-Screen Display Options
5.9 Exiting CarPlay/Android Auto Mode
To disconnect from CarPlay or Android Auto:
- On your phone's Bluetooth settings, find the device and either turn off CarPlay for that device or 'Forget This Device'.
- Alternatively, disconnect your mobile phone's Wi-Fi directly.

Figure 5.15: How to Exit CarPlay/Android Auto Mode
6. Troubleshooting
| Problem | Possible Cause | Solution |
|---|---|---|
| No power to the screen | Cigarette lighter not providing power; loose connection. | Check cigarette lighter fuse; ensure power cord is fully inserted. |
| Cannot connect to CarPlay/Android Auto | Bluetooth/Wi-Fi not enabled; incorrect pairing. | Ensure phone's Bluetooth and Wi-Fi are on; re-pair device using correct password. |
| Backup camera not displaying | Incorrect wiring to reverse light; loose RCA connection. | Verify camera wiring to reverse light is correct; ensure RCA cable is securely plugged into 'CAM IN' jack. |
| Poor audio quality via FM transmission | Interference from active FM station. | Select a different, unused FM frequency on both the screen and car radio. |
7. Specifications
| Feature | Detail |
|---|---|
| Brand | Carpeer |
| Model | 9inch |
| Display Size | 9 Inches |
| Product Dimensions | 9 x 9 x 9 inches |
| Item Weight | 2.99 pounds |
| Connectivity Technology | Bluetooth, Wi-Fi |
| Special Features | Android Auto, Built-In Bluetooth, CarPlay, Screen Mirroring, Voice Control |
| Dash Cam | 4K Front Camera |
| Backup Camera | 1080P Rear Camera |
| Included Storage | 64GB TF Card |
| Audio Output Mode | Stereo (Built-in Speaker, FM, AUX, Bluetooth) |
| Mounting Type | Dashboard Mount, Windshield Mount |
| Vehicle Service Type | Car, Truck, RV, SUV, Van |
8. Warranty and Support
This Carpeer product comes with a 1-Year Manufacturer's Warranty. For technical support or warranty claims, please contact Carpeer Official Store directly. Each item has a unique code that we verify before shipping to ensure authenticity.
Ask a question about this manual
Ask about setup, troubleshooting, compatibility, parts, safety, or missing instructions. Manuals+ will review the question and use this page’s manual context to help answer it.