
NETUM CS7501
NETUM CS7501 QR Code Scanner User Manual
Model: CS7501 | Brand: NETUM
1. Introduction
This manual provides detailed instructions for the setup, operation, maintenance, and troubleshooting of your NETUM CS7501 QR Code Scanner. The CS7501 is a versatile, portable 1D and 2D barcode reader designed for efficient inventory management and data collection across various platforms, including tablets, Android, iOS, PC, and POS systems. It offers multiple connectivity options for seamless integration into your workflow.

Figure 1: NETUM CS7501 QR Code Scanner with included accessories.
2. Key Features
- Physical Power Switch: Easily switch between Power Off, Bluetooth Mode, and 2.4G Wireless Mode using the dedicated physical switch. Includes a clear battery indicator light.
- High-Resolution Scanning: Equipped with a 1280×800 CMOS sensor, capable of scanning both 1D and 2D barcodes (QR, PDF417, Data Matrix, etc.) from paper or digital screens.
- 3-in-1 Connectivity: Supports Bluetooth for wireless pairing, 2.4GHz Wireless Adapter for Plug & Play, and Wired USB Connection for stable data transmission. Compatible with smartphones, computers, POS systems, iPhones, iPads, and laptops.
- Long Battery Life: Features a 2400mAh high-capacity battery, providing up to 12 hours of continuous operation. Real-time battery level indicators prevent unexpected power loss.
- Rugged and Durable Design: Constructed from tough ABS plastic and reinforced with soft TPU material, designed to withstand drops from up to 4.92 feet (1.5 meters) onto concrete floors. Ergonomic design for comfortable, extended use.
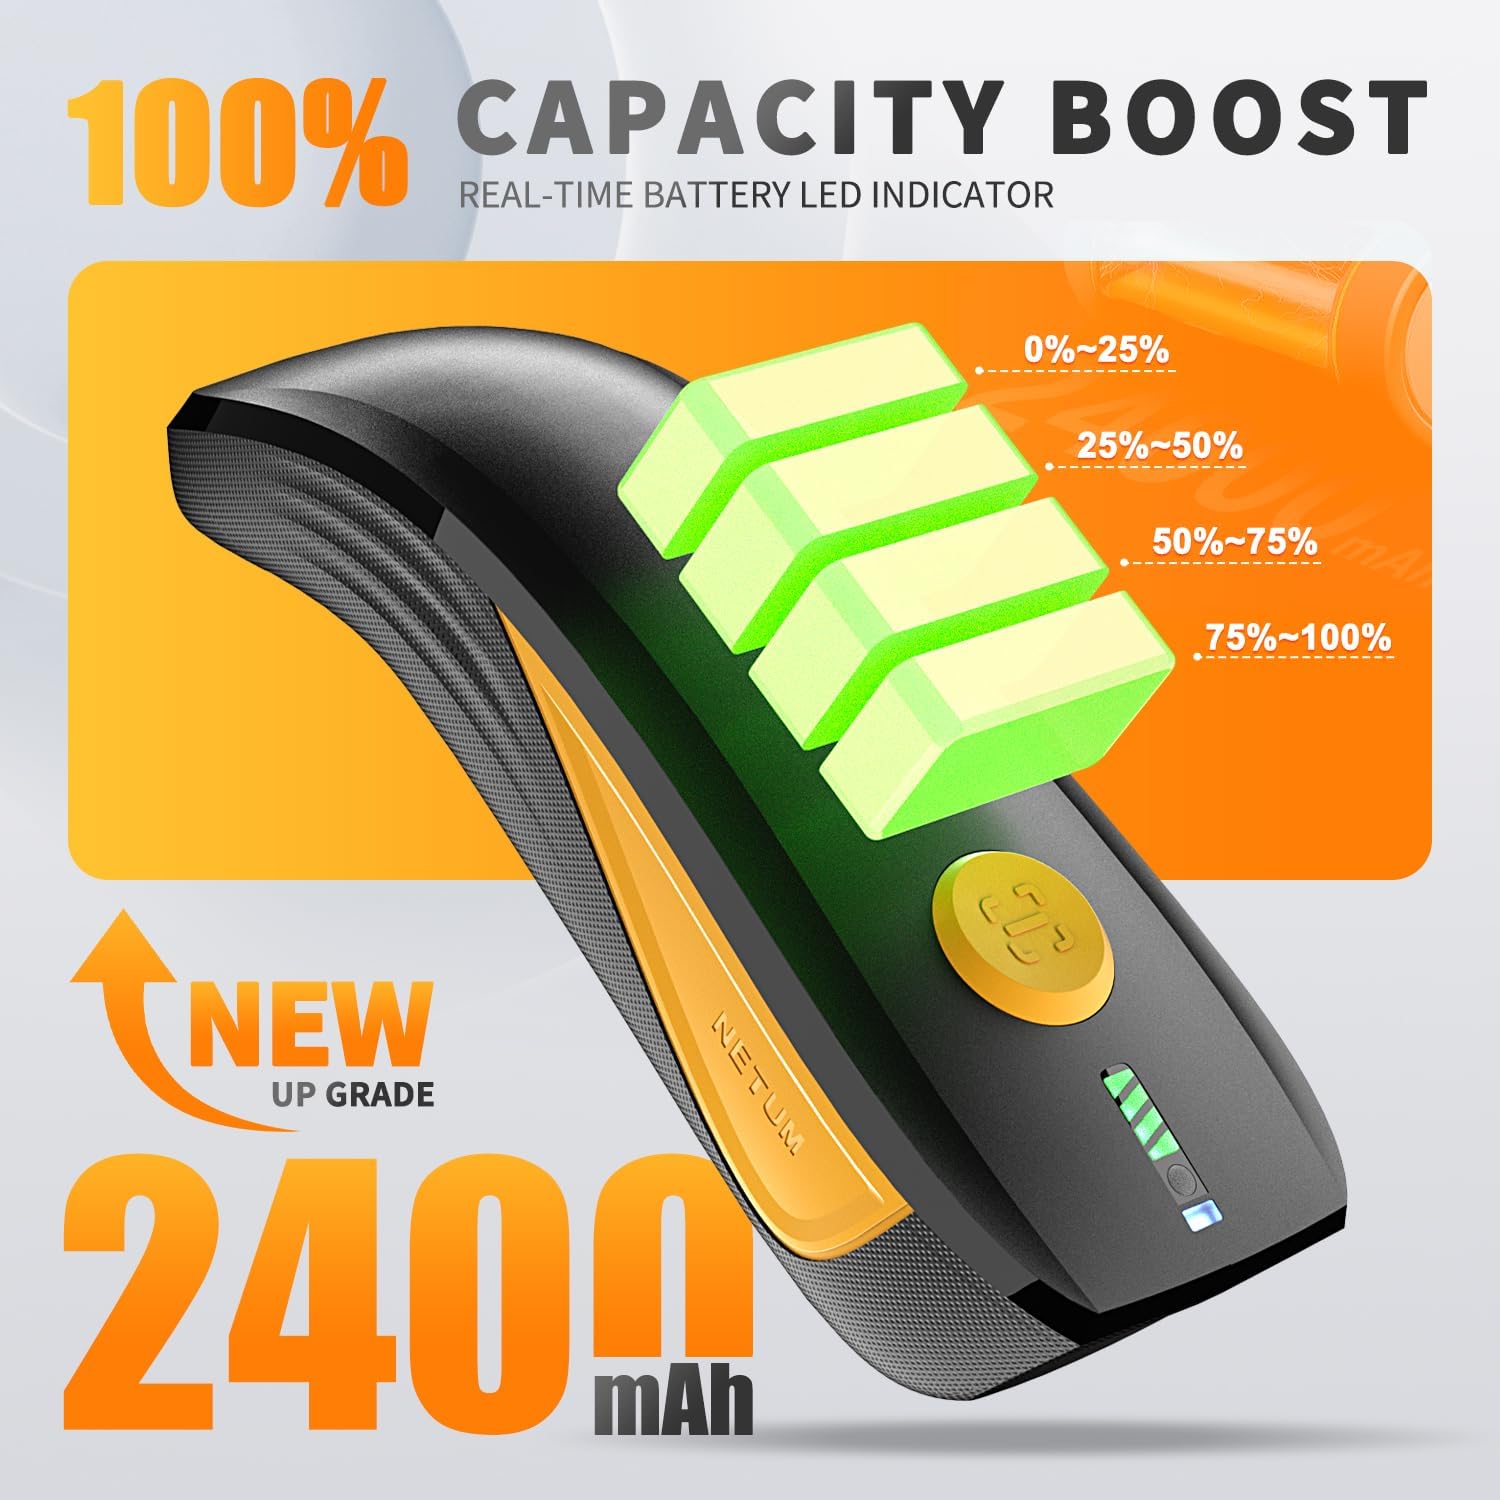
Figure 2: Enhanced battery capacity and real-time LED indicator.

Figure 3: High-resolution sensor for crisp code capture, showing various 1D and 2D barcode types.
3. Setup and Connectivity
The NETUM CS7501 offers three primary connection methods: Bluetooth, 2.4G Wireless (via USB dongle), and Wired USB. Ensure the scanner is charged before initial use.
3.1. Physical Switch Overview
The scanner features a physical three-position switch on its bottom for mode selection:
- Left Position: Bluetooth Mode
- Middle Position: Power Off
- Right Position: 2.4G Wireless Mode
Important Note: Scanning a setting code to switch modes is not supported. You must use the physical switch on the bottom of the scanner to change connection modes.

Figure 4: Physical switch for selecting connectivity modes.
3.2. Working Via Bluetooth
- Slide the switch on the bottom of the scanner to the left (Bluetooth icon).
- Turn on Bluetooth on your host device (e.g., smartphone, tablet, PC).
- Look for "CPRO barcode scanner" in the list of available devices and tap to pair.
- The default keyboard layout is US. If you are using a different keyboard layout, please set the correct keyboard language on your device before using the scanner.

Figure 5: Bluetooth connection setup.
3.3. Working Via USB Dongle (2.4G Wireless Mode)
- Slide the switch on the bottom of the scanner to the right (USB dongle icon).
- Plug the USB dongle into an available USB port on your computer.
- If you're using a U.S. keyboard layout, it's plug and play.
- If you're using a different keyboard layout, please refer to the "Keyboard Language" section in the full manual (if available) to configure the correct settings before use.
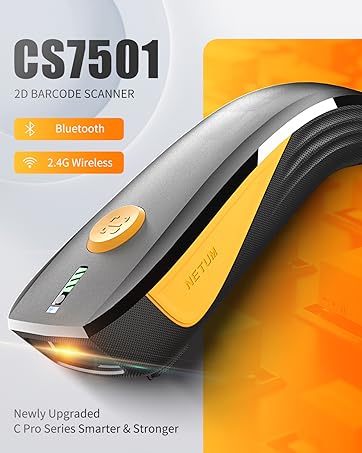
Figure 6: 2.4G Wireless connection setup.
3.4. Wired USB Connection
For a direct and stable connection, you can connect the scanner to your device using a USB cable. This mode typically functions as a HID keyboard device, inputting scanned data directly into any active text field.
- Ensure the scanner is powered on (either Bluetooth or 2.4G mode, or simply connected via USB).
- Connect the USB-C end of the provided cable to the scanner and the USB-A end to your computer's USB port.
- The scanner will be recognized as a keyboard device, and scanned data will appear directly in applications.
4. Operating Instructions
4.1. Basic Scanning
To scan a barcode:
- Ensure the scanner is connected to your host device via your preferred method (Bluetooth, 2.4G Wireless, or Wired USB).
- Open an application where you want the scanned data to appear (e.g., a text editor, spreadsheet, or POS software).
- Point the scanner's window at the barcode you wish to scan. Ensure the red aiming beam covers the entire barcode.
- Press the trigger button. A successful scan will be indicated by a beep and/or vibration. The data will then be transmitted to your connected device.

Figure 7: Diverse application scenarios for the CS7501 scanner.
4.2. Scanning Modes
The CS7501 supports various scanning modes to suit different operational needs:
- Trigger Mode: Default mode. Press the trigger to scan each barcode.
- Continuous Scan: The scanner continuously reads barcodes without needing to press the trigger each time. Useful for high-volume scanning. (Refer to the full manual for specific barcode settings to activate this mode).
- Auto-sensing Mode: The scanner automatically detects and scans barcodes when they are presented within its field of view. (Refer to the full manual for specific barcode settings to activate this mode).
- Command-triggered Mode: Scanning initiated by a command from the host device.
5. Maintenance
5.1. Cleaning the Scanner
To ensure optimal performance, keep the scanner's window clean:
- Use a soft, clean cloth, slightly dampened with water or a mild cleaning solution.
- Do not use abrasive cleaners or solvents, as they may damage the plastic components.
- Gently wipe the scanning window and the body of the scanner.
5.2. Battery Charging
The scanner is equipped with a 2400mAh rechargeable Lithium Polymer battery. To charge:
- Connect the provided USB-C cable to the charging port on the scanner and the other end to a USB power adapter (5V/1A recommended) or a computer's USB port.
- The battery indicator lights will show the charging progress.
- A full charge typically takes a few hours.
- It is recommended to fully charge the scanner before its first use and whenever the battery indicator shows low power.
6. Troubleshooting
| Problem | Possible Cause | Solution |
|---|---|---|
| Scanner does not power on. | Battery is depleted. | Charge the scanner using the provided USB-C cable. Ensure the physical switch is not in the "OFF" position. |
| Cannot connect via Bluetooth. | Scanner not in Bluetooth mode; device Bluetooth off; interference; already paired to another device. | Ensure physical switch is to the left (Bluetooth mode). Turn on Bluetooth on your device. Forget previous pairings if necessary. Move closer to the device. |
| Cannot connect via 2.4G Wireless. | Scanner not in 2.4G mode; dongle not plugged in; dongle issue. | Ensure physical switch is to the right (2.4G mode). Plug the USB dongle firmly into a USB port. Try a different USB port. |
| Scanner does not read barcodes. | Barcode damaged/unreadable; scanner window dirty; incorrect symbology settings; out of range. | Ensure barcode is clear and undamaged. Clean the scanner window. Check if the barcode type is supported (see Specifications). Move closer to the barcode. |
| Scanned data appears incorrectly (e.g., wrong characters). | Incorrect keyboard language setting on host device. | Set the keyboard language on your host device to match the scanner's default (US) or configure the scanner's output if supported by scanning specific setting codes (refer to full manual). |
| Battery drains quickly when off. | Scanner not fully powered off; background processes. | Ensure the physical switch is in the middle "OFF" position when not in use for extended periods. |
7. Specifications
| Feature | Detail |
|---|---|
| Model Number | CS7501 |
| Sensor Resolution | 1280×800 CMOS |
| Illumination | White LED |
| Aiming | Red LED |
| Motion Tolerance | 2.5m/s |
| Field of View | 42° horizontal, 28° vertical |
| Scan Angle | Roll 360°, Pitch ±55°, Skew ±55° |
| Supported 2D Symbologies | QR, Micro QR, Data Matrix, PDF417, Maxicode, Aztec, HanXin |
| Supported 1D Symbologies | EAN, UPC, Code 39, Code 93, Code 128, UCC/EAN 128, Codabar, Interleaved 2 of 5, ITF-6, ITF-14, ISBN, ISSN, MSI-Plessey, GS1 Databar, Code 11, Industrial 25, Standard 25, Plessey, Matrix 2 of 5 |
| Minimum Print Contrast | ≥25% (UPC/EAN 100%, PCS 90%) |
| Scan Precision | 1D ≥3 mil; 2D ≥5 mil |
| Interface Support | Standard USB |
| Connectivity Options | 2.4G, USB HID (USB COM), Bluetooth (HID, SPP, BLE) |
| Feedback Modes | Buzzer, Vibration |
| Scanning Modes | Trigger mode, Continuous scan, Auto-sensing, Command-triggered, etc. |
| Dimensions (L × W × H) | 198 × 74 × 105 mm (approx. 5.51 x 1.97 x 1.18 inches) |
| Weight | Approx. 127g (approx. 0.008 ounces) |
| Battery | 1 Lithium Polymer battery (2400mAh), included |
| Compatible Devices | Laptop, Desktop, POS, Tablet, Smartphone |
8. Warranty and Support
NETUM products are designed for reliability and performance. For warranty information and technical support, please refer to the official NETUM website or contact their customer service directly. Keep your purchase receipt for warranty claims.
For further assistance, please visit: www.netum.net
Related documentsCS7501


Ask a question about this manual
Ask about setup, troubleshooting, compatibility, parts, safety, or missing instructions. Manuals+ will review the question and use this page’s manual context to help answer it.