VINGLI suction side pool cleaner-654
VINGLI Automatic Suction-Side Pool Vacuum Cleaner Instruction Manual
Model: suction side pool cleaner-654
Introduction
This manual provides detailed instructions for the assembly, operation, maintenance, and troubleshooting of your VINGLI Automatic Suction-Side Pool Vacuum Cleaner. Designed for both in-ground and above-ground pools, this cleaner efficiently removes dirt, leaves, and debris, contributing to a cleaner pool environment. Please read this manual thoroughly before installation and use to ensure optimal performance and longevity of your unit.
Important Safety Information
- Always disconnect the pool pump from the power source before performing any maintenance or assembly on the pool cleaner.
- Ensure all hose connections are secure to prevent air leaks, which can affect cleaner performance and pump efficiency.
- Keep children and pets away from the pool area when the cleaner is in operation.
- Do not operate the cleaner if any parts are damaged or missing. Contact customer support for replacement parts.
- This cleaner is designed for pool use only. Do not use it for any other purpose.
Package Contents
Verify that all components listed below are present in your package:

This image illustrates the main cleaner body along with all included accessories. It shows the cleaner unit, 12 hose segments, a hose protector, a flow meter, two elbow connectors, a regulator valve, a compression adapter, and a hose float. The dimensions of the cleaner are also indicated as 11.4 inches in length and 7.7 inches in height.
- 1 x Cleaner Body
- 1 x Hose Protector
- 1 x Flow Meter
- 2 x Elbow Connectors
- 1 x Regulator Valve
- 1 x Compression Adapter
- 1 x Hose Float
- 12 x Hose Segments (3.3 ft each, total 39.6 ft)
Setup and Assembly
1. Hose Assembly
Connect the 12 hose segments together by twisting them securely. Ensure each connection is tight to prevent air leaks. The total hose length will be approximately 39.6 feet.
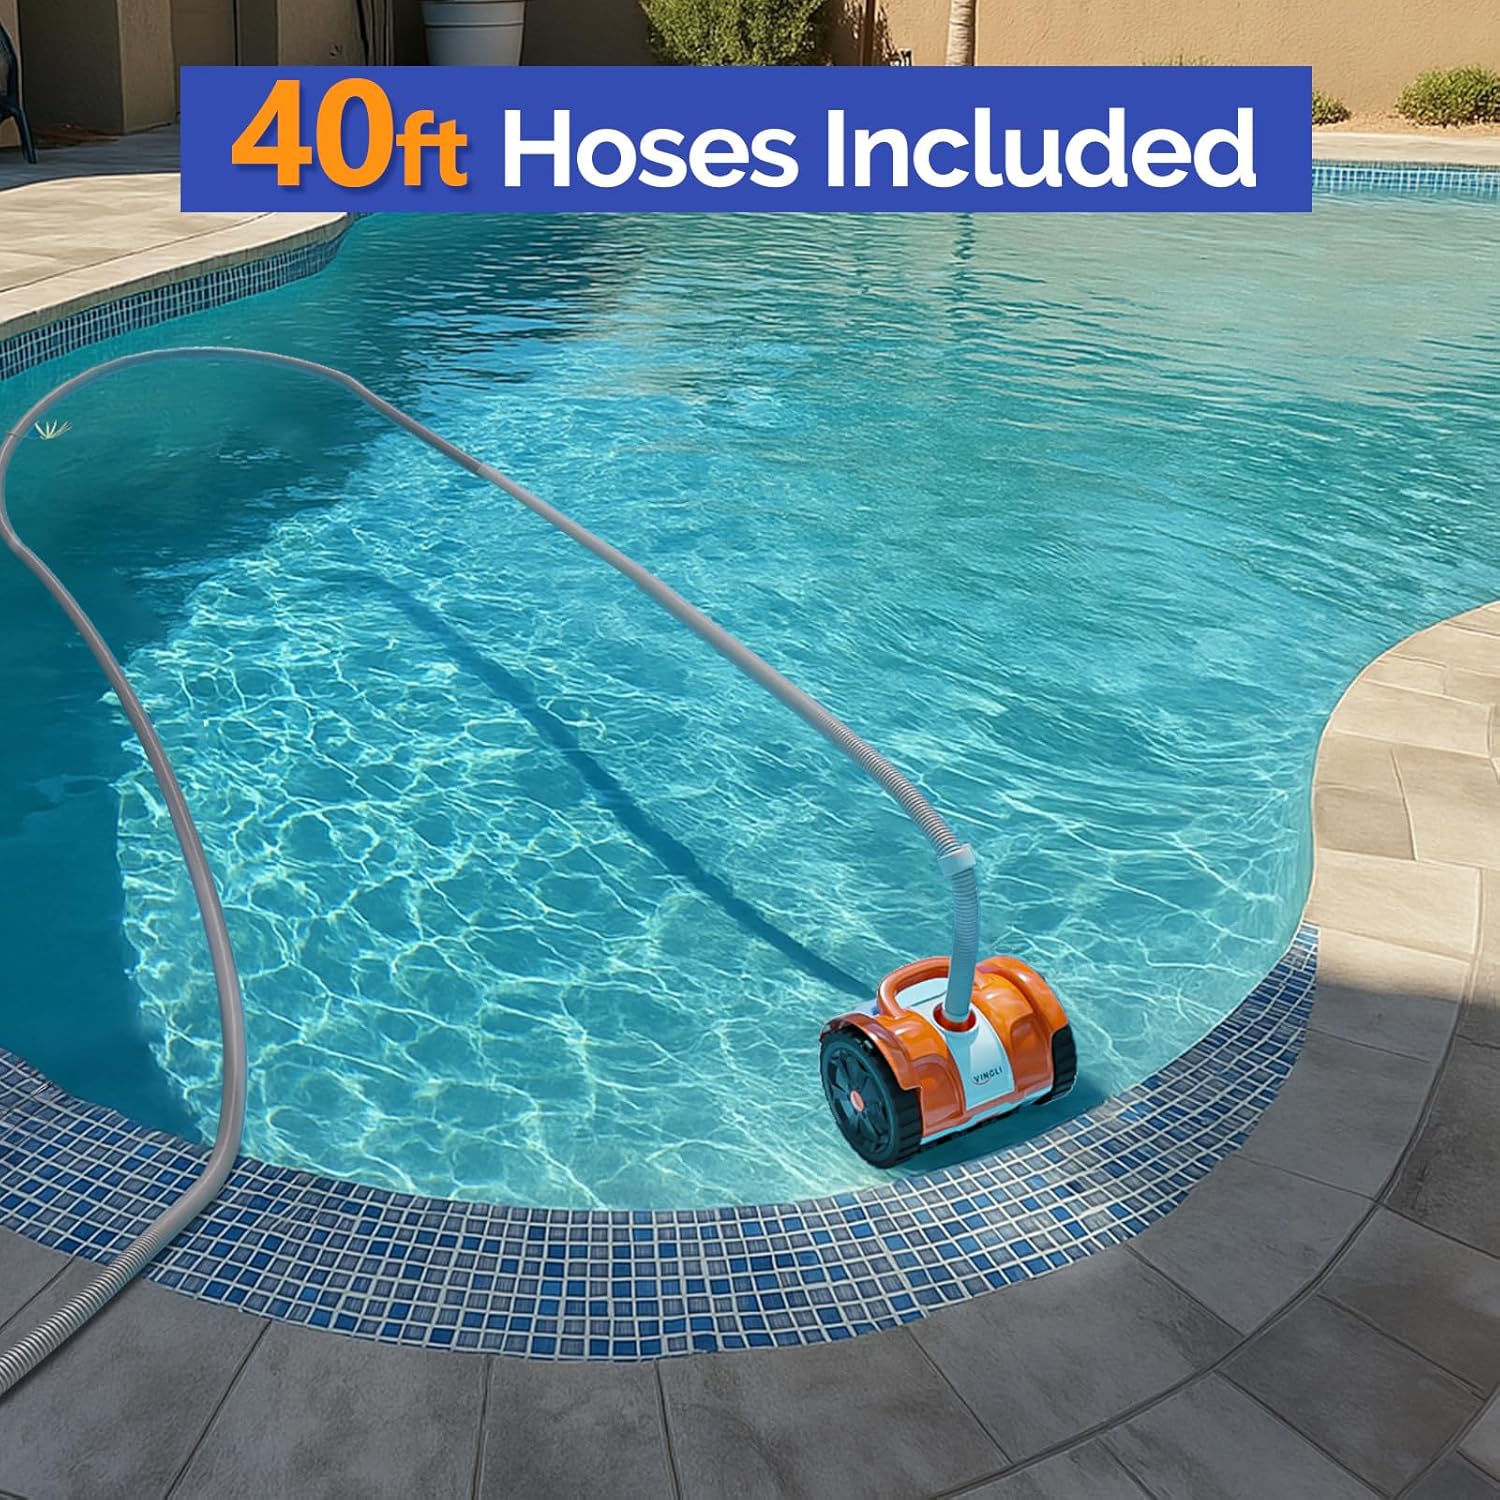
This image displays the VINGLI pool cleaner in a swimming pool, connected to the full length of the 40-foot hose. The hose is shown extending from the cleaner to the edge of the pool, illustrating the reach for comprehensive cleaning.
2. Connecting to Pool System
- Turn off your pool pump.
- Attach the compression adapter to the skimmer or dedicated suction line.
- Connect the regulator valve to the compression adapter.
- Attach one end of the assembled hose to the regulator valve.
- Submerge the cleaner and the entire hose into the pool, allowing it to fill with water and expel all air. This prevents air from entering your pump system.
- Connect the other end of the hose to the cleaner body.
3. Adjusting Suction Power
The cleaner's performance is dependent on adequate suction from your pool pump. A minimum 1.5HP/1100W pool pump is recommended for optimal operation.

This image highlights the adjustable suction power valve. The valve features a dial with '+' and '-' indicators, allowing users to increase or decrease the water flow and thus the suction power directed to the cleaner. This adjustment is crucial for optimizing the cleaner's movement and cleaning efficiency.
- Turn on your pool pump.
- Use the included flow meter to gauge the suction. Adjust the regulator valve to achieve the recommended flow rate for efficient cleaning and movement.
- Observe the cleaner's movement. If it moves too slowly or gets stuck frequently, increase suction. If it climbs too high on walls or moves erratically, decrease suction.
Operating Instructions
1. Initial Placement
Once the cleaner and hose are fully submerged and free of air, gently place the cleaner on the pool floor. It will begin to move and clean automatically.

This image shows a close-up of the VINGLI automatic pool cleaner partially submerged in water, highlighting its orange and gray body, large wheels, and the cleaning brushes/skirt at its base. The cleaner is positioned on the pool floor, ready for operation.
2. Monitoring Operation
- The cleaner is designed to navigate around obstacles and climb walls. Its innovative tire design enhances wall-climbing ability and allows it to clear obstacles, including drains.
- Periodically check the pool skimmer basket and pump strainer basket for debris. Empty them as needed to maintain optimal suction.
- The cleaner operates quietly, allowing for a peaceful poolside environment.

This image shows the VINGLI pool cleaner moving across the bottom of a tiled pool, demonstrating its ability to travel easily on various surfaces. It is depicted near a pool drain, illustrating its design to navigate over such features.
Maintenance
1. Regular Cleaning
- After each use, remove the cleaner from the pool.
- Inspect the cleaner's underside for any trapped debris and remove it.
- Rinse the cleaner body and hoses with fresh water to remove chlorine and chemical residues.
2. Hose Inspection
- Regularly inspect all hose segments for cracks, holes, or damage. Damaged hoses can lead to air leaks and reduced performance.
- Ensure hose connections remain tight.
Troubleshooting
| Problem | Possible Cause | Solution |
|---|---|---|
| Cleaner is not moving or moves slowly. | Insufficient pump suction; debris blockage; air leak in hose. | Check pump and skimmer baskets for clogs. Increase pump suction via regulator valve. Inspect hoses for damage or loose connections. Ensure all air is purged from the hose system. |
| Cleaner gets stuck on obstacles or drains. | Incorrect suction adjustment; specific pool features. | Adjust suction to allow for smoother navigation. The cleaner's design is intended to clear obstacles, but extreme features may require minor adjustments to suction or temporary manual repositioning. |
| Cleaner does not climb walls effectively. | Insufficient suction; worn tires. | Increase pump suction. Inspect tires for wear and replace if necessary. Ensure the pool surface is clean and free of excessive algae. |
| Hose segments disconnect. | Loose connections. | Ensure all hose segments are twisted tightly together during assembly. |
Technical Specifications
- Model: suction side pool cleaner-654
- Brand: VINGLI
- Power Source: Pool Pump (minimum 1.5HP/1100W recommended)
- Hose Length: 39.6 feet (12 segments x 3.3 feet each)
- Product Dimensions: 11.4"L x 7.7"W x 7.7"H
- Item Weight: 18.7 pounds
- Installation Type: Suction Side
- Material: Plastic
- Special Features: Adjustable Suction Power, Heavy-Duty Construction
Warranty and Customer Support
VINGLI provides a hassle-free protection policy. If any part is found to be defective, it will be replaced free of charge. Your satisfaction is guaranteed. For any issues or inquiries, please contact VINGLI customer support for prompt assistance and solutions.
For further assistance, please visit the VINGLI Store on Amazon.
Related Documents - suction side pool cleaner-654
 |
VINGLI Inground Pool Cover Reel Assembly and Installation Manual Comprehensive instruction manual for assembling and installing the VINGLI Inground Pool Cover Reel, including parts list, step-by-step guides for various pool types, and maintenance tips. |
 |
VINGLI 18 Feet Inground Pool Cover Reel: Assembly and User Manual This comprehensive manual guides users through the assembly and operation of the VINGLI 18 Feet Inground Pool Cover Reel. It includes a detailed parts list, step-by-step instructions, and tips for optimal use, ensuring easy management of your pool cover. Contact VINGLI support at support@vingli.com for assistance. |
 |
VINGLI Inground Pool Cover Reel Assembly Instructions Comprehensive assembly instructions for the VINGLI Inground Pool Cover Reel, detailing parts, steps, and usage tips for easy installation and operation. |
 |
VINGLI Pool Fence Installation Manual Comprehensive instruction manual for installing the VINGLI pool fence, covering preparation, measuring, drilling, and securing fence sections. |
 |
VINGLI Metal Twin Bunk Bed Assembly Instructions and Safety Guide Comprehensive assembly instructions and safety warnings for the VINGLI Metal Twin Bunk Bed. Learn how to safely build and use your bunk bed, including parts lists and step-by-step guidance. |
 |
VINGLI 5 FT Porch Swing Assembly Instructions Step-by-step assembly guide for the VINGLI 5 FT Porch Swing, including a detailed parts list and important assembly notes. Learn how to easily set up your VINGLI outdoor swing. |