
1. Safety Information
Read and understand all safety instructions before operating the TECHTONGDA T3 Multifunctional Mortar Spraying Machine. Failure to follow these instructions may result in serious injury or property damage.
- Material Compatibility: Do not use this sprayer for oily materials. This machine is designed for water-based and similar non-oily coatings.
- Air Leakage Check: Before each use, connect the air pressure sensor and check for any air leakage in the gas pipe connections. Air leakage can affect the sensitivity of the pneumatic induction control switch.
- Nozzle Maintenance: Always remove the nozzle before initial material injection to prevent blockage from residual old material in the pipe.
- Electrical Safety: Ensure the power supply is 220V and properly grounded. Do not operate with damaged cords or plugs.
- Personal Protective Equipment (PPE): Always wear appropriate PPE, including eye protection, gloves, and a respirator, when operating the sprayer.
- Material Handling: Follow all safety guidelines for the specific materials being sprayed (e.g., paint, putty). Refer to the material manufacturer's safety data sheets.

Figure 1: Front view of the sprayer, showing the control panel and visible warning labels regarding operation and safety.
2. Product Overview
The TECHTONGDA T3 Multifunctional Mortar Spraying Machine is designed for efficient application of various coatings, including stone texture paint, real stone paint, latex, and putty. It features a robust motor and user-friendly design for professional and industrial use.

Figure 2: The complete TECHTONGDA T3 sprayer unit, illustrating its main components including the hopper, motor, and mobile frame.
Key Features:
- Powerful Performance: Equipped with an 1800W DC brushless motor, providing a maximum flow rate of 12L/min and adjustable pressure up to 26.46 LBS (12 KG).
- High Efficiency: Minimum flow rate of 0.6L/min and a maximum conveying height of 16.4ft (5m) for time and labor savings.
- User-Friendly Design: Features an open hopper with a 14.9-inch (38 cm) diameter for easy material feeding and rubber tires for mobility.
- Durable Construction: Feed pipe designed with a burst pressure of 198 LBS (90 KG) for rigorous use.
- Versatile Applications: Suitable for stone texture paint, real stone paint, water sand, putty, caulking plaster, latex paint, leveling mortar, bonding mortar, and waterproof/fireproof JS.
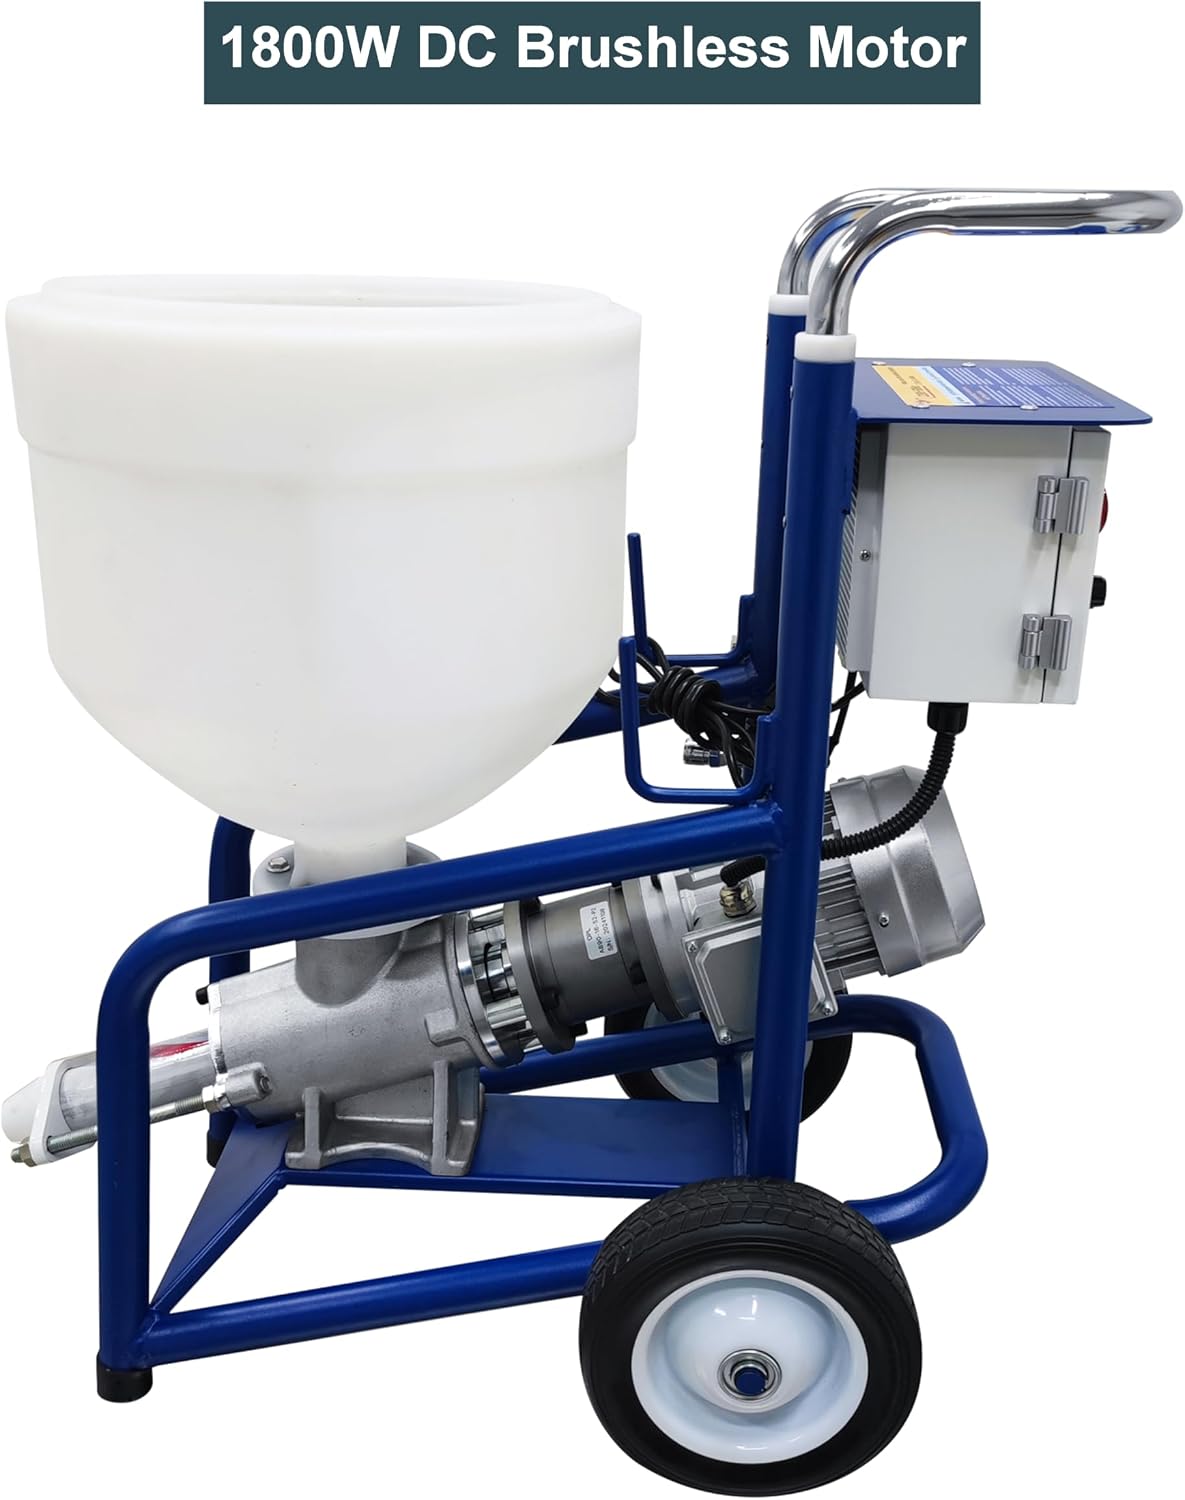
Figure 3: Close-up view of the 1800W DC Brushless Motor, emphasizing the power unit of the sprayer.
3. Setup
Proper setup ensures optimal performance and safety of the spraying machine.
- Unpacking and Inspection: Carefully unpack all components. Verify that all included components are present and undamaged. Refer to the 'Included Components' list in the Specifications section.
- Assembly: Assemble any detached parts according to the diagrams. Ensure all connections are secure.
- Hose Connection: Connect the high-pressure material hose securely to the sprayer outlet and the spray gun.
- Nozzle Preparation: Before initial use or changing materials, remove the nozzle from the spray gun. This prevents blockages from any residual material within the system.
- Material Loading: Inject the prepared material (e.g., mixed rubber powder, diluted real stone paint) into the 28L hopper. Ensure the material is properly mixed and free of large debris that could cause blockages.
- Air Pressure Check: Connect the air pressure sensor and check for any air leaks at the gas pipe connections. Tighten any loose connections.

Figure 4: The 28L hopper, designed with a wide opening for convenient loading of various materials.
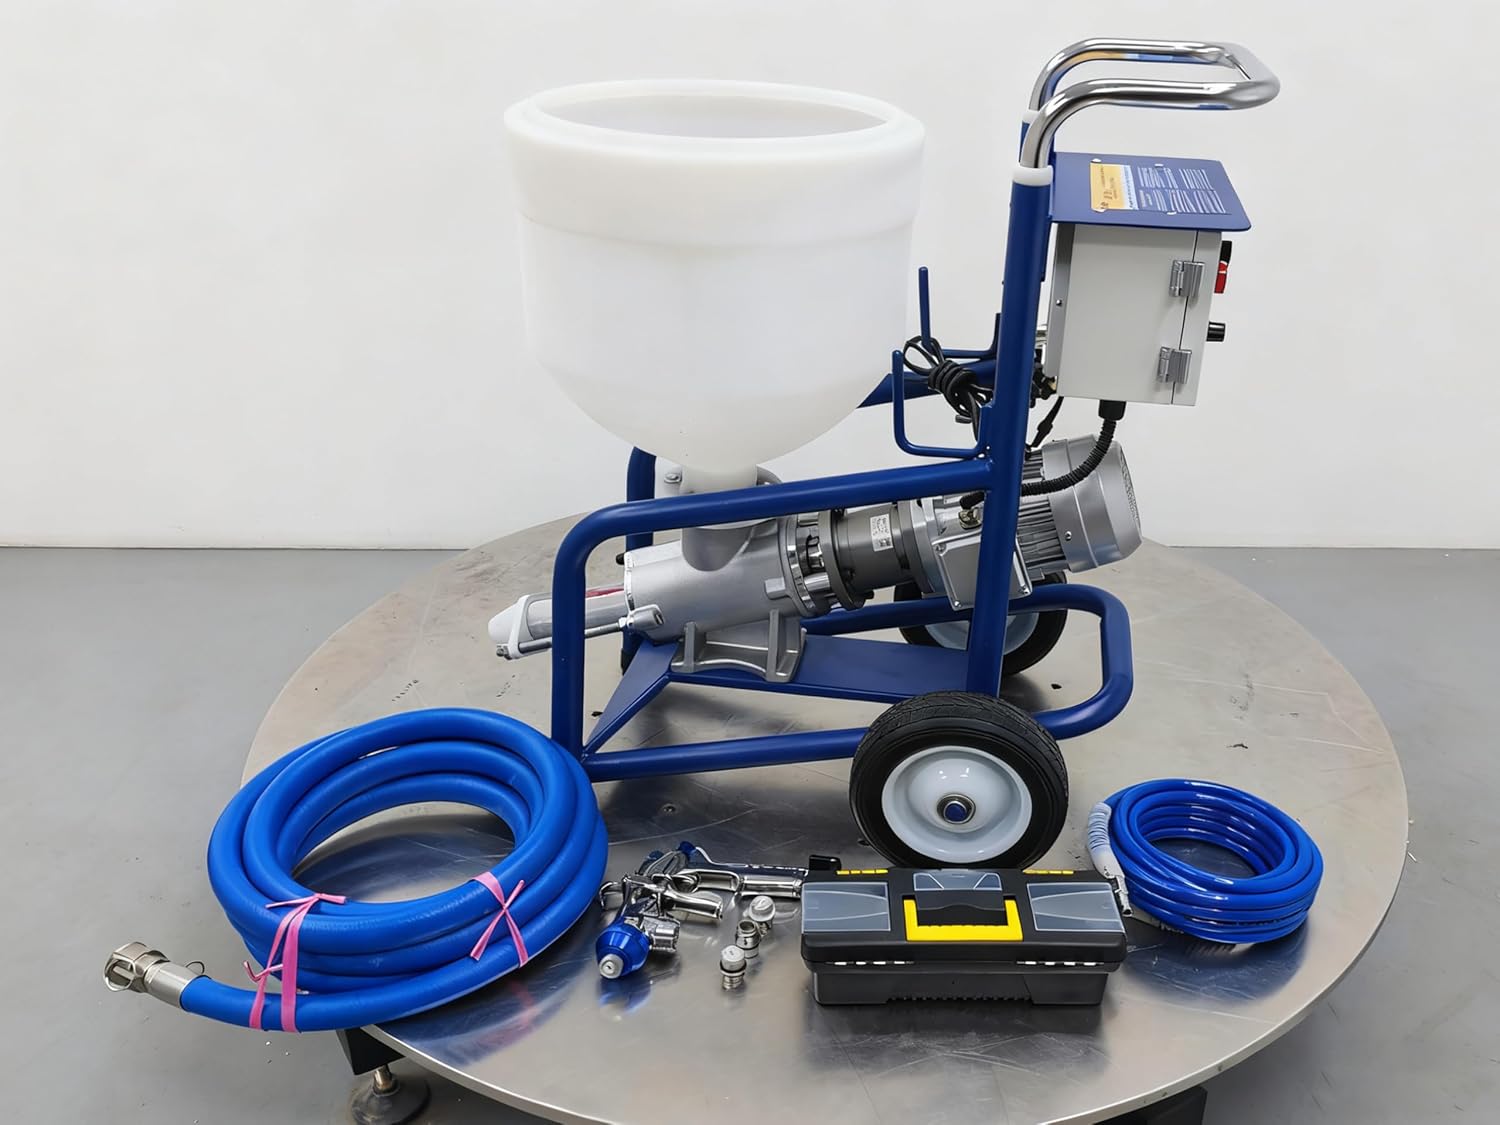
Figure 5: The sprayer unit alongside its standard accessories, including hoses, various nozzles, and a toolbox for maintenance.
4. Operation
Follow these steps for safe and effective operation of the spraying machine.
- Initial Material Flow: After loading material into the hopper, ensure the material flows out from the other end of the high-pressure pipe (with the nozzle still removed). This primes the system and confirms material readiness.
- Power On: Plug in the power cord.
- Select Automatic Mode: Switch the control to the 'Automatic' position. Confirm that the switch indicator shows the automatic state.
- Activate Air Source: Turn on the air source switch.
- Adjust Pressure/Flow: Slowly adjust the potentiometer switch clockwise to increase pressure and flow. Reconfirm that the material pipe and all connecting parts are intact and free of leaks before proceeding.
- Begin Spraying: Once the system is primed and checked, attach the appropriate nozzle. Begin spraying, maintaining a consistent speed. Avoid excessively fast operation, as this can reduce the lifespan of the rubber sleeve screw. Adjust the speed to achieve the desired nozzle discharge rate for normal use.

Figure 6: The control panel, featuring the mode selection switch (Reverse, Automatic, Forward) and the adjustable speed dial for precise operation.
5. Maintenance
Regular maintenance is crucial for extending the lifespan and ensuring consistent performance of your spraying machine.
- Cleaning After Use: Thoroughly clean the hopper, material pipes, and spray gun immediately after each use. Flush the system with appropriate cleaning solutions (e.g., water for water-based paints) until all material residue is removed.
- Nozzle Cleaning: Disassemble and clean nozzles regularly to prevent blockages and ensure a consistent spray pattern. Use the provided cleaning kit components.
- Lubrication: Apply gun lubricant to moving parts as recommended in the instruction guide to ensure smooth operation.
- Inspection: Periodically inspect hoses, connections, and the rubber sleeve screw for wear, damage, or leaks. Replace worn parts promptly.
- Storage: Store the sprayer in a clean, dry environment, protected from extreme temperatures and direct sunlight.
6. Troubleshooting
This section addresses common issues you might encounter during operation.
- No Material Flow:
- Check if the hopper contains sufficient material.
- Ensure the material is properly diluted and free of clogs.
- Verify that the nozzle is not blocked. Clean or replace if necessary.
- Inspect the material pipe for kinks or blockages.
- Inconsistent Spray Pattern or Low Pressure:
- Check for air leaks in the gas pipe connections. Tighten all fittings.
- Ensure the air source switch is fully open.
- Adjust the potentiometer switch to increase pressure.
- Clean or replace the nozzle if it's partially clogged.
- Machine Not Starting:
- Verify the power cord is securely plugged into a 220V outlet.
- Check the main power switch and ensure it's in the 'On' position.
- Confirm the mode selector is set to 'Automatic'.
7. Specifications
Detailed technical specifications for the TECHTONGDA T3 Multifunctional Mortar Spraying Machine.

Figure 7: Product dimensions for the TECHTONGDA T3 sprayer, indicating height, length, width, and hopper diameter.
| Parameter | Value |
|---|---|
| Brand | TECHTONGDA |
| Model Name | T3 (LAY033297) |
| Motor Type | DC Brushless |
| Motor Power | 1800W |
| Rated Voltage | 220V |
| Minimum Flow Rate | 0.6 L/min |
| Maximum Flow Rate | 12 L/min |
| Maximum Adjustable Pressure | 26.46 LBS (12 KG) |
| Hopper Capacity | 28 L |
| Randomly Configured Nozzles | 4, 6, 8 mm |
| Random Distribution Pipe Length | 16.4 ft (5 meters) |
| Maximum Conveying Height | 16.4 ft (5 meters) |
| Burst Pressure of Feed Pipe | 198 LBS (90 KG) |
| Item Weight | 99.21 Pounds (45 kg) |
| Product Dimensions (W x H) | 33.07"W x 33.46"H (approx. 84cm W x 85cm H) |
| Color | Blue |
| Power Source | DC |
| Included Components | Battery Charger, Cleaning Kit, Gun Lubricant, Instruction Guide, Measuring Cap, Nozzle, Nozzle Adapter, Replacement Seal, Shoulder Strap, Strainer, Viscosity Cup |
| UPC | 198462297332 |
8. Warranty and Support
For warranty information and technical support, please refer to the documentation provided with your purchase or contact TECHTONGDA customer service directly. Specific warranty terms may vary by region and retailer.