
1. Introduction
This manual provides detailed instructions for the installation, operation, and maintenance of your REOLINK CX410 2K ColorX PoE Security Camera and B10 Junction Box. The CX410 camera features F1.0 Super Aperture, a 1/1.8'' Image Sensor, HDR technology, and smart detection capabilities for enhanced home security. The B10 Junction Box ensures a clean and waterproof installation for the camera.
2. What's in the Box
- 1x REOLINK Junction Box B10
- 1x REOLINK CX410 Camera
- Accessories for camera and junction box installation
- 1x 1M Network Cable (for testing purposes)

Image: REOLINK CX410 Camera and B10 Junction Box. The image displays the white bullet-style camera and the circular junction box, showing their individual components.
3. Product Features
- 2K ColorX PoE Camera: Delivers high-resolution video with true color night vision.
- F1.0 Super Aperture & 1/1.8'' Image Sensor: Captures significantly more light for clearer images, especially in low-light conditions.
- HDR Technology: Provides balanced exposure in scenes with high contrast.
- Smart Detection: Accurately identifies persons, vehicles, and pets, reducing false alarms.
- Power over Ethernet (PoE): Simplifies installation by providing power and data through a single network cable.
- Waterproof Design: Suitable for both indoor and outdoor environments.
- Customizable Siren & Two-Way Talk: Deter intruders and communicate with visitors remotely.
- Multiple Storage Options: Supports microSD card (up to 256GB), Reolink NVR, and FTP for flexible recording.

Image: Comparison of CX410 Color Night Vision versus standard night vision. The top panel shows a vibrant, full-color image captured by the CX410 at night, while the bottom panel shows a monochrome image from another camera under similar conditions, highlighting the CX410's superior low-light performance.

Image: Diagram illustrating the F1.0 Super Aperture and 1/1.8 inch CMOS Sensor. This graphic explains how the large aperture captures four times more light than F2.0, and the advanced sensor collects the smallest details in low-light conditions, contributing to full-color vision.

Image: Depiction of the camera's supplement light functionality. It shows the camera with no light when there's no motion, adjustable brightness via the app, and the light activating upon motion detection, enhancing security and visibility.

Image: Illustration of the smart detection feature. The camera detects a vehicle, sending an instant notification (siren, push, email) to the user's device, demonstrating its ability to differentiate between various objects.
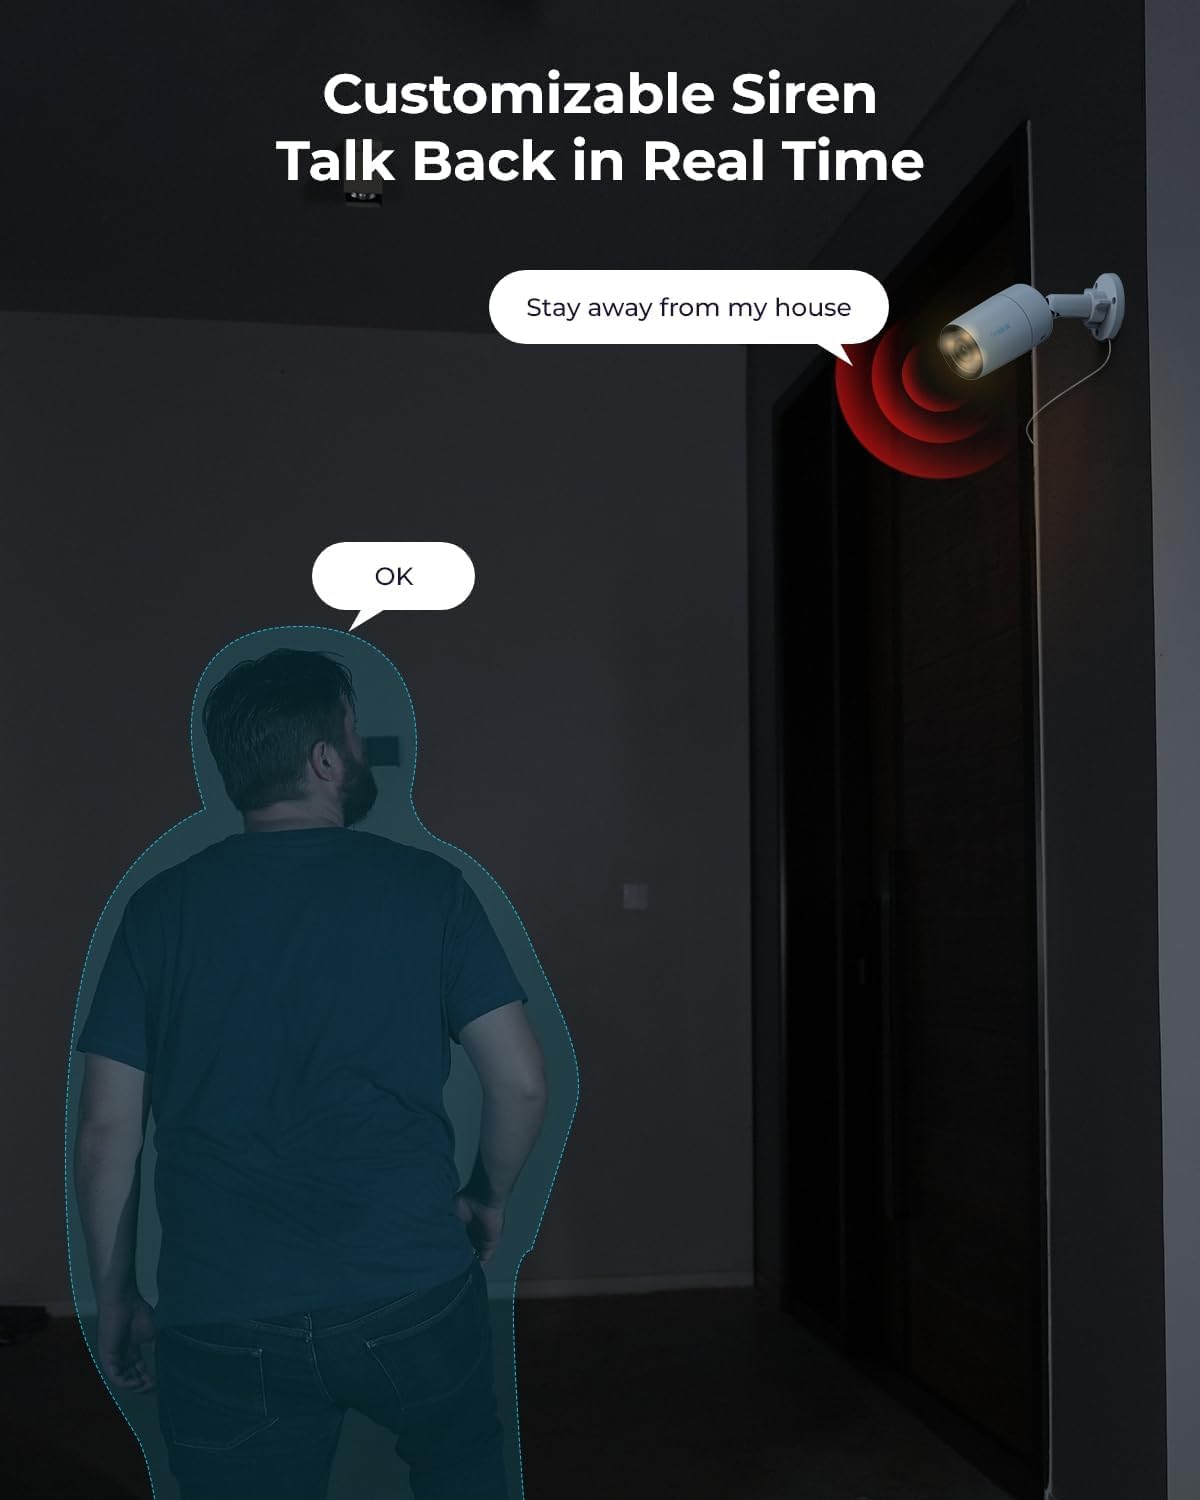
Image: Scene demonstrating the two-way talk and customizable siren features. A person is shown interacting with the camera, which emits a siren and allows for real-time voice communication, such as telling someone to "Stay away from my house."

Image: Overview of the multiple storage options available. It shows the camera supporting up to 256GB microSD card (not included), compatibility with Reolink NVR for 24/7 recording, and FTP support, emphasizing no monthly fees for storage.
4. Setup and Installation
4.1 Mounting the Junction Box B10
- Choose a suitable location for installation, ensuring a clear view and stable mounting surface.
- Use the mounting template (if provided) to mark the drill holes for the B10 Junction Box.
- Drill the necessary holes and insert wall anchors if mounting on masonry or drywall.
- Secure the B10 Junction Box to the wall using the provided screws. Ensure the box is level and securely fastened.
4.2 Installing the CX410 Camera
- Connect the network cable from your PoE switch or NVR to the CX410 camera's Ethernet port.
- Route the cable through the B10 Junction Box for a clean and protected connection.
- Attach the CX410 camera to the B10 Junction Box using the appropriate screws.
- Adjust the camera's angle to cover the desired monitoring area.
- Ensure all connections are secure and waterproof.

Image: REOLINK CX410 Camera and B10 Junction Box installed on an exterior wall. The image shows the camera securely mounted to the junction box, with the network cable neatly routed, demonstrating a professional and weather-resistant installation.
5. Operation
5.1 Initial Setup via Reolink App/Client
- Download the Reolink App from your mobile app store or the Reolink Client software from the official website.
- Ensure your camera is powered on and connected to your network.
- Open the Reolink App/Client and follow the on-screen instructions to add your camera. This typically involves scanning the QR code on the camera or manually entering its UID.
- Set up a strong password for your camera.
5.2 Live View and Playback
- Access live video feed from your camera through the Reolink App/Client.
- Use the playback function to review recorded footage stored on the microSD card, NVR, or FTP server.
5.3 Smart Detection Settings
- Configure detection zones to focus on specific areas of interest.
- Adjust sensitivity levels for person, vehicle, and pet detection to minimize false alerts.
- Set up notification preferences (push notifications, email alerts, siren activation).
5.4 Two-Way Audio
- Utilize the built-in microphone and speaker for two-way communication.
- Speak through the app to communicate with individuals near the camera.
6. Maintenance
- Cleaning: Periodically clean the camera lens and housing with a soft, damp cloth to ensure clear image quality. Avoid abrasive cleaners.
- Firmware Updates: Regularly check for and install firmware updates via the Reolink App/Client to ensure optimal performance, security, and access to new features.
- Cable Inspection: Periodically inspect the network cable and connections for any signs of wear or damage, especially in outdoor installations.
7. Troubleshooting
7.1 No Power/No Video
- Ensure the PoE switch or NVR is powered on and functioning correctly.
- Check the network cable connection between the camera and the PoE device. Try a different cable if necessary.
- Verify that the camera's Ethernet port indicator lights are active.
7.2 Poor Image Quality
- Clean the camera lens to remove any dirt or smudges.
- Ensure there are no obstructions in the camera's field of view.
- Check network bandwidth. Insufficient bandwidth can lead to lower video quality.
- Adjust camera settings (e.g., resolution, bitrate) in the Reolink App/Client.
7.3 False Alarms
- Adjust the sensitivity settings for person/vehicle/pet detection in the app.
- Refine detection zones to exclude areas with frequent irrelevant motion (e.g., swaying trees, busy roads).
- Ensure the camera firmware is up to date.
8. Specifications
| Feature | Detail |
|---|---|
| Model | CX410 (Camera), B10 (Junction Box) |
| Resolution | 2K (Specific resolution may vary, typically 2560x1440) |
| Aperture | F1.0 Super Aperture |
| Image Sensor | 1/1.8'' Image Sensor |
| Connectivity | Power over Ethernet (PoE) |
| Storage | MicroSD card (up to 256GB), Reolink NVR, FTP |
| Detection | Person, Vehicle, Pet Detection |
| Audio | Two-Way Audio |
| Weatherproof Rating | Suitable for outdoor/indoor use (specific IP rating not provided, but implied by description) |
| ASIN | B0F6T4MWJ4 |
| Date First Available | April 29, 2025 |
9. Warranty and Support
REOLINK provides a 2-year warranty for this product. Additionally, customers can benefit from lifetime tech support directly from the manufacturer. For any technical assistance or warranty claims, please contact REOLINK customer service through their official website or the contact information provided with your product packaging.
You can visit the official REOLINK website for more resources and support: www.reolink.com


