
1. Introduction
Thank you for choosing the UPERFECT 18.4-Inch 4K UHD Portable Monitor. This manual provides essential information for setting up, operating, and maintaining your new monitor. Please read this manual thoroughly before use to ensure proper functionality and to maximize your viewing experience.
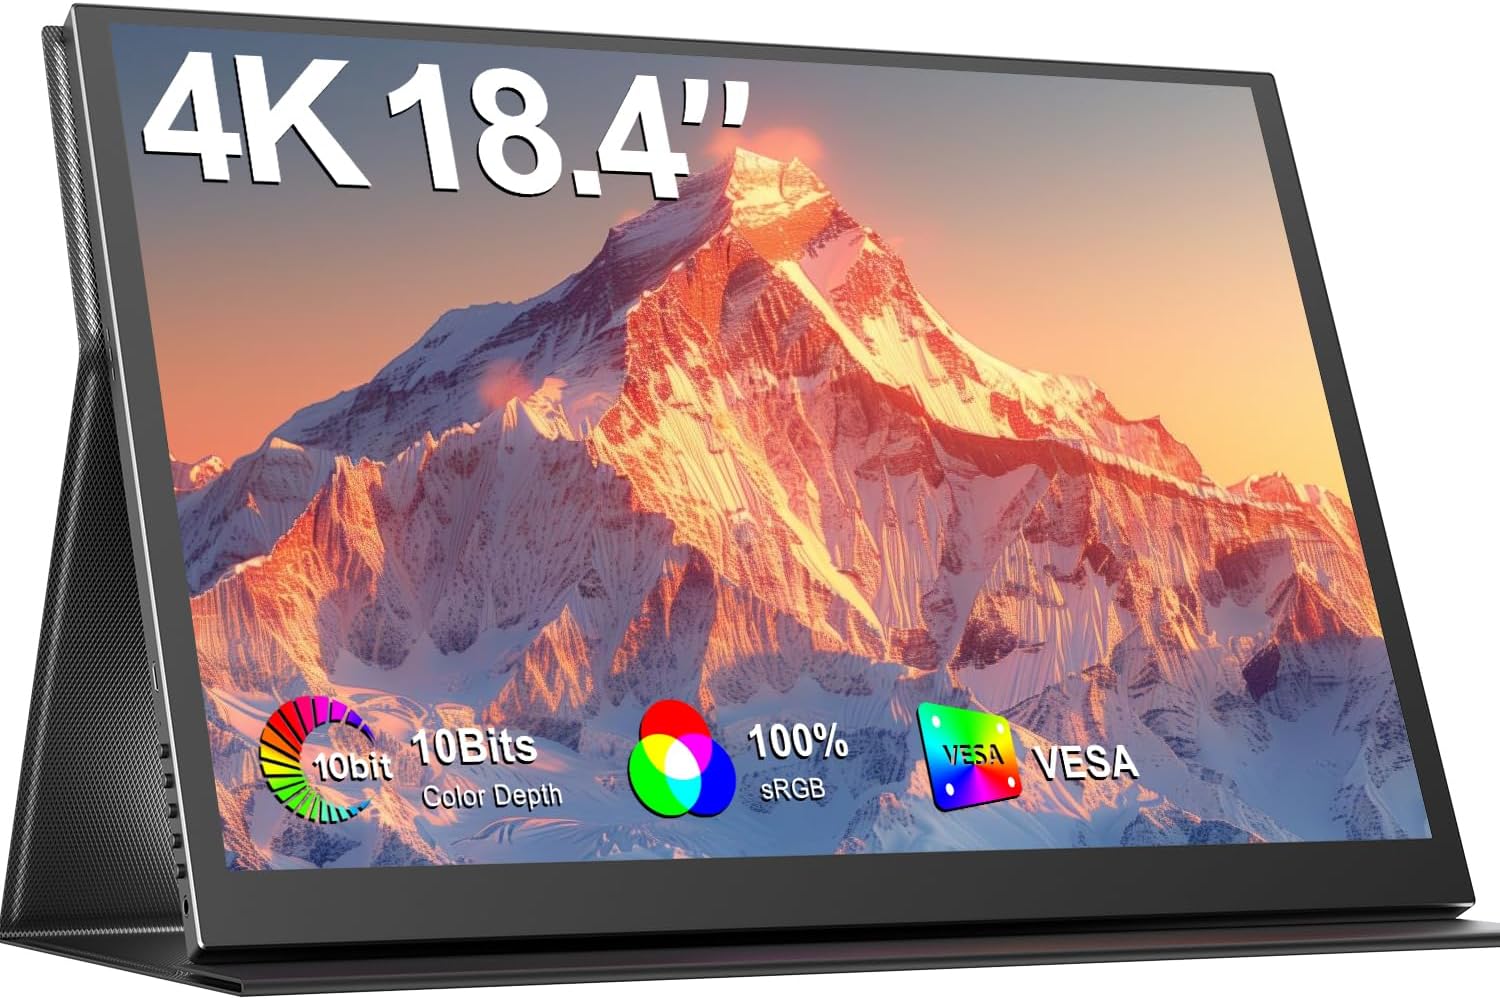
Image 1.1: The UPERFECT 18.4-Inch 4K UHD Portable Monitor, showcasing its display and slim design.
2. Product Overview
2.1 Key Features
- Large 18.4-Inch 4K UHD Display: Features a 3840x2160 resolution IPS panel for detailed visuals.
- Vivid 10-Bit Color & HDR: Offers 10-bit color depth, 100% sRGB coverage, and HDR support for accurate and vibrant images.
- VESA Mountable: Equipped with 75mm VESA holes for flexible mounting options.
- Wide Device Compatibility: Connects via USB-C and Mini HDMI ports to various devices including laptops, smartphones, and gaming consoles.
- Portable Design: Slim, lightweight, and includes a protective leather cover for travel and use as a stand.
- Integrated Audio: Features built-in speakers and a headphone jack.
- Eye Care Features: Includes Blue Light Filter and Flicker-Free technology.

Image 2.1: Visual comparison illustrating the larger display area of the 18.4-inch monitor compared to a 15.6-inch model, enhancing productivity.
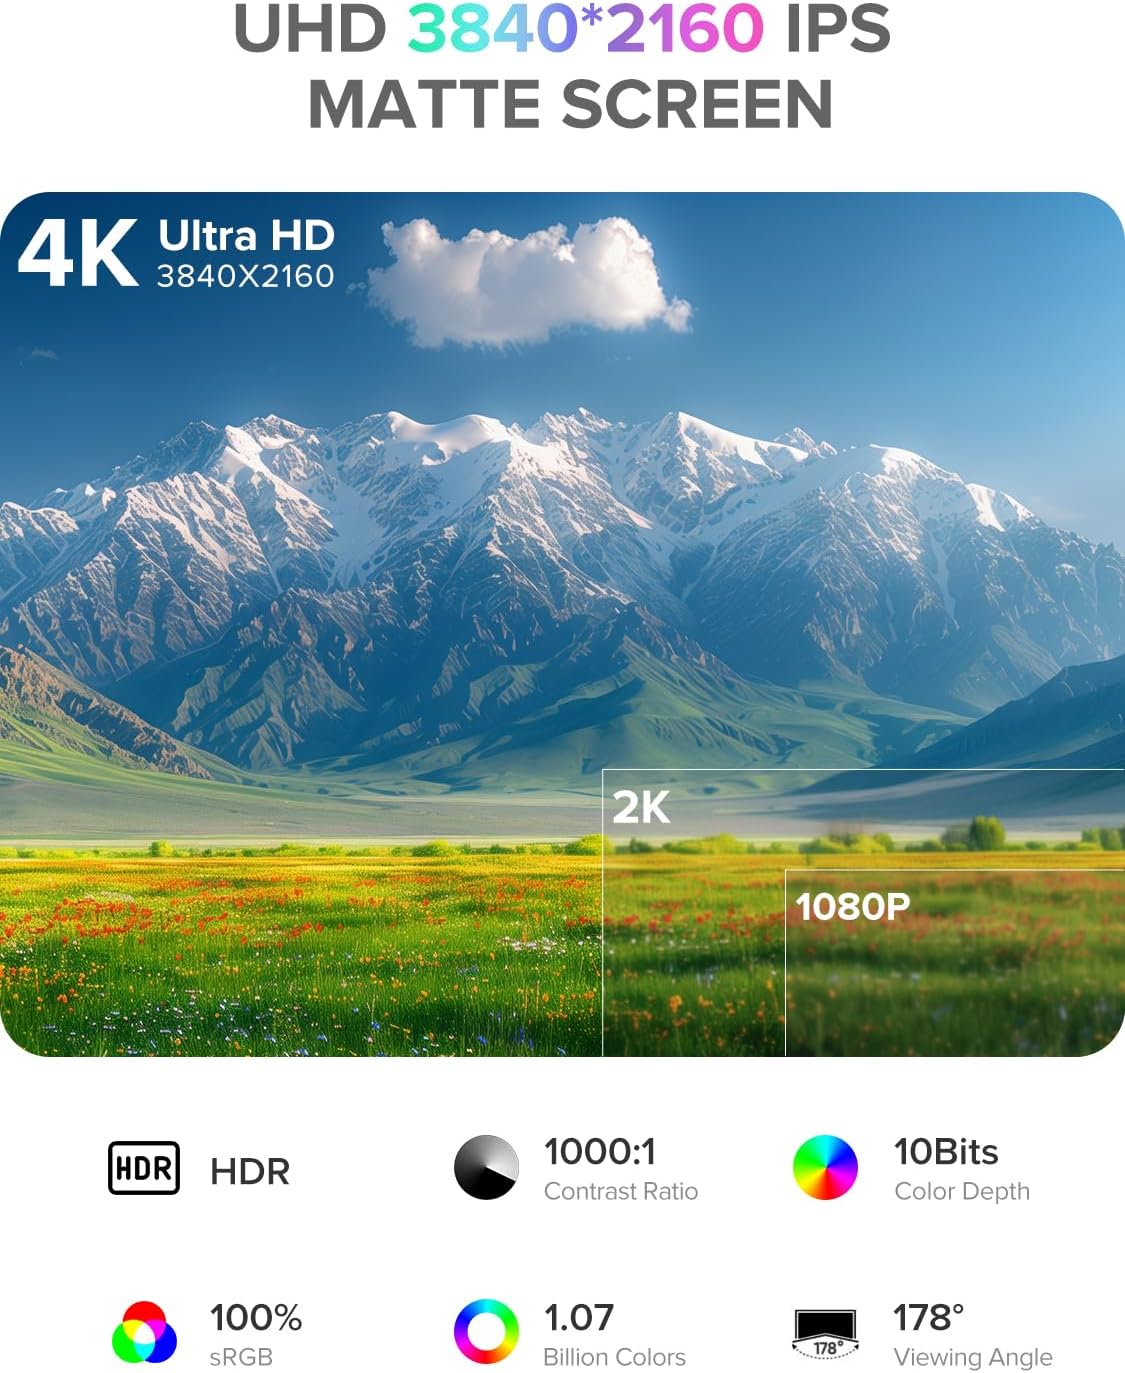
Image 2.2: Details of the monitor's 4K UHD (3840x2160) IPS matte screen, highlighting HDR, 1000:1 contrast ratio, 10-bit color depth, 100% sRGB, 1.07 billion colors, and 178° viewing angle.

Image 2.3: Illustration of 10-bit color depth, demonstrating smoother color transitions compared to 8-bit, resulting in 1.07 billion colors.
2.2 Package Contents
Please check the package for the following items:
- UPERFECT 18.4-Inch 4K UHD Portable Monitor
- Protective Leather Cover (doubles as a stand)
- USB-C to USB-C Cable (for power and video)
- Mini HDMI to HDMI Cable (for video)
- Power Adapter (USB-C)
- User Manual
3. Setup Instructions
Follow these steps to set up your portable monitor:
- Unpack: Carefully remove the monitor and all accessories from the packaging.
- Position: Place the monitor on a stable, flat surface. You can use the included leather cover as a stand by folding it appropriately.
- Connect Power: Connect the provided power adapter to a power outlet and then to one of the USB-C ports on the monitor. An external power source is recommended for optimal performance, especially when connecting to devices that do not provide sufficient power or when using the monitor at high brightness.
- Connect to Device:
- USB-C Connection: If your device (laptop, smartphone, tablet) has a full-featured USB-C port that supports DisplayPort Alternate Mode and power delivery, connect it to the monitor using the provided USB-C to USB-C cable. This single cable can transmit video, audio, and power.
- Mini HDMI Connection: If your device uses HDMI, connect it to the monitor's Mini HDMI port using the provided Mini HDMI to HDMI cable. In this setup, you will also need to connect the monitor to an external power source via USB-C.
- Power On: Press the power button on the monitor to turn it on.
4. Operating Instructions
The monitor features an On-Screen Display (OSD) menu for adjusting various settings.
4.1 Controls
The control buttons are typically located on the side of the monitor.
- ON/OFF Button: Press to power the monitor on or off.
- Menu Button: Press to access the OSD menu.
- Navigation Buttons ("-" / "+"): Use these buttons to navigate through the OSD menu options and adjust values.
- Return Button: Used to go back to the previous menu level or exit the OSD.
4.2 OSD Menu Navigation
- Press the Menu button to open the OSD menu.
- Use the "-" or "+" buttons to navigate between menu categories (e.g., Picture, Color, OSD Settings).
- Press the Menu button again to enter a selected category.
- Use the "-" or "+" buttons to select an option within the category and adjust its value.
- Press the Return button to exit the current menu or the OSD entirely.
4.3 Common Settings
- Brightness/Contrast: Adjust the overall luminance and difference between light and dark areas.
- Color Temperature: Select predefined color temperature settings or customize RGB values.
- HDR Mode: Enable or disable High Dynamic Range for compatible content.
- Aspect Ratio: Choose between 16:9, 4:3, or other available aspect ratios.
- Volume: Adjust the output volume for the built-in speakers or connected headphones.
- Input Source: Manually select between USB-C and Mini HDMI inputs if auto-detection fails.
5. Connectivity
The UPERFECT portable monitor offers versatile connectivity options to suit various devices.

Image 5.1: Close-up view of the monitor's ports, including Mini HDMI, Type-C 3.1, Micro-USB OTG, and audio jack, along with icons illustrating compatibility with phones, pads, laptops, MacBooks, Switch, PS4, PS5, and PCs.
- USB-C (Full-featured): Two USB-C ports are available. These ports support video, audio, and power delivery. Connect to compatible laptops, smartphones, and tablets with a single USB-C cable.
- Mini HDMI: For devices with an HDMI output, use the Mini HDMI port for video and audio transmission. An additional USB-C connection for power is required when using Mini HDMI.
- Micro-USB OTG: This port allows you to connect peripherals such as a keyboard or mouse directly to the monitor, expanding its functionality.
- 3.5mm Audio Jack: Connect headphones or external speakers for private listening or enhanced audio.
Important Note on Power: For optimal brightness and stable operation, especially when using Mini HDMI or connecting to devices with limited power output, always connect the monitor to an external power source using the provided USB-C power adapter.
6. VESA Mounting
The monitor is VESA compatible, allowing for flexible mounting on monitor arms or wall mounts.

Image 6.1: The portable monitor mounted on a VESA arm, demonstrating its ability to transition between landscape and portrait modes. The VESA size is 75x75 mm, and the recommended screw size is M4x4 mm.
- VESA Standard: The monitor supports the 75mm x 75mm VESA mounting standard.
- Screw Size: Use M4x4 mm screws for mounting. Ensure screws are not too long to avoid damaging internal components.
- Installation: Attach the VESA mount adapter (if included or purchased separately) to the monitor, then secure it to your desired VESA-compatible arm or stand.
7. Maintenance
Proper care will extend the life and performance of your monitor.
- Cleaning the Screen:
- Turn off the monitor and unplug all cables.
- Gently wipe the screen with a soft, lint-free cloth (e.g., microfiber cloth).
- For stubborn marks, lightly dampen the cloth with water or a screen-cleaning solution specifically designed for electronics. Do not spray liquid directly onto the screen.
- Avoid using harsh chemicals, alcohol, or abrasive cleaners.
- Cleaning the Casing: Wipe the monitor casing with a soft, dry cloth.
- Storage: When not in use, store the monitor in its protective leather cover to prevent scratches and dust accumulation.
- Handling: Avoid applying excessive pressure to the screen or dropping the monitor.
8. Troubleshooting
If you encounter issues with your monitor, refer to the following common problems and solutions.
| Problem | Possible Solution |
|---|---|
| No signal / Black screen |
|
| Monitor does not power on |
|
| Flickering or unstable display |
|
| No audio |
|
9. Specifications
| Feature | Detail |
|---|---|
| Brand | UPERFECT |
| Model Number | 184T02 |
| Screen Size | 18.4 Inches |
| Display Resolution | 3840 x 2160 Pixels (4K UHD) |
| Panel Type | IPS |
| Color Depth | 10-Bit |
| Color Gamut | 100% sRGB |
| HDR Support | Yes |
| Contrast Ratio | 1000:1 |
| Response Time | 1 Millisecond |
| Refresh Rate | 60 Hz |
| Aspect Ratio | 16:9 |
| Screen Surface | Matte |
| Connectivity | 2x USB-C (Full-featured), 1x Mini HDMI, 1x Micro-USB OTG, 1x 3.5mm Audio Jack |
| VESA Compatibility | 75mm x 75mm (M4x4 mm screws) |
| Special Features | Blue Light Filter, Built-In Speakers, Eye Care, Flicker-Free, Frameless |
| Color | Black |
10. Warranty and Support
UPERFECT products are designed for reliability and performance. This monitor comes with a standard manufacturer's warranty. Please refer to the warranty card included in your package or visit the official UPERFECT website for detailed warranty terms and conditions.
For technical assistance, troubleshooting, or any product-related inquiries, please contact UPERFECT customer support. Our support team is available to provide prompt and knowledgeable assistance.
You can typically find contact information on the UPERFECT official website or through the retailer where you purchased the product.


