
zhiroad Q27
zhiroad 4K Dash Cam Q27 User Manual
Comprehensive instructions for your zhiroad 4K Dash Cam Q27, covering setup, operation, maintenance, troubleshooting, and specifications.
1. Introduction
Thank you for choosing the zhiroad 4K Dash Cam Q27. This manual provides detailed instructions to help you set up, operate, and maintain your device for optimal performance and safety on the road. Please read this manual thoroughly before use and retain it for future reference.
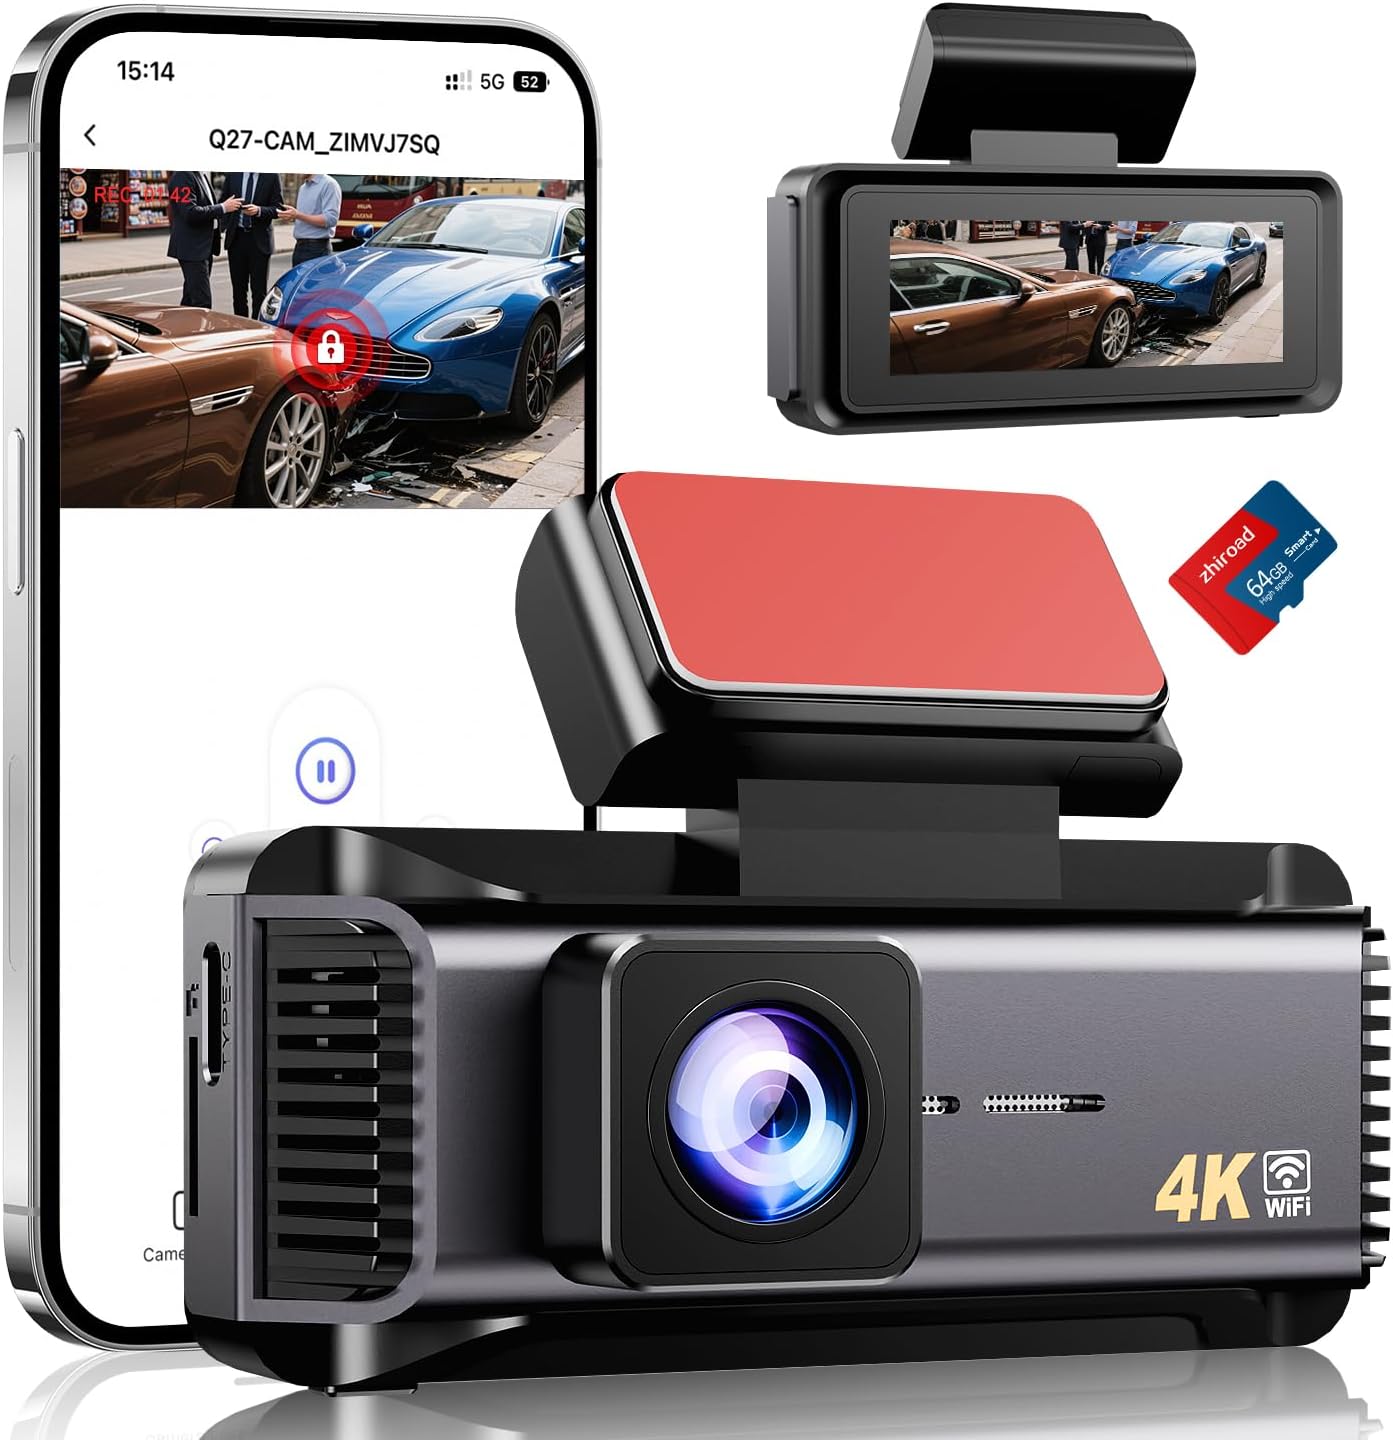
Image: The zhiroad 4K Dash Cam Q27 main unit, showcasing its compact design, a connected smartphone displaying the app interface with recorded footage, and a 64GB SD card.
2. What's in the Box
The zhiroad 4K Dash Cam Q27 package includes the following components:
- zhiroad 4K Dash Cam Q27 Main Unit
- Car Charger
- Crowbar (for cable routing)
- Cable Clips
- User Manual (this document)
- Warranty Card
- 64GB Micro SD Card (pre-installed or included separately)

Image: A visual representation of all items included in the zhiroad 4K Dash Cam Q27 package, such as the dash cam unit, car charger, crowbar, cable clips, SD card, and documentation.
3. Key Features
- Ultra HD 4K 2160P Front Dash Cam: Equipped with a 4K UHD camera, featuring a convenient 2.99'' large screen for effortless, instant viewing of recorded footage. Captures video at 3840x2160P resolution with a 170° wide-angle lens for comprehensive coverage, clearly recording every crucial moment, day or night.
- Upgraded 5GHz Wi-Fi & Smart App Control: Connects to the mobile app via 5GHz Wi-Fi (compatible with Android or iOS systems) for real-time previews, viewing replays, and file downloads. Easily share moments with a single tap.
- Loop Recording & G-Sensor: The loop recording function automatically overwrites the oldest files when storage reaches capacity, ensuring continuous recording. The built-in gravity sensor detects sudden collisions or impacts, instantly locking relevant footage to prevent overwriting, serving as crucial evidence.
- 24 Hour Parking Monitoring: Automatically switches to parking mode for continuous monitoring when the vehicle is stationary, capturing critical evidence of damage or break-ins. (This feature requires a hardwire kit, not included).
- Easy Installation & Exceptional After-Sales Support: Includes a crowbar and wire clips for straightforward installation. Comes with a three-year warranty and round-the-clock customer service.

Image: A feature overview banner for the zhiroad 4K Dash Cam Q27, detailing its core functionalities and specifications.
4. Setup and Installation
4.1. Front Dash Cam Installation
- Clean the Windshield: Ensure the installation area on your front windshield is clean and dry for optimal adhesive performance.
- Attach the Mount: Assemble the dash cam to its suction cup bracket. Choose a spot on the front windshield that does not obstruct your view. Rotate the bracket clockwise until the indicator tab points to the "lock" symbol to secure it. Adjust the angle as desired.
- Connect Power: Plug the USB-C power cable into the dash cam.
- Route the Cable: Use the included crowbar tool to tuck the power cable along the edge of the windshield and interior trim, leading it down to your vehicle's cigarette lighter socket. Use cable clips to secure any loose wires.
- Plug into Power: Plug the car charger into the vehicle's cigarette lighter socket.
- Power On: Start your vehicle. The dash cam will automatically power on and begin recording.
Video: A step-by-step guide demonstrating how to install the dash cam, including attaching the mount, routing cables, and connecting to the power source.

Image: An illustration detailing the simple "plug and play" installation process for the dash cam, showing how to connect the power cable and discreetly route it along the car's interior.
5. Operating Instructions
5.1. Basic Recording
Once powered on, the dash cam will automatically begin loop recording. The 2.99'' IPS screen will display the live view from the camera. You can navigate the menu using the physical buttons on the device to adjust settings or review footage directly.
5.2. App Control (5GHz Wi-Fi)
The dash cam features upgraded 5GHz Wi-Fi for seamless connection to your smartphone. Download the dedicated mobile app (compatible with Android or iOS) to access advanced controls and features:
- Real-time Preview: View live footage from the dash cam directly on your phone.
- Playback & Download: Easily review recorded videos and download important clips to your device.
- Settings Adjustment: Modify dash cam settings, such as resolution, loop recording duration, and G-Sensor sensitivity.
- Sharing: Share recorded footage directly to social media or with insurance providers.

Image: A smartphone screen showing the dash cam's mobile application, highlighting 5GHz Wi-Fi connectivity and options to preview, download, replay, and share video content.
Video: A demonstration of the zhiroad 4K Dash Cam Q27's features, including 4K recording, WiFi connectivity, and app control, showcasing its ease of use.
5.3. Loop Recording
The dash cam continuously records video in segments (e.g., 1, 3, or 5 minutes). When the memory card is full, the oldest unlocked files are automatically overwritten by new recordings. This ensures that recording never stops due to a full card.

Image: A visual explanation of the seamless loop recording function, illustrating how the dash cam continuously records and manages storage by overwriting older files, with support for up to 256GB SD cards.
5.4. G-Sensor (Collision Lock)
The built-in G-Sensor automatically detects sudden impacts or collisions. When triggered, the current video segment is locked and saved to a separate folder, preventing it from being overwritten by loop recording. This footage can be vital evidence in an accident.
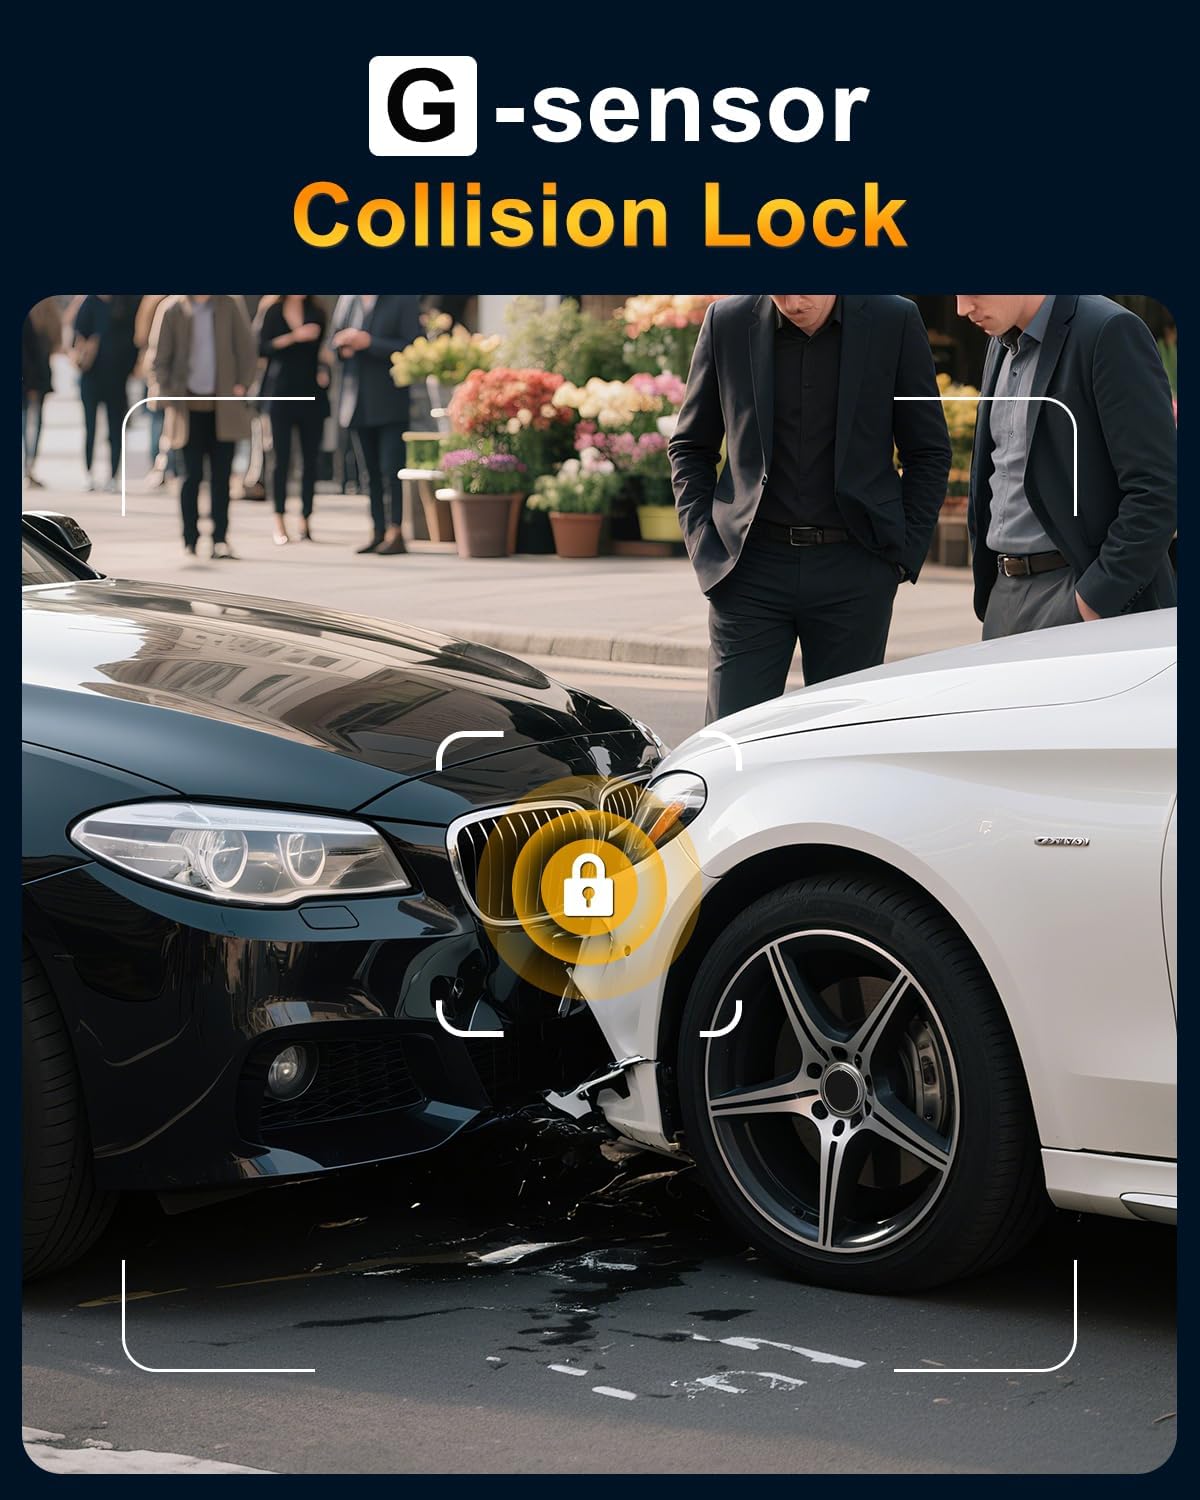
Image: A depiction of the G-Sensor's collision lock functionality, showing a car collision and a visual indicator that the relevant video segment is automatically secured.

Image: An explanation of the built-in G-Sensor, illustrating how it automatically locks important videos upon detecting a collision or vibration, with adjustable sensitivity levels.
5.5. 24-Hour Parking Monitoring
With an optional hardwire kit (not included), the dash cam can provide continuous surveillance even when your vehicle is parked. It detects motion or impact and automatically records, offering protection against vandalism or theft.

Image: The 24-hour parking monitor feature, depicting a car under a protective shield, indicating anti-theft and continuous recording capabilities. A hardwire kit is required for this function.

Image: An explanation of the 24-hour parking monitoring feature, detailing the need for a separately purchased hardwire kit to enable continuous surveillance.
5.6. Night Vision
The dash cam is equipped with advanced night vision technology, utilizing 6 sets of high-transmittance lenses and large aperture lenses (F1.8) to ensure clear recording in low-light conditions. This enhances visibility for license plates and road details during nighttime driving.

Image: A visual demonstration of the 4K Super Night Vision capability, showing a car driving at night with clear details of the road and license plate.

Image: An illustration explaining the Super Night Vision feature, detailing the use of 6 sets of high-transmittance and large aperture lenses (F1.8) for clear recording in the dark.
6. Maintenance
- Clean the Lens: Regularly wipe the camera lens with a soft, lint-free cloth to ensure clear footage.
- Format SD Card: Periodically format the Micro SD card (at least once a month) to prevent data corruption and ensure optimal recording performance. This can usually be done through the dash cam's settings menu or the mobile app.
- Check Connections: Ensure all cables and connections are secure to prevent power interruptions or recording issues.
- Temperature Considerations: The dash cam is designed to be durable and stable in various temperatures (cold-resistant to -20°C, heat-resistant to 70°C). However, avoid prolonged exposure to extreme temperatures when possible.

Image: An illustration highlighting the dash cam's durable and stable quality, showcasing its resistance to extreme cold (-20°C) and heat (70°C) for reliable operation in diverse climates.
7. Troubleshooting
- Dash Cam Not Powering On:
- Ensure the car charger is properly plugged into the cigarette lighter socket and the vehicle's ignition is on.
- Check the power cable connection to the dash cam.
- Test the car charger with another device to confirm it's working.
- Recording Issues (e.g., "Memory Card Speed Too Slow"):
- Ensure you are using a genuine Class 10, U3 Speed Micro SD Card.
- Format the SD card through the dash cam's settings menu.
- Try a different, high-quality Micro SD card (max support 256GB).
- Wi-Fi Connection Problems:
- Ensure the dash cam's Wi-Fi is enabled in the settings.
- Restart both the dash cam and your smartphone.
- Ensure your phone is within range of the dash cam's Wi-Fi hotspot.
- Poor Night Vision Quality:
- Clean the camera lens thoroughly.
- Ensure there are no obstructions on the windshield in front of the camera.
8. Specifications
| Feature | Specification |
|---|---|
| Model Number | Q27 Dashcam 4K |
| Video Capture Resolution | 4K (3840x2160P) |
| Screen Size | 2.99 inches IPS |
| Field of View | 170 Degrees |
| Connectivity Technology | Wi-Fi (5GHz) |
| Special Features | App Control, Loop Recording, Night Vision, G-Sensor, 24H Parking Monitor (Hardwire Kit Required) |
| Max SD Card Support | 256GB |
| Product Dimensions | 1.18 x 3.54 x 1.46 inches |
| Item Weight | 2.29 ounces |
| Manufacturer | zhiroad |
9. Warranty and Support
The zhiroad 4K Dash Cam Q27 comes with a three-year warranty. For any assistance, technical support, or warranty claims, please contact our customer service team. We are available around the clock to provide satisfactory solutions.
Please refer to the Warranty Card included in your package for specific contact details and terms.

Image: A graphic detailing zhiroad's customer support, including 24-hour email response, 30-day return policy, 3-year warranty, and dedicated technical support.
Related documentsQ27


Ask a question about this manual
Ask about setup, troubleshooting, compatibility, parts, safety, or missing instructions. Manuals+ will review the question and use this page’s manual context to help answer it.