1. Introduction
This manual provides detailed instructions for the safe and efficient use of your DETONGER P1 Label Maker Machine. Please read this manual thoroughly before operating the device and retain it for future reference.

Image: The DETONGER P1 Label Maker Machine, a compact white thermal printer, shown with several examples of labels it can produce, including shipping labels, product labels, and decorative labels.
2. Package Contents
Verify that all items listed below are included in your package:
- 1x DETONGER P1 Label Maker Machine
- 1x White Label Roll (2"x1.2", 240 sheets, pre-installed)
- 1x Type-C Charging Cable
- 1x User Manual
- 1x Certificate of Conformity

Image: A flat lay of the DETONGER P1 Label Maker Machine and its included accessories: a white label roll, a USB-C charging cable, a user manual, and a certificate of conformity.
3. Product Overview
Familiarize yourself with the components of your P1 Label Maker:
- Power Button: Long press to turn on/off. Short press to feed label.
- Status Indicator Light: Indicates device status (e.g., power on, charging, error).
- Label Exit Slot: Where printed labels emerge.
- Cover Release Button: Used to open the top cover for label loading.
- USB-C Port: For charging the device.

Image: The DETONGER P1 Label Maker with its top cover open, revealing the internal mechanism and a label roll, illustrating the label loading area.
4. Setup
4.1. Charging the Device
Before first use, fully charge the label maker. Connect the provided USB-C cable to the device and a power source. The status indicator light will show charging status.

Image: A visual comparison showing the DETONGER P1 Label Maker with its 1800mAh battery, indicating 4-5 hours of continuous use, contrasted with a generic printer showing frequent charging needs.
4.2. Loading Label Paper
Follow these steps to correctly load the thermal label paper:
- Press the cover release button to open the top cover.
- Remove any existing label roll and the seal sticker from the new roll.
- Insert the label roll into the machine, ensuring the print side is facing down.
- Adjust the movable plate to secure the label roll in place, aligning it with the sensor on the right side.
- Close the cover, leaving approximately 0.1-0.2 inches of label paper exposed from the exit slot.

Image: A four-step visual guide demonstrating how to load label paper into the DETONGER P1 Label Maker, from opening the cover to ensuring the label is correctly positioned and exposed.
Video: A demonstration of how to load paper into the DETONGER P1 Label Maker.
4.3. App Installation
The DETONGER P1 Label Maker operates with the "WePrint" application. Download the app from your device's app store (Google Play Store for Android or Apple App Store for iOS) or by scanning the QR code on the back of the packaging box.

Image: Instructions for downloading the "WePrint" application, showing icons for Google Play and Apple App Store, and a QR code for easy access.
4.4. Bluetooth Connection
To connect your label maker to your smartphone via Bluetooth:
- Ensure the label maker is powered on (long press the power button). The status indicator light should be active.
- Enable Bluetooth and Location services on your smartphone.
- Open the "WePrint" app. The app will automatically search for nearby printers.
- Select your printer model (e.g., P1-XXXXXX) from the list and tap "Connect".
- Alternatively, tap the "Unconnected" button in the top right corner of the app's homepage to initiate the connection process.

Image: A visual guide showing the steps to power on the printer and connect it to a smartphone via Bluetooth using the WePrint app.
Video: A demonstration of how to connect the DETONGER P1 Label Maker to Bluetooth.
5. Operation
5.1. Creating and Editing Labels
The WePrint app offers various options for label creation:
- Scan Label: Scan the QR code on the label roll or packaging to automatically load the correct template.
- New Label: Manually set the label width and height to match your label paper.
- Customization: The app provides over 15 borders, 800+ symbols, 100+ fonts, and supports multiple languages for design.

Image: Screenshots of the WePrint app interface, showing options for creating new labels, scanning labels for templates, and editing label content with various design tools.
Video: A demonstration of how to get label templates using the DETONGER P1 Label Maker app.
5.2. Printing
Once your label design is complete, tap the "Print" button in the app. The P1 Label Maker uses thermal printing technology, requiring no ink or toner. It delivers 203 DPI prints with 15 levels of darkness adjustment for clear results.

Image: An example of labels printed by the DETONGER P1 Label Maker, shown on various containers, demonstrating its application for organizing kitchen items.
5.3. Label Types and Compatibility
The DETONGER P1 supports thermal labels with widths from 0.5 to 2 inches (12-50mm) and lengths from 0.8 to 2.8 inches (20-70mm). It is compatible with various shapes and colors of unencrypted thermal label paper, offering flexibility and cost savings.
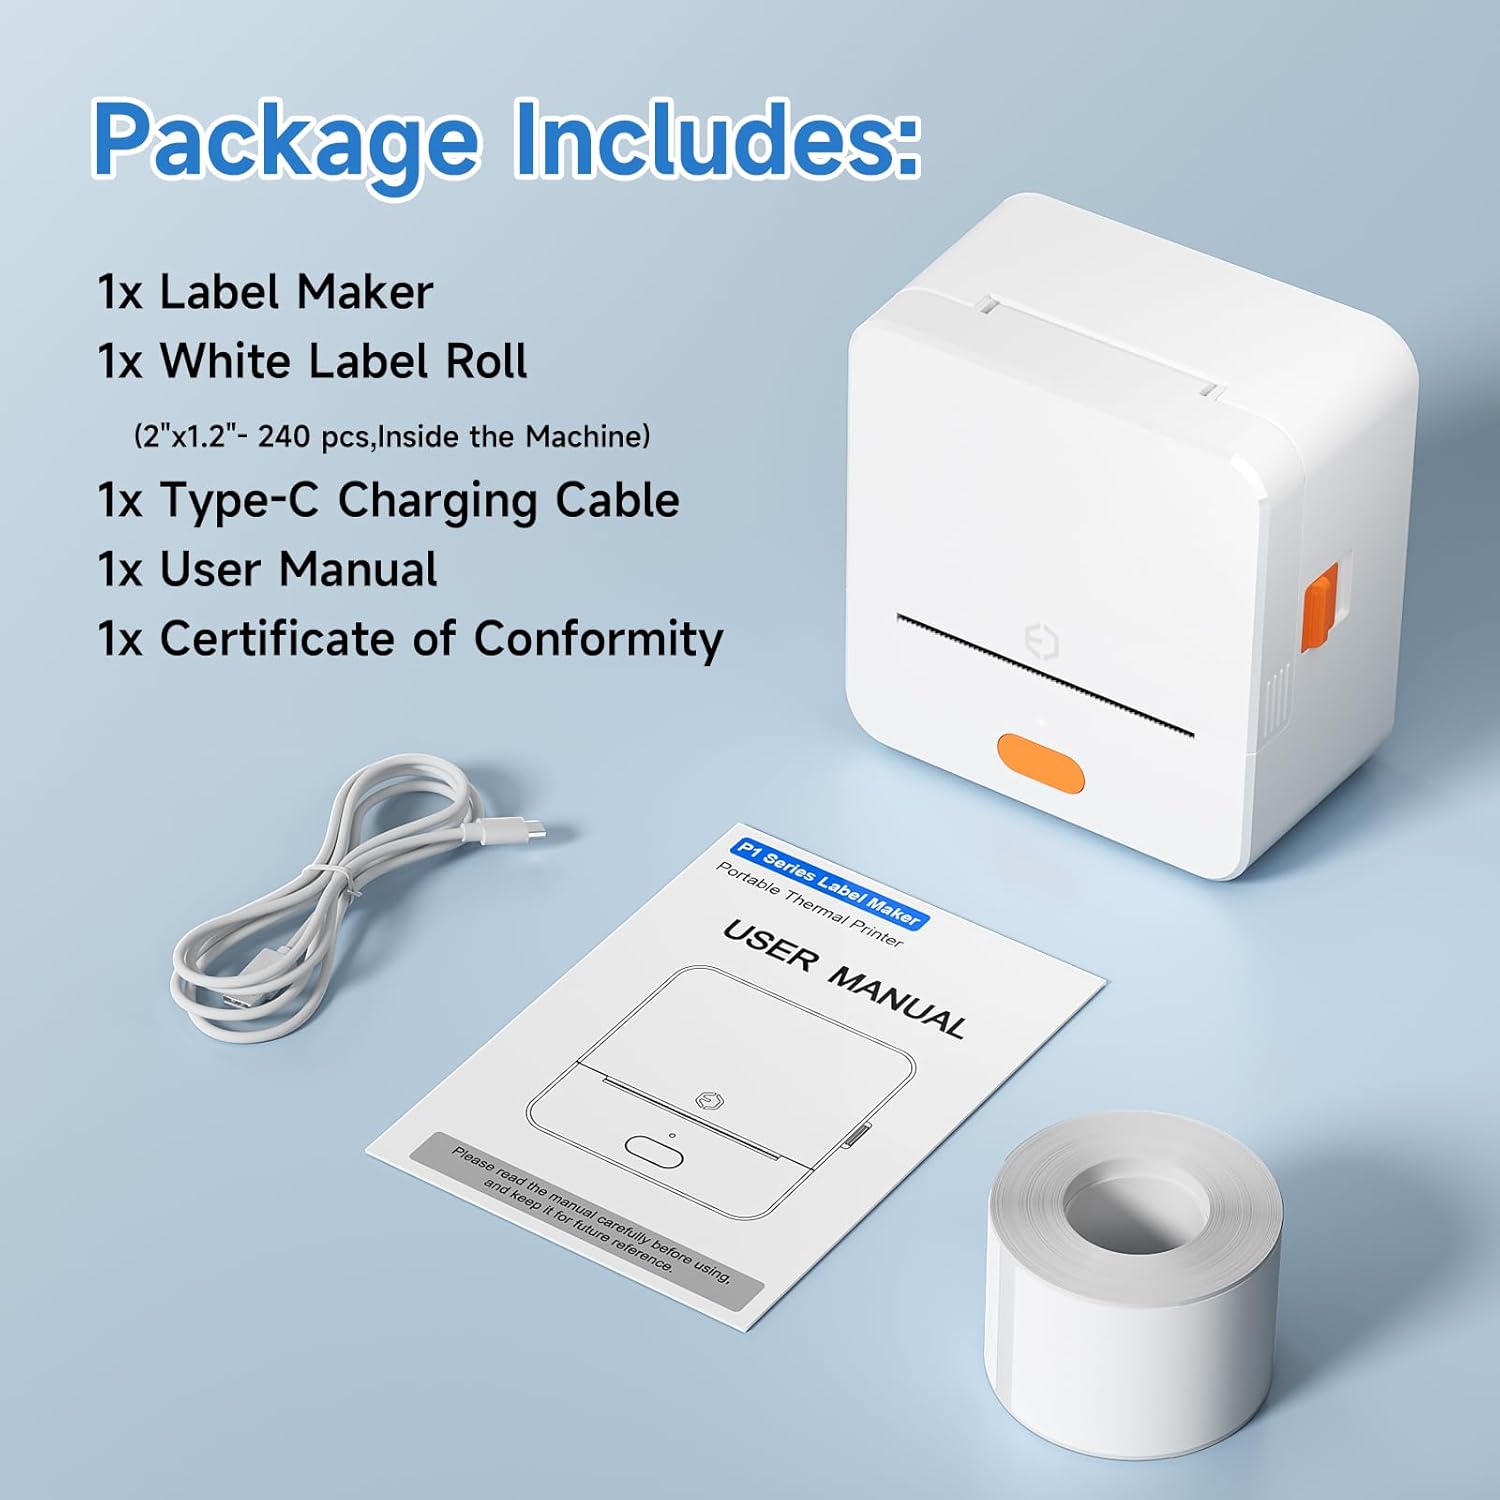
Image: A display of various label shapes and sizes, including gift labels, apparel labels, QR code labels, and price labels, all compatible with the DETONGER P1 Label Maker.
The labels produced are designed to be durable, featuring 7-layer coating for liquid-proof, tear-resistant, and scratch-resistant properties, with excellent adhesion and no adhesive residue upon removal.

Image: A collage illustrating the durability features of DETONGER P1 labels, including oil-proof, tear resistance, waterproof, non-shedding, scratch resistance, and no residue.
6. Maintenance
6.1. Cleaning
Regular cleaning ensures optimal performance. Use a soft, dry cloth to wipe the exterior of the device. For the print head, use an alcohol wipe or a specialized thermal printer cleaning pen. Ensure the device is turned off before cleaning.
6.2. Storage
Store the label maker in a cool, dry place away from direct sunlight and extreme temperatures. When not in use for extended periods, ensure the device is fully charged before storage and recharge it periodically to maintain battery health.
7. Troubleshooting
If you encounter issues with your DETONGER P1 Label Maker, refer to the following common solutions:
| Problem | Possible Cause | Solution |
|---|---|---|
| Device does not turn on. | Low battery or power button not pressed correctly. | Charge the device. Long press the power button for 3 seconds. |
| Cannot connect via Bluetooth. | Bluetooth/Location off, app not detecting, or incorrect printer selected. | Ensure Bluetooth and Location are enabled. Restart the app. Select the correct printer model in the app. |
| Poor print quality. | Incorrect label loading, dirty print head, or low darkness setting. | Reload label paper correctly. Clean the print head. Adjust print darkness in the app. |
| Labels are misaligned or blank pages print. | Label paper not properly aligned with the sensor. | Open the cover, adjust the label roll and movable plate to ensure proper alignment with the sensor. Close the cover. |
8. Specifications
| Feature | Detail |
|---|---|
| Model | P1 |
| Printing Technology | Thermal |
| Connectivity | Bluetooth, USB Type C |
| Print Resolution | 203 DPI |
| Label Width Supported | 0.5 - 2 inches (12 - 50 mm) |
| Label Length Supported | 0.8 - 2.8 inches (20 - 70 mm) |
| Battery Capacity | 1800mAh Rechargeable |
| Continuous Use Time | 4-5 hours |
| Product Dimensions | 3.62"D x 3.46"W x 2"H |
| Item Weight | 7.3 ounces (208 Grams) |
| Controller Type | WePrint App |
9. Warranty and Support
The DETONGER P1 Label Maker Machine comes with a limited warranty. For specific warranty details, please refer to the warranty card included in your package or contact DETONGER customer support.
For further assistance, technical support, or inquiries, please contact DETONGER customer service via Amazon. DETONGER offers 24/7 service to address any issues you may encounter.
You can also visit the official DETONGER store on Amazon for more information and related products: DETONGER Store


