
XtremepowerUS 75408-2
XtremepowerUS 1.75 HP Variable Speed Swimming Pool Pump User Manual
Model: 75408-2 | Brand: XtremepowerUS
1. Introduction
Thank you for choosing the XtremepowerUS 1.75 HP Variable Speed Swimming Pool Pump. This manual provides essential information for the safe installation, operation, and maintenance of your new pool pump. Please read this manual thoroughly before installation and operation to ensure proper function and to prevent damage or injury. Keep this manual for future reference.
1.1 Safety Information
Always observe basic safety precautions to reduce the risk of fire, electric shock, and injury to persons, including the following:
- Read and follow all instructions carefully.
- Disconnect power before servicing.
- Installation must be performed by a qualified professional and comply with all local and national electrical and plumbing codes.
- Do not operate the pump if it is damaged.
- Keep children away from the pump and pool area.
2. Product Overview
The XtremepowerUS 1.75 HP Variable Speed Pool Pump is designed for efficient and quiet operation in in-ground swimming pools. Its variable speed technology allows for customized performance, reducing energy consumption and operating costs.
2.1 Key Features
- 1.75 Horsepower Design: Suitable for a wide range of in-ground pools, capable of covering needs typically met by 1HP or 1.5HP pumps.
- Commercial-Graded Material: Constructed with reinforced thermoplastic for superior strength, durability, and corrosion resistance.
- Powerful High Flow: Ensures efficient water circulation with ultra-low noise operation.
- Easy-To-Use-Interface: Programmable touchpad for customizing pump speeds and schedules.
- Custom Programming: Allows for optimal pump speeds for filtering, cleaning, heating, spa jets, and waterfalls.

Image 2.1: Front view of the XtremepowerUS 1.75 HP Variable Speed Swimming Pool Pump.
Video 2.1: An overview of the XtremepowerUS Variable Speed Pool Pump, highlighting its features and benefits for efficient pool maintenance.
3. Components
The pool pump consists of several key components designed for optimal performance and ease of use. Familiarize yourself with these parts before installation.
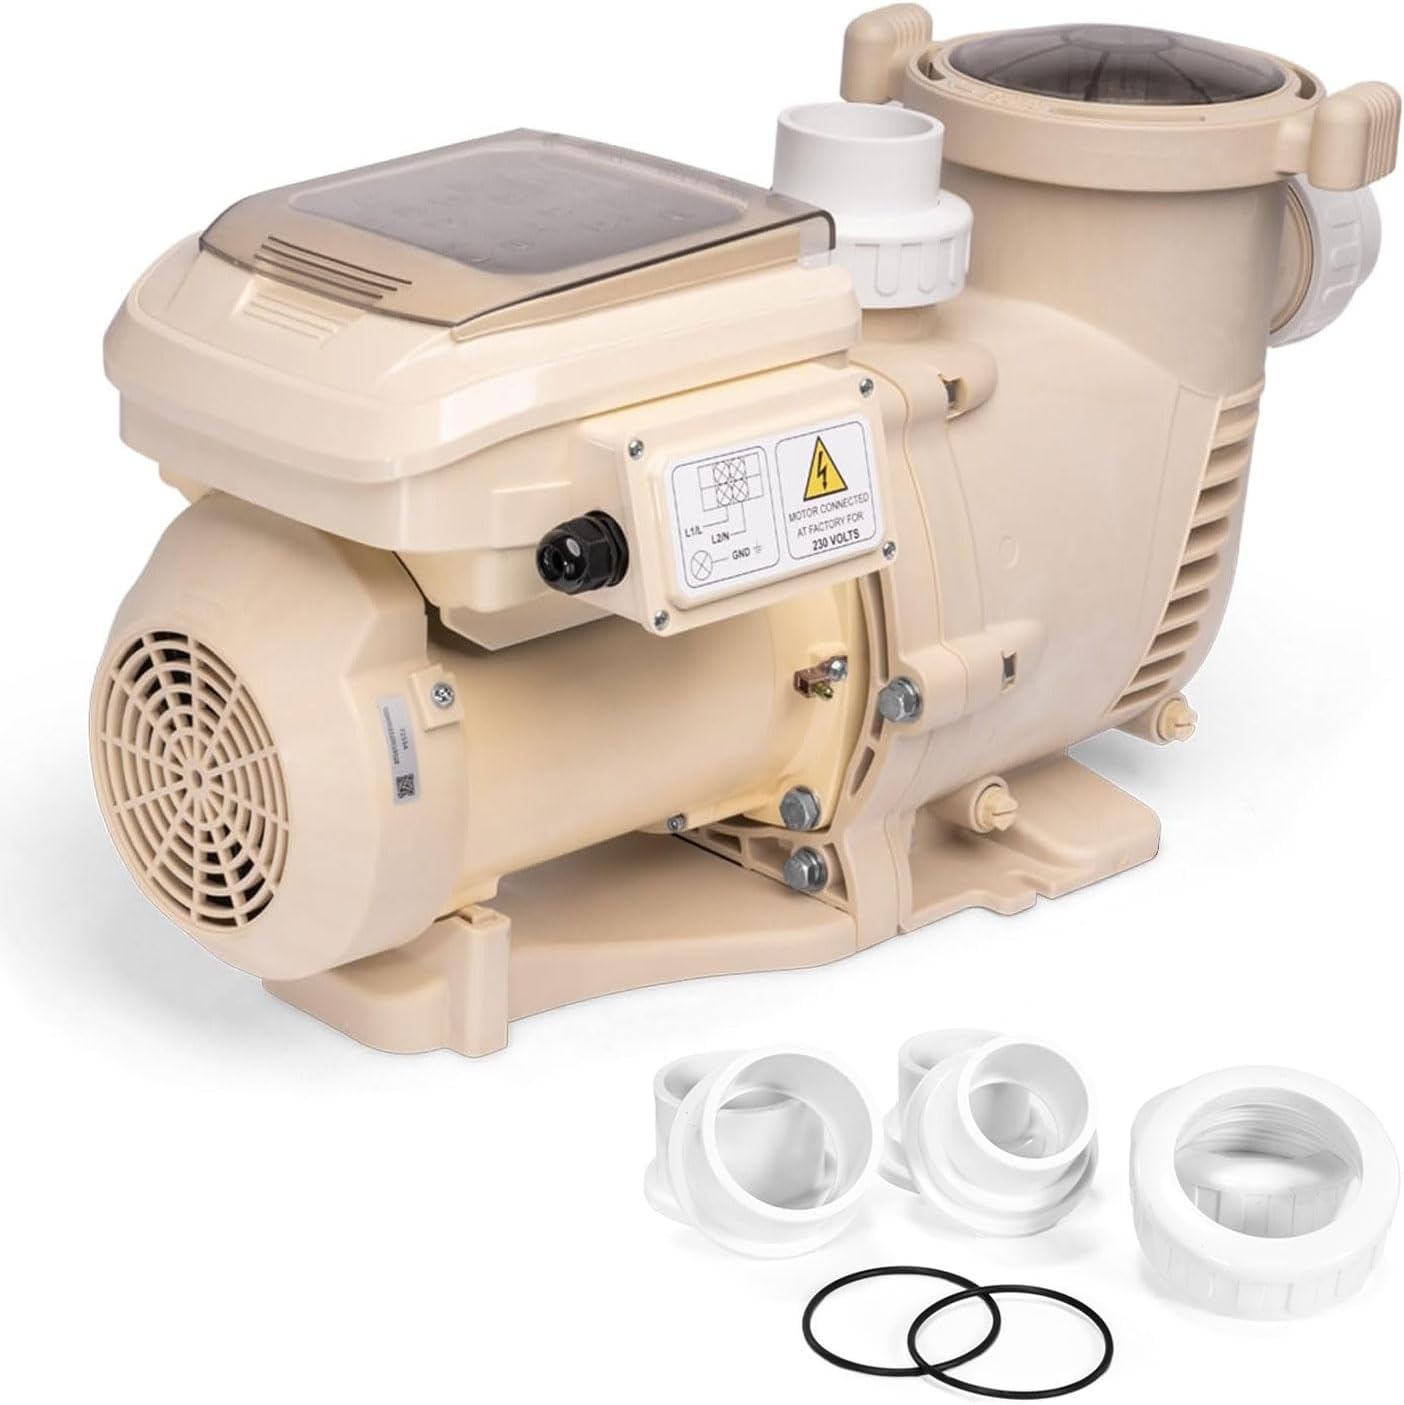
Image 3.1: The pool pump shown with its various connection fittings, including 2-inch and 1.5-inch adapters for flexible installation.
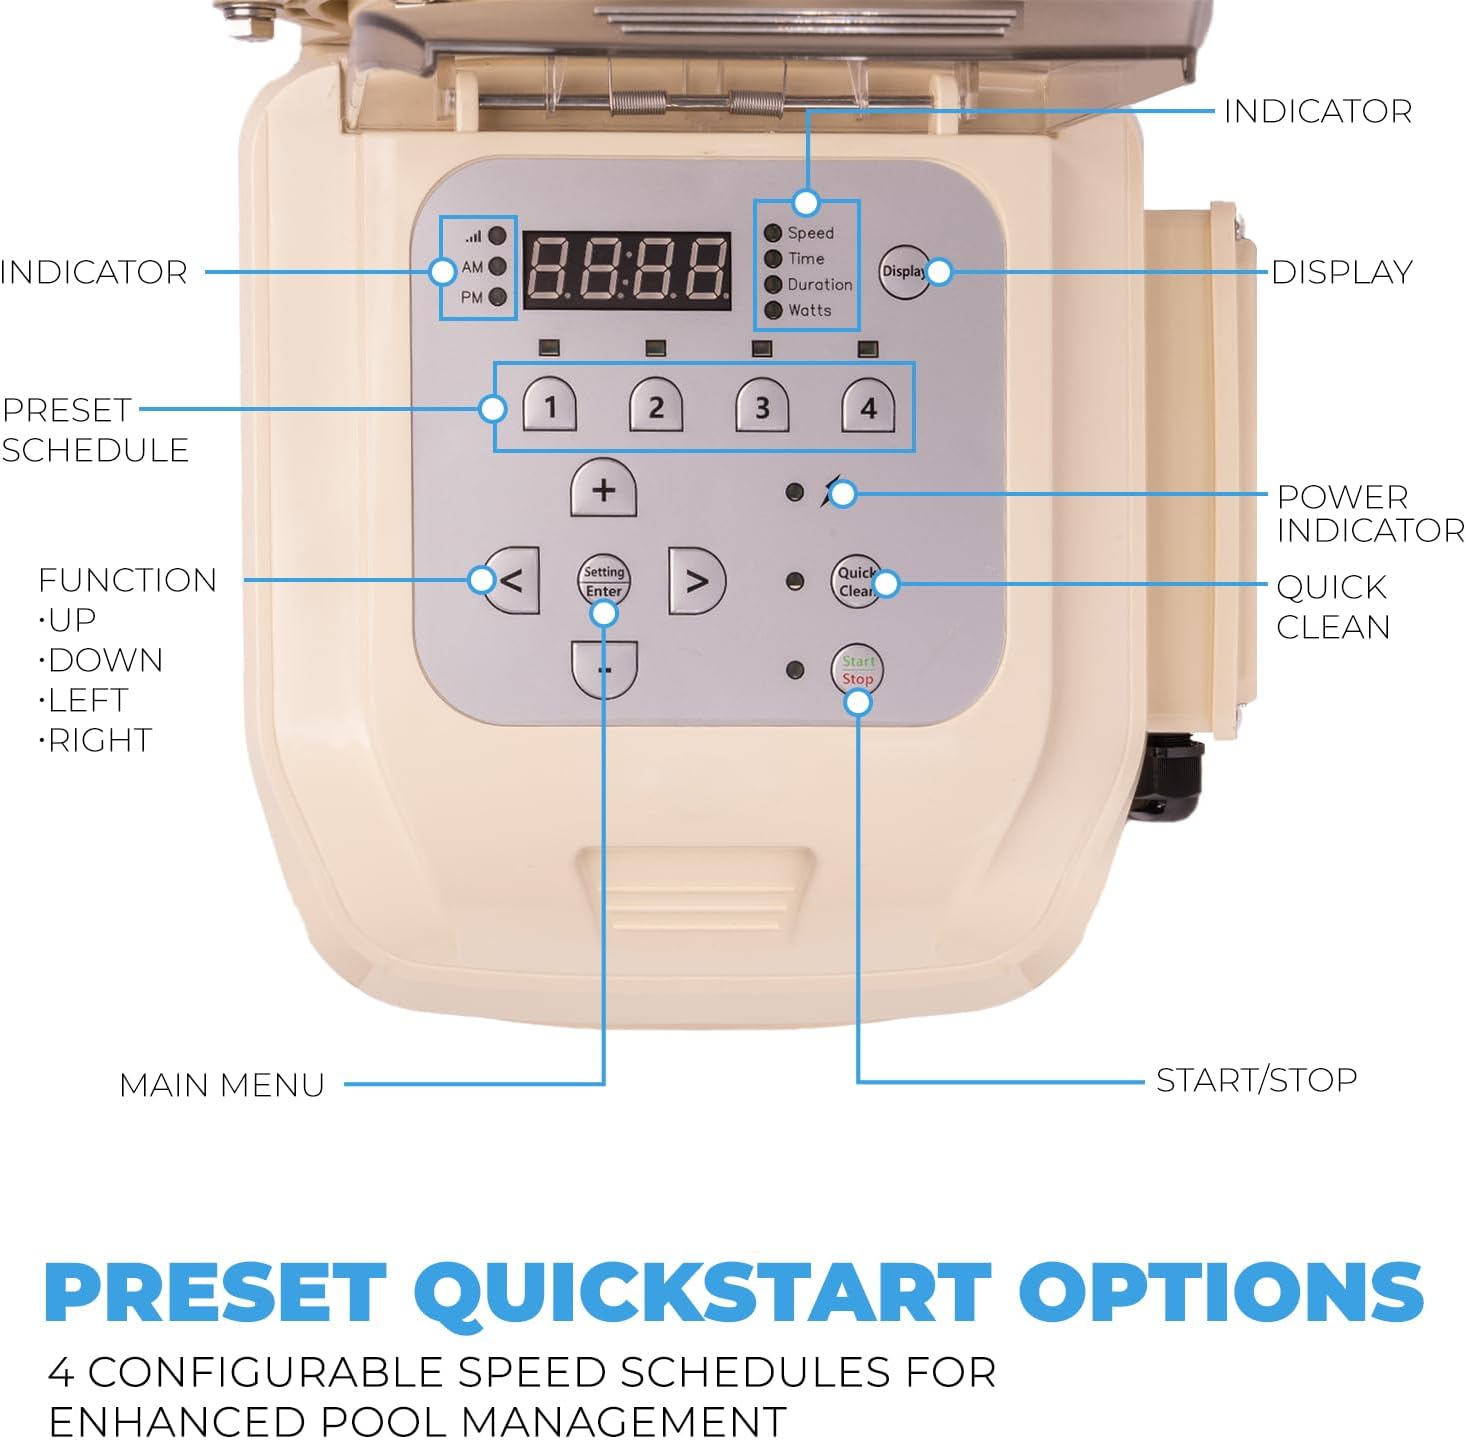
Image 3.2: Detailed view of the pump's control panel, indicating the display, indicators, preset schedule buttons, function controls, Quick Clean button, and Start/Stop button.
3.1 Main Parts
- Pump Motor: The primary power unit for water circulation.
- Strainer Basket: Collects debris before it enters the pump, visible through the clear lid.
- Control Panel: Digital interface for programming and operating the pump.
- Inlet/Outlet Ports: Connections for plumbing to and from the pool system.
- Drain Plugs: For draining water from the pump housing during maintenance or winterization.
4. Setup & Installation
Proper installation is crucial for the pump's performance and longevity. Ensure all steps are followed carefully.
4.1 Site Selection
- Install the pump as close to the pool as possible to minimize friction loss from long suction lines.
- Ensure the location is well-ventilated and protected from direct sunlight and excessive moisture.
- Provide adequate space around the pump for routine maintenance and servicing.
4.2 Electrical Connection
- The pump operates on 230 Volts, 60 Hz. Ensure your electrical supply matches these requirements.
- All wiring must comply with local and national electrical codes.
- Connect the pump to a dedicated circuit protected by a Ground Fault Circuit Interrupter (GFCI).
- Refer to the wiring diagram on the pump motor for correct connections.
4.3 Plumbing
The pump is designed for 2-inch plumbing connections and includes adapters for 1.5-inch pipes.
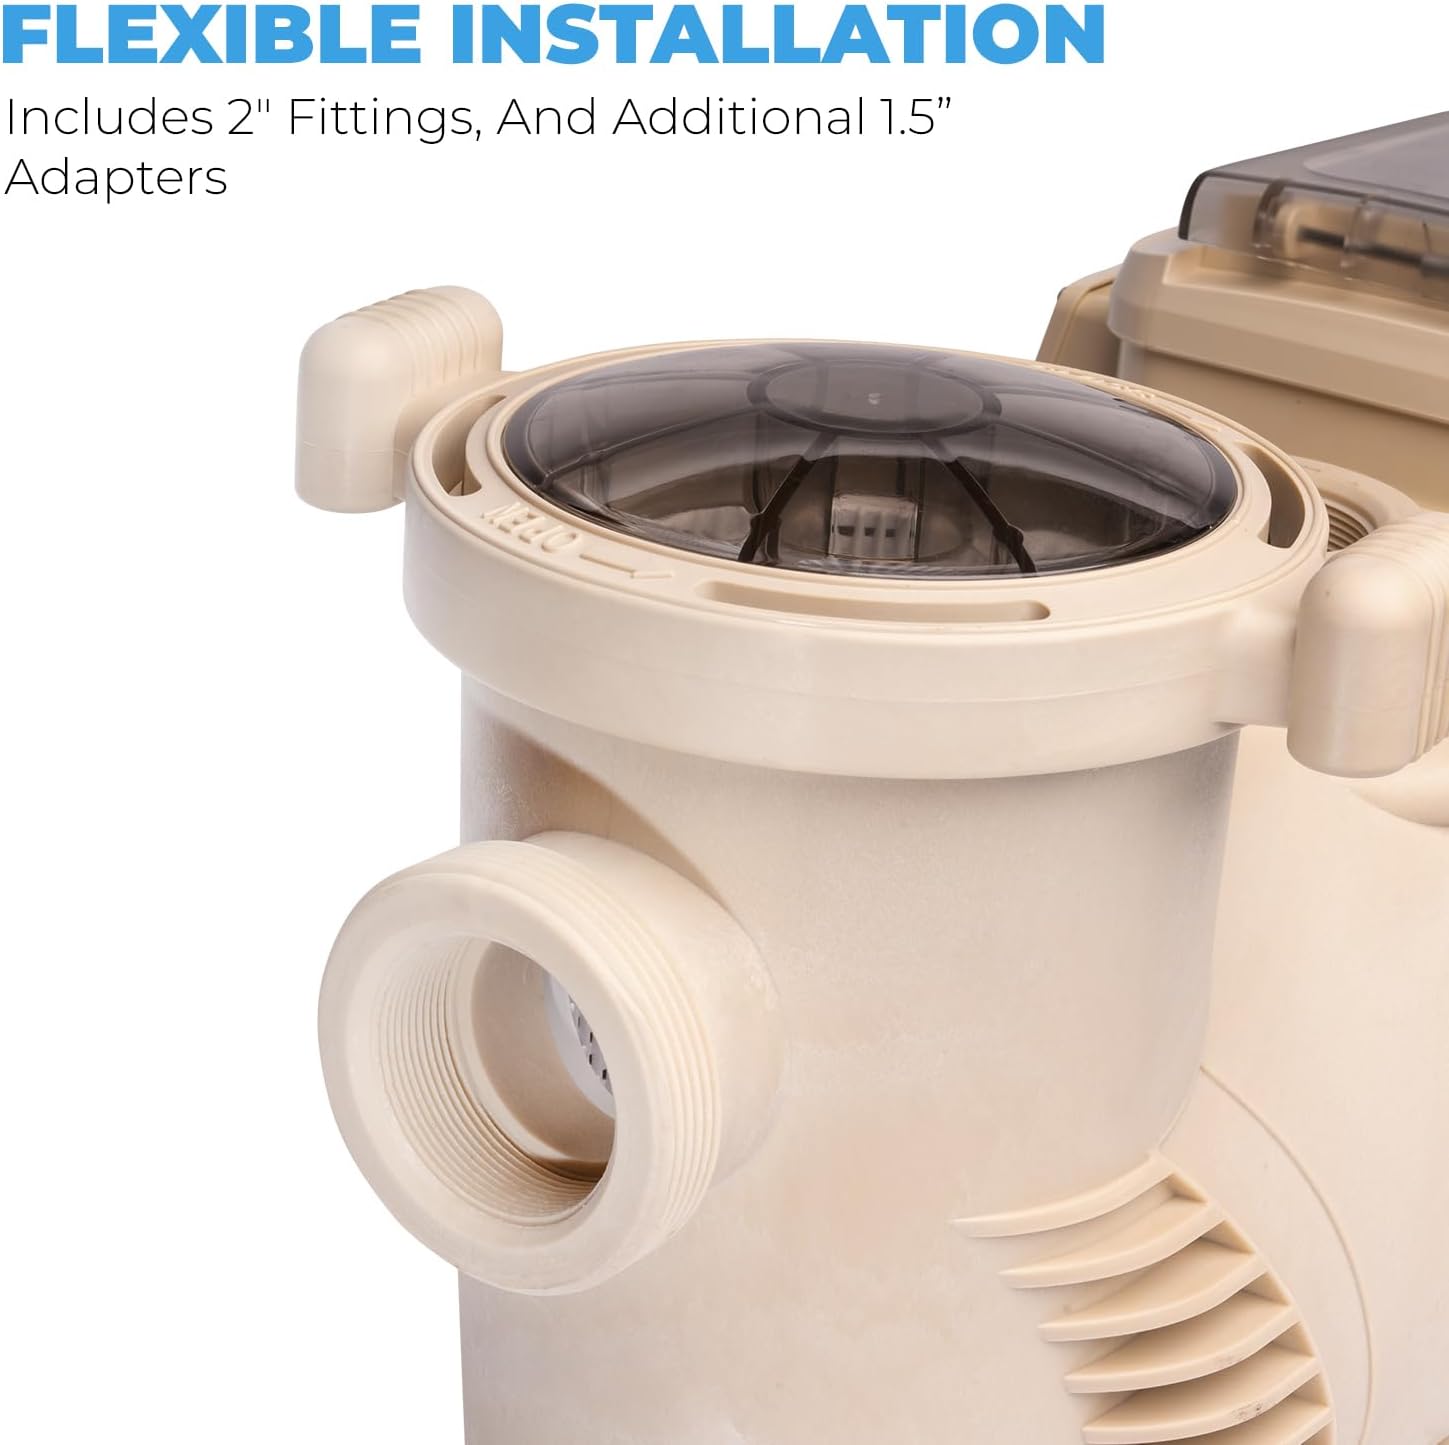
Image 4.1: Close-up of the 2-inch fittings and additional 1.5-inch adapters provided for flexible plumbing installation.
- Use appropriate PVC cement and primer for all pipe connections.
- Ensure all connections are watertight to prevent leaks and maintain pump efficiency.
- Install isolation valves on both the suction and discharge sides of the pump for easier maintenance.
5. Operation
The variable speed pump offers advanced control over your pool's circulation, allowing for energy savings and optimized performance.
5.1 Control Panel Overview
The digital control panel allows you to program and monitor the pump's operation. Refer to Image 3.2 for button layout.
- Display: Shows current speed, time, duration, and wattage.
- Indicator Lights: Show AM/PM, Speed, Time, Duration, Watts.
- Preset Schedule Buttons (1-4): Quickly select pre-configured speeds and durations.
- Function Buttons (<, >, ^, v): Navigate menus and adjust settings.
- Setting/Enter Button: Confirm selections.
- Quick Clean Button: Activates a high-speed cleaning cycle.
- Start/Stop Button: Turns the pump on or off.
5.2 Programming Speeds
The pump features a customizable 4-speed operation. You can set specific RPMs and run durations for each preset.

Image 5.1: Example of pre-set speeds and their recommended run times for the 4-speed operation.
- Press the 'Display' button to cycle through Speed, Time, Duration, and Watts.
- Select a preset button (1-4) to program.
- Use the function buttons to adjust the desired RPM and run duration for that preset.
- Press 'Setting/Enter' to save the settings.
The variable speed motor significantly contributes to energy savings. The pump uses just 0.12 Kwh at low power, 0.75 Kwh at 80% speed, and 1.47 Kwh at max power, leading to a high Weighted Energy Factor (WEF) rating.
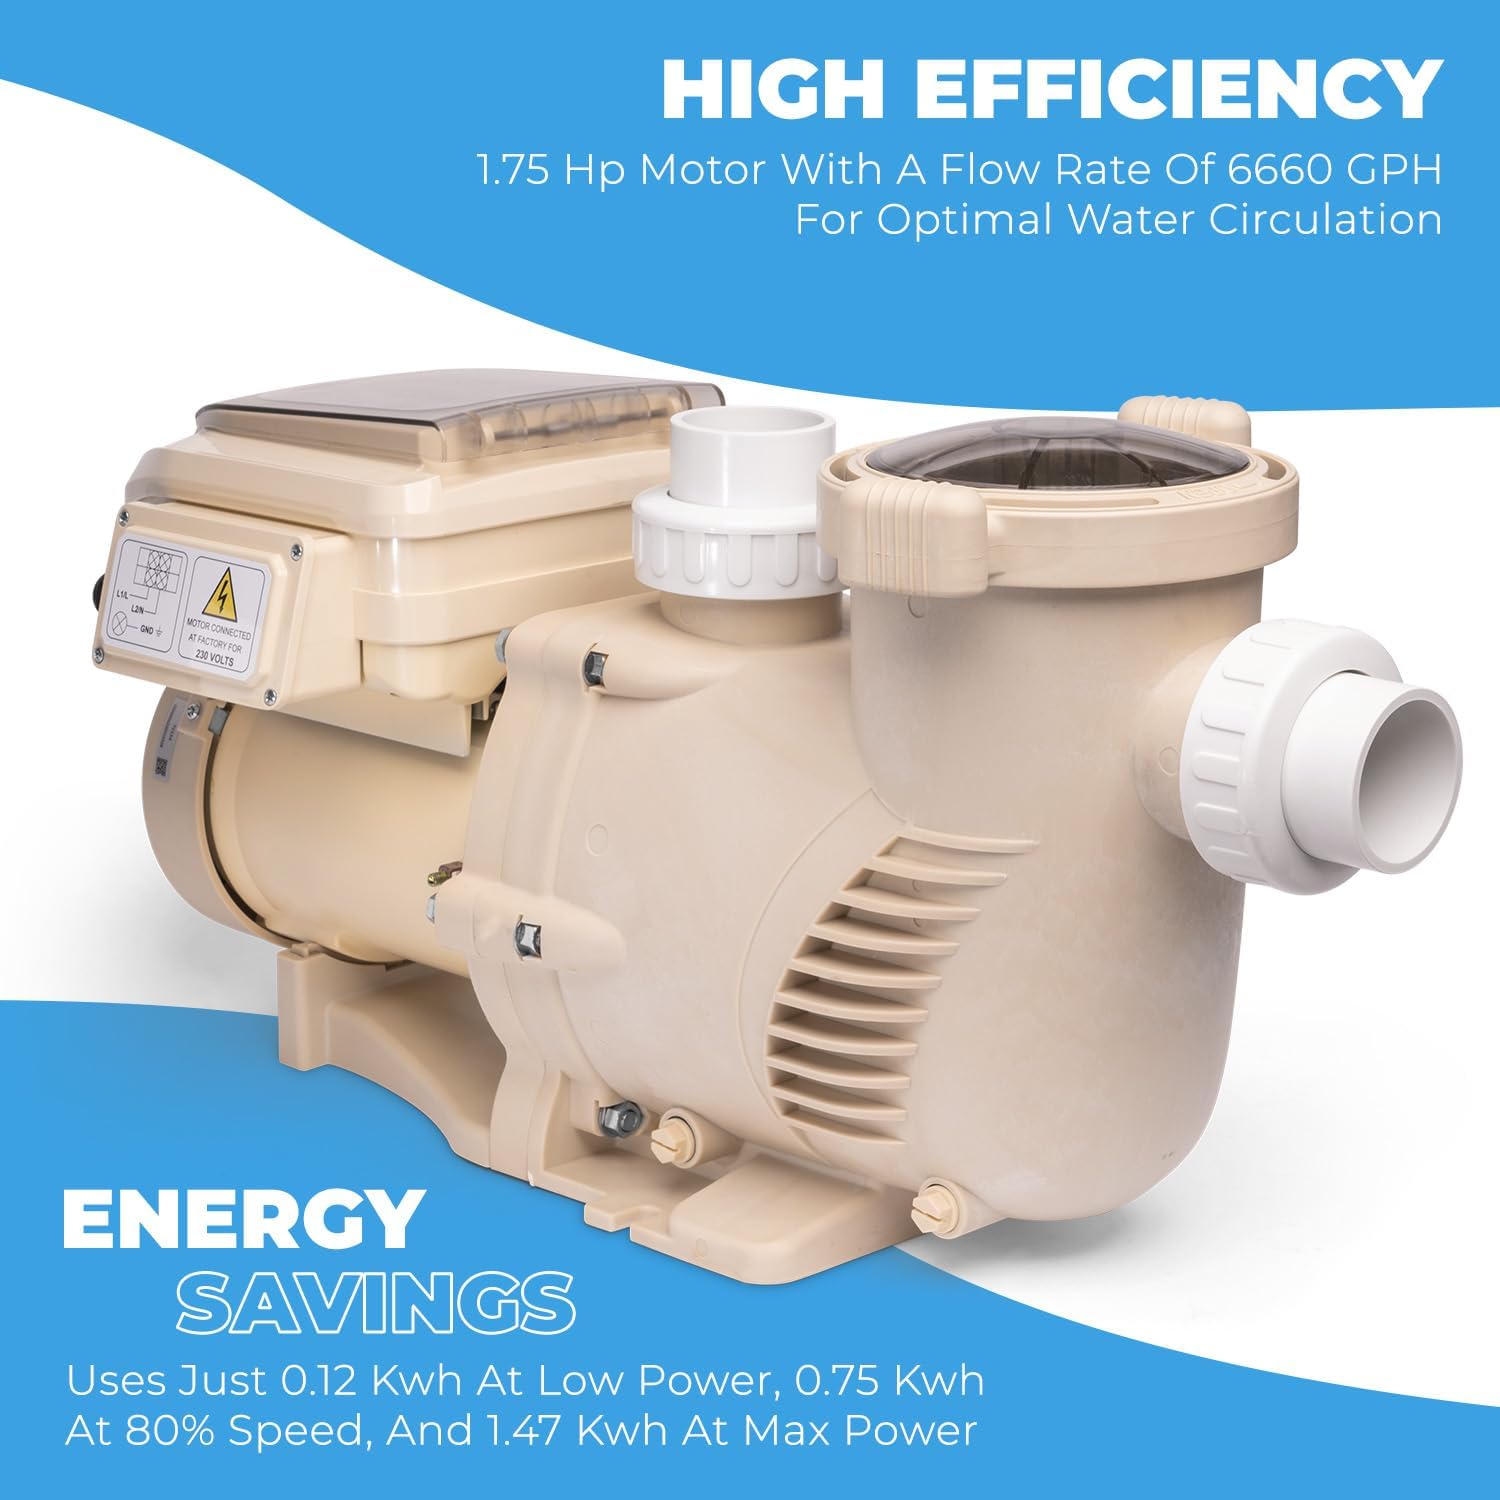
Image 5.2: Visual representation of the pump's high efficiency and energy savings at different power levels.
5.3 Quick Clean Mode
The Quick Clean mode provides maximum cleaning efficiency with minimal energy waste. This mode typically runs the pump at a higher speed for a set duration to quickly clear the pool.
- Press the 'Quick Clean' button on the control panel to activate this mode.
- The pump will run at a high RPM (e.g., 1700-3450 RPM) for a pre-set period.
- Press 'Start/Stop' to exit Quick Clean mode manually.
6. Maintenance
Regular maintenance ensures the longevity and efficient operation of your pool pump.
6.1 Routine Checks
- Inspect Strainer Basket: Regularly check and empty the strainer basket to prevent debris buildup, which can restrict flow and strain the pump.
- Check for Leaks: Periodically inspect all plumbing connections for any signs of leaks. Tighten connections as needed.
- Monitor Noise Levels: Unusual noises may indicate a problem with the motor or bearings.
- Clean Pump Exterior: Keep the pump exterior clean and free of dirt and debris to ensure proper ventilation.

Image 6.1: The pool pump with its strainer basket lid open, showing the basket for cleaning and inspection.
6.2 Cleaning the Strainer Basket
- Turn off the pump and disconnect power at the circuit breaker.
- Close isolation valves on both sides of the pump.
- Unscrew the clear lid of the strainer basket.
- Remove the basket and empty any debris.
- Rinse the basket with water.
- Inspect the O-ring on the lid for cracks or wear; replace if necessary.
- Place the basket back into the housing, ensuring it is seated correctly.
- Lubricate the O-ring with a silicone-based lubricant (do not use petroleum-based products).
- Replace the lid and tighten securely by hand. Do not overtighten.
- Open isolation valves and restore power to the pump.
7. Troubleshooting
This section provides solutions to common issues you might encounter with your pool pump. For problems not listed here, contact customer support.
| Problem | Possible Cause | Solution |
|---|---|---|
| Pump does not start | No power; tripped breaker/GFCI; motor overload; faulty wiring. | Check power supply; reset breaker/GFCI; allow motor to cool; inspect wiring (by professional). |
| Low water flow | Clogged strainer basket; clogged skimmer/main drain; air leak in suction line; low water level in pool. | Clean strainer basket; clear clogs; check for air leaks; raise pool water level. |
| Pump is noisy | Air leak in suction line; cavitation (insufficient water); worn bearings; debris in impeller. | Check for air leaks; ensure adequate water supply; contact professional for bearing replacement; clear impeller. |
| Pump leaks water | Loose plumbing connections; worn shaft seal; cracked housing. | Tighten connections; replace shaft seal (by professional); replace pump if housing is cracked. |
8. Specifications
Technical specifications for the XtremepowerUS 1.75 HP Variable Speed Swimming Pool Pump.
Image 8.1: Visual summary of key specifications for the pool pump.
| Specification | Value |
|---|---|
| Model Number | 75408-2 |
| Horsepower | 1.75 HP |
| Input Voltage | 230V, 60Hz |
| Amperage | 6.47 Amps |
| Maximum Flow Rate | 6660 GPH (Gallons Per Hour) |
| Minimum Flow Rate | 1870 GPH (Gallons Per Hour) |
| Inlet/Outlet Size | 2 inches (with 1.5 inch adapters) |
| Product Dimensions | 25.5"L x 11.3"W x 14"H |
| Item Weight | 43.5 Pounds |
| Material | PPGF30, Metal |
| Specific Uses | In-Ground Pool |
9. Warranty Information
XtremepowerUS products are manufactured to high-quality standards. For specific warranty details, including coverage period and terms, please refer to the warranty card included with your product or visit the official XtremepowerUS website. Keep your purchase receipt as proof of purchase for any warranty claims.
10. Customer Support
If you have any questions, require technical assistance, or need to order replacement parts, please contact XtremepowerUS customer support. Contact information can typically be found on the product packaging or the official brand website.
Online Resources: For additional information, FAQs, and product registration, please visit the XtremepowerUS official website.
Ask a question about this manual
Ask about setup, troubleshooting, compatibility, parts, safety, or missing instructions. Manuals+ will review the question and use this page’s manual context to help answer it.