
1. Introduction
Thank you for choosing the Oaks Aura 52 Inch Farmhouse Ceiling Fan with Light and Remote Control. This manual provides essential information for the safe installation, operation, and maintenance of your new ceiling fan. Please read these instructions thoroughly before beginning installation and keep them for future reference.
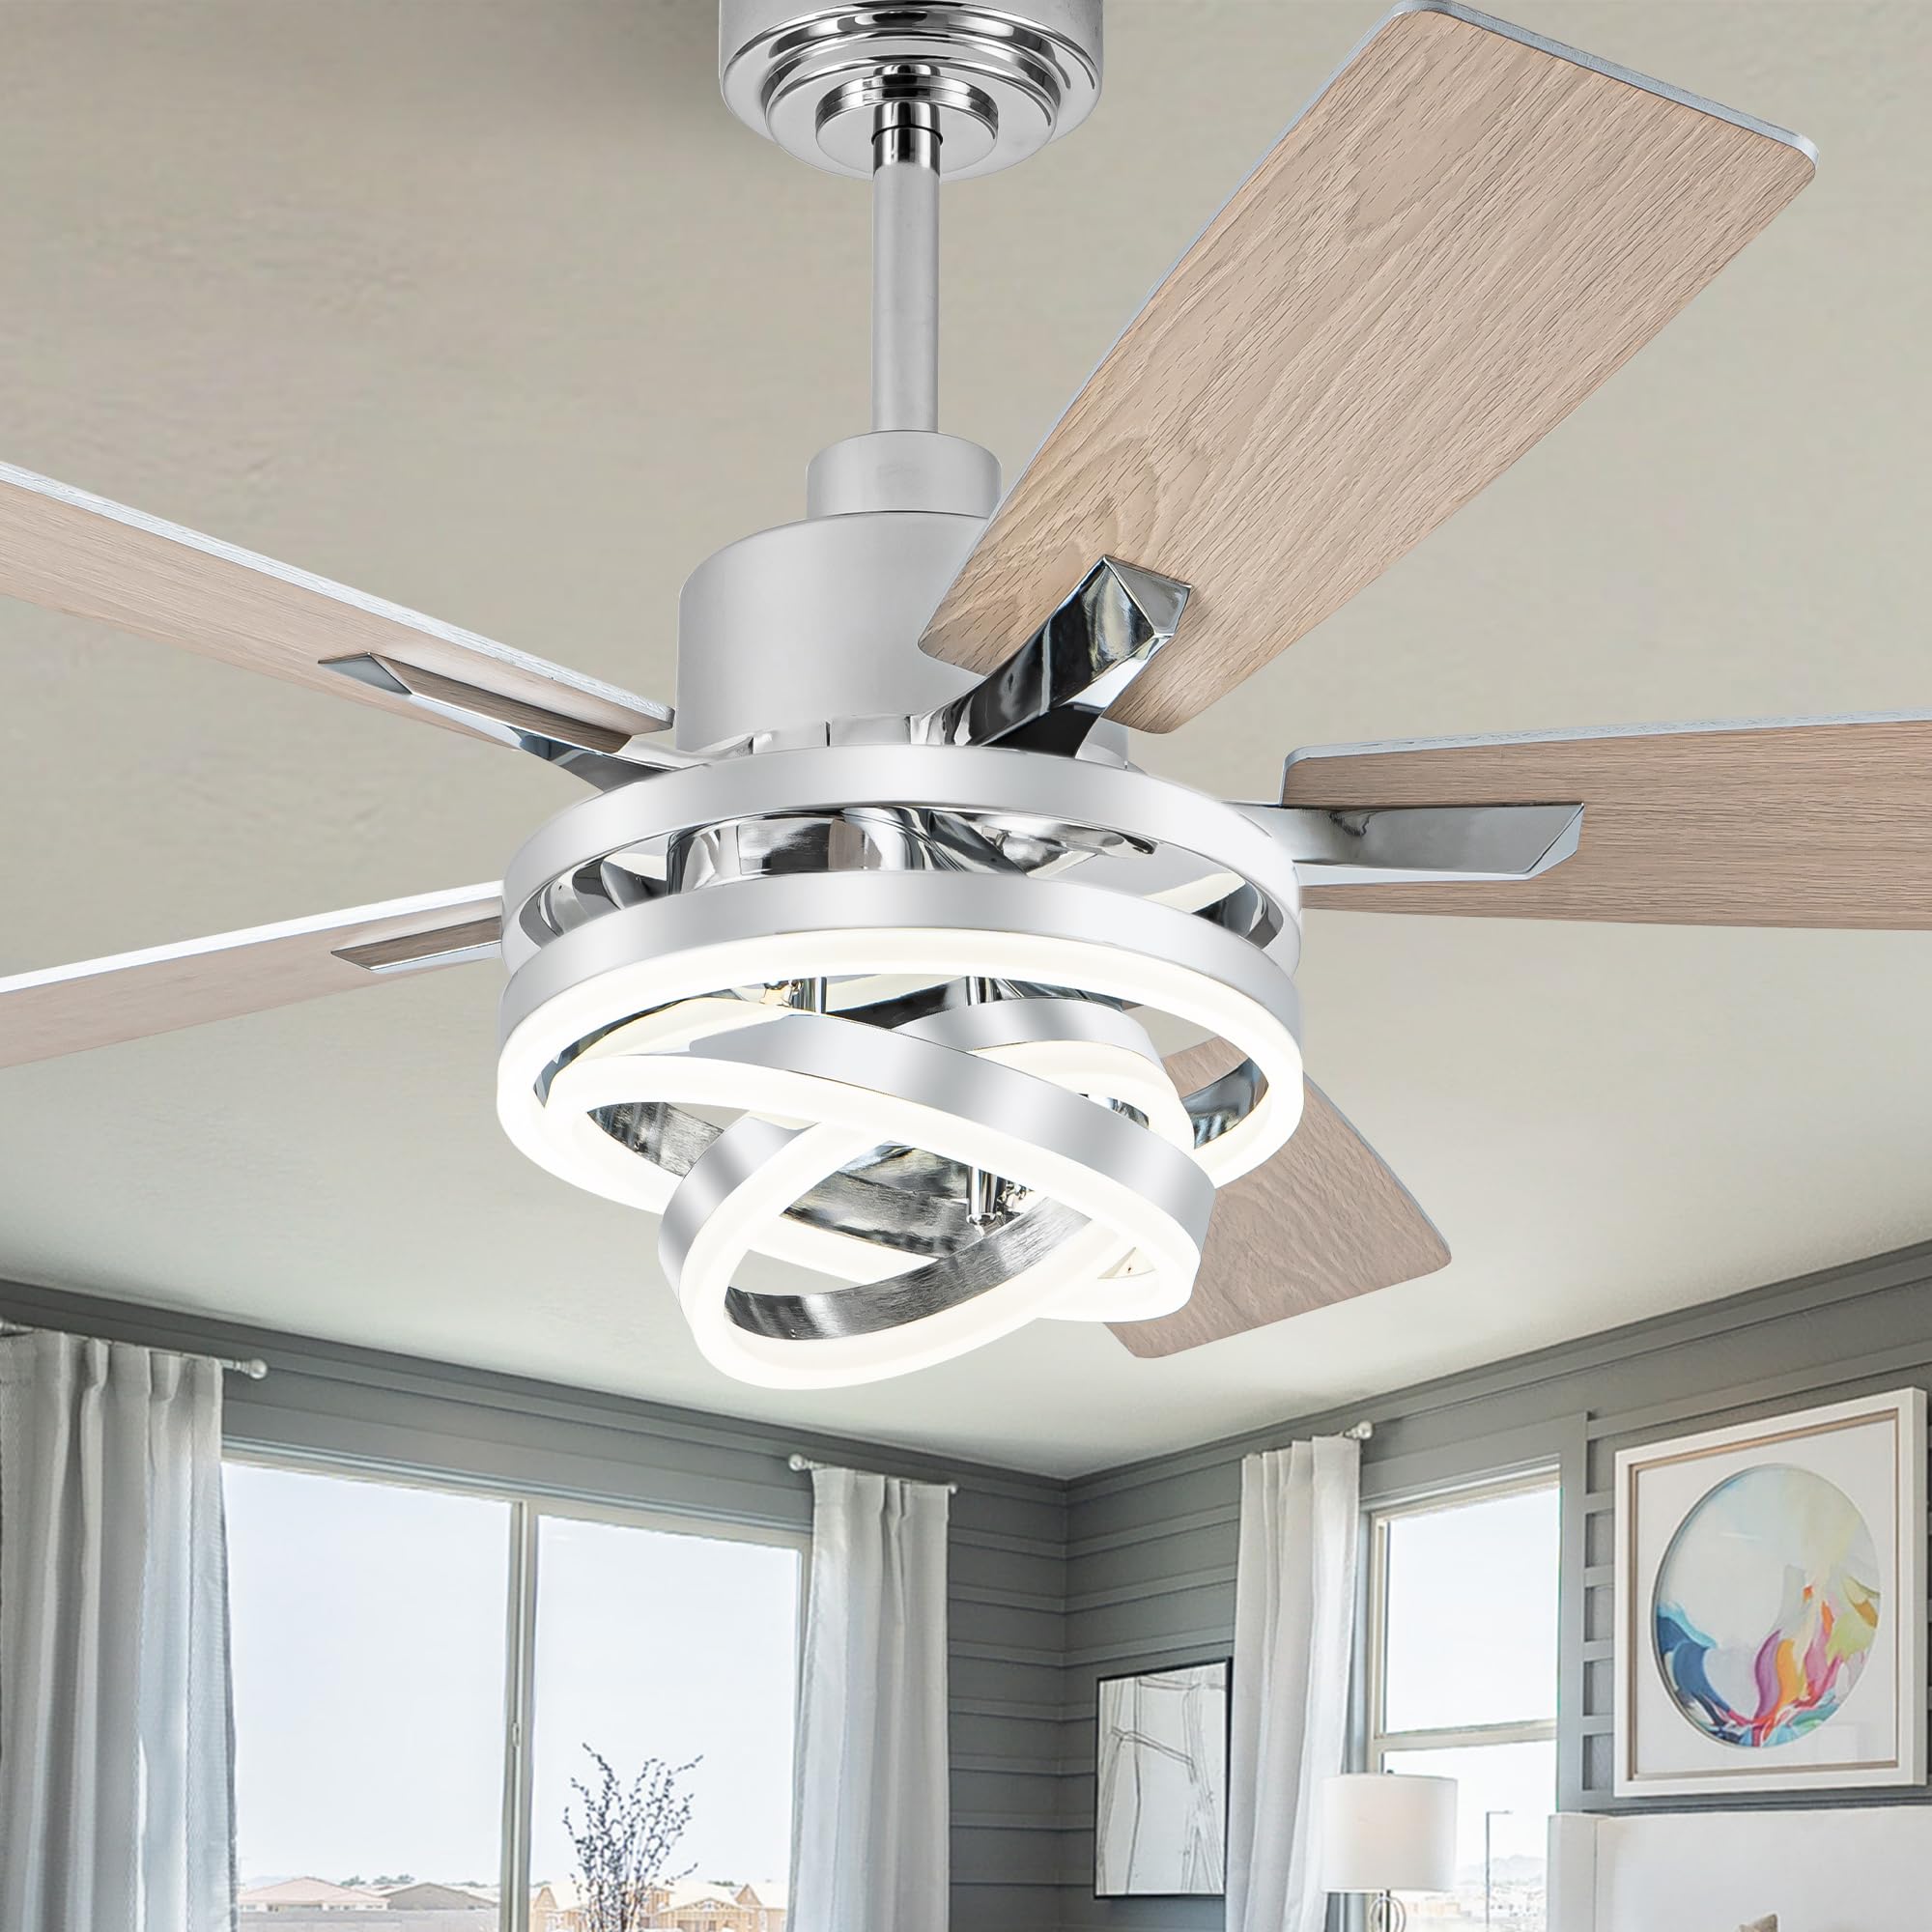
Image 1.1: The Oaks Aura 52 Inch Farmhouse Ceiling Fan with Light and Remote Control.
2. Product Features
- Remote Control Operation: Adjust 6 wind speeds, set 1/2/4-hour timing, and control 3 different lighting colors.
- Reversible DC Motor: Allows for seasonal airflow adjustment (downward for summer cooling, upward for winter air circulation).
- Quiet Operation: The DC motor ensures silent performance, ideal for bedrooms and living areas.
- Dimmable LED Light: Features three color modes (white, warm, neutral) and adjustable brightness to suit your preference.
- DIY Rings LED: The fan light adapter can be adjusted to customize the light ring's appearance.
- Dual Finish Blades: Five blades with reversible finishes (Walnut and Chrome) for versatile aesthetic integration.

Image 2.1: Overview of key product features.
3. What's in the Box
Verify that all components are present before beginning installation:
- Ceiling Fan Motor Housing
- 5 Dual Finish Fan Blades
- LED Light Kit with DIY Rings
- Remote Control
- Downrods (2 included: 3.9" and 7.8")
- Mounting Bracket and Hardware
- Wiring Cord

Image 3.1: Detailed view of fan components.
4. Specifications
| Specification | Detail |
|---|---|
| Brand | Oaks Aura |
| Model Number | DC2062-C |
| Size | 52 Inch |
| Color | Chrome |
| Material | Metal, Plastic |
| Motor Type | DC Motor (Reversible) |
| Light Source | Integrated LED (Dimmable, 3 Color Modes) |
| Control Method | Remote Control |
| Voltage | 110 Volts |
| Indoor/Outdoor Usage | Indoor, Outdoor (Not Water Resistant) |
| Recommended Room Size | Up to 15 ft. x 18 ft. (Large Room) |

Image 4.1: Fan dimensions and recommended room size.
5. Setup and Installation
Installation should be performed by a qualified electrician or a person with experience in electrical wiring. Ensure power is disconnected at the circuit breaker before installation.
- Prepare Mounting Location: Ensure the ceiling junction box is securely mounted and capable of supporting the fan's weight.
- Assemble Fan Blades: Attach the 5 dual-finish blades to the motor housing. Choose your preferred blade finish (Walnut or Chrome) before assembly.
- Install Downrod: Select the appropriate downrod length (3.9" or 7.8") and secure it to the fan motor.
- Mount Fan to Ceiling: Carefully lift the fan assembly and attach it to the mounting bracket in the ceiling junction box.
- Wire Connections: Connect the fan's electrical wires to the household wiring according to local electrical codes. Ensure all connections are secure.
- Install Light Kit: Attach the LED light kit to the bottom of the fan motor housing.
- Test Functionality: Restore power and test all fan and light functions using the remote control.

Image 5.1: Dual finish fan blades (Walnut and Chrome options).
6. Operating Instructions
6.1 Remote Control Functions
The fan is operated using the included remote control. Please insert 2 AAA 1.5V batteries (not included) before use.

Image 6.1: Remote control layout and button functions.
- Fan On/Off: Press the designated button to turn the fan on or off.
- Fan Speed Adjustment: Use the speed buttons (1-6) to select your desired airflow.
- Light On/Off: Press the light button to turn the light on or off.
- Light Color Temperature: Cycle through warm (3000K), natural (4000K), and cold (6000K) light settings.
- Light Dimming: Adjust the brightness of the LED light.
- Timer Function: Set the fan to turn off automatically after 1, 2, or 4 hours.
- Reversible Function: Change the direction of fan blade rotation for summer (downward airflow) or winter (upward airflow) modes.
6.2 Fan Speed Settings
The fan offers 6 speed settings to accommodate various comfort levels:
- Speeds 1-2: Smooth Wind (Gentle breeze for relaxation or sleep).
- Speeds 3-4: Medium Wind (Moderate airflow for daily activities).
- Speeds 5-6: High Speed (Strong airflow for quick cooling or ventilation).

Image 6.2: Fan speed recommendations for different activities.
6.3 Lighting Control
The integrated LED light offers customizable illumination:
- 3 Color Modes: Switch between Warm Light (3000K), Natural Light (4000K), and Cold Light (6000K).
- Dimmable: Adjust the light brightness from 10% to 100%.
- Adjustable Light Ring: The decorative light ring can be manually adjusted to change its appearance.

Image 6.3: Light dimming and color temperature options.

Image 6.4: Free adjustment of the light ring.
6.4 Reversible Motor Function
The reversible DC motor allows you to optimize airflow for different seasons:
- Summer Downdraft Mode: Blades rotate counter-clockwise, pushing air downwards to create a cooling effect.
- Winter Upward Mode: Blades rotate clockwise, drawing air upwards to circulate warm air near the ceiling, promoting better heat distribution.

Image 6.5: Reversible motor function for summer and winter.
6.5 Timing Function
Set the fan to automatically turn off after a specified period:
- Available settings: 1 hour, 4 hours, 8 hours.
- Ideal for use during sleep or when leaving a room.

Image 6.6: Timing function and quiet operation.
7. Maintenance
Regular maintenance ensures optimal performance and longevity of your ceiling fan.
- Cleaning: Use a soft, damp cloth to clean the fan blades and motor housing. Do not use abrasive cleaners or solvents.
- Blade Inspection: Periodically check that all blade screws are tight. Loose blades can cause wobbling and noise.
- Light Kit: The LED light source is integrated and generally does not require replacement. If issues arise, contact customer service.
- Motor: The DC motor is designed for long-term, maintenance-free operation. No lubrication is required.
8. Troubleshooting
If you encounter issues with your ceiling fan, refer to the following common problems and solutions:
| Problem | Possible Cause | Solution |
|---|---|---|
| Fan does not start | No power to the fan; Loose wire connections; Remote control battery dead or not paired. | Check circuit breaker; Ensure all wires are securely connected; Replace remote batteries or re-pair remote. |
| Fan wobbles | Loose fan blades; Improperly balanced blades; Loose mounting bracket. | Tighten all blade screws; Use a balancing kit (not included) if necessary; Ensure mounting bracket is secure. |
| Light does not work | Loose wire connection to light kit; LED driver issue. | Check light kit wiring; Contact customer service if LED driver is suspected. |
| Remote control not working | Dead batteries; Remote not paired with fan. | Replace batteries; Refer to remote pairing instructions (if applicable, usually involves power cycling and pressing a button). |
9. Product Videos
9.1 52 Inch Farmhouse Ceiling Fan with Light Scene Video
Video 9.1: This video demonstrates the Oaks Aura 52 Inch Farmhouse Ceiling Fan with Light in various room settings, showcasing its aesthetic and functional aspects.
9.2 52 Inch Farmhouse Ceiling Fan with Lights Scene Display
Video 9.2: This video provides another display of the Oaks Aura 52 Inch Farmhouse Ceiling Fan with its lighting features and fan operation in different environments.
10. Warranty and Support
Oaks Aura is committed to providing quality products and customer satisfaction.
- Free Replacement Service: We offer a free replacement service for damaged parts.
- Professional Customer Service: Our dedicated team is available to assist you with product installation or any quality-related concerns.
For assistance, please contact Oaks Aura customer service through the platform where you purchased the product.


