
1. Important Safety Information
Please read and understand all safety warnings and instructions before operating this pressure washer. Failure to follow these instructions may result in electric shock, fire, and/or serious injury.
- Always wear appropriate personal protective equipment, including safety glasses, hearing protection, and protective footwear.
- Never point the spray gun at people, pets, or electrical devices. The high-pressure spray can cause severe injury.
- Ensure all electrical connections are dry and protected from water. Use a ground fault circuit interrupter (GFCI) with this unit.
- Do not operate the pressure washer if the power cord or high-pressure hose is damaged.
- Keep children and bystanders away from the operating area.
- Always turn off the pressure washer and relieve residual pressure before disconnecting hoses or performing maintenance.
2. Product Overview and Components
Familiarize yourself with the parts of your Bennett Read IND300 Induction Pressure Washer.

Figure 2.1: Front view of the Bennett Read IND300 Induction Pressure Washer, showing the main power switch, hose reel, and spray gun holder.
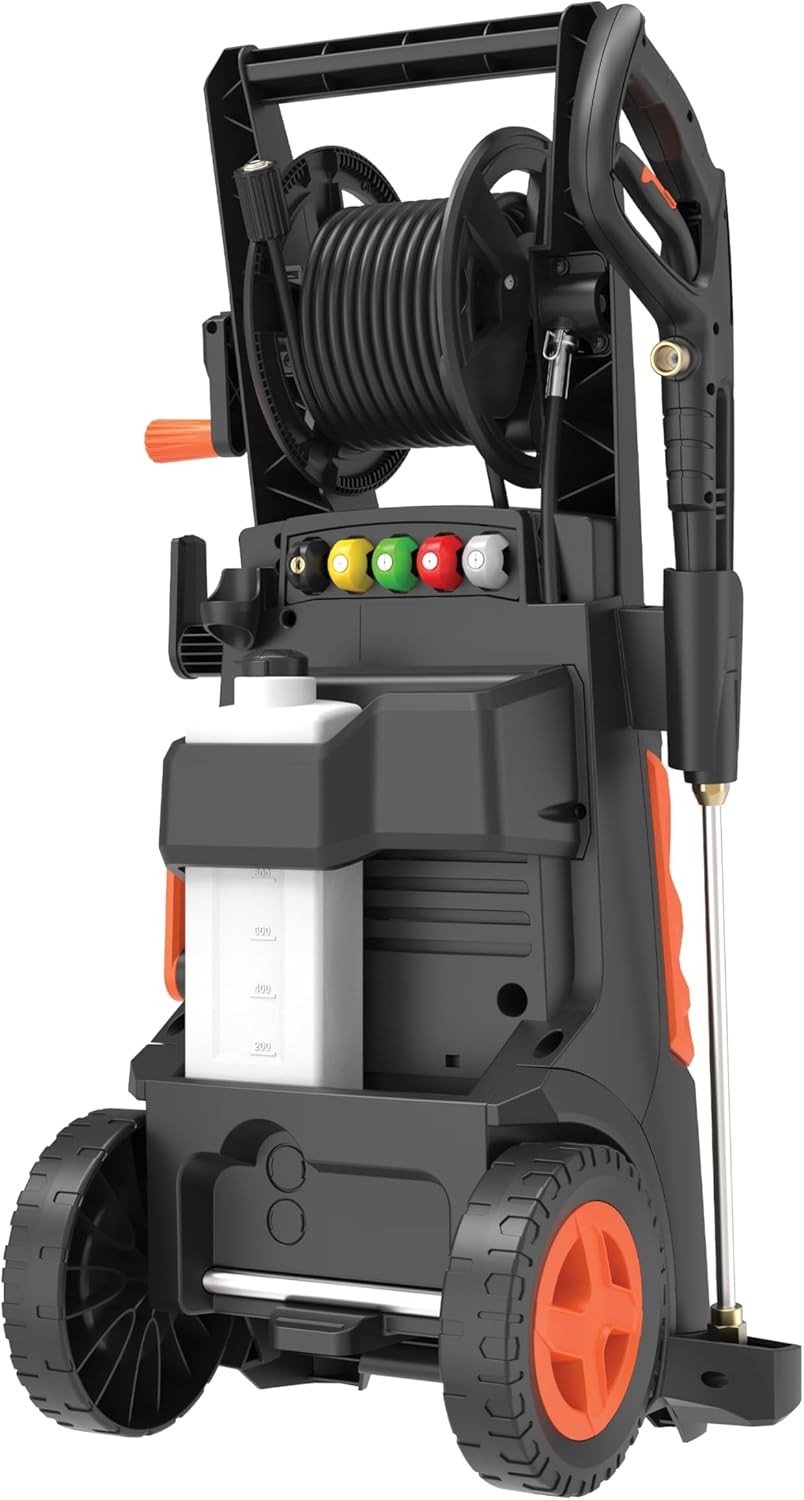
Figure 2.2: Side view of the pressure washer, highlighting the integrated detergent tank and nozzle storage slots.

Figure 2.3: Rear view of the pressure washer, displaying the hose reel crank and the water inlet connection.

Figure 2.4: Detail of the ergonomic top handle, designed for comfortable lifting and transport.

Figure 2.5: Close-up of one of the durable wheels, facilitating easy movement of the unit.
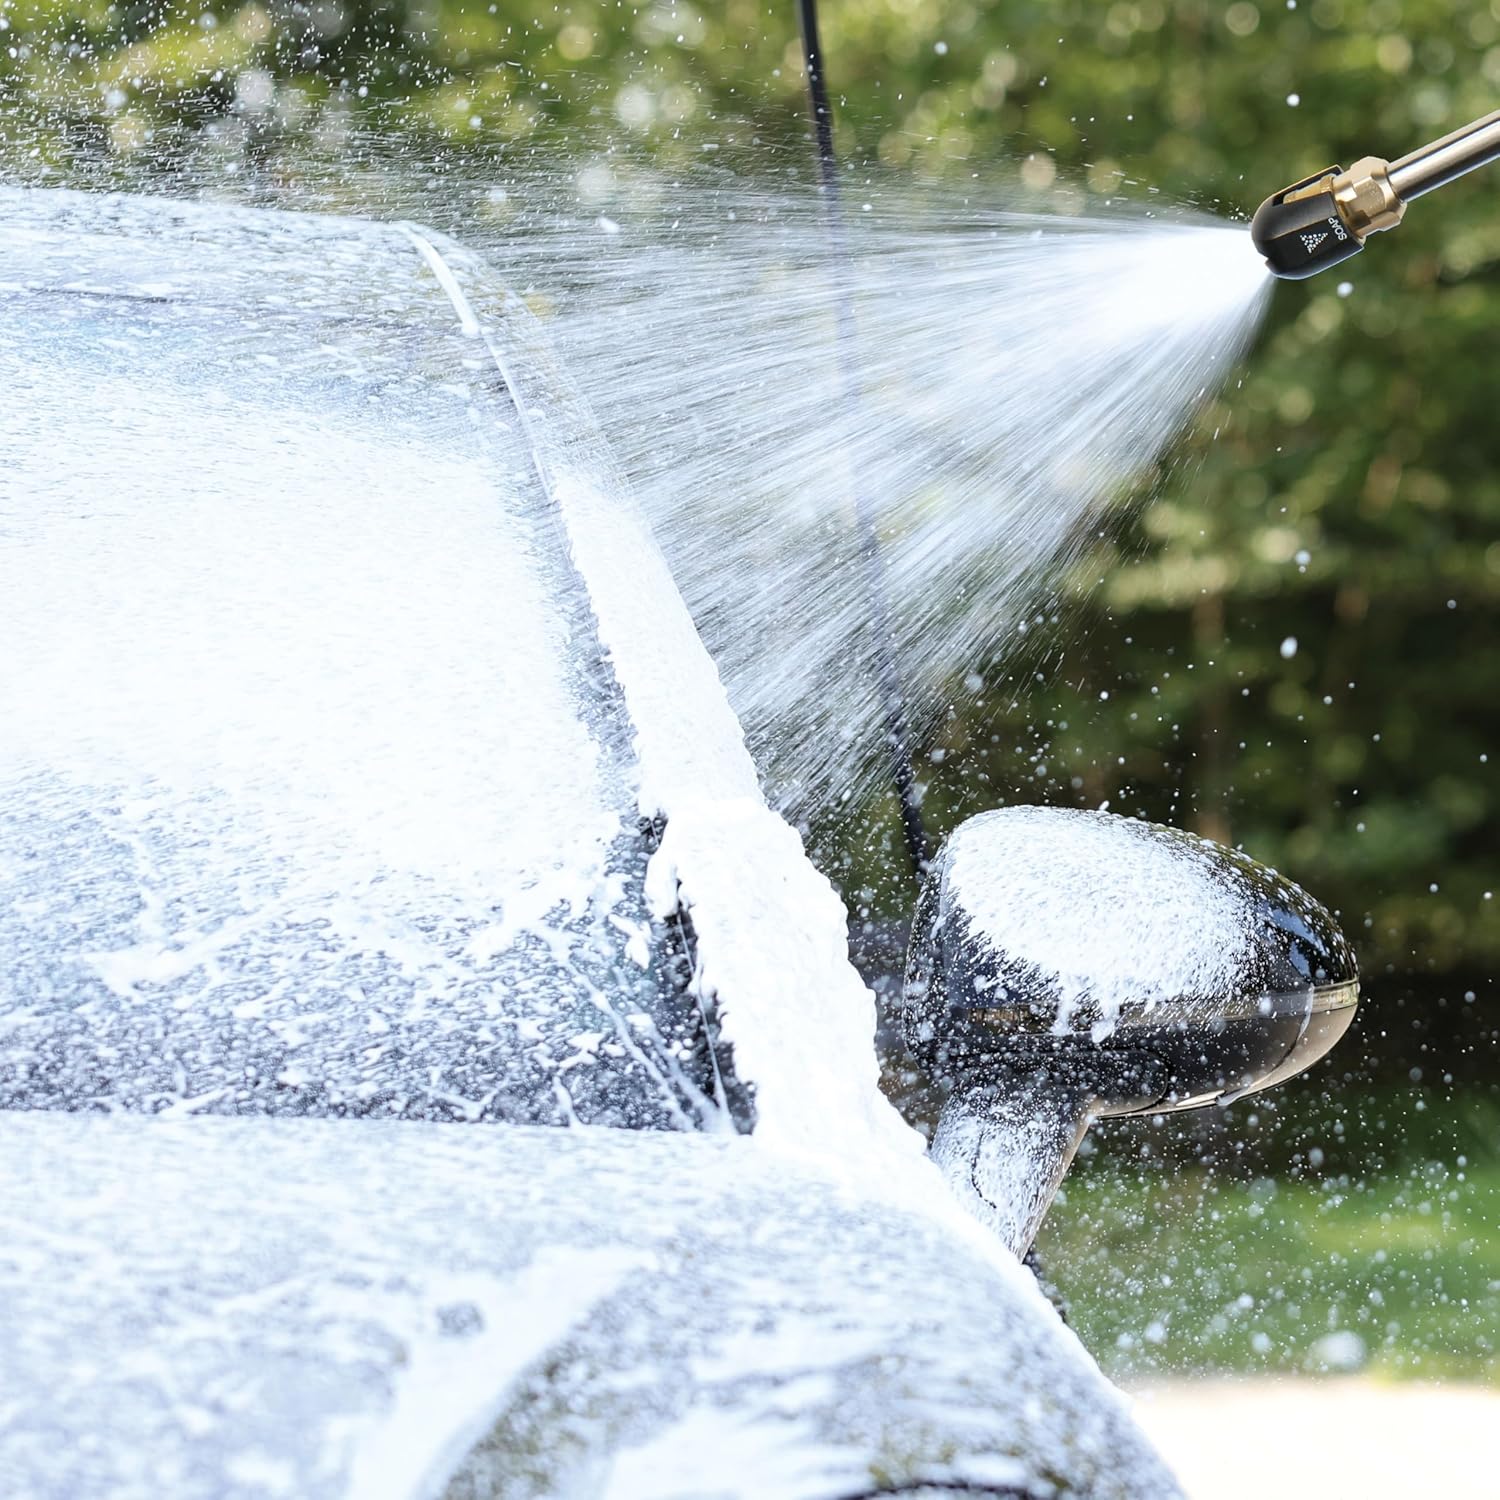
Figure 2.6: Detailed view of the quick-connect nozzles, showing various spray patterns for different cleaning tasks.
3. Setup and Assembly
3.1 Unpacking
Carefully remove all components from the packaging. Check for any damage during transit. Retain packaging for future storage or transport.
3.2 Handle and Wheel Assembly
- Attach the handle to the main unit using the provided fasteners. Ensure it is securely locked into place.
- Mount the wheels onto the axle pins on the base of the unit. Secure them with the retaining clips.
3.3 Water Connection
- Connect a standard garden hose (not supplied) to the water inlet on the pressure washer. Ensure the connection is tight to prevent leaks.
- Connect the high-pressure hose to the outlet on the pressure washer and to the spray gun.
- Turn on the water supply fully to allow water to flow through the unit and purge any air from the system.
3.4 Power Connection
Plug the power cord into a grounded electrical outlet equipped with a GFCI. Ensure the voltage matches the specifications of the unit.
4. Operating Instructions
4.1 Starting the Pressure Washer
- Ensure the water supply is fully open and the high-pressure hose and spray gun are connected.
- Turn the main power switch to the 'ON' position.
- Squeeze the trigger on the spray gun to begin spraying. The motor will start automatically.
4.2 Using Nozzles
The IND300 comes with various quick-connect nozzles, each designed for specific tasks:
- Red (0-degree): Concentrated, high-impact stream for tough stains on durable surfaces. Use with extreme caution.
- Yellow (15-degree): Narrow fan spray for intense cleaning of smaller areas.
- Green (25-degree): Medium fan spray for general cleaning of most surfaces.
- White (40-degree): Wide fan spray for gentle cleaning of delicate surfaces.
- Black (Soap/Detergent): Low-pressure spray for applying cleaning solutions.
To change nozzles, turn off the pressure washer and relieve pressure by squeezing the trigger. Pull back the collar on the spray gun wand, insert the desired nozzle, and release the collar to lock it in place.
4.3 Using the Detergent Tank
- Fill the integrated detergent tank with a pressure washer-safe cleaning solution.
- Attach the black (soap) nozzle to the spray gun.
- Operate the pressure washer at low pressure to apply the detergent.
- After applying detergent, switch to a high-pressure nozzle (e.g., green or yellow) to rinse the surface thoroughly.

Figure 4.1: Application of cleaning foam to a vehicle using the pressure washer's detergent function.

Figure 4.2: Demonstrating the pressure washer's capability for cleaning outdoor surfaces such as tiled roofs.
5. Maintenance
5.1 After Each Use
- Turn off the pressure washer and water supply.
- Squeeze the spray gun trigger to release any remaining pressure.
- Disconnect the garden hose and high-pressure hose.
- Drain any remaining water from the pump and hoses.
- Clean the exterior of the unit with a damp cloth.
5.2 Storage
Store the pressure washer in a dry, frost-free environment. Ensure all hoses are neatly coiled on the integrated reel.
5.3 Winterization (for cold climates)
If storing in an area where temperatures may drop below freezing, it is crucial to winterize the unit to prevent damage:
- Disconnect all hoses.
- Pour pressure washer pump protector (available separately) into the water inlet.
- Briefly turn on the unit (for 1-2 seconds) until the protector solution exits the high-pressure outlet.
- Store the unit as described above.
6. Troubleshooting
| Problem | Possible Cause | Solution |
|---|---|---|
| Unit does not start | No power supply GFCI tripped Power switch off | Check power connection Reset GFCI Turn power switch to ON |
| Low pressure | Insufficient water supply Clogged nozzle Air in pump | Ensure water tap is fully open Clean or replace nozzle Purge air by running unit with spray gun open |
| Water leaks | Loose connections Damaged O-rings | Tighten all hose connections Inspect and replace O-rings if damaged |
| Detergent not siphoning | Detergent tank empty Wrong nozzle selected Clogged detergent line | Refill detergent tank Use black (soap) nozzle Clean detergent line |
7. Specifications
- Model: IND300
- Part Number: HPW403
- Brand: Bennett Read
- Power Source: Corded Electric
- Product Dimensions (L x W x H): 30L x 20W x 20H centimetres
- Package Dimensions: 45 x 35 x 35 cm
- Weight: 9 kg
- Colour: Multicolor
8. Warranty and Support
For warranty information, technical support, or to inquire about spare parts, please refer to the warranty card included with your product or visit the official Bennett Read website. Keep your proof of purchase for warranty claims.


