
1. Introduction
The ENERMAX Revolution III is a state-of-the-art, fully modular power supply designed to meet the demands of high-performance computing systems. This 1000W unit supports the Intel ATX 3.1 standard and features PCIe 5.1 compatibility, making it suitable for modern gaming PCs, workstations, and creative applications. With an 80 PLUS Gold certification, it delivers high efficiency, reducing energy consumption and heat generation. The power supply incorporates a high-quality 120mm FDB (Fluid Dynamic Bearing) fan for reliable cooling and 100% Japanese industrial-grade capacitors for exceptional durability and stable performance.

Image 1.1: Overview of the ENERMAX Revolution III 1000W Power Supply.
2. Safety Information
- Do not open the power supply unit. High voltages are present inside, which can cause electric shock.
- Ensure the power supply is installed in a well-ventilated area to prevent overheating.
- Use only the modular cables provided with this power supply. Using incompatible cables may damage the unit or connected components.
- Connect the power supply to a grounded electrical outlet.
- This power supply features an optimized safety design with a 6-way protection circuit and is certified for use up to 5,000 meters altitude.
- Keep the unit away from water, moisture, and extreme temperatures.
3. Package Contents
Verify that all items are present in the package:
- ENERMAX Revolution III 1000W Power Supply Unit
- Modular Cable Set (including 24-pin ATX, 4+4-pin CPU, 6+2-pin PCIe, 12V-2x6 PCIe 5.1, SATA, Molex)
- AC Power Cord
- Mounting Screws
- User Manual (this document)
- Cable Combs (for sleeved cables)
4. Setup and Installation
Follow these steps to install your ENERMAX Revolution III power supply:
- Preparation: Ensure your computer is powered off and unplugged from the wall outlet. Open your PC case.
- Mounting the PSU: Carefully place the power supply into the designated PSU bay in your PC case. Secure it with the provided mounting screws.
- Connecting Modular Cables: Due to the fully modular design, connect only the necessary cables to the power supply first. Refer to the labels on the PSU for correct port identification.

Image 4.1: Rear view of the power supply showing modular cable ports.

Image 4.2: Detailed diagram of the modular connector layout.
- Motherboard Connection: Connect the 24-pin ATX cable to your motherboard.
- CPU Power: Connect the 4+4-pin or 8-pin CPU power cable(s) to your motherboard.
- GPU Power: For modern graphics cards, use the native 12V-2x6 (600W) cable. For other GPUs, use the 6+2-pin PCIe cables. Ensure all required power connectors for your graphics card(s) are securely attached.
- Peripheral Power: Connect SATA power cables to your storage drives (SSDs, HDDs) and Molex cables to any other peripherals requiring them.
- Cable Management: Utilize the flexible, sleeved cables and included cable combs to organize your wiring for optimal airflow and aesthetics.
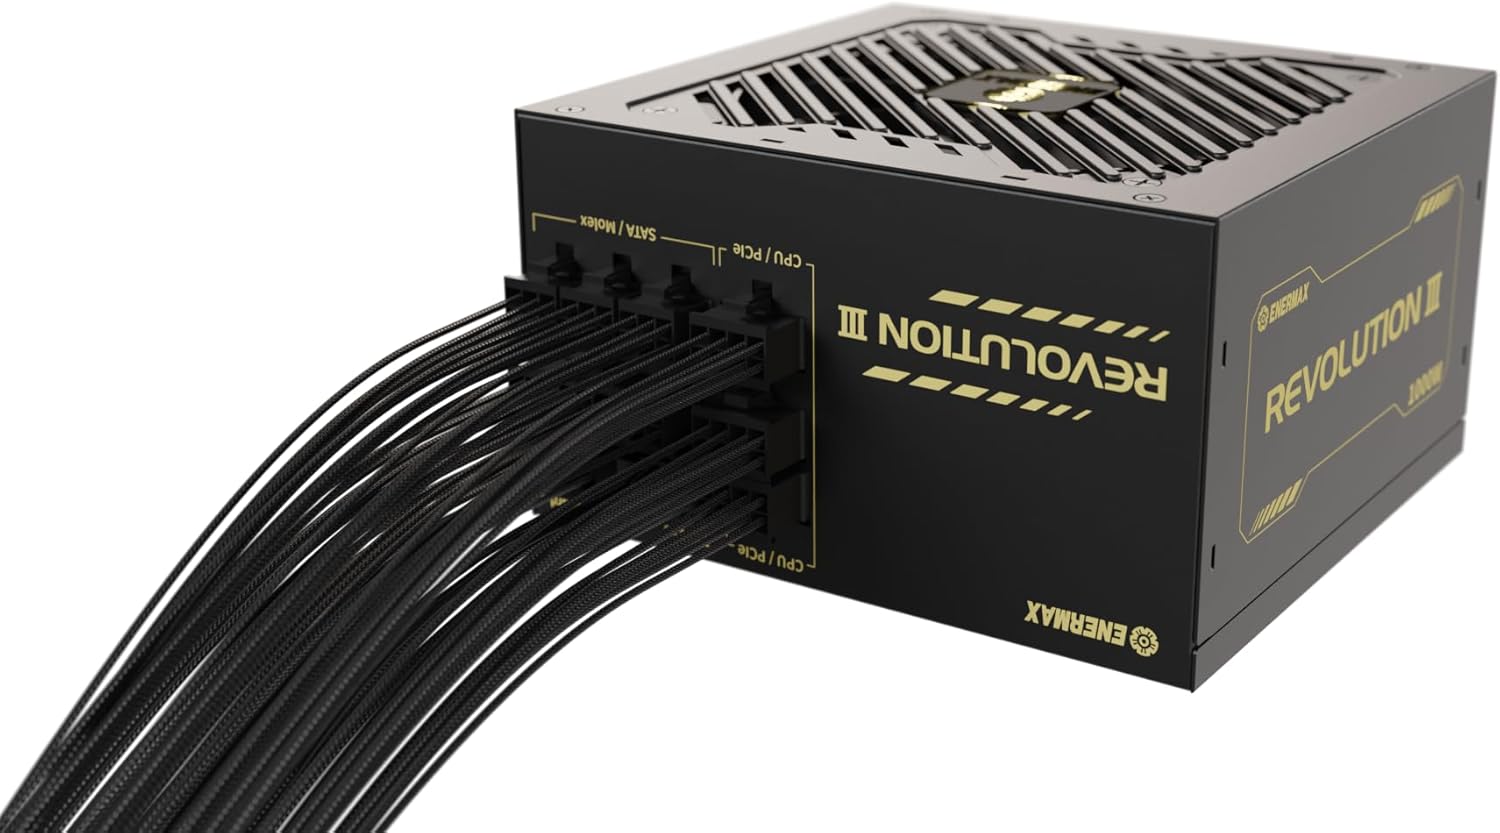
Image 4.3: Side view of the power supply with modular cables connected, demonstrating cable management potential.
- Final Check: Double-check all connections to ensure they are firm and correctly seated. Close your PC case.
- Power On: Connect the AC power cord to the power supply and then to a wall outlet. Flip the power switch on the PSU to the 'ON' position.
5. Operating Instructions
The ENERMAX Revolution III power supply is designed for straightforward operation. Once installed and connected, simply power on your computer system. The unit's 80 PLUS Gold certification ensures efficient power delivery, converting over 90% of AC power into usable DC power under typical loads, thereby minimizing wasted energy and heat.
The integrated 120mm FDB fan operates to maintain optimal internal temperatures. While designed for quiet operation, the fan speed adjusts based on the power supply's load and temperature to ensure stable and reliable performance.

Image 5.1: 80 PLUS Gold efficiency curve showing high efficiency across various loads.
6. Maintenance
Proper maintenance ensures the longevity and optimal performance of your power supply:
- Dust Removal: Periodically clean the exterior of the power supply and the fan grille to prevent dust buildup. Use compressed air to gently clear dust from the fan blades and internal components. Ensure the system is powered off and unplugged before cleaning.
- Airflow: Ensure that the PC case has adequate airflow and that the power supply's fan intake and exhaust are not obstructed.
- Cable Integrity: Occasionally check that all modular cables are securely connected and not damaged.
7. Troubleshooting
If you encounter issues with your power supply, consider the following troubleshooting steps:
- No Power:
- Check if the AC power cord is securely plugged into both the power supply and the wall outlet.
- Ensure the power switch on the back of the PSU is in the 'ON' position.
- Verify that all modular cables (24-pin ATX, CPU, PCIe) are correctly and firmly connected to both the PSU and the respective components.
- Test the wall outlet with another device to confirm it is supplying power.
- System Instability/Crashes:
- Ensure your power supply's wattage is sufficient for all your system components, especially the graphics card and CPU.
- Check for loose cable connections.
- Monitor system temperatures to ensure components are not overheating.
- Unusual Noise:
- A slight fan noise is normal, especially under load. If the noise is excessive or unusual (e.g., grinding, ticking), ensure no cables are obstructing the fan.
- If the noise persists and is disruptive, contact customer support.
If these steps do not resolve the issue, please refer to the Support Information section for further assistance.
8. Specifications
| Feature | Specification |
|---|---|
| Brand | Enermax |
| Model Name | REVOLUTION III |
| Model Number | ERV1000G-AHG-MAC |
| Output Power | 1000 Watts |
| Form Factor | ATX |
| ATX Standard | 3.1 |
| PCIe Standard | 5.1 (with native 12V-2x6 connector) |
| Efficiency Certification | 80 PLUS Gold |
| Cooling Method | 120mm FDB Fan |
| Capacitors | 100% Japanese Industrial-Grade 105°C |
| Dimensions (L x W x H) | 14 x 15 x 8.6 cm |
| Weight | 1.9 Kilograms |
| Compatible Devices | PC gaming, workstation, high-performance computer |
| Safety Features | 6-way protection circuit, certified for use up to 5,000m altitude |

Image 8.1: ATX 3.1 and PCIe 5.1 readiness of the power supply.
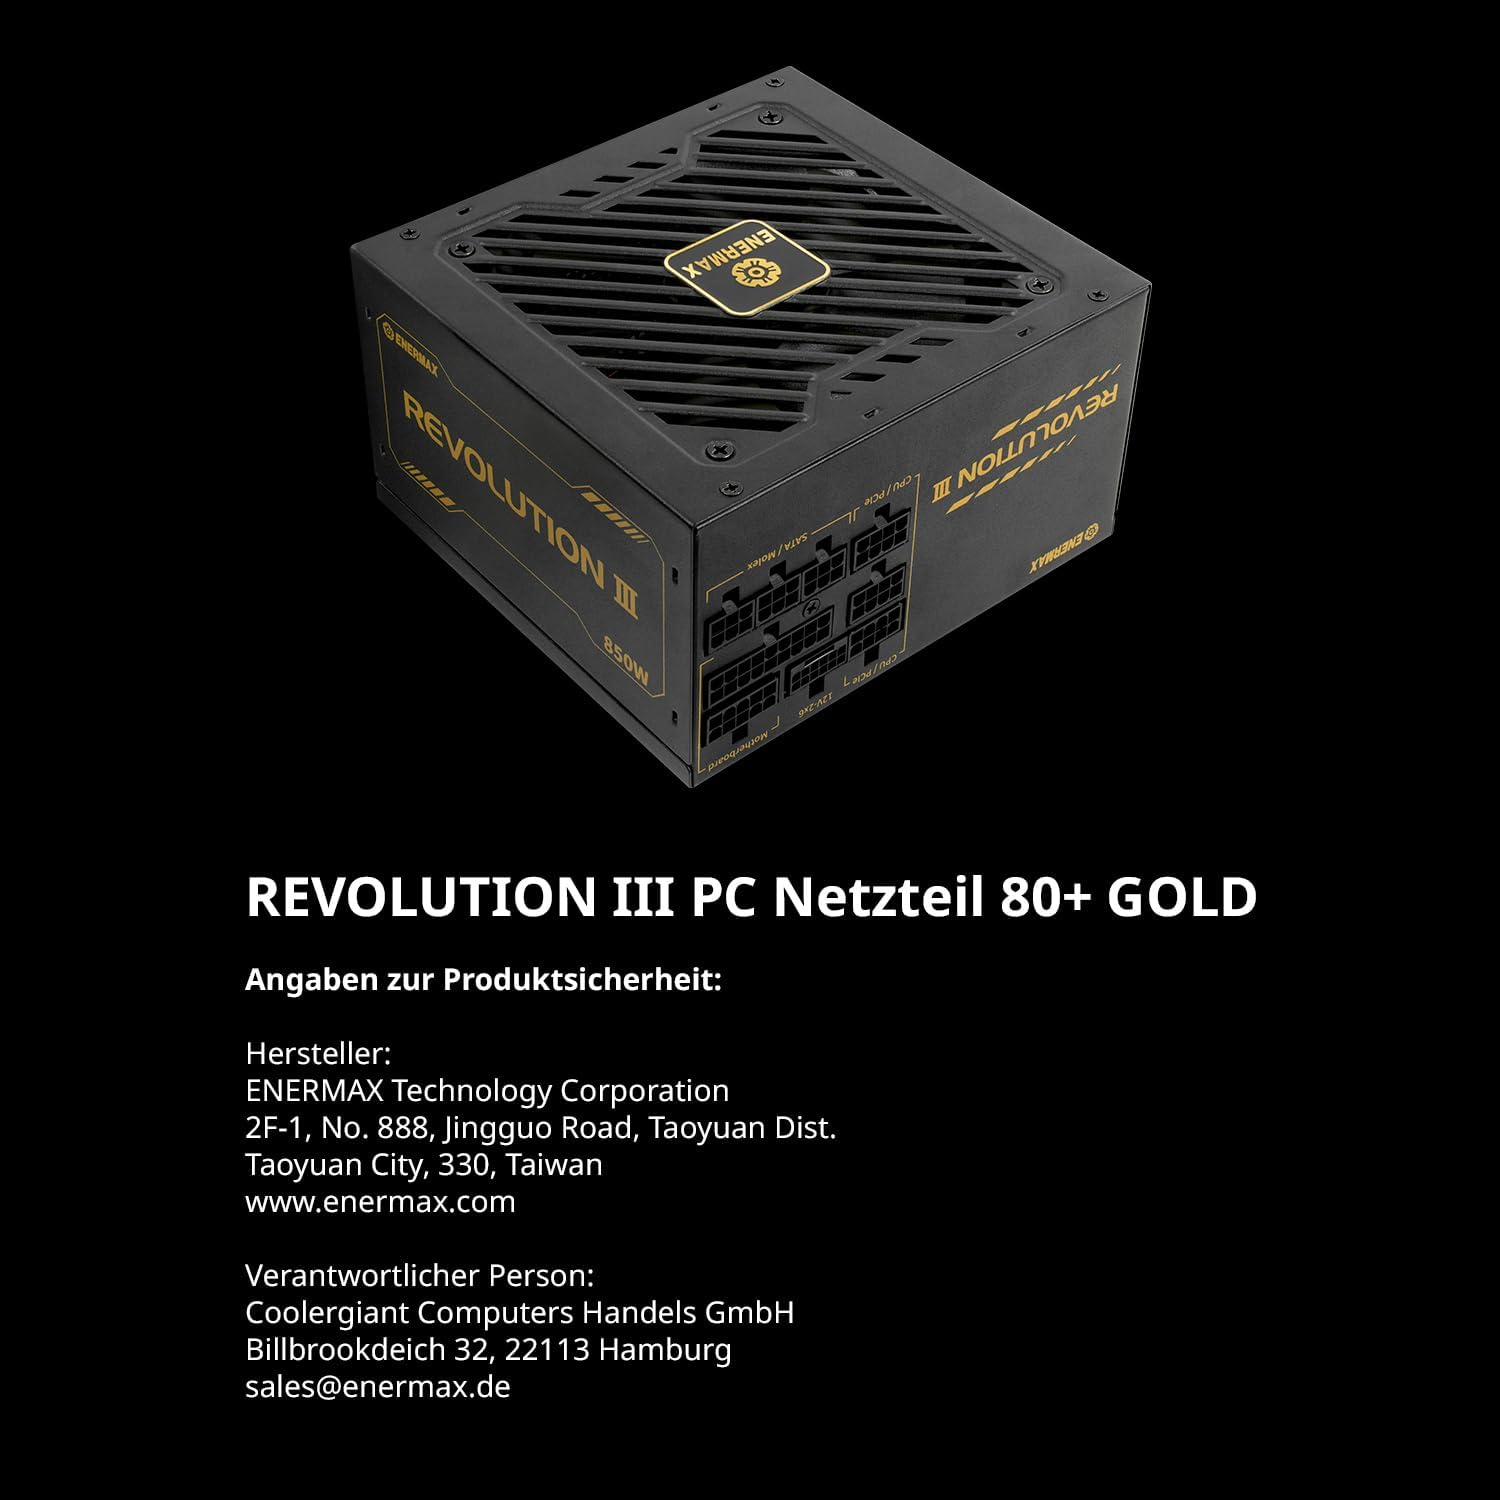
Image 8.2: Highlighting the use of 100% Japanese industrial-grade capacitors for reliability.
9. Warranty Information
ENERMAX provides a manufacturer's warranty for the Revolution III power supply. In Europe, this product is covered by a 7-year manufacturer's warranty from the date of purchase. For specific terms and conditions, including warranty claims and regional variations, please refer to the official ENERMAX website or contact your local retailer.
10. Support Information
For technical support, product inquiries, or warranty claims, please contact ENERMAX through the following channels:
- Manufacturer: ENERMAX Technology Corporation
2F-1, No. 888, Jingguo Road, Taoyuan Dist.
Taoyuan City, 330, Taiwan
www.enermax.com - European Contact: Coolergigant Computers Handels GmbH
Billbrookdeich 32, 22113 Hamburg, Germany
Email: sales@enermax.de
Please have your product model number (ERV1000G-AHG-MAC) and proof of purchase ready when contacting support.


