1. Introduction
This manual provides instructions for the installation of the ViaBecs Radio Stereo Panel, designed to facilitate the integration of a 10-inch aftermarket car stereo into compatible Toyota vehicles. This panel ensures a seamless and professional finish for your dashboard.
2. Compatibility
This radio stereo panel is compatible with the following vehicle models:
- Toyota Tundra: 2007, 2008, 2009, 2010, 2011, 2012, 2013 models
- Toyota Sequoia: 2008, 2009, 2010, 2011, 2012, 2013, 2014, 2015, 2016, 2017, 2018 models
The panel is specifically designed for installing a 10-inch aftermarket car stereo unit.
3. Specifications
| Feature | Detail |
|---|---|
| Item Type | Car Radio Fascia |
| Material Type | ABS Plastic |
| Color | Black |
| Placement | Dashboard Installation Trim Kit Frame |
| Package Dimensions | 11.61 x 8.58 x 3.43 inches |
| Item Weight | 5.3 ounces |
| Model Number | MK-SYFT7172-TK |
4. Package Contents
The package typically includes:
- 1x ViaBecs Radio Stereo Fascia Panel (Black)
- Mounting screws (for attaching aftermarket head unit and trim plates)
5. Installation Instructions (Setup)
The installation process involves replacing the factory radio panel with the ViaBecs fascia panel to accommodate a 10-inch aftermarket stereo. No modifications to the vehicle's dashboard are typically necessary.
- Preparation: Ensure the vehicle's ignition is off and the battery is disconnected to prevent electrical damage. Gather necessary tools, which may include trim removal tools, screwdrivers, and a wrench.
- Remove Factory Panel: Carefully use a trim removal tool to pry off the existing factory radio panel. Locate and remove all screws or clips securing the panel. Disconnect any wiring harnesses attached to the factory panel (e.g., HVAC controls, hazard lights).
- Remove Factory Radio: Once the panel is removed, unbolt or unclip the factory radio unit and disconnect its wiring harnesses (power, antenna, speaker wires).
- Prepare Aftermarket Stereo: Attach the new 10-inch aftermarket head unit to the mounting brackets provided with the stereo or the ViaBecs panel, if applicable. Ensure the unit is securely fastened.
- Install ViaBecs Fascia Panel: Position the ViaBecs fascia panel around the aftermarket head unit. Attach the head unit and the fascia panel to the vehicle's dashboard using the provided screws. Ensure a snug and seamless fit.
- Reconnect Wiring: Connect all necessary wiring harnesses to the aftermarket stereo (power, ground, speaker, antenna, etc.). If applicable, reconnect any vehicle controls that were part of the original panel to their corresponding points on the new fascia or stereo.
- Test Functionality: Reconnect the vehicle's battery. Turn on the ignition and test the functionality of the new stereo and any reconnected controls (e.g., HVAC, hazard lights).
- Final Assembly: Once all functions are verified, gently press the fascia panel into place, ensuring all clips engage and the panel sits flush with the dashboard.
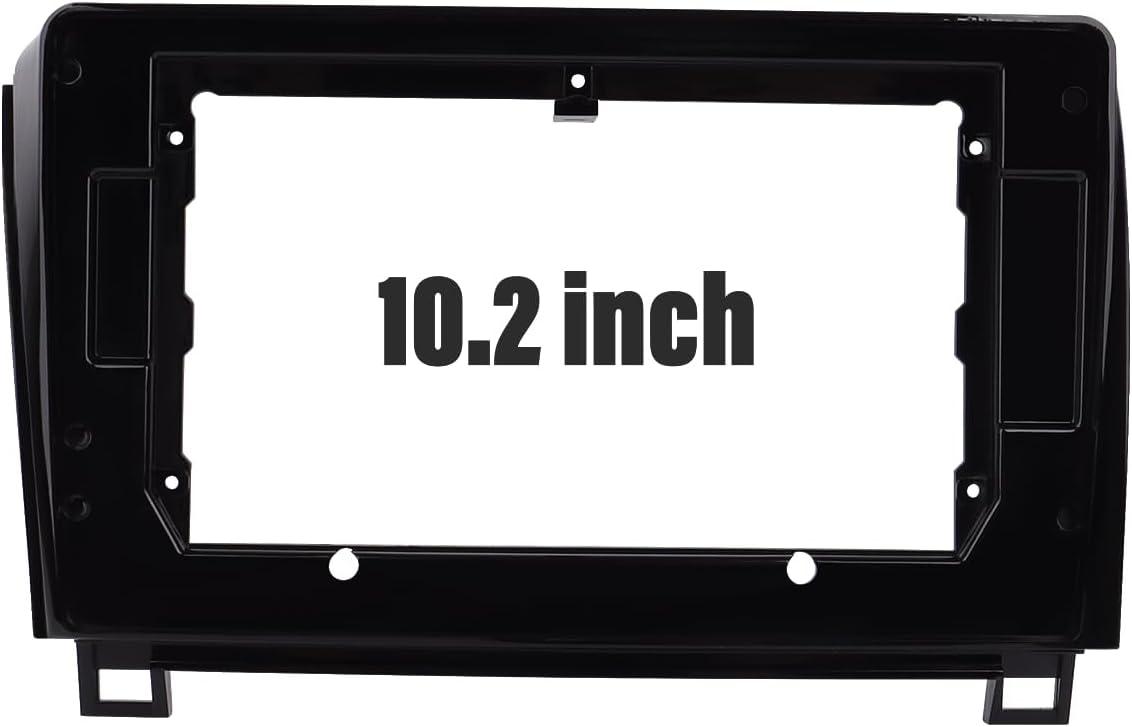
Figure 1: Front view of the ViaBecs radio stereo panel, showing the 10.2-inch opening for an aftermarket head unit.

Figure 2: Angled view of the ViaBecs radio stereo panel, illustrating its key dimensions for fitment verification.
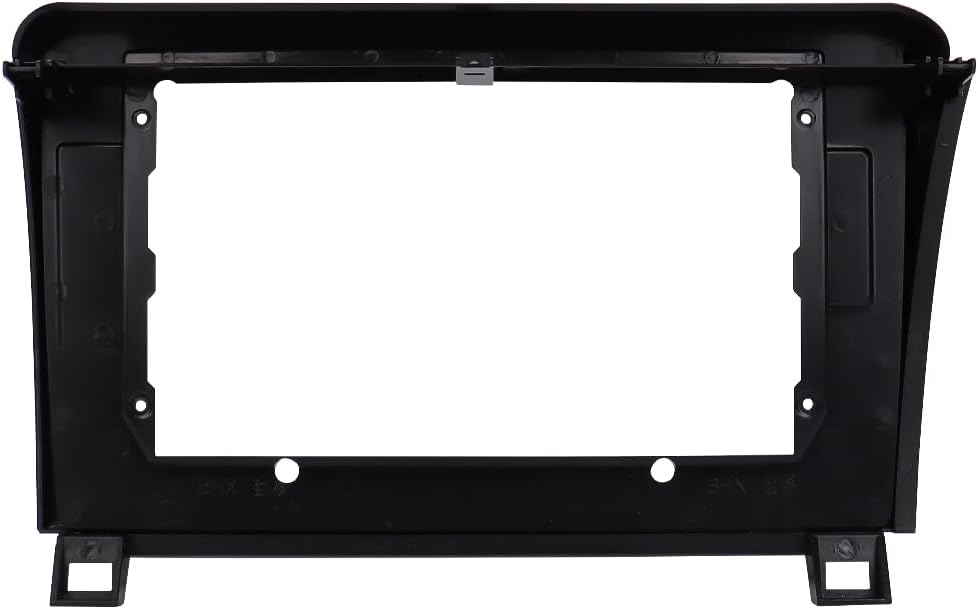
Figure 3: Rear view of the ViaBecs radio stereo panel, detailing the mounting points and internal structure for secure installation.

Figure 4: Composite image providing a comprehensive overview of the panel's dimensions, the 10.2-inch screen opening, and a visual comparison to the original factory radio for context.
6. Operating
The ViaBecs Radio Stereo Panel is a trim kit designed to house an aftermarket head unit. It does not have operational functions itself. All operational controls will be managed directly through your installed 10-inch aftermarket car stereo.
7. Maintenance
To maintain the appearance of your ViaBecs Radio Stereo Panel:
- Wipe the surface with a soft, damp cloth.
- Avoid using harsh chemicals or abrasive cleaners, as these can damage the finish.
- Ensure no liquids seep into the gaps around the stereo unit.
8. Troubleshooting
If you encounter issues during or after installation, consider the following:
- Panel Does Not Fit Flush: Double-check that all clips are properly engaged and all screws are tightened. Ensure no wires are pinched behind the panel preventing it from seating correctly. Verify that the aftermarket stereo unit is correctly sized and mounted within the panel.
- Aftermarket Stereo Not Functioning: Confirm all wiring harnesses are securely connected to the stereo and the vehicle. Check the vehicle's fuses. Refer to your aftermarket stereo's instruction manual for specific troubleshooting steps.
- Vehicle Controls Not Working: If any factory controls (e.g., HVAC, hazard lights) were integrated into the original panel, ensure they are correctly reconnected to the new setup or their respective vehicle harnesses.
9. Warranty and Support
For warranty information or technical support regarding your ViaBecs Radio Stereo Panel, please contact the manufacturer directly. Keep your purchase receipt as proof of purchase.
Manufacturer: ViaBecs


