
1. Introduction
This manual provides detailed instructions for the installation, operation, and maintenance of your Inexaccessories Android 13 Car Radio Stereo. Please read this manual thoroughly before installation and use to ensure proper functionality and safety.
This car stereo is designed for specific Toyota Sienna models. Ensure your vehicle's year and console dimensions match the compatibility requirements.

Image 1.1: Inexaccessories Android 13 Car Radio Stereo integrated into a Toyota Sienna dashboard.
2. Vehicle Compatibility
This car stereo is compatible with the original factory-style car radio for Toyota Sienna models from 2004 to 2010.
Important Note:
- This unit does not support factory JBL amplifiers.
- This unit does not support factory cameras.
Before purchasing or installing, please verify the year, dimensions, and shape of your vehicle's center console. If your vehicle has a J-B-L Sound system, an additional harness may be required.

Image 2.1: Compatibility guide showing various Toyota Sienna dashboard configurations and a warning regarding JBL amplifier systems.
3. Package Contents
Verify that all items are present in the package before proceeding with installation:
- Android 13 Car Radio Stereo Unit (9-inch IPS Touch Screen)
- Power Cable & RCA Cable
- USB Cable & Microphone Cable
- Back-up Camera & Camera Cable
- GPS Antenna & Signal Cable
- Disassembly Tool
- User Manual (this document)

Image 3.1: The car stereo unit, its rear panel connectors, and included accessories such as cables, camera, and GPS antenna.
4. Installation Guide
Professional installation is recommended. Disconnect the vehicle's battery before starting any electrical work.
4.1. General Installation Steps
- Remove Original Unit: Carefully remove the existing factory radio from your Toyota Sienna dashboard using the provided disassembly tool.
- Connect Wiring Harness: Connect the main power cable and RCA cables from the new stereo to the vehicle's wiring harness. Ensure all connections are secure.
- GPS Antenna: Mount the GPS antenna in a location with a clear view of the sky, typically on the dashboard or under the windshield, ensuring it is not obstructed by metal.
- USB & Microphone: Connect the USB cable for external devices and the microphone cable for hands-free calling. Route the microphone to a suitable position for clear voice pickup.
- Test Connections: Before fully securing the unit, temporarily connect the battery and test basic functions like power on, audio, and touch screen response.
- Secure Unit: Once tested, carefully slide the new car stereo into the dashboard opening and secure it with the appropriate screws or mounting brackets.
- Reassemble Dashboard: Reassemble any removed dashboard panels.

Image 4.1: A comparison showing the original Toyota Sienna dashboard radio ('Before') and the new Inexaccessories Android 13 car stereo installed ('After').
4.2. Backup Camera Installation
The included backup camera provides a 170° viewing angle and night vision capabilities for enhanced safety.
- Mount Camera: Install the backup camera at the rear of your vehicle, typically near the license plate, ensuring a clear view.
- Route Cable: Route the camera cable from the rear of the vehicle to the car stereo unit, connecting it to the designated 'Reversing Input' port.
- Power Connection: Connect the camera's power wire to the vehicle's reverse light circuit so it activates automatically when reverse gear is engaged.

Image 4.2: The top image shows the backup camera feed on the stereo screen with parking guidelines. The bottom image displays the steering wheel control learning interface.
4.3. Steering Wheel Control (SWC) Setup
The unit supports learning functions for your vehicle's steering wheel controls, allowing you to map buttons to stereo functions.
- Access the 'Steering Learn' or 'SWC Settings' menu on the car stereo.
- Follow the on-screen prompts to assign functions (e.g., volume up/down, track skip) to your steering wheel buttons.
5. Operating Instructions
5.1. Android 13 System & Apps
The car stereo runs on Android 13.0 with 4GB RAM and 64GB ROM, providing a responsive user experience. You can install various Android applications from the Application Store after connecting to Wi-Fi or a personal hotspot.
5.2. Wireless Carplay & Android Auto
Connect your smartphone wirelessly or via USB to access Apple CarPlay or Android Auto. This allows for hands-free calls, navigation, music playback, and access to other compatible apps through voice commands (Siri or Google Assistant).
Image 5.1: Screenshots demonstrating the Apple CarPlay and Android Auto interfaces on the car stereo, highlighting app integration and voice control.
5.3. Bluetooth Function (5.2)
The integrated Bluetooth 5.2 module supports hands-free phone calls and Bluetooth music streaming. The built-in microphone ensures clear call quality.
- Pairing: Enable Bluetooth on your smartphone and search for the car stereo. Select the device and confirm pairing.
- Hands-Free Calls: Make or receive calls directly from the stereo screen.
- Music Streaming: Play audio from your phone through the car's speakers.

Image 5.2: The top image shows the digital FM radio tuner. The bottom image illustrates a Bluetooth hands-free call screen with phonebook access.
5.4. GPS Navigation & WiFi
The head unit includes a built-in GPS module and an external GPS antenna for accurate navigation. Offline map data is preloaded, and you can download online navigation apps via WiFi.
- Offline Maps: Ready to use after installation, providing voice and visual turn-by-turn directions.
- WiFi Hotspot: Connect to your phone's personal hotspot or a local WiFi network to access online maps, app updates, and other internet services.

Image 5.3: The car stereo display showing a GPS navigation map with route details and various map app icons.
5.5. FM Radio
Tune into your favorite FM radio stations. The unit supports various FM bands and features a digital tuner.
5.6. Split Screen Function
Utilize the split-screen feature to run two applications simultaneously on the 9-inch IPS touch screen. For example, you can view navigation on one side and control music on the other.
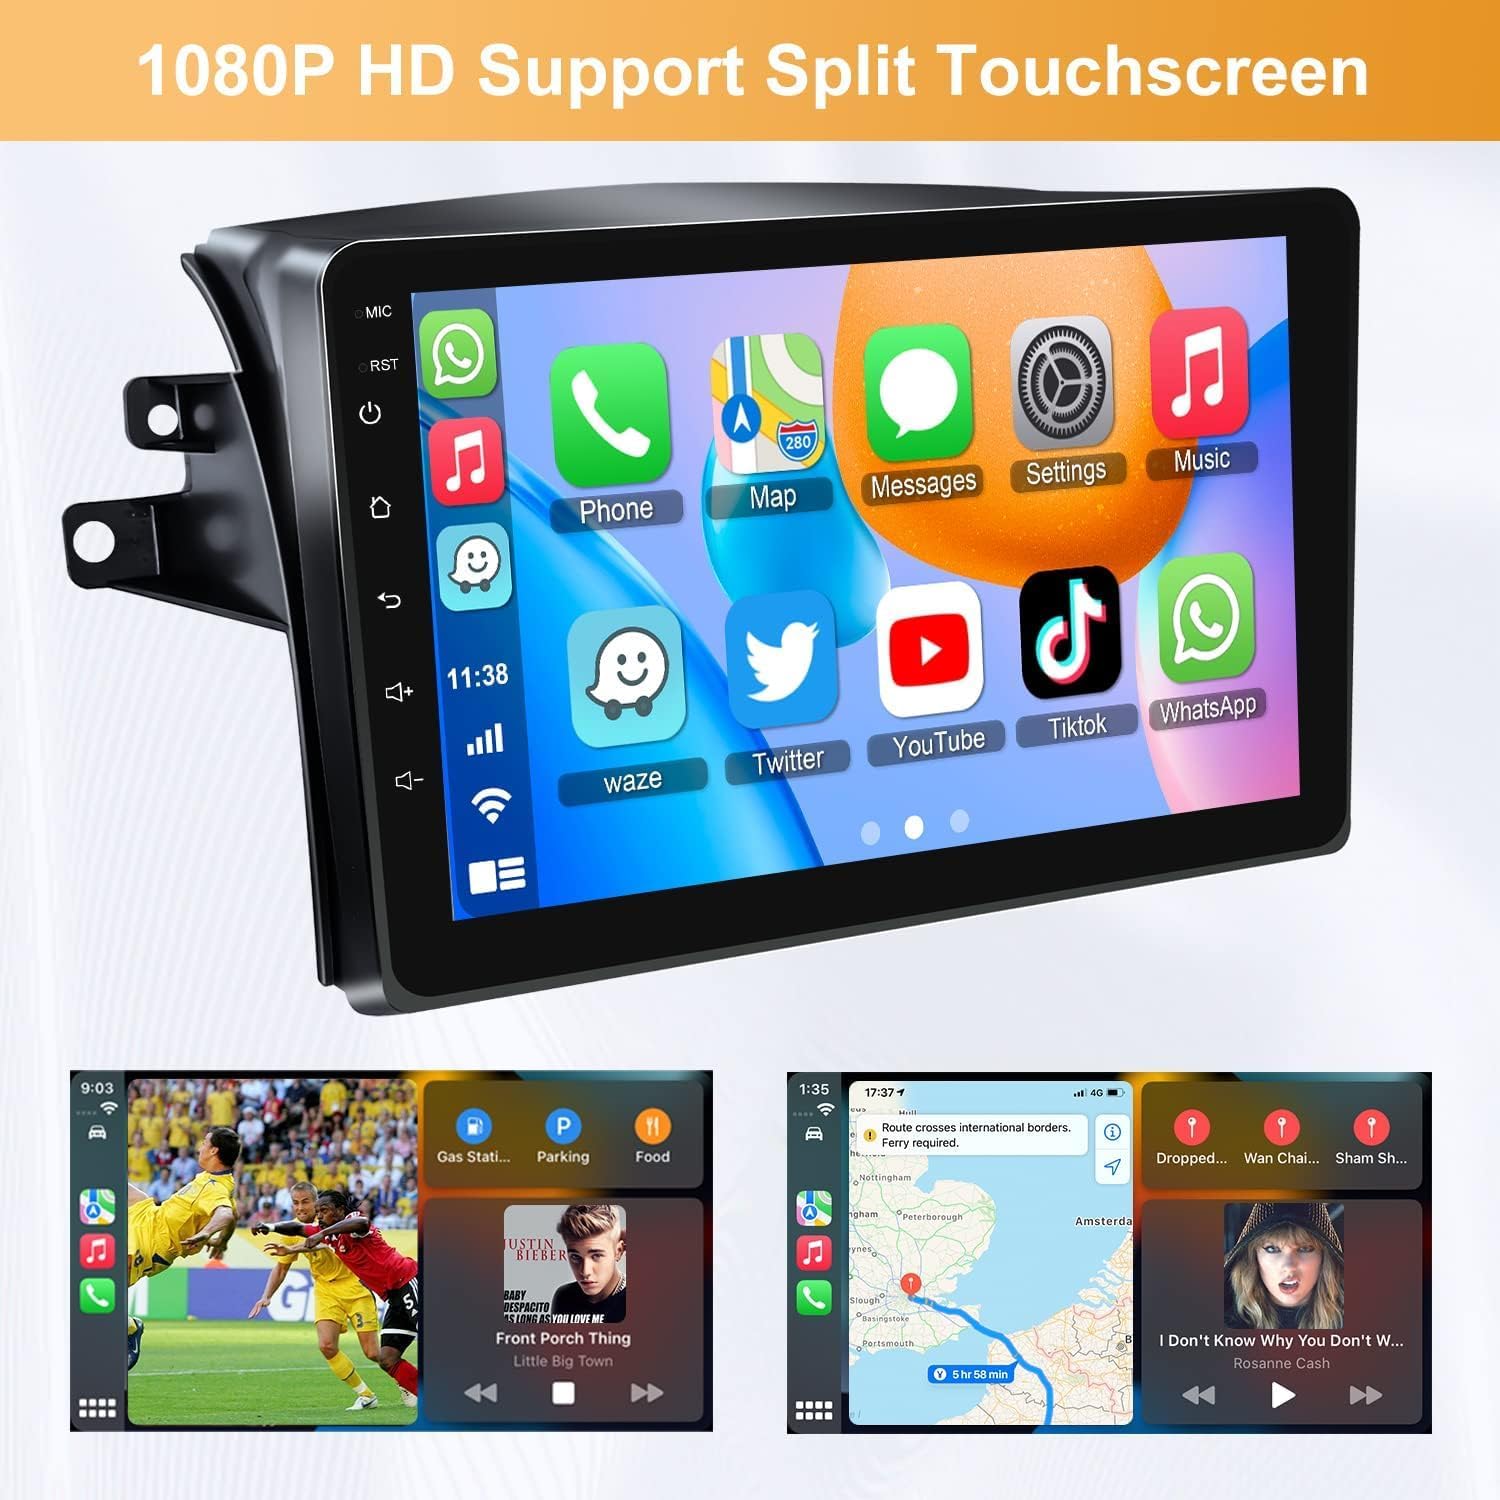
Image 5.4: The car stereo displaying two applications simultaneously using the split-screen feature, such as video playback and navigation.
5.7. DSP & EQ Settings
The Digital Sound Processor (DSP) and Equalizer (EQ) settings allow for fine-tuning of the audio output. Adjust sound fields, balance, fader, and specific frequency bands to customize your listening experience.

Image 5.5: Screenshots of the car stereo's audio settings, including DSP for sound field adjustment and a multi-band graphic equalizer.
6. Maintenance
- Screen Cleaning: Use a soft, lint-free cloth to clean the touch screen. For stubborn smudges, lightly dampen the cloth with water or a screen-safe cleaner. Avoid harsh chemicals.
- Software Updates: Periodically check for software updates through the system settings when connected to Wi-Fi to ensure optimal performance and access to new features.
- General Care: Avoid exposing the unit to extreme temperatures, direct sunlight for prolonged periods, or excessive moisture.
7. Troubleshooting
| Problem | Possible Cause | Solution |
|---|---|---|
| Unit does not power on | Incorrect wiring; Blown fuse; Vehicle battery issue | Check power connections and fuses. Ensure vehicle battery is charged. |
| No sound output | Speaker wiring incorrect; Volume too low; Mute activated | Verify speaker connections. Increase volume. Check if mute is active. |
| GPS signal weak or lost | GPS antenna obstructed or improperly installed | Ensure GPS antenna has a clear view of the sky and is securely connected. |
| Bluetooth connection issues | Device not paired; Bluetooth off on phone/stereo; Interference | Ensure Bluetooth is enabled on both devices. Re-pair the device. Move closer to the unit. |
| Backup camera not displaying | Camera cable loose; Power connection issue; Incorrect input selected | Check camera cable connection. Verify power to camera. Ensure vehicle is in reverse. |
| Touch screen unresponsive or laggy | System overload; Software glitch | Restart the unit. Close unnecessary applications. Perform a factory reset if issues persist (note: this will erase data). |
8. Specifications
- Brand: Inexaccessories
- Operating System: Android 13
- Memory: 4GB RAM + 64GB ROM
- Screen Size: 9 Inches
- Display Type: IPS Touchscreen (Capacitive)
- Connectivity: Bluetooth 5.2, Wi-Fi (Hotspot support)
- Special Features: Wireless Carplay & Android Auto, GPS Navigation (Online/Offline), DSP & EQ Settings, FM Radio, Split-Screen Function, Voice Control, Steering Wheel Control (SWC)
- Audio Output Mode: Stereo, Surround
- Included Components: Car Stereo Unit, Power Cable, RCA Cable, USB Cable, Microphone Cable, Back-up Camera, Camera Cable, GPS Antenna, Signal Cable
- Vehicle Service Type: Car (Toyota Sienna 2004-2010)
- Control Method: Touch, Voice
9. Warranty and Support
9.1. Warranty Information
This Inexaccessories product comes with a 2-year warranty. Additionally, an 18-month warranty is provided for any quality-related issues. Please retain your proof of purchase for warranty claims.
9.2. Customer Support
If you encounter any questions regarding the use or installation of this unit, please contact Inexaccessories customer support. We are committed to providing professional technical assistance and support to ensure your satisfaction.
For assistance, please refer to the contact information provided with your purchase or visit the official Inexaccessories website.

