
1. Introduction
This manual provides essential information for the safe and effective operation of your GHJGAGE 5.0 Cuft Digital Fireproof Home Security Safe. Please read these instructions carefully before installation and use, and retain them for future reference.
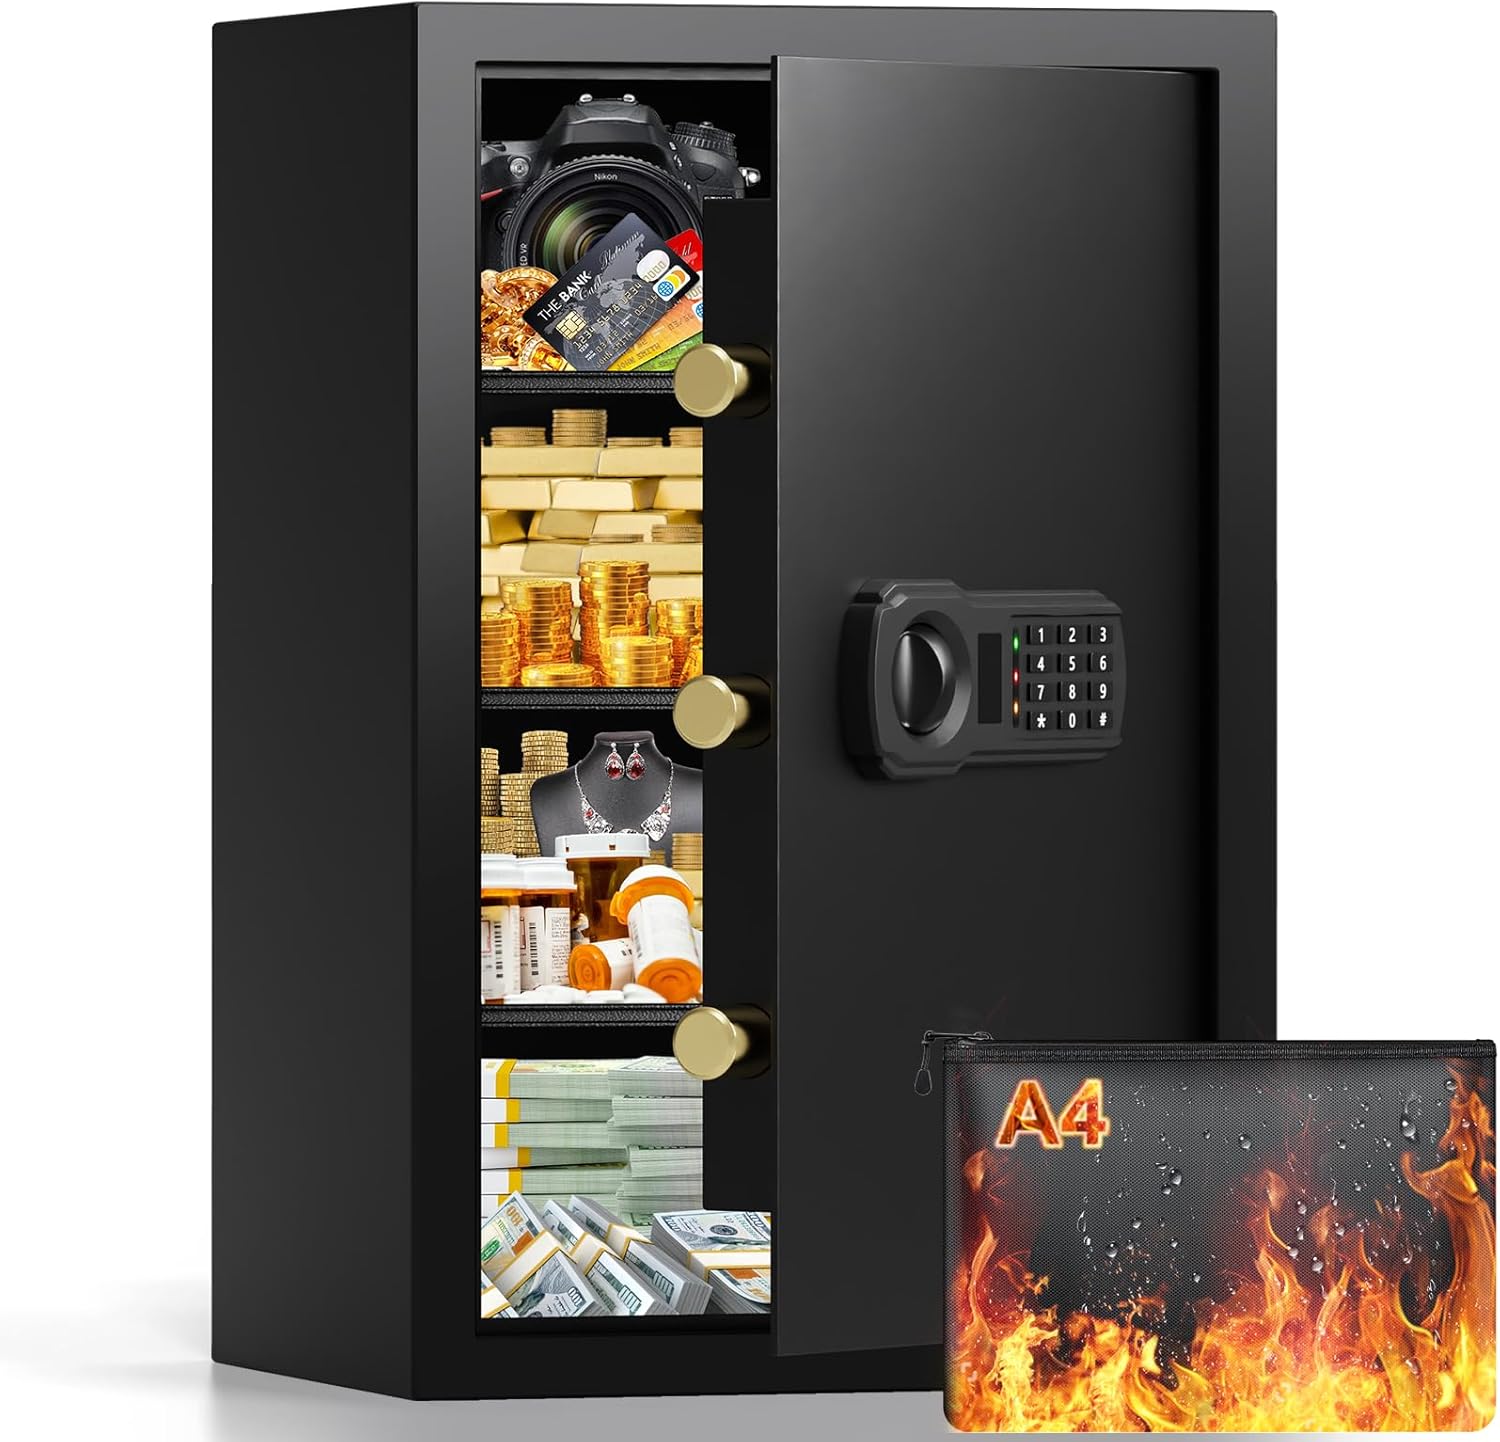
Image 1.1: The GHJGAGE 5.0 Cuft Digital Fireproof Home Security Safe, showcasing its interior capacity with various items.
2. Safety Information
- Do not store the emergency keys or external battery box inside the safe. Keep them in a secure, separate location.
- Ensure the safe is installed on a stable, dry, and secure surface. For enhanced security, bolt the safe to a wall or floor.
- Keep the safe away from children to prevent unauthorized access to its contents.
- Avoid exposing the safe to extreme temperatures or humidity.
- Do not attempt to force the safe open if the keypad malfunctions or batteries are depleted. Use the emergency access methods.
3. Package Contents
Verify that all components are present in the package:
- 1 x GHJGAGE 5.0 Cuft Digital Fireproof Home Security Safe
- 2 x Emergency Keys
- 1 x External Battery Box
- 4 x Expansion Bolts (for mounting)
- 1 x User Manual (this document)
- 1 x A4 Letter Size Fireproof Document Bag
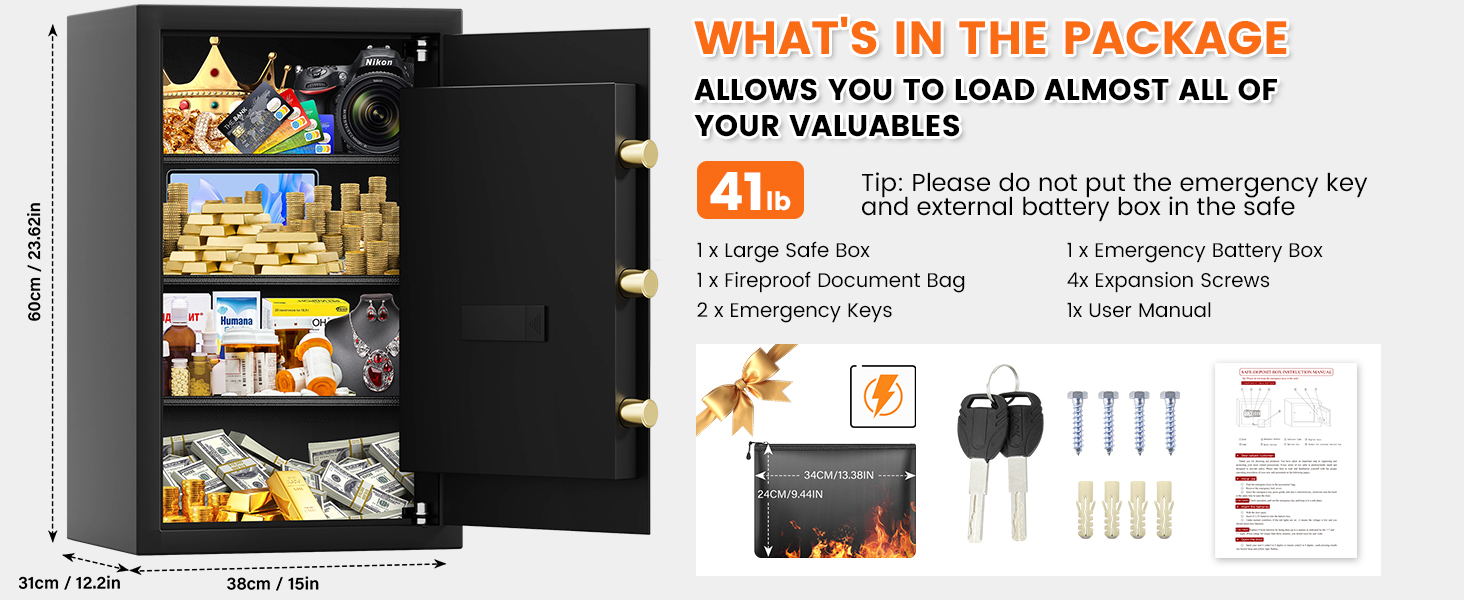
Image 3.1: Contents included with the GHJGAGE safe, including keys, battery box, and mounting hardware.
4. Product Overview
The GHJGAGE 5.0 Cuft Digital Fireproof Home Security Safe is designed to protect your valuables with a robust construction and advanced security features.
4.1 Key Features
- Large Capacity: 5.0 cubic feet interior space with dimensions of 11.8 x 14.5 x 23.2 inches (DxWxH).
- Durable Construction: Features a 50mm extra-thick explosion-proof steel door and 3x30mm high-strength solid locking bolts.
- Dual Locking Mechanism: Electronic keypad with programmable code and backup emergency keys.
- Anti-Theft Alarm System: Activates after multiple incorrect code entries.
- Removable Shelves: Three adjustable/removable steel shelves for flexible storage.
- Internal LED Light: Illuminates the interior for visibility in low light.
- Fireproof Document Bag: Included for additional protection of sensitive documents.
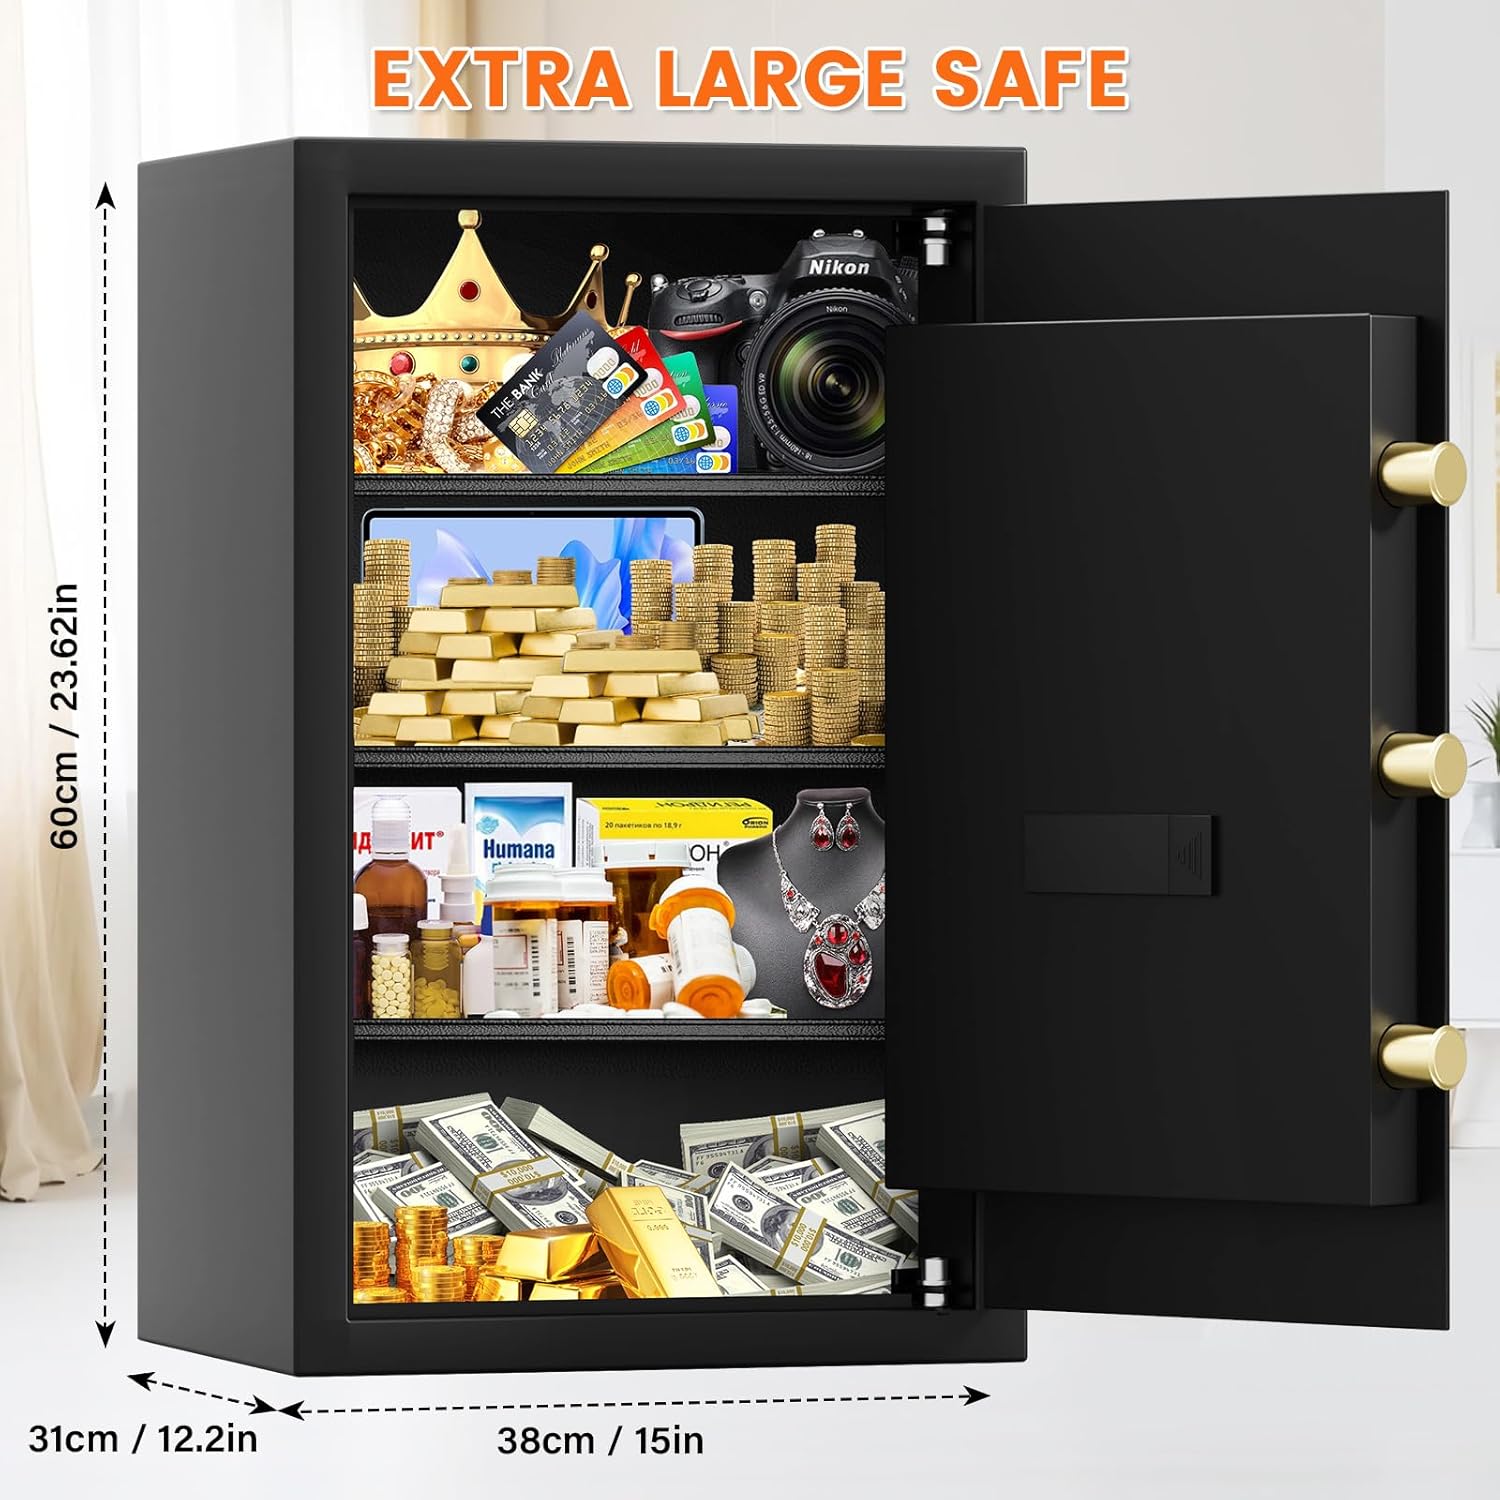
Image 4.1: Exterior dimensions of the safe.

Image 4.2: Safe interior with and without removable shelves.

Image 4.3: Detail of the safe's steel construction and anti-theft features.
5. Setup
5.1 Battery Installation
- Locate the battery compartment on the back of the keypad.
- Gently slide the battery cover off.
- Insert 4 AA batteries (not included) according to the polarity indicators (+/-).
- Replace the battery cover.
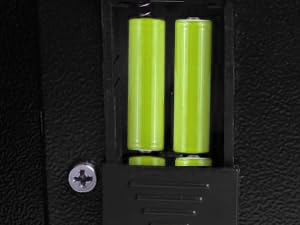
Image 5.1: Battery compartment for the electronic keypad.
5.2 Mounting the Safe (Optional)
For enhanced security, the safe can be bolted to a wall or floor using the provided expansion bolts.
- Choose a stable, dry, and secure location for your safe.
- Open the safe door and locate the pre-drilled mounting holes on the back or bottom panel.
- Place the safe in the desired location and mark the mounting holes on the wall or floor using a pencil.
- Move the safe away and drill 2.4-inch deep (60mm) holes with a 10mm drill bit at the marked positions.
- Insert the expansion bolts into the drilled holes.
- Align the safe's mounting holes with the expansion bolts and secure it in place by tightening the clamping screws clockwise until firm.

Image 5.2: Step-by-step guide for wall or floor mounting.
6. Operating Instructions
6.1 Setting/Changing the Passcode
- With the safe door open, press the red reset button located on the inside of the door. You will hear a beep.
- On the keypad, enter your desired 3 to 8 digit passcode.
- Press the "#" button to confirm. You will hear a confirmation beep.
- Test the new passcode with the door open before closing it.
6.2 Opening the Safe (Daily Use)
- Enter your 3 to 8 digit passcode on the keypad.
- Press the "#" button to confirm. The green light will illuminate.
- Within 5 seconds, turn the knob clockwise to open the safe door.
6.3 Emergency Access
In case of forgotten passcode or depleted batteries, use one of the following emergency methods:
- Using Emergency Keys:
- Gently remove the keypad cover to reveal the emergency keyhole.
- Insert one of the emergency keys into the keyhole and turn it counter-clockwise.
- Simultaneously turn the main knob clockwise to open the safe.
- Using External Battery Box:
- Connect the external battery box to the emergency power port on the keypad.
- Enter your passcode on the keypad and press "#".
- Turn the knob clockwise to open the safe.
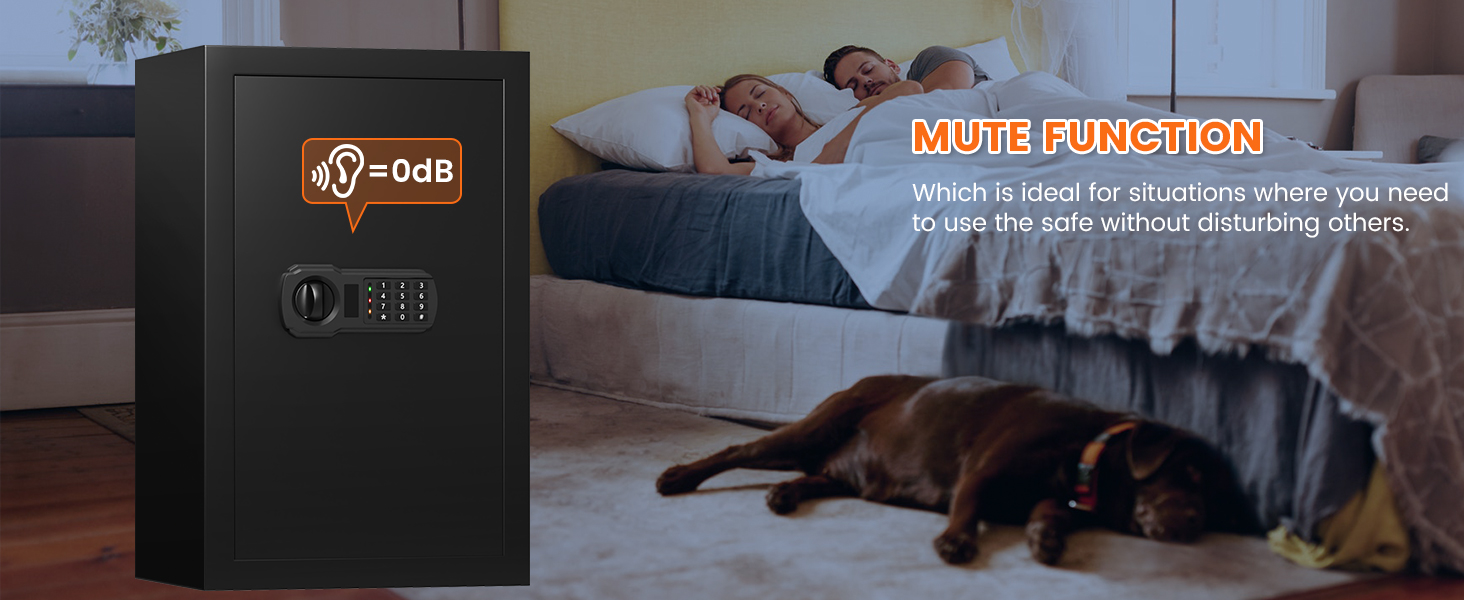
Image 6.1: Three methods for opening the GHJGAGE safe.
6.4 Anti-Theft Alarm System
The safe is equipped with an alarm system to deter unauthorized access:
- If an incorrect passcode is entered 3 times consecutively, the system will lock for 20 seconds and emit an alarm.
- If an incorrect passcode is entered 6 times consecutively, the system will lock for 5 minutes and continue to alarm.
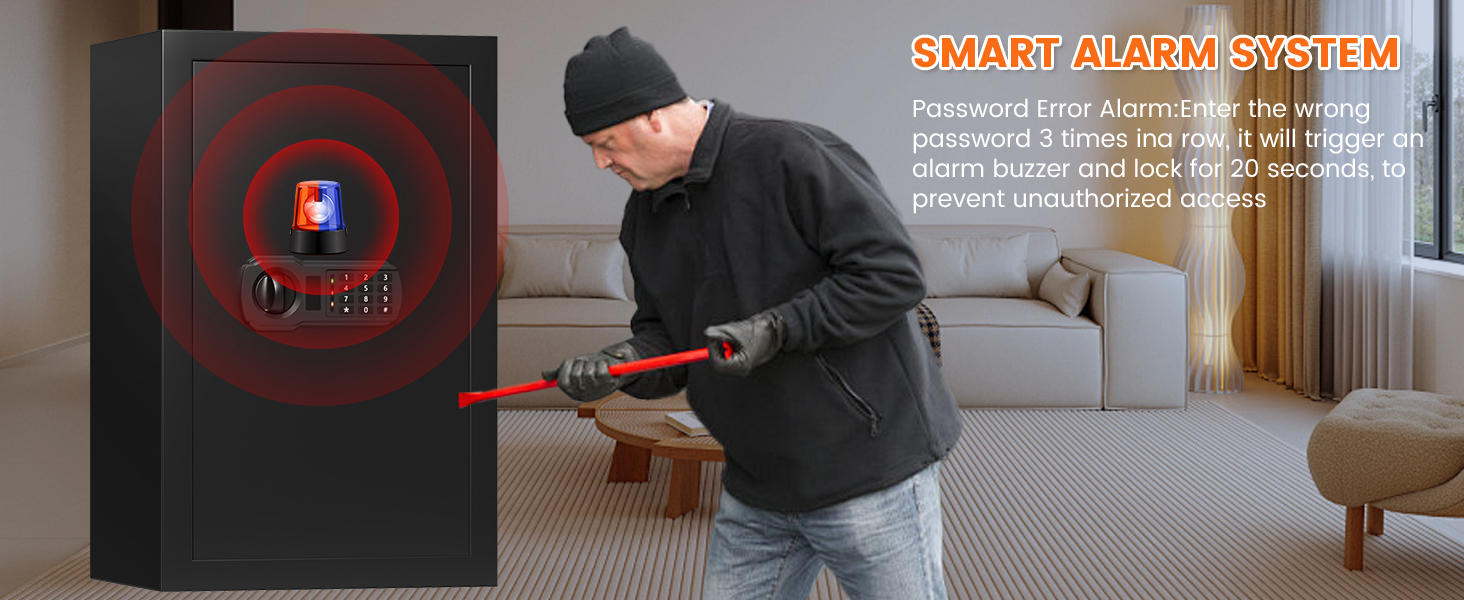
Image 6.2: The safe's smart alarm system in action.
6.5 Silent Mode
To operate the safe without sound, activate silent mode:
- Press the "*" button on the keypad.
- Enter your passcode.
- Press the "#" button. The safe will now operate silently.

Image 6.3: Silent mode feature for discreet operation.
7. Maintenance
- Regularly check and replace the batteries in the keypad (approximately every 6-12 months, depending on usage).
- Clean the exterior of the safe with a soft, damp cloth. Avoid abrasive cleaners or solvents.
- Ensure the locking bolts and hinges are free from obstructions.
- Do not lubricate the lock mechanism unless specifically instructed by customer support.
8. Troubleshooting
| Problem | Possible Cause | Solution |
|---|---|---|
| Safe does not open with passcode. | Incorrect passcode entered; Dead batteries; Keypad malfunction. | Re-enter passcode carefully; Replace batteries; Use emergency key or external battery box. |
| Keypad does not respond. | Dead batteries; Loose battery connection. | Replace batteries; Ensure batteries are correctly inserted. |
| Alarm sounds frequently. | Multiple incorrect passcode entries. | Ensure correct passcode is used; Wait for the lockout period to end. |
| Door does not close properly. | Obstruction in the door frame; Misaligned locking bolts. | Check for obstructions; Contact customer support if bolts are misaligned. |
9. Specifications
- Brand: GHJGAGE
- Model: SP
- Exterior Dimensions (DxWxH): 12.2 x 14.96 x 23.62 inches (31 x 38 x 60 cm)
- Interior Dimensions (DxWxH): 11.8 x 14.5 x 23.2 inches
- Capacity: 5.0 Cubic Feet
- Net Weight: 40 lbs (18.14 kg)
- Material: Alloy Steel
- Lock Type: Electronic Combination Lock, Key
- Color: Black
- Power Source: 4 x AA Batteries (not included)
- Mounting Type: Wall or Floor Mount
10. Warranty and Support
The GHJGAGE Professional Safe Box comes with a 5-year hassle-free warranty. This warranty covers manufacturing defects and ensures product reliability.
For any questions, technical assistance, or warranty claims, please contact GHJGAGE customer service. Our support team is available 24/7 to assist you.
Contact Information: Refer to the product packaging or the seller's information on the purchase platform for specific contact details.