
1. Introduction
This manual provides essential information for the safe and effective use of your Masterplug Mode 2 EV Charging Cable. Designed for electric and hybrid vehicles, this cable offers a convenient and reliable charging solution. Please read this manual thoroughly before first use and retain it for future reference.

Image 1.1: Masterplug EV Charging Cable (10 Metres)
2. Product Features
- Safe and Intelligent Mode 2 Charging: Charges all compatible plug-in electric cars and vehicles.
- Wide Operating Temperature: Functions reliably in temperatures ranging from -25°C to +40°C.
- Weather and Dust Proof: Control box is IP66 rated when connected to a vehicle and IP55 when not in use, ensuring durability in various conditions.
- LCD Charging Status Display: Provides real-time information on charging status, voltage, current, power, and duration.
- Integrated Safety Protection: Features built-in protection for PEN faults, over/under voltage, thermal overload, and 30mA AC and 6mA DC RCD.
- Efficient Charging Power: Delivers 10 Amp/2.4 kW, providing an average of 8 miles per charging hour.
- Automatic Shut-Off: Charging stops automatically when the vehicle is fully charged.

Image 2.1: Mode 2 - Type 2 to 3 Pin Plug Configuration
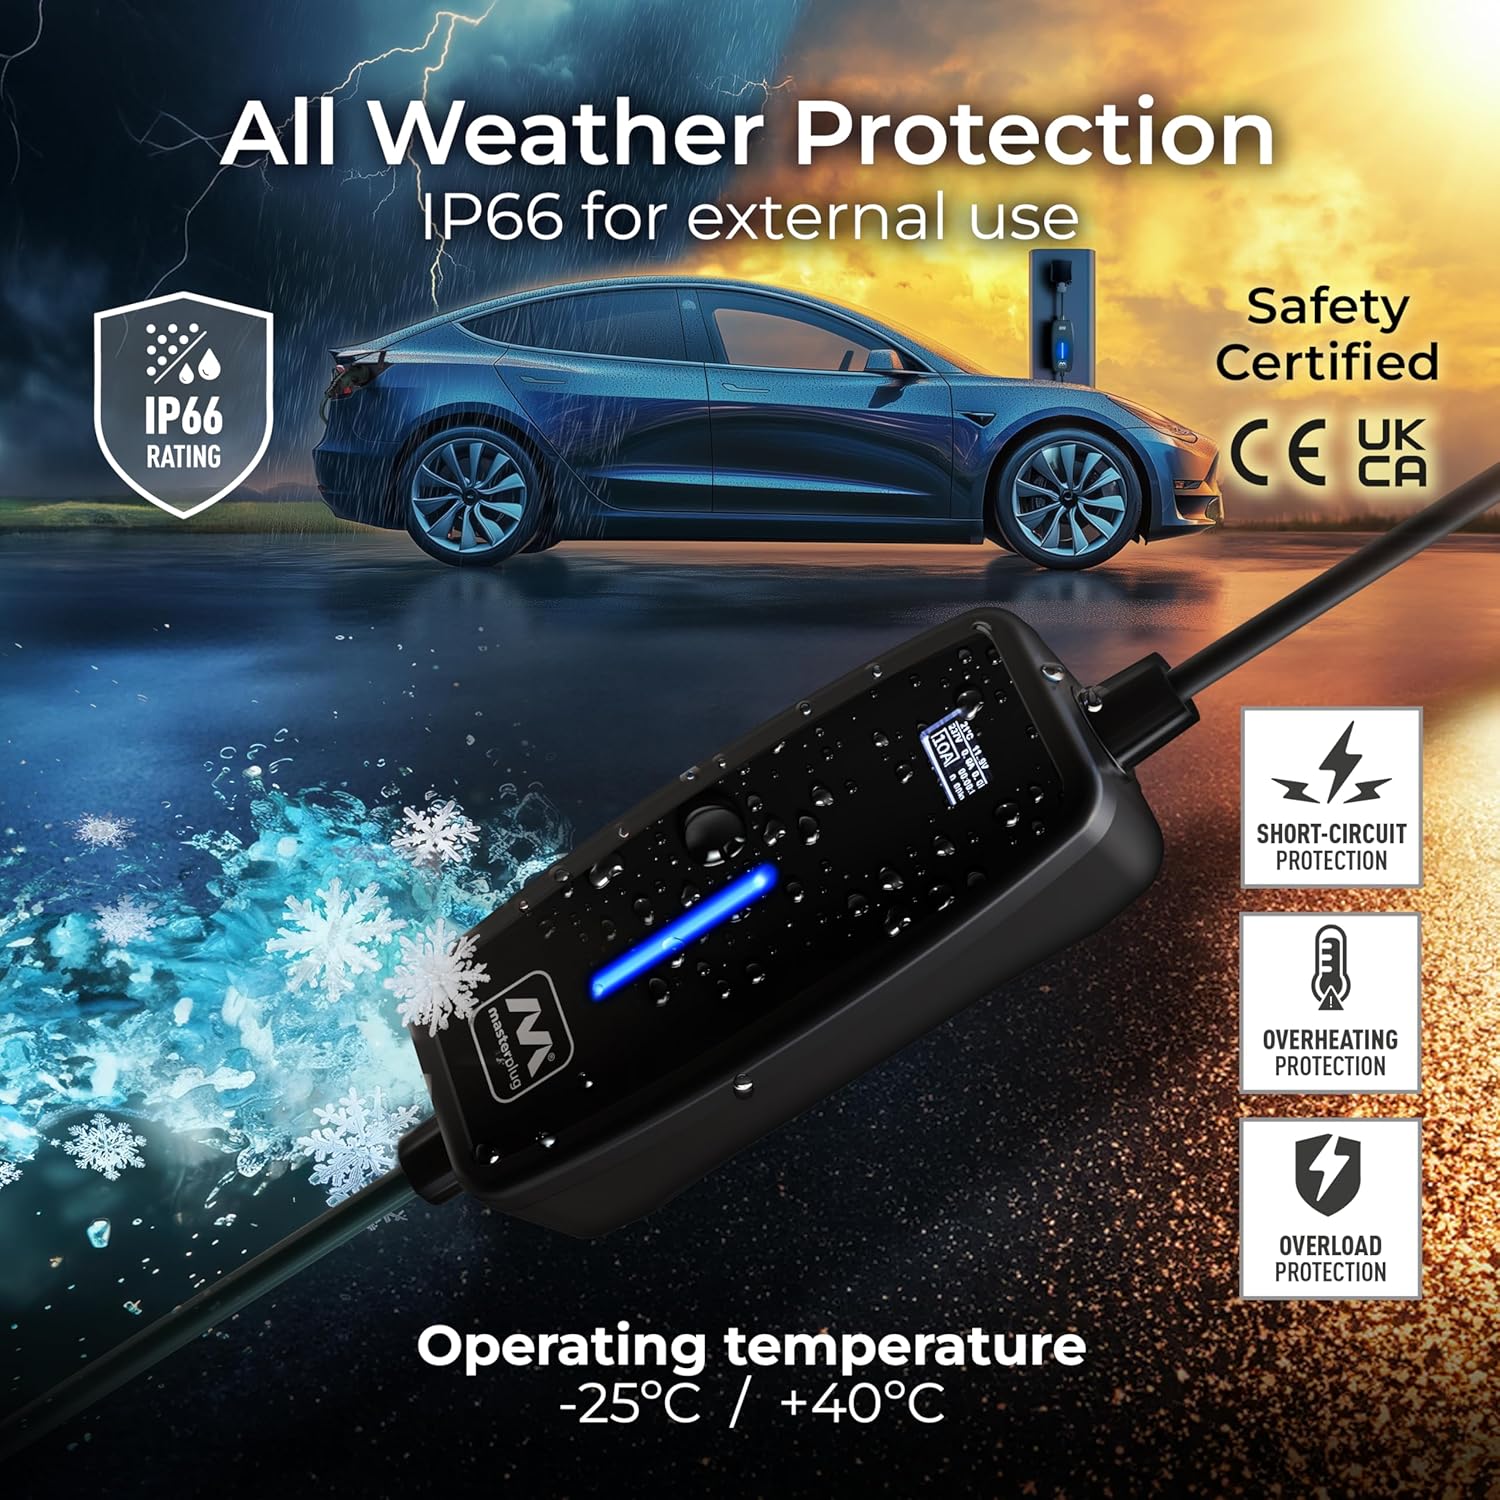
Image 2.2: All Weather Protection (IP66 Rated)
3. Setup
- Inspect the Cable: Before each use, visually inspect the charging cable, plugs, and control box for any signs of damage, wear, or foreign objects. Do not use if any damage is observed.
- Power Source: Ensure the 3-pin UK plug is connected to a suitable, dedicated EV-rated 13A socket. It is highly recommended to use an outdoor socket specifically designed for EV charging, such as the Masterplug WP21 (sold separately), for safety and weather resistance. Do not use extension leads or adapters.
- Vehicle Preparation: Ensure your electric or hybrid vehicle is parked safely and switched off.

Image 3.1: Recommended EV Rated Socket Connection
4. Operating Instructions
- Connect to Power: Plug the 3-pin UK plug into the EV-rated wall socket. The control box LCD display will illuminate, indicating readiness.
- Connect to Vehicle: Insert the Type 2 connector firmly into your vehicle's charging port. Ensure it clicks into place.
- Initiate Charging: The charging process should begin automatically. The LCD display on the control box will show real-time charging data, including current temperature, voltage, current (Amps), power (kW), charging duration, and accumulated energy (kWh). The indicator light on the control box will typically show a solid green or blue light during active charging.
- Monitor Charging: Periodically check the LCD display to monitor the charging progress.
- Charging Completion: The cable will automatically stop charging when the vehicle's battery is full. The LCD display will indicate charging completion, and the indicator light may change color or turn off.
- Disconnect from Vehicle: Once charging is complete, safely disconnect the Type 2 connector from your vehicle's charging port.
- Disconnect from Power: Unplug the 3-pin UK plug from the wall socket.
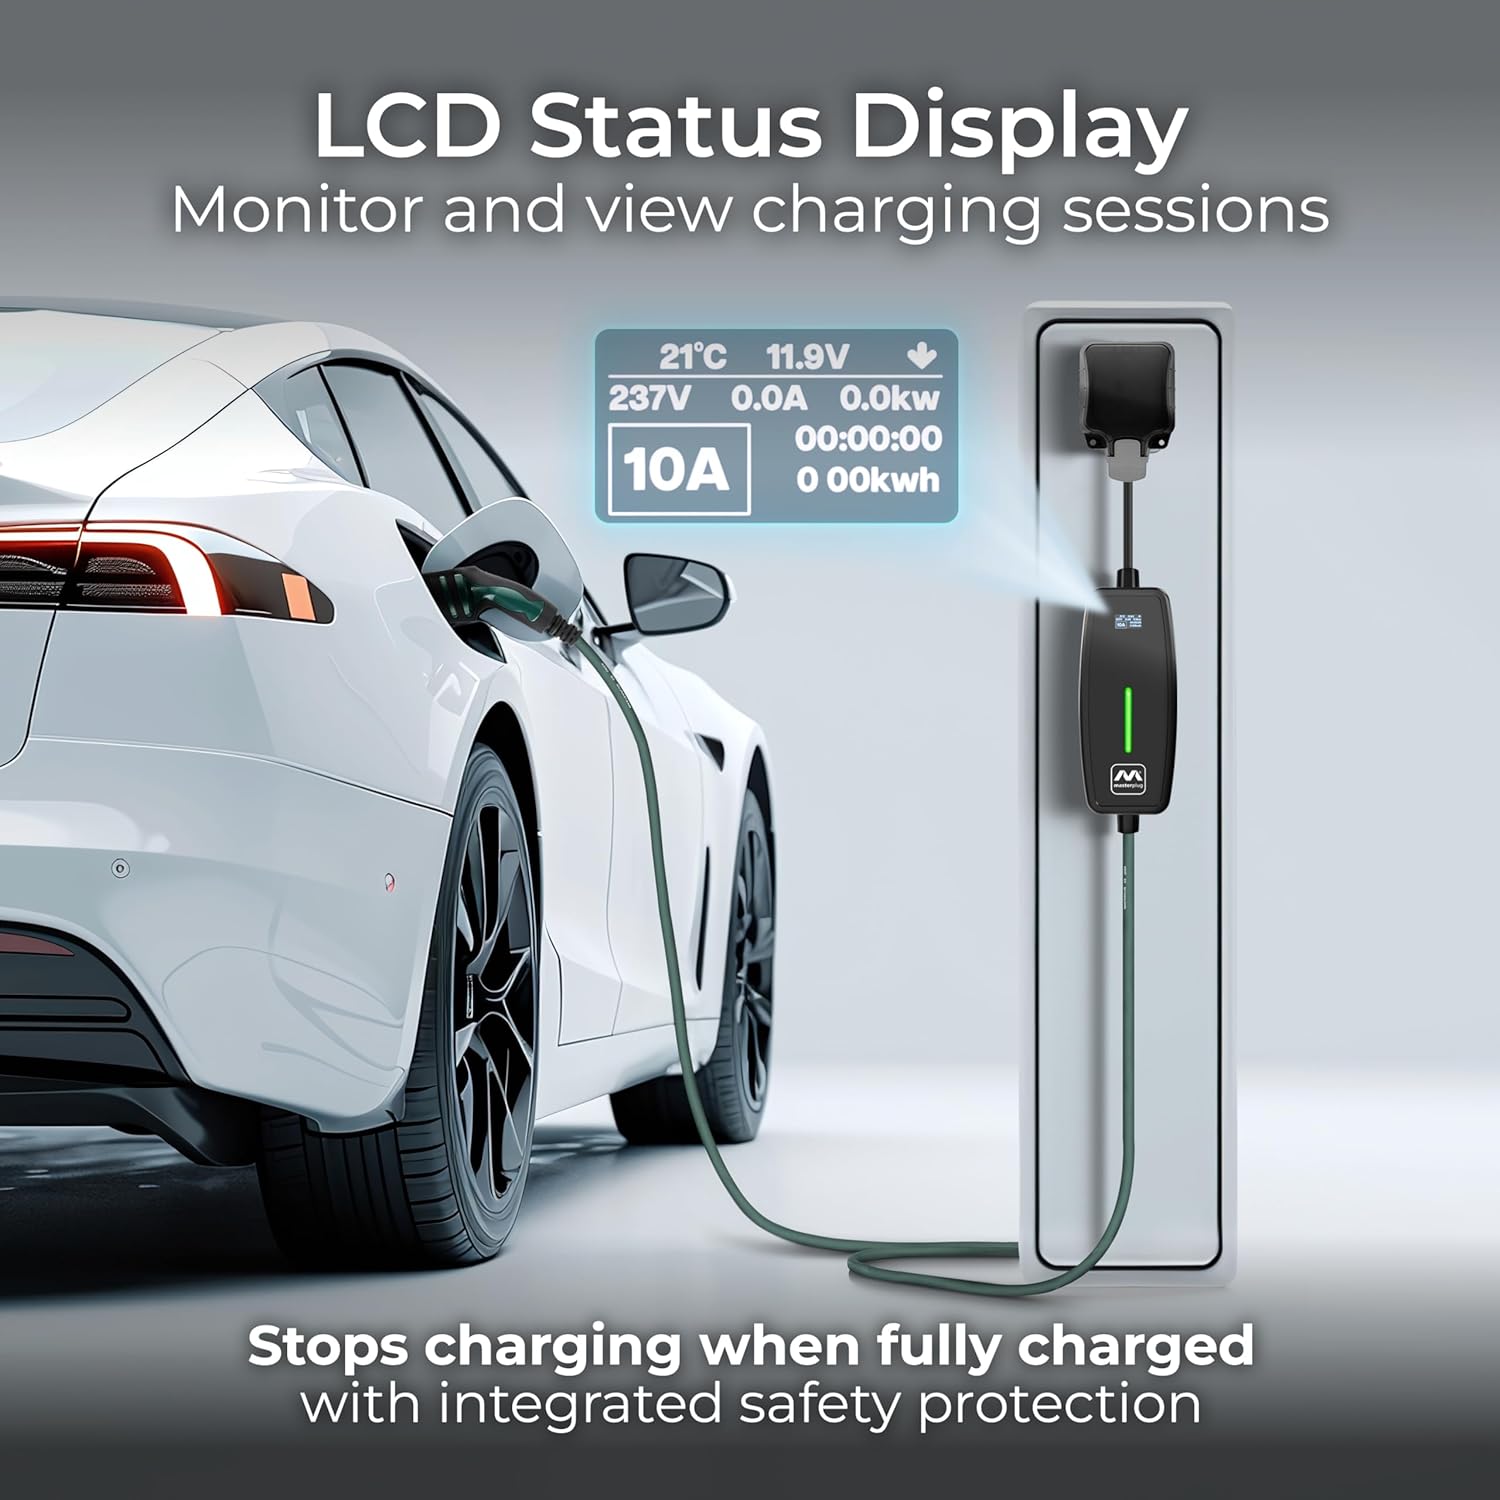
Image 4.1: LCD Status Display during Charging

Image 4.2: Charging in Progress
5. Maintenance
- Cleaning: Clean the cable and control box with a soft, dry cloth. Do not use abrasive cleaners or solvents. Ensure all connectors are free from dust and moisture before use.
- Storage: Store the charging cable in a dry, cool place, away from direct sunlight and extreme temperatures. Coil the cable neatly to prevent kinks or damage.
- Regular Inspection: Periodically inspect the cable, plugs, and control box for any signs of damage, such as cuts, cracks, or discoloration. If any damage is found, discontinue use immediately and contact customer support.
6. Troubleshooting
| Problem | Possible Cause | Solution |
|---|---|---|
| Cable not charging | Cable not fully plugged in; Vehicle charging port issue; Power supply issue; Safety protection activated. | Ensure both ends are securely connected. Check vehicle's charging system. Verify wall socket has power. Check LCD for error codes (if any) and refer to safety features. Unplug and re-plug. |
| LCD display not working | No power to the unit; Internal fault. | Ensure the 3-pin plug is securely connected to a live socket. If still not working, contact customer support. |
| Charging stops unexpectedly | Vehicle fully charged; Safety protection activated (e.g., over/under voltage, thermal overload, PEN fault, RCD trip). | Check vehicle's battery status. If not full, check LCD for error messages. Disconnect and reconnect. If issue persists, consult a qualified electrician or contact customer support. |
| Cable or control box feels hot | Normal operation (slight warmth); Overload or fault. | A slight warmth is normal. If it feels excessively hot or smells burnt, immediately disconnect from power and vehicle. This indicates a potential thermal overload or fault. Do not use and contact customer support. |
7. Specifications
| Feature | Specification |
|---|---|
| Product Dimensions | 30 x 35 x 9 cm |
| Weight | 2.43 kg |
| Model Number | EVCM221010-MP |
| Brand | Masterplug |
| Colour | Gray |
| Cable Length | 10 Metres |
| Output Voltage | 2.4E+2 Volts (DC) |
| Charging Current | 10 Amp |
| Charging Power | 2.4 kW |
| Ingress Protection (IP) Rating | IP66 (connected), IP55 (unconnected) |
| Operating Temperature | -25°C to +40°C |
| Safety Compliance | CE, UK EV standards BS1363/EV |
8. Warranty and Support
Masterplug provides a 1-year manufacturer's warranty against faulty materials and workmanship for this product. This warranty ensures peace of mind regarding the quality and reliability of your charging cable.
For warranty claims, technical support, or any questions not covered in this manual, please contact Masterplug customer service through their official website or the retailer from whom the product was purchased. Please have your product model number and purchase details ready when contacting support.