
1. Introduction
Thank you for choosing the YOOREAL Digital Kitchen Timer RL-HM206. This multi-function timer is designed to assist you with precise time management for various activities, including cooking, studying, fitness, and more. It features four independent countdown timers, a clock display, adjustable alarm volume, and convenient placement options. Please read this manual thoroughly to ensure proper use and optimal performance of your device.

2. Product Overview
Key Features:
- Four Independent Countdown Timers: Set up to four separate timers (T1, T2, T3, T4) simultaneously, each programmable for up to 99 hours and 59 minutes.
- Adjustable Alarm Volume: Choose between high, low, or silent alarm modes to suit your environment.
- Clock Mode: Functions as a standard clock with 12-hour or 24-hour display options when not in timer mode.
- Memory Function: Each timer retains its last setting for convenient repeated use.
- Multiple Placement Options: Features a magnetic back for attachment to metal surfaces and a built-in stand for tabletop use.
- Large Display: Clear, easy-to-read digital display.
Package Contents:
- YOOREAL Digital Kitchen Timer RL-HM206
- User Manual (this document)
Note: 2 x AAA batteries are required and not included in the package.


3. Setup
3.1 Battery Installation
- Locate the battery compartment cover on the back of the timer.
- Slide the cover downwards to open it.
- Insert two (2) AAA batteries, ensuring the correct polarity (+/-) as indicated inside the compartment.
- Replace the battery compartment cover by sliding it upwards until it clicks into place.
The timer will power on automatically once batteries are installed. If the display does not light up, check battery polarity or replace with new batteries.

4. Operating Instructions
4.1 Setting the Clock
- In clock mode (when no timer is active), press and hold the CLEAR (12/24) button for 3 seconds to enter time setting mode. The hour digits will flash.
- Press HR to adjust the hour.
- Press MIN to adjust the minute.
- Press SEC to adjust the second.
- Press CLEAR (12/24) again to switch between 12-hour and 24-hour format.
- Press START/STOP to confirm the time and exit setting mode.
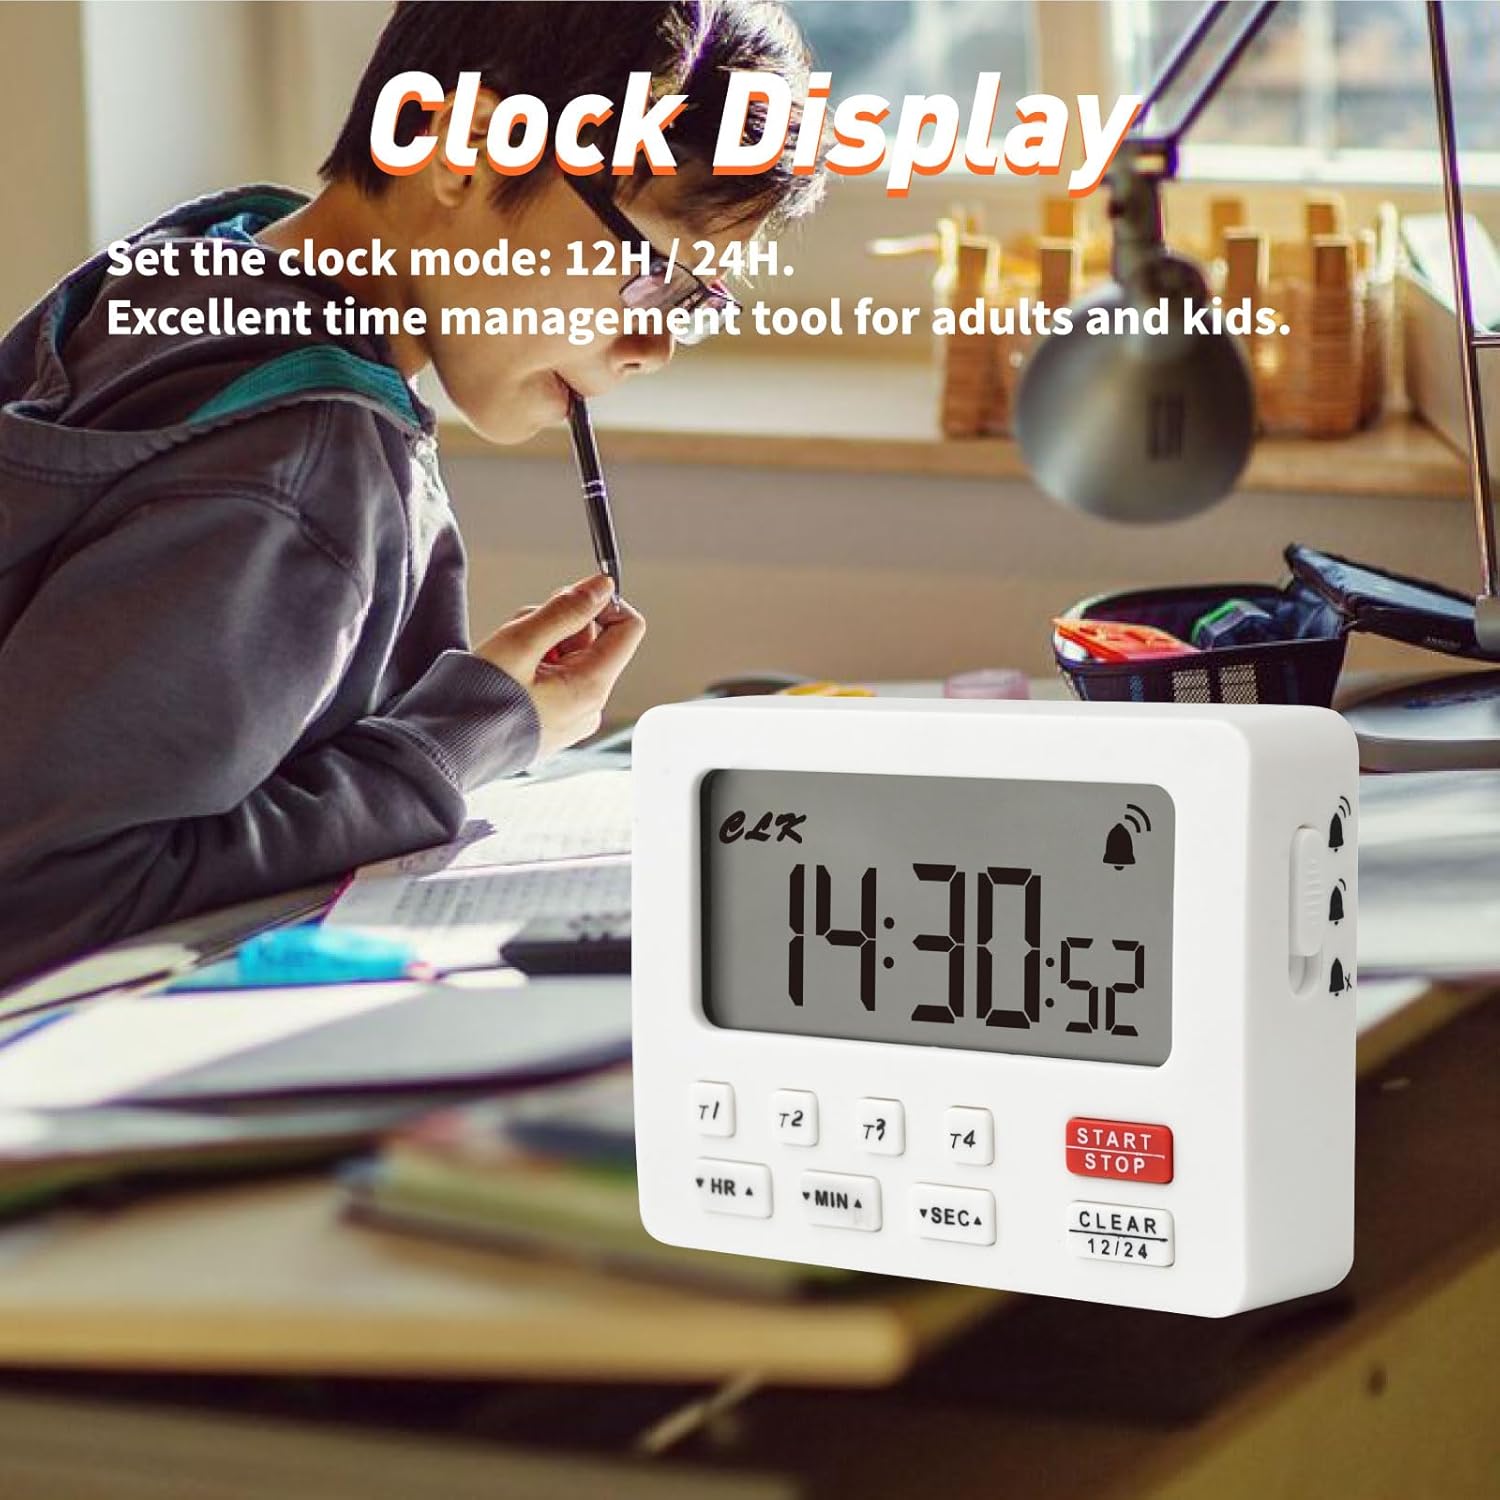
4.2 Using Countdown Timers (T1, T2, T3, T4)
The timer features four independent countdown channels. Each channel can be set and operated separately.
- Select a Timer Channel: Press the desired timer button (T1, T2, T3, or T4) to select it. The display will show the selected timer channel.
- Set the Time:
- Press HR to set the hours (up to 99 hours).
- Press MIN to set the minutes (up to 59 minutes).
- Press SEC to set the seconds (up to 59 seconds).
- Hold down the buttons for faster adjustment.
- Start the Countdown: Press START/STOP to begin the countdown. The timer icon will appear.
- Pause/Resume: Press START/STOP again to pause the countdown. Press it once more to resume.
- Clear the Timer: To clear the current timer setting, press CLEAR while the timer is paused or stopped.
- Alarm: When the countdown reaches zero, the alarm will sound according to the selected volume setting. Press any button to stop the alarm.
- Memory Function: Each timer channel remembers its last set time. To recall the last setting, select the timer channel and press CLEAR once.
4.3 Using Count-up Timer (Stopwatch)
The timer can also function as a stopwatch.
- Ensure all four countdown timers (T1-T4) are cleared (displaying 00:00:00).
- Press START/STOP to begin counting up from 00:00:00.
- Press START/STOP again to pause the count-up.
- Press CLEAR to reset the count-up timer to 00:00:00.
4.4 Adjusting Alarm Volume & Silent Mode
The timer offers three alarm settings: High, Low, and Off (Silent Mode).
- Locate the volume switch on the side of the timer.
- Slide the switch to select your desired alarm volume:
- High: Loud alarm for noisy environments.
- Low: Softer alarm for general use.
- Off (Silent Mode): No audible alarm. The display will flash when a timer reaches zero.

4.5 Placement Options
The timer can be placed in several ways:
- Magnetic Attachment: The back of the timer has two strong magnets, allowing it to be securely attached to metallic surfaces like refrigerators or oven doors.
- Built-in Stand: A foldable stand on the back allows the timer to be placed upright on a countertop or desk for easy viewing.
- Hanging Hole: A small hole is provided for hanging the timer on a hook.

5. Maintenance
5.1 Cleaning
- Wipe the timer with a soft, damp cloth.
- Do not use abrasive cleaners or immerse the timer in water.
5.2 Battery Replacement
- When the display becomes dim or the timer functions erratically, it's time to replace the batteries.
- Follow the battery installation steps in Section 3.1.
- Dispose of old batteries responsibly according to local regulations.
6. Troubleshooting
| Problem | Possible Cause | Solution |
|---|---|---|
| Display is blank or dim. | Low or dead batteries; incorrect battery polarity. | Replace batteries with new AAA batteries. Ensure correct polarity. |
| Alarm is not sounding. | Alarm volume set to "Off" (Silent Mode). | Check the volume switch on the side of the timer and set it to "Low" or "High". |
| Timer not starting/stopping. | Incorrect button press; timer already running/paused. | Ensure you are pressing the START/STOP button. If paused, press again to resume. If stopped, press to start. |
| Timer settings are not saving. | This model has a memory function for the last set time on each channel. If cleared, it resets. | After setting a timer, it will remember that setting until cleared or new time is set. |
7. Specifications
| Feature | Detail |
|---|---|
| Model Number | RL-HM206 |
| Brand | YOOREAL |
| Material | Acrylonitrile Butadiene Styrene (ABS) |
| Dimensions (L x W x H) | 88mm x 23.9mm x 64mm (3.46" x 0.94" x 2.52") |
| Weight | 79 Grams |
| Power Source | 2 x AAA Batteries (not included) |
| Max Countdown Time | 99 Hours, 59 Minutes, 59 Seconds |
| Timer Channels | 4 Independent Channels (T1, T2, T3, T4) |
| Alarm Settings | High, Low, Off (Silent Mode) |
| Clock Display | 12H / 24H selectable |

8. Warranty and Support
8.1 Warranty Information
YOOREAL provides a 2-year after-sales service for this product. During this period, if any quality problems arise with the product, YOOREAL offers a free replacement service.
8.2 Customer Support
For any questions, concerns, or support needs, please contact our customer service team via the Amazon Platform. Our professional online services are available 7 days a week, 24 hours a day. The YOOREAL Care Team is always ready to assist you.
Even if the standard Amazon return window has closed, we are committed to resolving any issues you may encounter with your product.