
1. Introduction
This manual provides detailed instructions for the safe installation, operation, and maintenance of your Ensenior 20'' Low Profile Ceiling Fan with Lights and Remote. Please read this manual thoroughly before installation and keep it for future reference.

Image: The Ensenior 20-inch Low Profile Ceiling Fan, showcasing its modern design with integrated lighting and fan blades. A remote control and smartphone displaying the control app are also visible, indicating multiple control options.
2. Safety Information
Always follow basic safety precautions when installing and operating electrical appliances to reduce the risk of fire, electric shock, and personal injury.
- Ensure the power is turned off at the circuit breaker before installation or maintenance.
- All wiring must be in accordance with national and local electrical codes. If you are unsure, consult a qualified electrician.
- The mounting structure must be capable of supporting the weight of the fan.
- Do not bend the fan blades during installation or cleaning.
- Keep fingers and other objects away from the fan blades when the fan is operating.
- This fan is designed for indoor use only.
3. Package Contents
Verify that all components are present and undamaged before beginning installation:
- Ceiling Fan Unit (with integrated LED light)
- Remote Control
- Mounting Bracket
- Hardware Pack (screws, wire nuts, etc.)
- User Manual

Image: An exploded diagram showing the main components of the ceiling fan, including the metal frame, linkable LEDs, acrylic lampshade, and ABS fan blades, illustrating the fan's construction.
4. Setup and Installation
Follow these steps for proper installation of your ceiling fan:
- Prepare for Installation: Turn off power at the main circuit breaker. Ensure the mounting location is secure and can support the fan's weight.
- Install Mounting Bracket: Secure the mounting bracket to the ceiling junction box using the provided screws. Ensure it is firmly attached.
- Assemble Fan Components:
- Connect the elbow pieces to the canopy.
- Insert the LED strips into the ports on the elbows.
- Assemble the fan blades by pushing them into the central hub.
- Secure the fan blade assembly to the fixture by locking the cover counter-clockwise.

Image: A four-step visual guide demonstrating the assembly process: connecting elbows to the canopy, inserting LED strips, assembling fan blades, and securing the fan blade assembly.
- Wire the Fan: Connect the fan's electrical wires to the household wiring according to standard color codes (usually black to black, white to white, and green/bare copper to ground). Use the provided wire nuts.
- Mount the Fan: Carefully lift the fan unit and attach it to the mounting bracket. Ensure all connections are secure and the fan is stable.
- Restore Power: Once installation is complete, turn the power back on at the circuit breaker.
5. Operating Instructions
Your Ensenior ceiling fan can be controlled via the included remote control or a dedicated mobile application.
5.1 Remote Control & APP Functions

Image: A visual representation of the ceiling fan's control options, showing both the physical remote control and a smartphone app interface, highlighting features like 6 wind speeds, 3CCT, dimming, reverse function, memory, timer, and 3-year coverage.
- Power On/Off: Press the power button on the remote or toggle within the app.
- Fan Speed Adjustment: Select from 6 available wind speeds (1-6) to customize airflow.
- Light Color Temperature (3CCT): Adjust the light color from 3000K (Warm White) to 6500K (Cool White).

Image: Three different room settings demonstrating the 3CCT (Correlated Color Temperature) options: 3000K Warm White, 4000K Clear White, and 6500K Cool White, along with a brightness slider from 8% to 100%.
- Stepless Dimming: Adjust the light brightness from 8% to 100% to suit your preference.
- Reversible Airflow: Switch between summer mode (downward airflow for cooling) and winter mode (upward airflow for heat circulation).

Image: A family enjoying the fan, illustrating the reversible air circulation feature with arrows indicating summer (forward) and winter (reverse) airflow directions, and showing different wind speed levels (Soft, Natural, Cool Wind).
- Memory Function: The fan remembers your last light color temperature and brightness settings when turned off and on again.
- Nightlight Mode: Activate a special "one-button night light" mode for a comfortable, low-light environment (3000K color at 8% brightness).
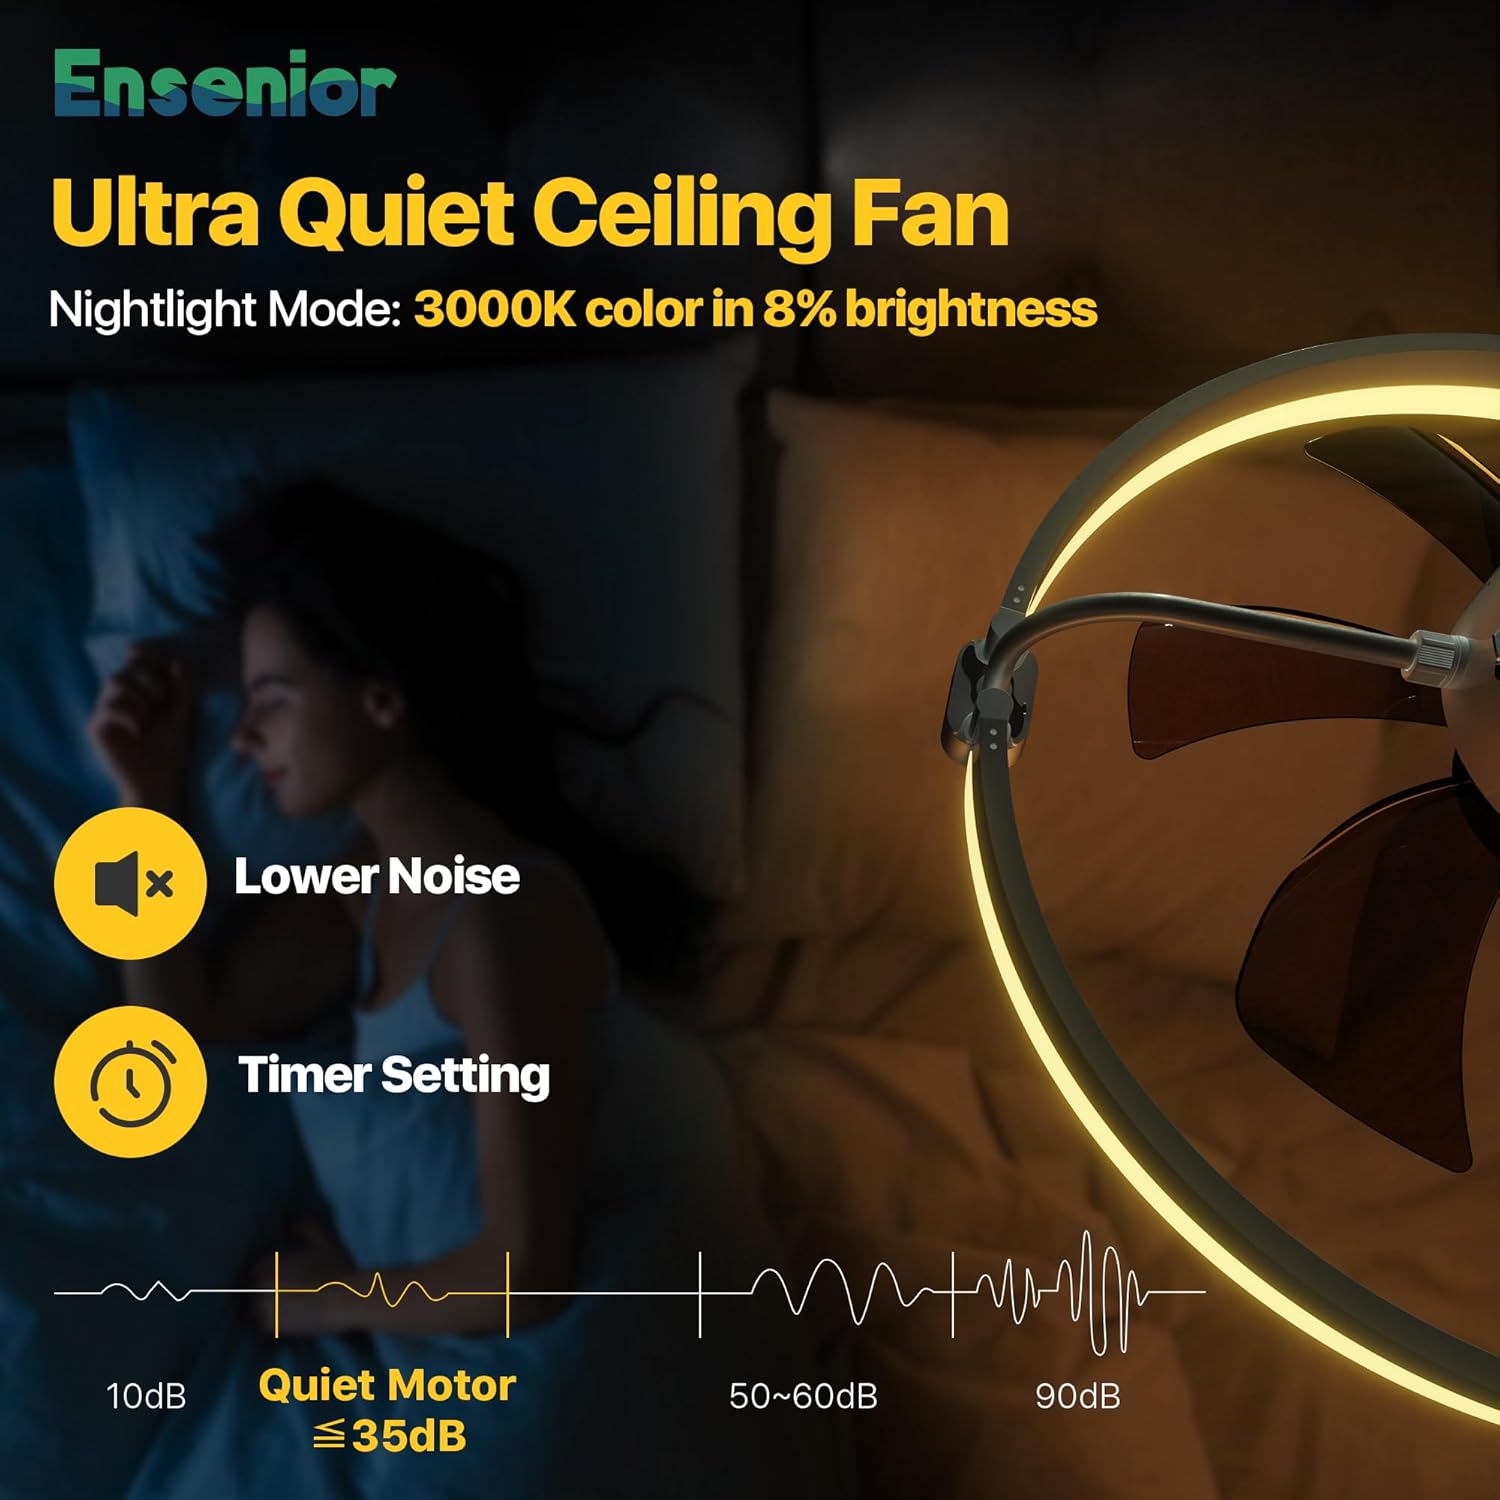
Image: A person sleeping peacefully, highlighting the fan's ultra-quiet operation (less than 35dB) and the soft glow of the nightlight mode (3000K at 8% brightness), along with a timer setting feature.
- Timer Setting: Set the fan to automatically turn off after a specified period (e.g., 1 hour, 2 hours, 4 hours).
6. Maintenance
Regular maintenance ensures optimal performance and longevity of your ceiling fan:
- Cleaning: Use a soft, damp cloth to clean the fan and light surfaces. Do not use abrasive cleaners or solvents.
- Dusting: Periodically dust the fan blades and light fixture to prevent dust buildup, which can affect performance and light output.
- Inspection: Check all connections and screws periodically to ensure they are secure.
7. Troubleshooting
If you encounter issues with your fan, refer to the following common problems and solutions:
| Problem | Possible Cause | Solution |
|---|---|---|
| Fan does not operate. | No power supply; loose wiring; remote control battery low. | Check circuit breaker; ensure all wires are securely connected; replace remote control batteries. |
| Light does not turn on. | Loose wiring; LED module failure. | Check wiring connections; contact customer support if LED module is faulty. |
| Remote control not responding. | Batteries low/dead; remote not paired. | Replace batteries; refer to remote pairing instructions in the full manual (if applicable). |
| Excessive noise. | Loose screws; fan not properly mounted. | Tighten all mounting screws; ensure fan is securely attached to the ceiling. |
8. Specifications
| Feature | Detail |
|---|---|
| Brand | Ensenior |
| Model Name | WF1-20I-3CCT-01-WH-YZ-M01 |
| Size | 20 Inch |
| Product Dimensions | 20.47"D x 20.47"W x 5.51"H |
| Color | White |
| Electric Fan Design | Ceiling Fan |
| Power Source | AC/DC |
| Wattage | 40 watts |
| Voltage | 120 Volts (AC) |
| Speed Settings | 6 RPM |
| Control Method | App, Remote |
| Installation Type | Flush Mount |
| Type of Bulb | LED |
| Luminous Flux | 2520 Lumen |
| Item Weight | 6.65 pounds |
| UPC | 769044676946 |
9. Warranty and Support
Your Ensenior 20'' Low Profile Ceiling Fan is covered by a 3-year warranty from the date of purchase. This warranty covers defects in materials and workmanship under normal use.
For technical support, warranty claims, or any questions regarding your product, please contact Ensenior customer support through the retailer's platform or the official Ensenior website.