
1. Safety Instructions
Before operating the PRIXTON P125 sewing machine, please read all instructions carefully to ensure safe and efficient use.
- Always unplug the machine from the power outlet when not in use, when changing needles, or when performing maintenance.
- Keep fingers away from the needle area during operation.
- Do not operate the machine if the power cord is damaged.
- Keep the machine away from water or damp environments.
- This appliance is not intended for use by persons (including children) with reduced physical, sensory or mental capabilities, or lack of experience and knowledge, unless they have been given supervision or instruction concerning use of the appliance by a person responsible for their safety.
- Use only accessories specified by the manufacturer.
2. Product Overview and Components
The PRIXTON P125 sewing machine is designed for various sewing tasks, offering multiple stitch patterns and user-friendly features.
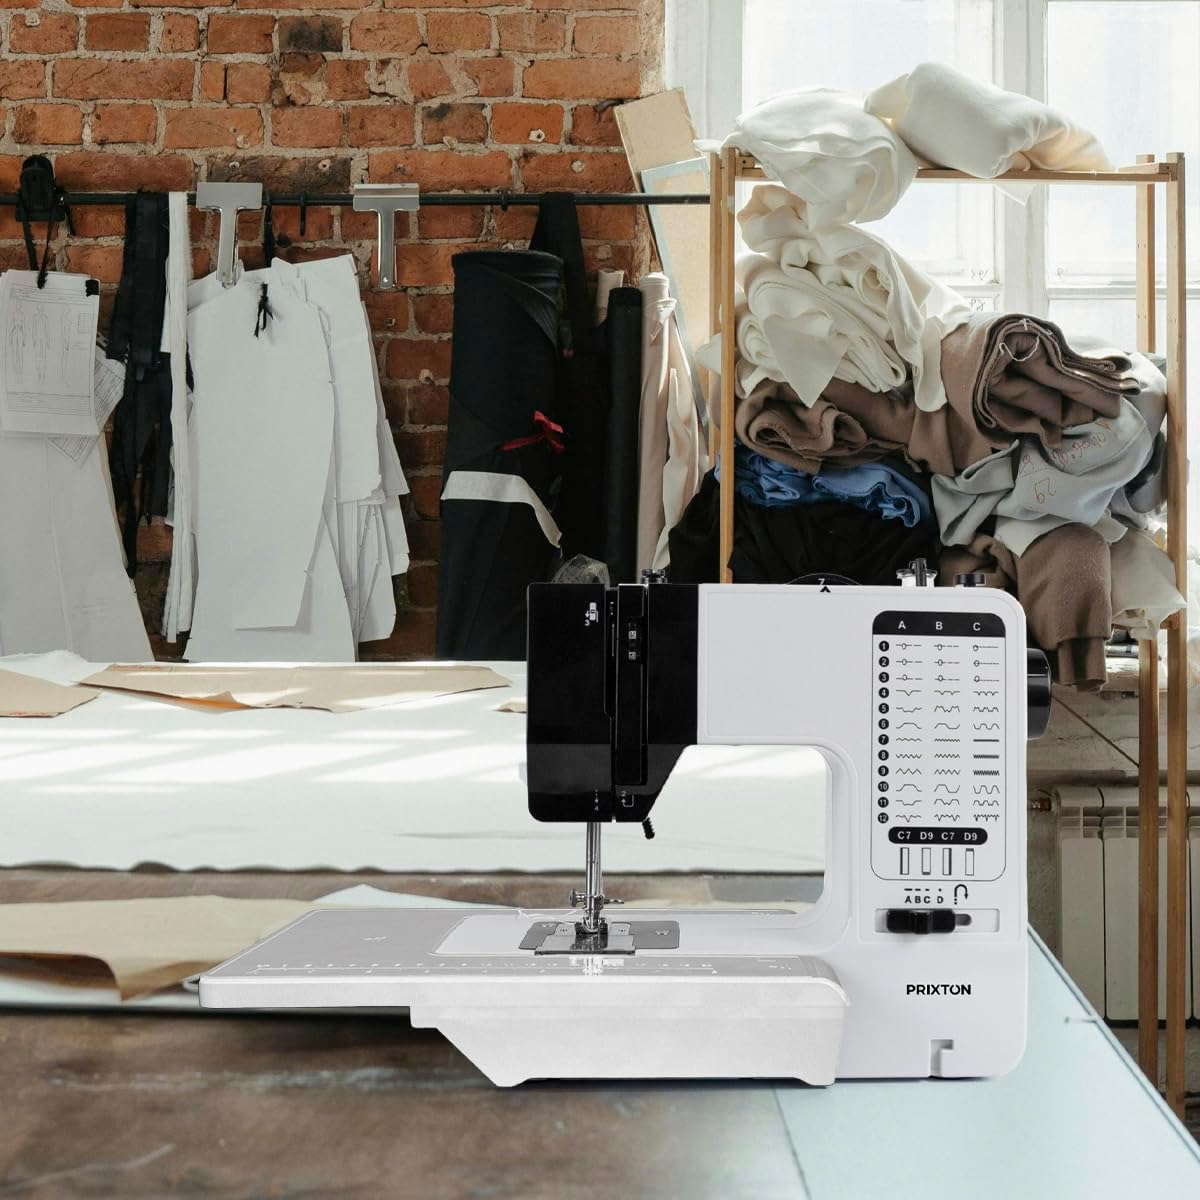
Image: The PRIXTON P125 sewing machine shown with its extension table attached, ready for use.
Included Accessories:

Image: A collection of accessories including the foot pedal, power adapter, needles, threader, bobbins, and thread spools.
- Foot Pedal: For controlling sewing speed.
- Needle Threader: Assists in threading the needle.
- Extension Table: Provides a larger work surface.
- Buttonhole Presser Foot: Specialized foot for creating buttonholes.
- Power Adapter: For connecting the machine to power.
- Bobbins (x4): For lower thread.
- Needles (x2): Spare sewing needles.
- Integrated Handle: For easy transport.

Image: A hand holding the PRIXTON P125 sewing machine by its integrated handle, demonstrating portability.
3. Setup
3.1 Power Connection
- Place the machine on a stable, flat surface.
- Connect the power adapter to the machine's power input.
- Plug the power adapter into a suitable electrical outlet.
- Connect the foot pedal to its designated port on the machine.
3.2 Winding the Bobbin
The machine features an automatic bobbin winding function.
- Place a spool of thread on the spool pin.
- Guide the thread through the tension disc for bobbin winding.
- Place an empty bobbin onto the bobbin winder spindle.
- Wrap the thread around the bobbin a few times.
- Push the bobbin winder spindle to the right.
- Start the machine (usually by pressing the foot pedal or a dedicated button) to wind the bobbin.
- Stop when the bobbin is full and cut the thread.
- Push the bobbin winder spindle back to the left.
3.3 Inserting the Bobbin
The machine has a direct shortcut to the bobbin for easy installation.
- Open the bobbin cover plate located on the needle plate.
- Insert the wound bobbin into the bobbin case, ensuring the thread unwinds in the correct direction (usually counter-clockwise).
- Pull the thread through the tension spring slot.
- Close the bobbin cover plate.
3.4 Threading the Upper Thread
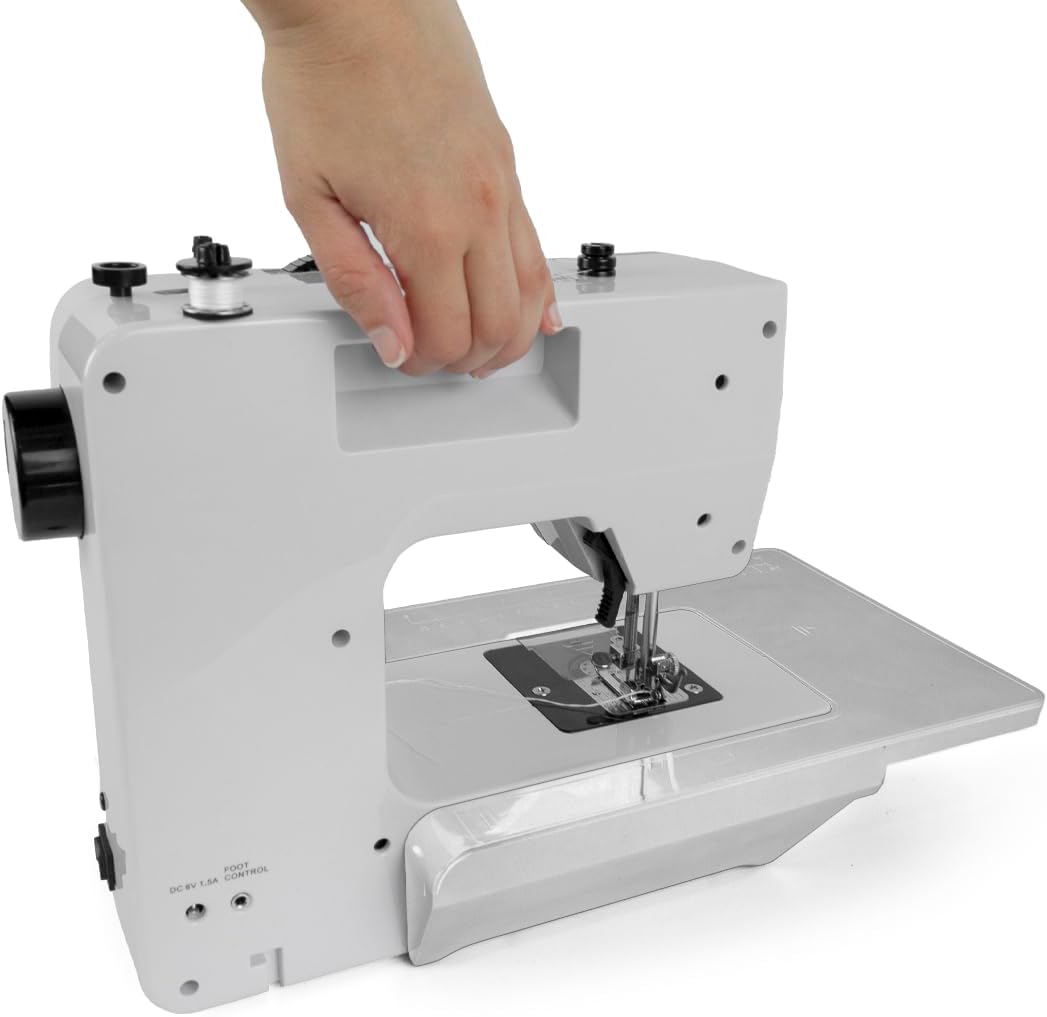
Image: A hand guiding the upper thread through the needle eye of the sewing machine.
- Raise the presser foot and the needle to its highest position.
- Place a spool of thread on the spool pin.
- Guide the thread through the upper thread guide.
- Pass the thread down through the tension assembly.
- Guide the thread up and through the take-up lever.
- Guide the thread down through the remaining thread guides.
- Use the needle threader (if available) or manually thread the needle from front to back.
- Pull about 15 cm of thread through the needle eye.
3.5 Bringing Up the Bobbin Thread
- Hold the upper thread lightly with your left hand.
- Turn the handwheel towards you to lower the needle into the needle plate and then raise it back to its highest position.
- The upper thread will catch the bobbin thread, forming a loop.
- Pull the loop to bring the bobbin thread up through the needle plate opening.
- Pull both upper and bobbin threads under the presser foot and towards the back of the machine.
4. Operating Instructions
4.1 Selecting a Stitch Pattern

Image: A close-up of the stitch selector dial on the PRIXTON P125 sewing machine, showing various stitch patterns.
The PRIXTON P125 offers 38 different stitch patterns. To select a pattern:
- Turn the stitch selector dial to choose your desired stitch pattern.
- Adjust the stitch width and length as needed using the dedicated controls.
- For elastic fabrics, utilize the elastic zigzag stitch (2 to 4.5 mm) for better flexibility.
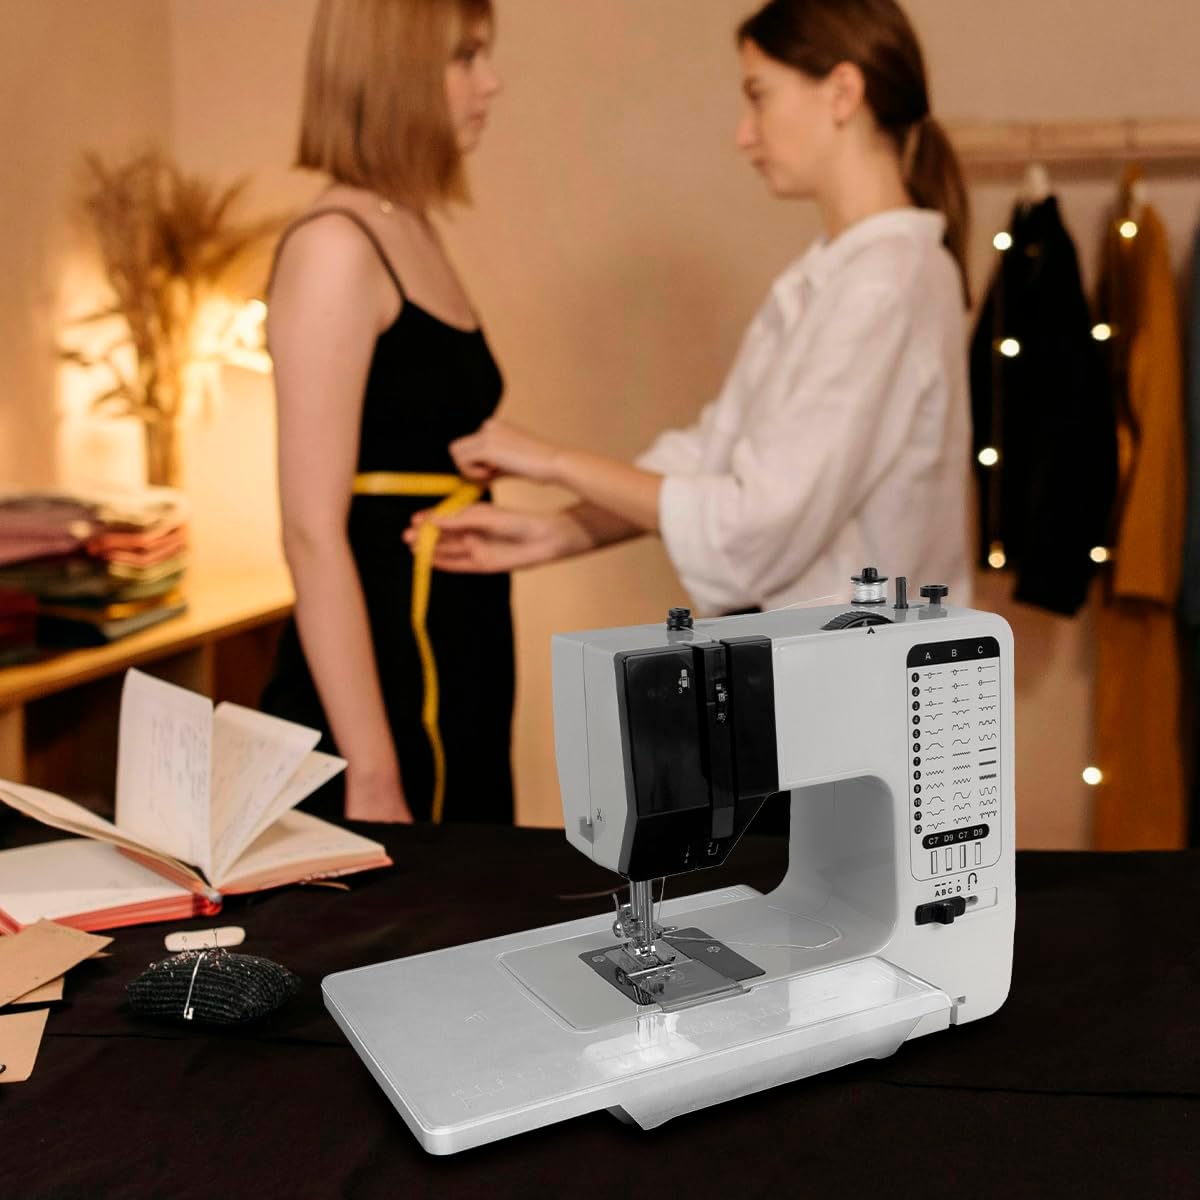
Image: A hand adjusting the stitch pattern selector on the PRIXTON P125 sewing machine.
4.2 Sewing
- Place the fabric under the presser foot.
- Lower the presser foot.
- Gently press the foot pedal to start sewing. The machine operates at a speed between 270 and 300 stitches per minute.
- To sew in reverse (for securing stitches), use the reverse lever/button.
- Guide the fabric gently as you sew.
- When finished, raise the needle to its highest position and lift the presser foot.
- Pull the fabric away from the machine.
- Use the integrated thread cutter to trim the threads.

Image: A close-up of the integrated thread cutter on the PRIXTON P125 sewing machine.

Image: A person operating the PRIXTON P125 sewing machine, guiding fabric under the needle.
4.3 Sewing a Buttonhole (4-Step Process)
The P125 machine supports a 4-step buttonhole process. Refer to the specific markings on the stitch selector for each step (A, B, C, D).
- Attach the buttonhole presser foot.
- Mark the desired buttonhole length on your fabric.
- Select the first buttonhole step (e.g., 'A') on the stitch selector.
- Sew the first side of the buttonhole.
- Select the second step (e.g., 'B') and sew the bar tack.
- Select the third step (e.g., 'C') and sew the second side.
- Select the fourth step (e.g., 'D') and sew the final bar tack.
- Carefully cut open the buttonhole using a seam ripper, ensuring not to cut the stitches.
5. Maintenance
5.1 Cleaning
- Always unplug the machine before cleaning.
- Use a soft brush to remove lint and dust from the bobbin area and feed dogs.
- Wipe the exterior of the machine with a soft, dry cloth. Do not use liquid cleaners or abrasive materials.
5.2 Needle Replacement
- Unplug the machine.
- Loosen the needle clamp screw.
- Remove the old needle and insert a new one, ensuring the flat side of the needle faces the back of the machine.
- Tighten the needle clamp screw securely.
- Always use the correct needle type and size for your fabric.
6. Troubleshooting
If you encounter issues with your PRIXTON P125 sewing machine, consult the table below for common problems and solutions.
| Problem | Possible Cause | Solution |
|---|---|---|
| Machine does not start | Power cord not plugged in; power switch off; foot pedal not connected. | Check power connections; ensure power switch is on; connect foot pedal securely. |
| Skipped stitches | Incorrect needle; bent needle; improper threading; incorrect tension. | Replace needle with correct type/size; re-thread machine; adjust tension. |
| Thread breaks | Improper threading; tension too tight; damaged needle; poor quality thread. | Re-thread machine correctly; loosen tension; replace needle; use good quality thread. |
| Fabric not feeding | Presser foot not lowered; feed dogs clogged with lint; stitch length set to zero. | Lower presser foot; clean feed dogs; adjust stitch length. |
| Uneven stitches | Incorrect tension; improper threading; wrong needle for fabric. | Adjust tension; re-thread machine; use appropriate needle. |
7. Specifications
| Feature | Detail |
|---|---|
| Model Number | 141941042 (also 10006140) |
| Stitch Patterns | 38 different patterns |
| Power | 9 W |
| Max. Stitch Width | 4 mm |
| Max. Stitch Length | 1.5 to 3.5 mm |
| Elastic Zigzag Stitch Range | 2 to 4.5 mm |
| Sewing Speed (Min/Max) | 270 rpm / 300 rpm (stitches per minute) |
| Buttonhole | Automatic (4-step) |
| Integrated Light | LED light |
| Dimensions (without extension table) | 30.5 x 11 x 26 cm |
| Dimensions (with extension table) | 40 x 20 x 26 cm |
| Weight | 2.2 kg |
| Material | Plastic |
| Color | White |
8. Warranty and Support
8.1 Warranty Information
For detailed warranty information regarding your PRIXTON P125 sewing machine, please refer to the warranty card included with your purchase or contact your retailer. Warranty terms and conditions may vary by region and retailer.
8.2 Customer Support
If you require further assistance, have questions not covered in this manual, or need technical support, please contact the retailer where you purchased the product or visit the official PRIXTON website for customer service contact details.


