
Introduction
Thank you for choosing the JAMJAKE Stylus Pen ID716. This manual provides detailed instructions for setting up, operating, and maintaining your stylus pen to ensure optimal performance. Please read this manual thoroughly before use.
Compatibility
The JAMJAKE Stylus Pen ID716 is designed for specific iPad models released between 2018 and 2025. Please verify your iPad model number before use.
- Compatible Models: iPad Pro 13-inch (M4), iPad Pro 11-inch (all versions), iPad 11th/10th/9th/8th/7th/6th Gen, iPad Air 3rd/4th/5th/M2/M3 Gen, iPad Pro 12.9-inch 3rd/4th/5th/6th Gen, iPad Mini 5th/6th Gen.
- Incompatible Devices: This stylus pen is NOT compatible with iPad models released before 2018, iPhone, Android, or Microsoft devices.

Figure 1: Compatible iPad Models. This image displays the stylus pen alongside various iPad models, indicating compatibility.

Figure 2: Detailed Compatibility Chart. A comprehensive chart listing compatible and incompatible iPad models with their corresponding model numbers for easy reference.
Setup and Connection
The JAMJAKE Stylus Pen ID716 does not require Bluetooth pairing for basic functionality. Follow these steps to begin using your stylus:
- Ensure your iPad's Bluetooth function is enabled.
- Double-tap the top of the stylus pen to power it on. The stylus will automatically connect to your iPad.
- To power off, double-tap the top of the stylus pen again.

Figure 3: Stylus Power and Indicators. This image demonstrates the double-tap action to power the stylus on/off and highlights the LED battery indicators.
Charging and Battery Indicators
The stylus pen features fast charging and clear battery indicators:
- Charging Time: A 10-minute charge provides up to 10 hours of continuous use.
- Standby Time: Up to 365 days.
- Charging Method: Use the included USB-C cable with a 5V2A power adapter, power bank, or computer.
Battery Indicator Lights:
- All lights on: 70%-100% power
- Two lights on: 30%-70% power
- One light on: 5%-30% power
- One light flashing: Less than 5% power

Figure 4: Fast Charging Feature. This image illustrates the stylus pen connected for charging, highlighting its quick charge capability and extended use time.
Operating Features
Pixel-Level Precision
The stylus features an upgraded smart chip for pixel-level accuracy (0.1 mm) with high responsiveness, no breakpoints, and no delays. This allows for precise writing of small characters and detailed drawings. Note: This stylus does not support pressure sensitivity.

Figure 5: Precision and Responsiveness. This image highlights the stylus pen's ability to deliver precise, fluent, and smooth lines with superior tilt sensitivity.
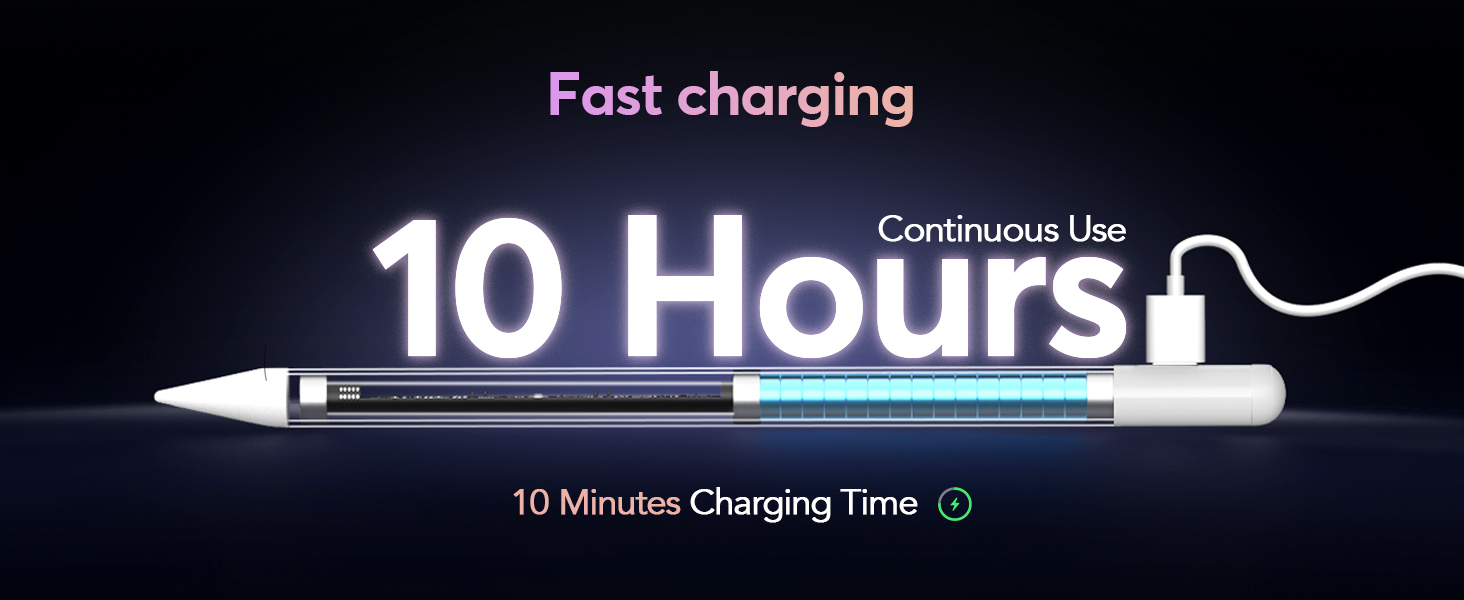
Figure 6: Detailed Precision. This image illustrates the stylus pen's fine point and 0.1mm pixel precision for intricate work on an iPad.
Tilt Sensitivity
The stylus utilizes advanced tilt technology, allowing you to vary line thickness and depth by adjusting the pen's angle. This feature is ideal for shading and artistic drawing.

Figure 7: Tilt Sensitivity in Use. This image visually explains how adjusting the stylus angle (15°, 30°, 45°) creates varying line thicknesses for shading and drawing.

Figure 8: Tilt Angle Detection. This image illustrates the stylus pen's capability to detect tilt angles from 15° to 90°, enabling effortless control over line weight.
Palm Rejection
The palm rejection feature allows you to rest your hand comfortably on the iPad screen while writing or drawing without interfering with the stylus input. This provides a natural and comfortable user experience.

Figure 9: Palm Rejection Function. This image demonstrates the palm rejection feature, allowing users to rest their hand on the screen while writing or drawing without unintended marks.

Figure 10: Enhanced Palm Rejection. This image visually confirms that the stylus's smart palm rejection ensures only the tip's input is registered, allowing for comfortable use.
Magnetic Attachment
The stylus pen can securely attach magnetically to the side of your iPad for convenient storage and access. Note: This feature does not support wireless charging.

Figure 11: Magnetic Attachment. This image demonstrates the stylus pen's strong magnetic capability, allowing it to snap securely to the side of an iPad for easy storage.
Maintenance and Tip Replacement
To maintain optimal performance, ensure the stylus tip is in good condition. If the tip becomes worn or damaged, it can be easily replaced.
Replacing the Tip:
- Gently unscrew the existing tip from the stylus pen.
- Screw a new replacement tip clockwise until it is secure.
Figure 12: Tip Replacement. This image shows the simple process of unscrewing and screwing a new tip onto the stylus pen.
Troubleshooting
If you encounter any issues with your JAMJAKE Stylus Pen, please refer to the following common solutions:
- Delays or Connectivity Issues:
- Try replacing the stylus tip with an additional one.
- Use a different charging cable to ensure the issue is not power-related.
- Ensure your iPad's operating system is up to date (iOS 15 or later is recommended).
- Stylus Not Responding:
- Ensure the stylus is sufficiently charged. Check the LED indicators.
- Double-tap the top of the pen to ensure it is powered on.
- Verify that your iPad model is compatible with the stylus.
If the problem persists after trying these steps, please contact customer support for further assistance.
Specifications
| Feature | Detail |
|---|---|
| Model Number | ID716 |
| Product Dimensions | 2.2 x 0.6 x 7.5 inches |
| Item Weight | 1.44 ounces |
| Battery Standby Life | 365 days |
| Charging Time | Approx. 10 minutes for 10 hours use |
| Compatible Devices | iPad models 2018-2025 (specific models listed in Compatibility section) |
| Material | Rubber (tip) |
| Minimum OS Required | iOS 15 |
Safety Information
- Always use the original charging equipment provided or a compatible 5V2A power adapter.
- Avoid using damaged accessories for charging.
- Do not charge the stylus for prolonged periods in high-temperature environments.
- Keep the stylus pen away from young children, especially the small pen tip, to prevent accidental swallowing.
- Supervise children during product usage.
Warranty and Support
For warranty information or technical support, please refer to the product packaging or contact JAMJAKE customer service directly. If you experience any issues not covered in this manual, our support team is available to assist you.
Contact Information: Please refer to the official JAMJAKE website or your purchase documentation for the most current contact details.


