
1. Introduction
Thank you for choosing the PISEN Qi2 15W Magnetic Car Mount Charger. This device provides fast and secure wireless charging for compatible smartphones in your vehicle. Please read this manual carefully before use to ensure proper installation and operation.
2. Safety Information
- Do not disassemble or modify the device.
- Keep the device away from water, fire, and high temperatures.
- Ensure proper ventilation to prevent overheating.
- Use only the provided or certified compatible cables and power adapters.
- Avoid placing metal objects between the charger and your phone during wireless charging.
- Do not obstruct your view of the road or interfere with vehicle controls when mounting the device.
3. Package Contents
Verify that all items are present in your package:
- PISEN Mag-Safe Qi2 Car Mount Charger x 1
- 3FT USB-C to USB-C cable x 1
- Metal Ring x 1

4. Setup Instructions
4.1 Attaching the Car Mount to the Air Vent
- Unscrew the nut from the back of the magnetic charging pad.
- Place the nut over the ball joint of the air vent clip.
- Insert the ball joint into the socket on the back of the magnetic charging pad.
- Tighten the nut securely to fix the charging pad to the air vent clip.
- Locate a suitable horizontal or vertical air vent in your vehicle. The upgraded metal air vent clip hook is designed for compatibility with most vent types.
- Insert the vent clip into an air vent slat and push the hook to secure it firmly. Ensure the mount is stable and does not obstruct your driving view or controls.

4.2 Power Connection
- Connect the provided USB-C to USB-C cable to the charging port on the car mount.
- Plug the other end of the cable into a compatible car charger (not included) that supports 15W power delivery.
- Upon successful power connection, the blue LED indicator on the charger will light up, indicating standby mode.
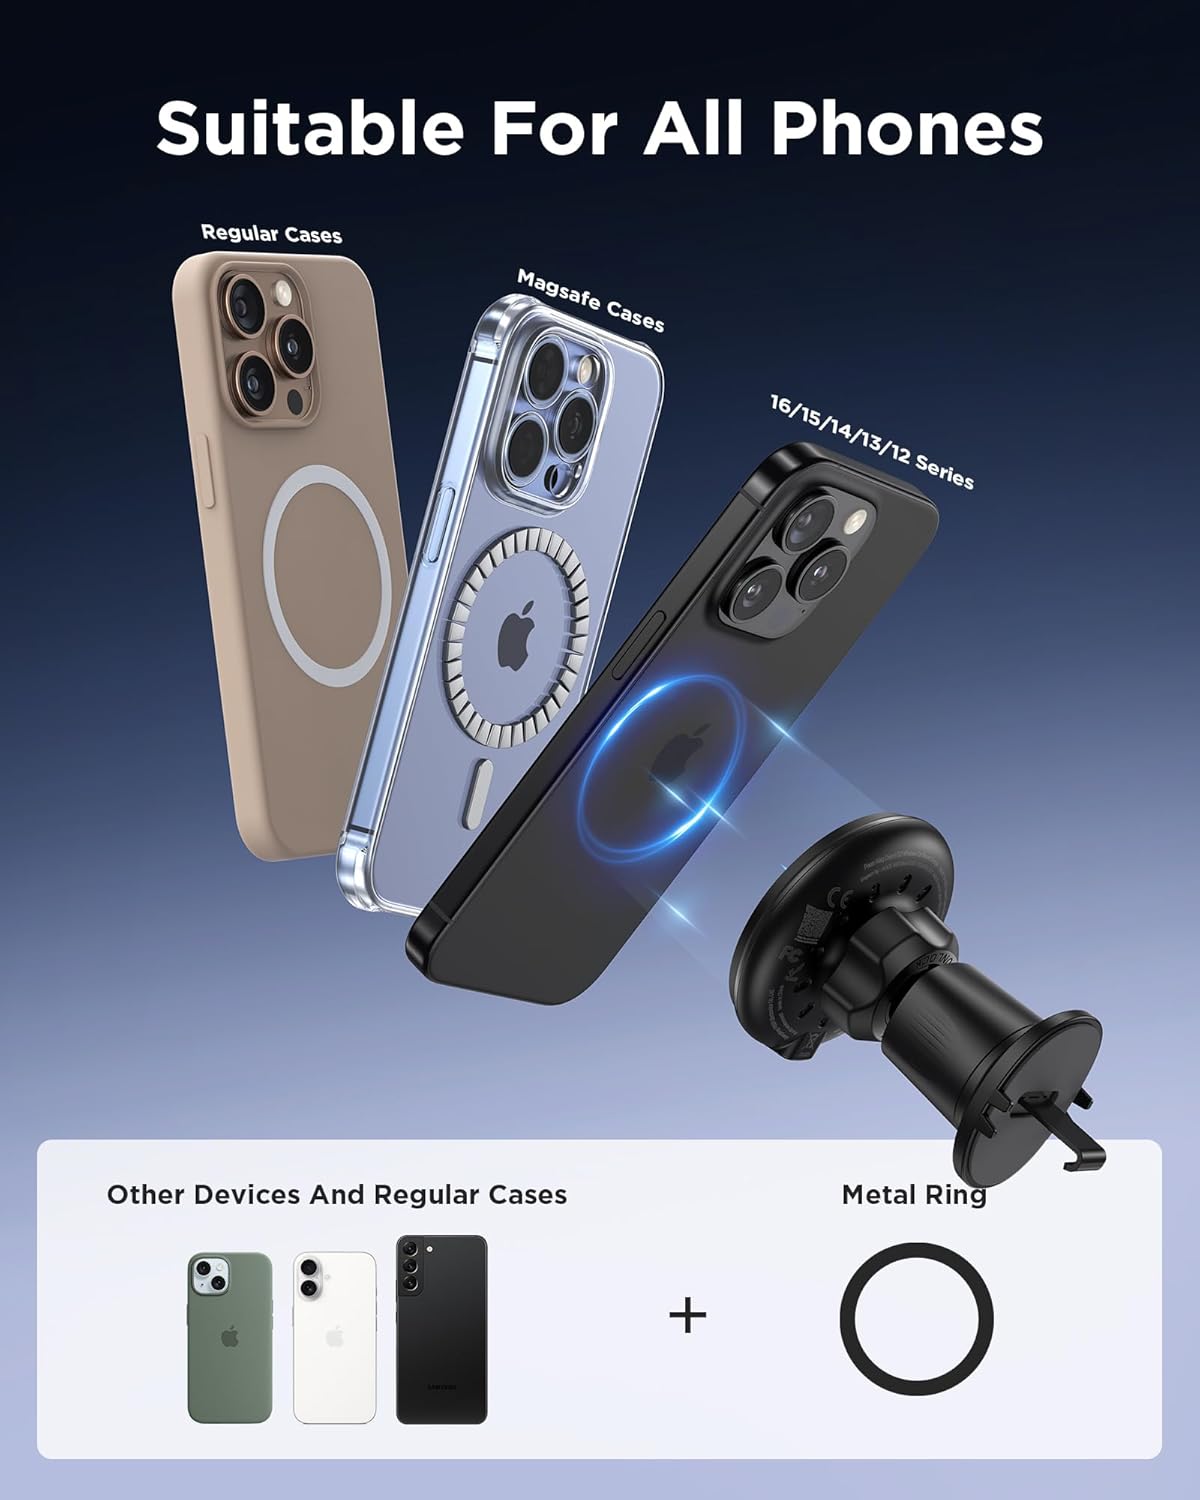
4.3 Using the Metal Ring (for non-MagSafe devices/cases)
For optimal magnetic attachment and wireless charging with non-MagSafe compatible phones or cases, use the included metal ring:
- Clean the back surface of your phone case where the metal ring will be applied.
- Peel off the adhesive backing from the metal ring.
- Carefully center and press the metal ring onto the back of your phone case. Ensure it is securely attached.
5. Operating Instructions
5.1 Attaching Your Phone
Once the car mount is securely installed and powered on, simply bring your MagSafe-compatible iPhone (iPhone 12/13/14/15/16 series) or a phone with the metal ring attached to its case, close to the magnetic charging surface. The strong N52 magnets will automatically align and securely hold your phone in place, initiating wireless charging.

5.2 360-Degree Rotation
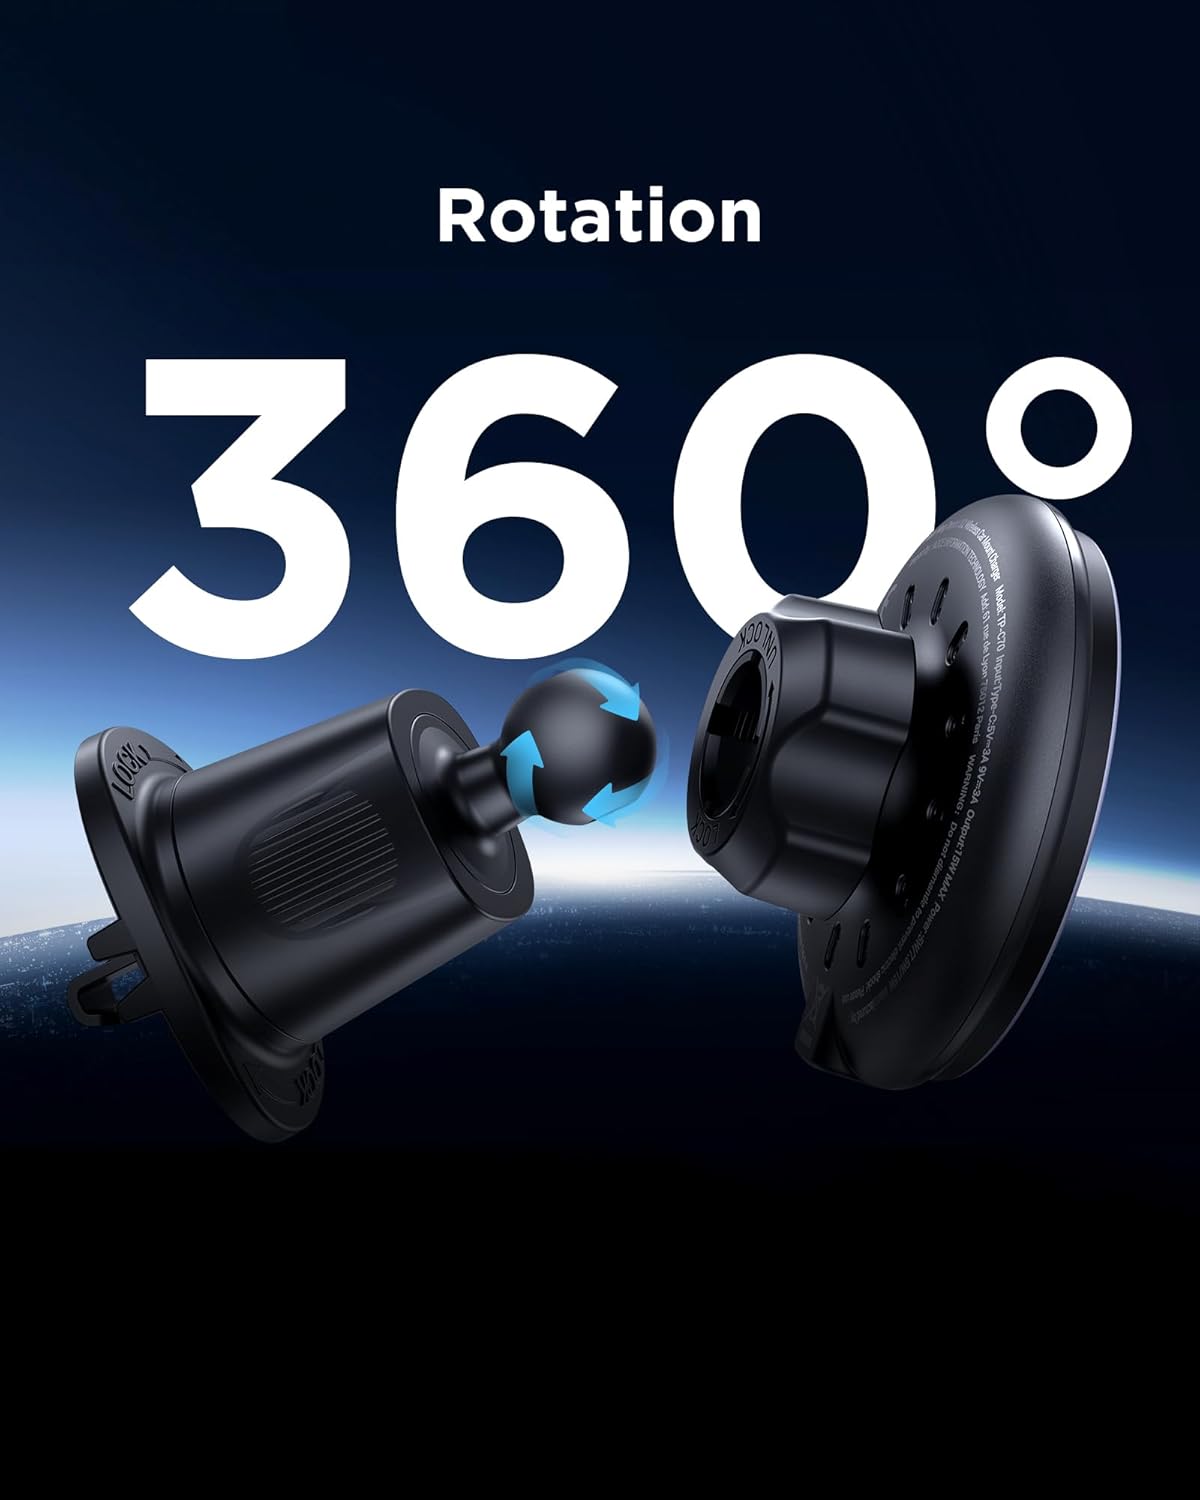
The car mount features a 360-degree rotatable ball joint, allowing you to adjust your phone to any desired viewing angle (portrait or landscape) for navigation, calls, or music control. This ensures a safer and more relaxed driving experience.
5.3 Charging Indication
The car mount is equipped with an atmosphere light that automatically adjusts based on the charging state. In standby mode, the light indicator will emit a blue light. When charging, the light will automatically turn off to avoid distracting the driver.

6. Maintenance
- Clean the surface of the charger regularly with a soft, dry cloth.
- Avoid using harsh chemicals or abrasive cleaners.
- Ensure the magnetic surface is free from dust and debris for optimal performance.
7. Troubleshooting
7.1 Phone Not Charging
- Check Power Connection: Ensure the USB-C cable is securely connected to both the charger and a functioning car power adapter.
- Phone Alignment: Make sure your phone is properly centered on the charging pad.
- Phone Case: Thick phone cases (over 2.5 mm) or non-magnetic cases may affect charging efficiency. Consider removing the case or using a MagSafe-compatible case/metal ring.
- Foreign Objects: Remove any metal objects or foreign materials between your phone and the charger.
7.2 Weak Magnetic Attachment
- Phone Compatibility: Ensure your phone is MagSafe-compatible (iPhone 12 series and newer) or has the provided metal ring securely attached to its case.
- Case Thickness: Very thick cases can reduce magnetic strength.
- Metal Ring Placement: If using the metal ring, ensure it is correctly centered on your phone case.
7.3 Device Overheating
- It is normal for the charger and phone to feel slightly warm during wireless charging.
- If excessive heat is detected, disconnect the phone and charger. Ensure there is adequate ventilation around the device.
7.4 Blue LED Indicator Behavior
- Constant Blue Light: Indicates the charger is powered on and in standby mode.
- Light Off: Indicates the charger is actively charging a device.
- No Light: Check the power connection to ensure the charger is receiving power.
8. Specifications
| Model Number | TP-C70 |
| Wireless Charging Output | 15W (Qi2 Certified) |
| Magnetic Strength | Up to 2KG (20pcs N52 magnets) |
| Connectivity | USB-C |
| Special Features | Blue LED Indicator, Qi2 Wireless Charging, Weak Current ≤60mA in Standby Mode |
| Compatible Devices | iPhone 12/13/14/15/16 Series (MagSafe), Samsung, LG (with metal ring) |
| Mounting Type | Vent Mount |
| Item Weight | 5.3 ounces |
| Package Dimensions | 6.1 x 3.58 x 1.61 inches |
9. Warranty and Support
- 30-Day Refund: If you are not satisfied with your purchase, you may be eligible for a refund within 30 days.
- 12-Month Replacement: The product is covered by a 12-month replacement warranty for manufacturing defects.
- 24/7 Online Support: For any concerns or assistance, please contact PISEN customer support.

