1. Introduction
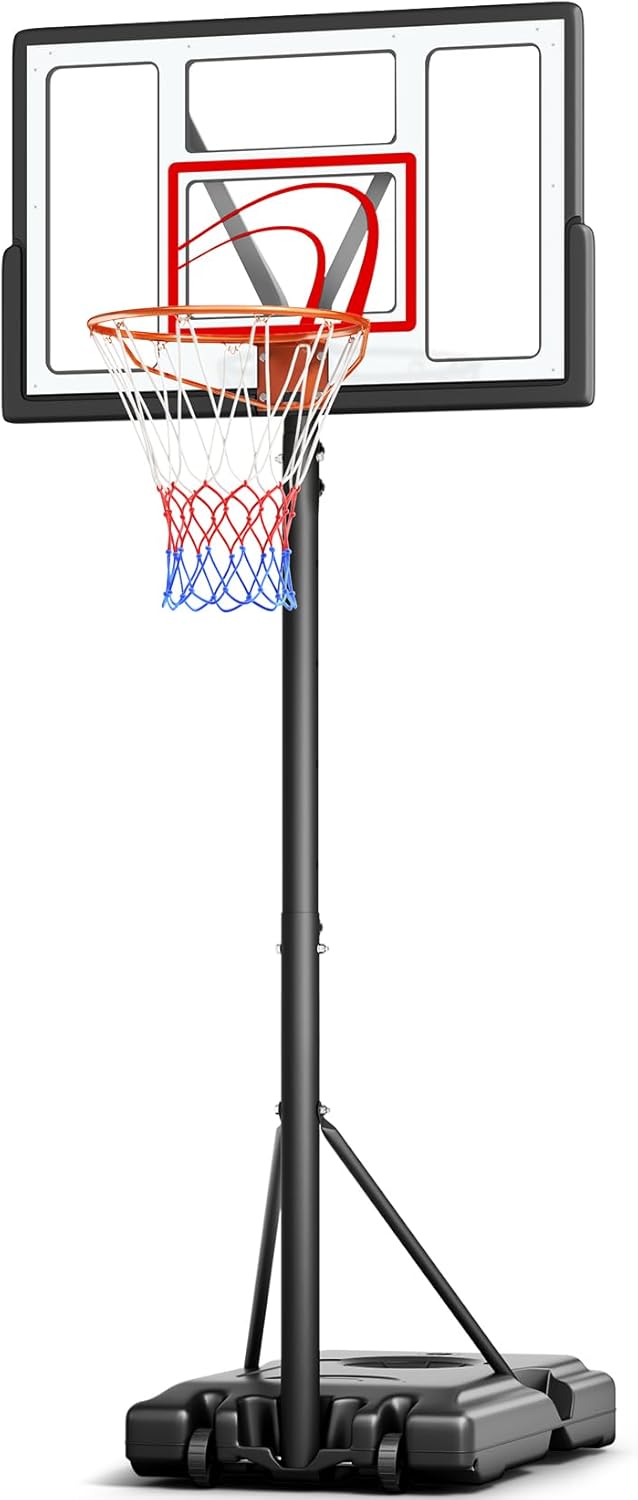
This manual provides essential instructions for the safe assembly, operation, and maintenance of your Yohood M021A-2 Portable Adjustable Basketball Hoop. Please read this manual thoroughly before assembly and use to ensure proper function and longevity of the product. Keep this manual for future reference.
2. Safety Information
- Ensure all parts are securely fastened before use.
- Do not hang on the rim. This can cause serious injury and damage to the product.
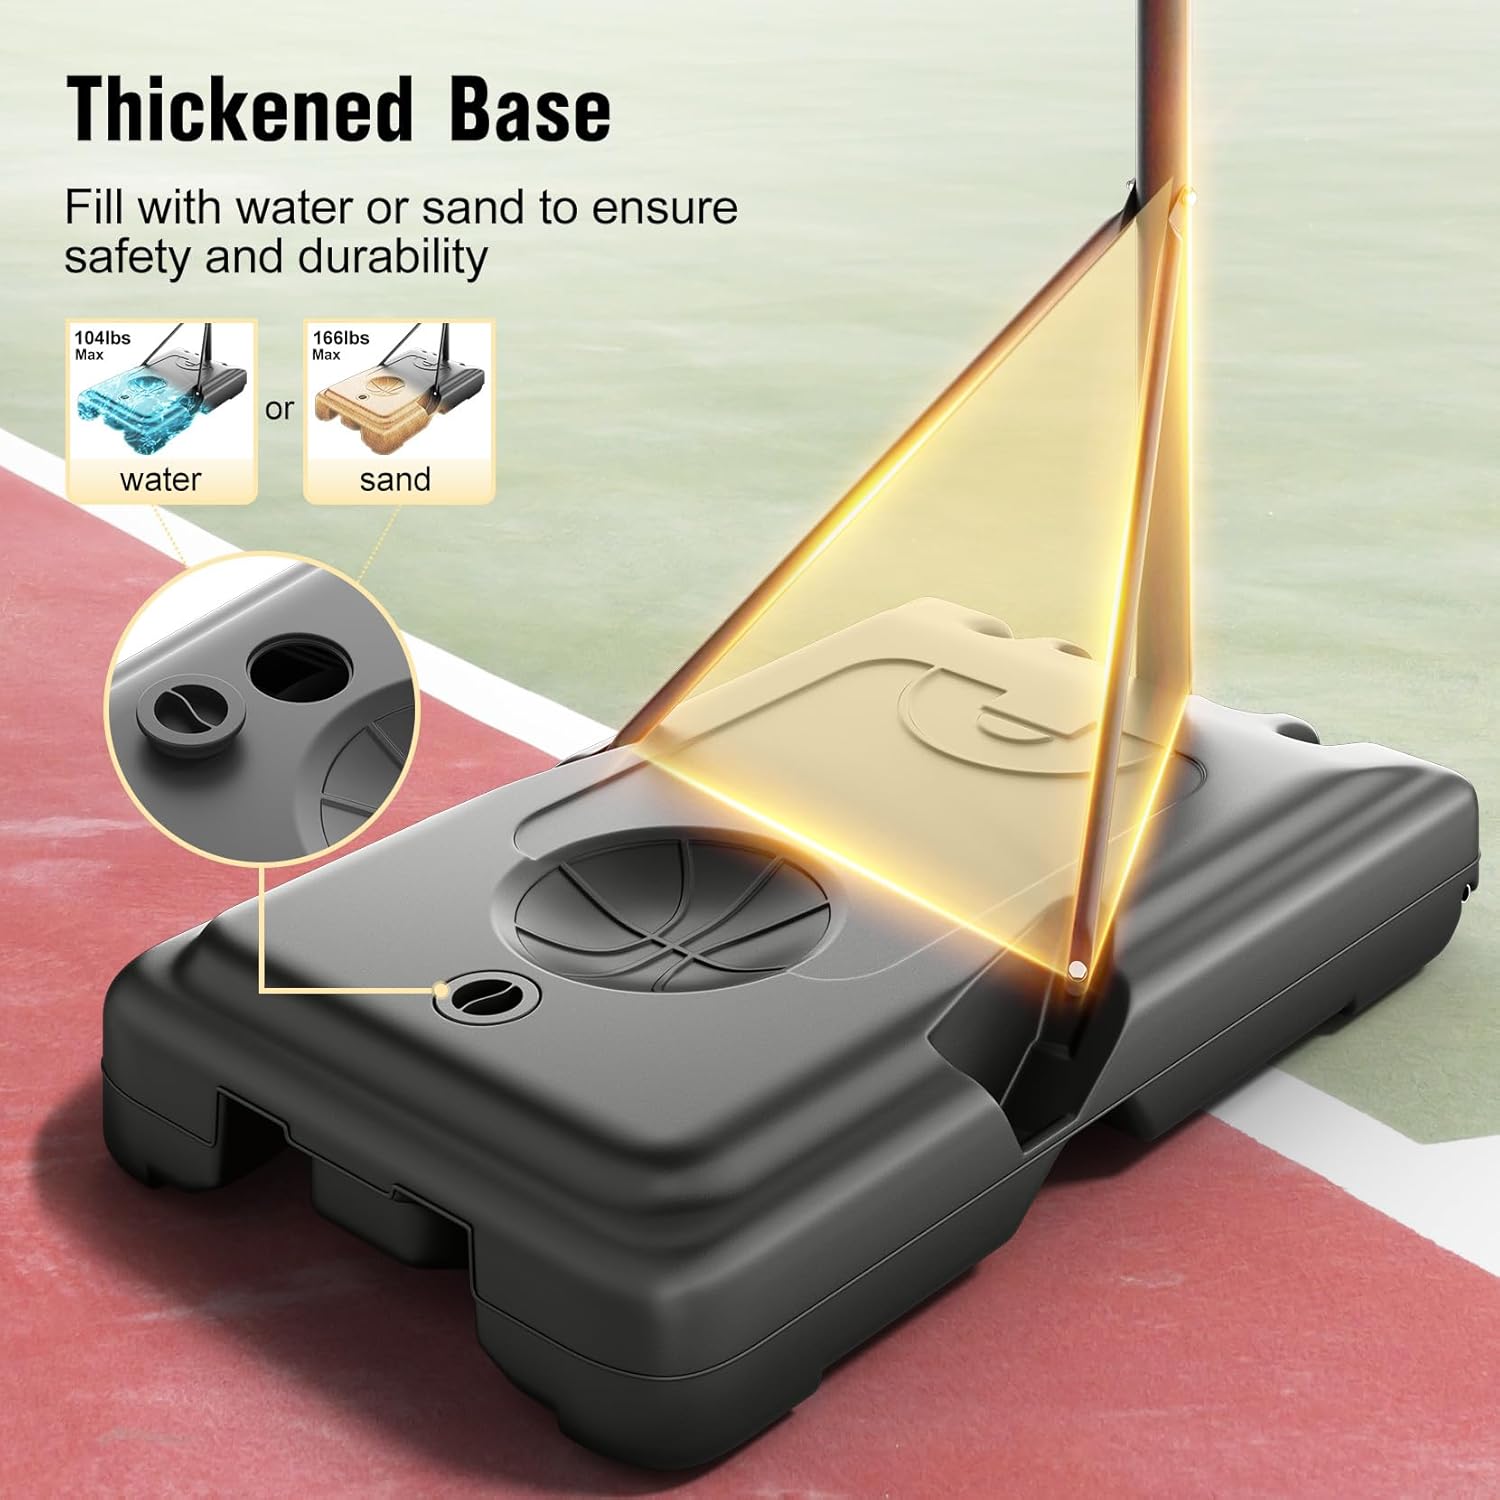
- Always fill the base with water or sand to the recommended capacity to prevent tipping.
- Supervise children during play.
- Regularly inspect the hoop for any signs of wear or damage. Discontinue use if damage is found.
- Keep hands and fingers clear of moving parts during height adjustment.
3. Package Contents
Verify that all components listed below are present before beginning assembly. If any parts are missing or damaged, please contact customer support.
- Backboard
- Rim
- Base
- Poles (Multiple sections for height adjustment)
- Wheels
- Instruction Manual (This document)
- Assembly Hardware (Bolts, nuts, washers, etc.)
- Tools for assembly (typically a wrench)

4. Assembly Instructions
Assembly typically requires two adults. All parts are labeled, and necessary tools are provided. Refer to the included hardware pack for specific fasteners.
- Prepare the Base: Place the base on a flat, level surface. Fill the base with either water (up to 104 lbs) or sand (up to 166 lbs) to ensure maximum stability. Secure the cap tightly after filling.
- Attach the Wheels: Securely attach the wheels to the designated slots on the base.
- Assemble the Poles: Connect the pole sections. The number of pole sections used will determine the initial height range.
- For heights between 4.43 to 6.4 feet, use two pole sections.
- For heights between 7.55 to 10 feet, use three pole sections.
- Mount the Backboard and Rim: Attach the backboard to the top pole section using the provided strong backboard bracket. Then, attach the 18-inch standard basket rim to the backboard. Ensure all bolts are tightened.
- Attach the Net: Securely attach the solid PE net to the rim.
- Connect Pole to Base: Insert the assembled pole into the base. Use the reinforcement knobs to secure the pole firmly to the base, ensuring a triangular structure for enhanced stability.
- Final Check: Verify that all connections are tight and the hoop is stable before first use.
5. Operating Instructions
5.1 Height Adjustment
The Yohood M021A-2 basketball hoop offers a wide height range from 4.43 feet to 10 feet, adjustable via knobs on the pole. There are 11 distinct height settings.
- Loosen the adjustment knobs on the main pole.
- Carefully slide the upper pole section to the desired height. It is recommended to have two people for this process to prevent the pole from dropping.
- Once the desired height is reached, ensure the pole is securely locked into place using the adjustment knobs.

5.2 Portability
This basketball hoop is designed for easy relocation thanks to its integrated wheels.
- Ensure the base is filled for stability during movement.
- Tilt the hoop slightly by lifting the back of the base, engaging the wheels.
- Carefully roll the hoop to your desired location (backyard, garage, court, driveway, etc.).
- Once in position, lower the base flat to the ground to re-engage full stability.

5.3 Ball Storage
The base includes a convenient groove for storing your basketball when not in use, keeping it within easy reach.
6. Maintenance
- Regular Inspection: Periodically check all bolts, nuts, and connections to ensure they are tight. Re-tighten as necessary.
- Base Content: Ensure the base remains filled with water or sand to maintain stability, especially after moving the unit. Check for leaks.
- Cleaning: Clean the backboard and poles with a mild soap and water solution. Avoid abrasive cleaners that could damage the materials.
- Net Replacement: The net may wear over time. Replace it with a standard 18-inch basketball net when needed.
- Winter Storage: If storing outdoors in freezing temperatures, it is recommended to empty the water from the base to prevent cracking due to ice expansion.
7. Troubleshooting
| Problem | Possible Cause | Solution |
|---|---|---|
| Hoop is wobbly or unstable. | Base not sufficiently filled; loose connections. | Ensure base is filled to maximum capacity with water or sand. Check and tighten all bolts and reinforcement knobs. |
| Difficulty adjusting height. | Knobs too tight; pole sections stuck. | Loosen adjustment knobs completely. Apply a small amount of silicone lubricant if pole sections are stiff. Ensure no debris is obstructing movement. |
| Backboard appears loose. | Mounting bolts are loose. | Tighten the bolts securing the backboard to the bracket and the bracket to the pole. |
8. Specifications
| Model Number | M021A-2 |
| Brand | Yohood |
| Product Dimensions | 92D x 112W x 305H Centimetres (approx. 36.2D x 44.1W x 120H inches) |
| Item Weight | 19 kg (approx. 41.9 lbs) |
| Backboard Material | Polycarbonate (PC) |
| Frame Material | Metal |
| Maximum Height Recommendation | 10 Feet |
| Rim Size | 18 inches (Standard) |
| Base Capacity (Water) | Up to 104 lbs |
| Base Capacity (Sand) | Up to 166 lbs |
| Special Features | Adjustable Height, Portable with Wheels |
| Usage | Indoor, Outdoor |
9. Warranty and Support
For any missing parts, damages, assembly issues, or product support, please contact Yohood customer service.
- Email: TOPSERVICE61@outlook.com
- Please refer to your purchase documentation for specific warranty terms and conditions.


